Create 3 E3SB14ST - Blender ELECTROLUX - Free user manual and instructions
Find the device manual for free Create 3 E3SB14ST ELECTROLUX in PDF.



| Brand | Electrolux |
| Model | Create 3 E3SB14ST |
| Product type | Blender |
| Intended use | Mixing food, household use |
| Glass container capacity | 0.6 L |
| Capacity of take-away bottles | 600 ml and 300 ml |
| Grinder capacity | Up to 80 g (nuts), 60 g (coffee), 20 g (dried chili) |
| Maximum liquid temperature | 60 °C (for glass container and bottles) |
| Main functions | Blending, grinding, crushed ice, smoothies, soups |
| Controls | Speed selection dial with Pulse mode (Create 4) or push button (Create 3) |
| Speeds | 2 speeds + Pulse |
| Safety | Safety interlock, very sharp blades, automatic shut-off in case of overload, motor protection |
| Maximum operating time | 2 minutes with heavy load, then 10 minutes cooling |
| Cleaning | Dishwasher-safe parts (containers, blade assemblies, lids); motor base clean with damp cloth |
| Included accessories | 600 ml take-away bottle, 300 ml take-away bottle, grinder, glass container, blade assemblies, lids |
| Repairability | Contact authorized after-sales service for operating issues |
| Disposal | Do not dispose with household waste; recycle at an official collection point |
Frequently Asked Questions - Create 3 E3SB14ST ELECTROLUX
User questions about Create 3 E3SB14ST ELECTROLUX
0 question about this device. Answer the ones you know or ask your own.
Ask a new question about this device
Download the instructions for your Blender in PDF format for free! Find your manual Create 3 E3SB14ST - ELECTROLUX and take your electronic device back in hand. On this page are published all the documents necessary for the use of your device. Create 3 E3SB14ST by ELECTROLUX.
USER MANUAL Create 3 E3SB14ST ELECTROLUX
Create 3 Sport Blender
Create 4 Sport Blender
Create 4 Compact Blender
User Manual
E3SB1-4ST

natural_image
Line drawing of two kitchen appliances, one tall and one plain, with no text or symbols present.E4SB1-4ST
natural_image
Line drawing of two kitchen appliances, one with a handle and circular vent, the other with a lid and handle (no text or symbols)E4CB1-6ST
natural_image
Line drawings of five different kitchen appliances, including a blender and four smaller containers (no text or symbols)COMPONENT
HOW TO USE
natural_image
Illustration of various kitchen utensils including a blender, water drop, and kitchen sink (no text or symbols present)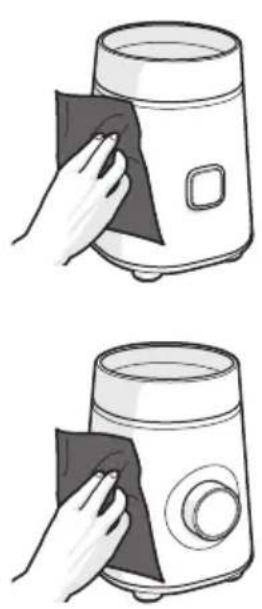
natural_image
Illustration of two hand cleaning a kitchen appliance (no text or symbols)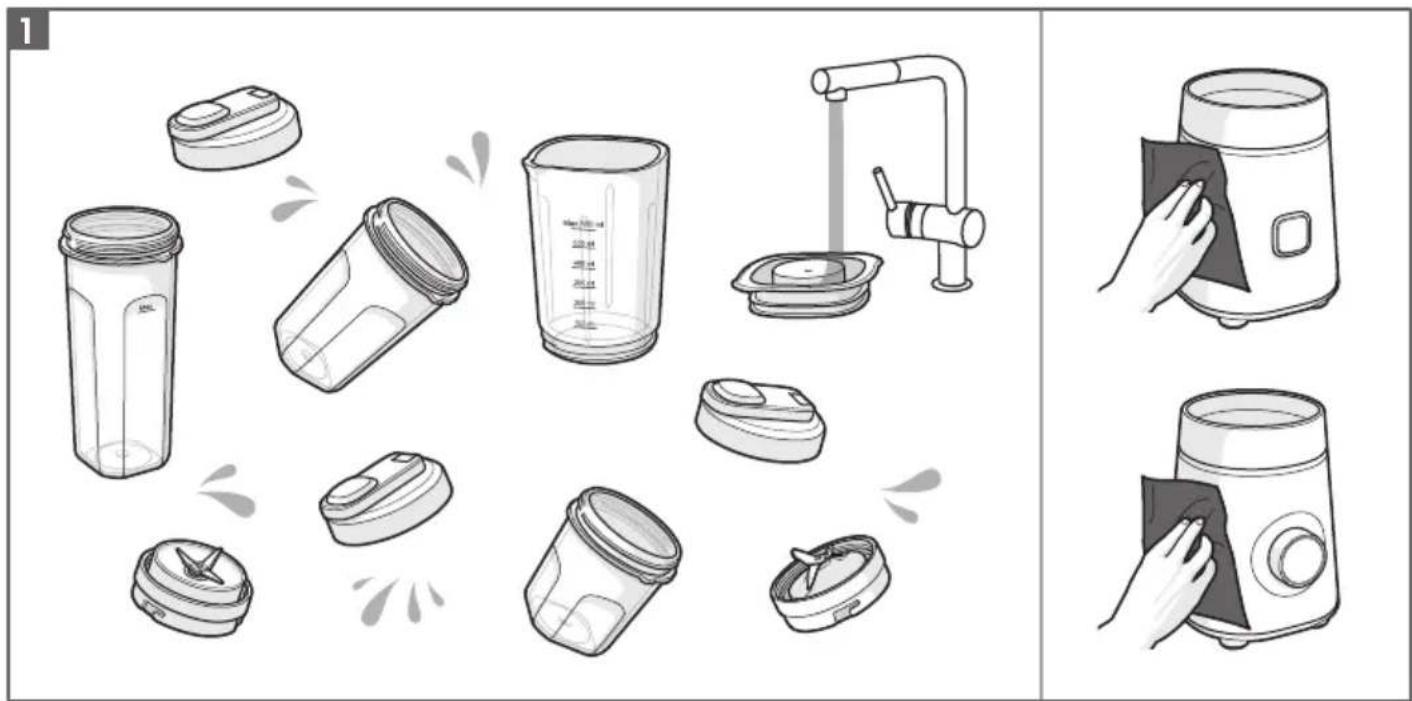
natural_image
Illustration showing various kitchen cleaning and cleaning tools including a blender, water dispenser, and a blender with cleaning (no text or symbols)2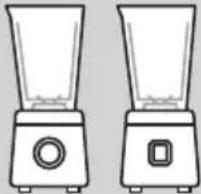 Glass jar Takeaway bottle Grinder Glass jar Takeaway bottle Grinder | 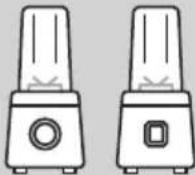 | 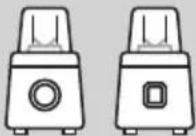 | |||||||
| Smoothie | MAX0.6L | Max Speed90sec | Smoothie | 600ml | 300ml | Max Speed90sec | Caf fee bean | MAX60gr | Max Speed40sec |
| MAX0.6L | MAX0.3L | ||||||||
| Ice crush | 4-5pcs | 4-5pcs | 10x pulse | Nut | MAX80gr | Max Speed5sec | |||
| Ice crush | 4-5pcs | 10x pulse | Dried chili | MAX20g | Max SpeedON10sec3sec(x2)OFF | ||||
| Carrot Soup | Carrot240grWater360gr | Carrot120grWater180gr | Max Speed60sec | Fresh chili | MAX50g | Max SpeedON10sec3sec(x2)OFF | |||
| Carrot Soup | MAX0.6L | Max Speed60sec | Warm liquid(Max 60°C) | MAX0.4L | MAX0.2L | Max Speed60sec | Sesame seeds | MAX80g | Max SpeedON10sec3sec(x2)OFF |
natural_image
Simple line drawing of a kitchen sink with a pipe and two round objects (no text or symbols)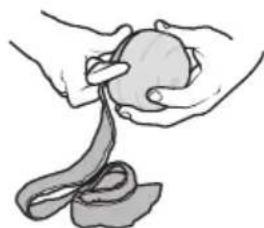
natural_image
Illustration of hands holding a piece of bread with a ribbon (no text or symbols)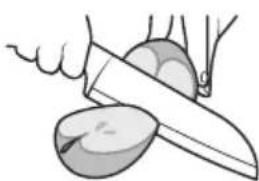
natural_image
Illustration of a knife cutting a bowl with a knife, showing hands and food (no text or symbols)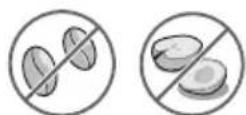
natural_image
Illustration of two piles of raw materials with a checkmark indicating selection (no text or symbols present)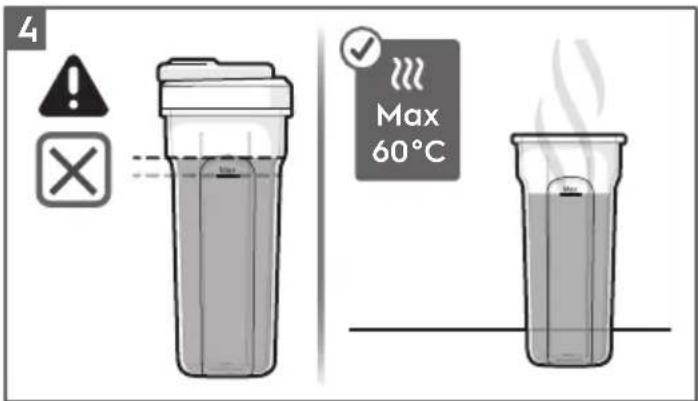
natural_image
Illustration of an electrical plug with a screw and cable, showing a directional arrow (no text or symbols)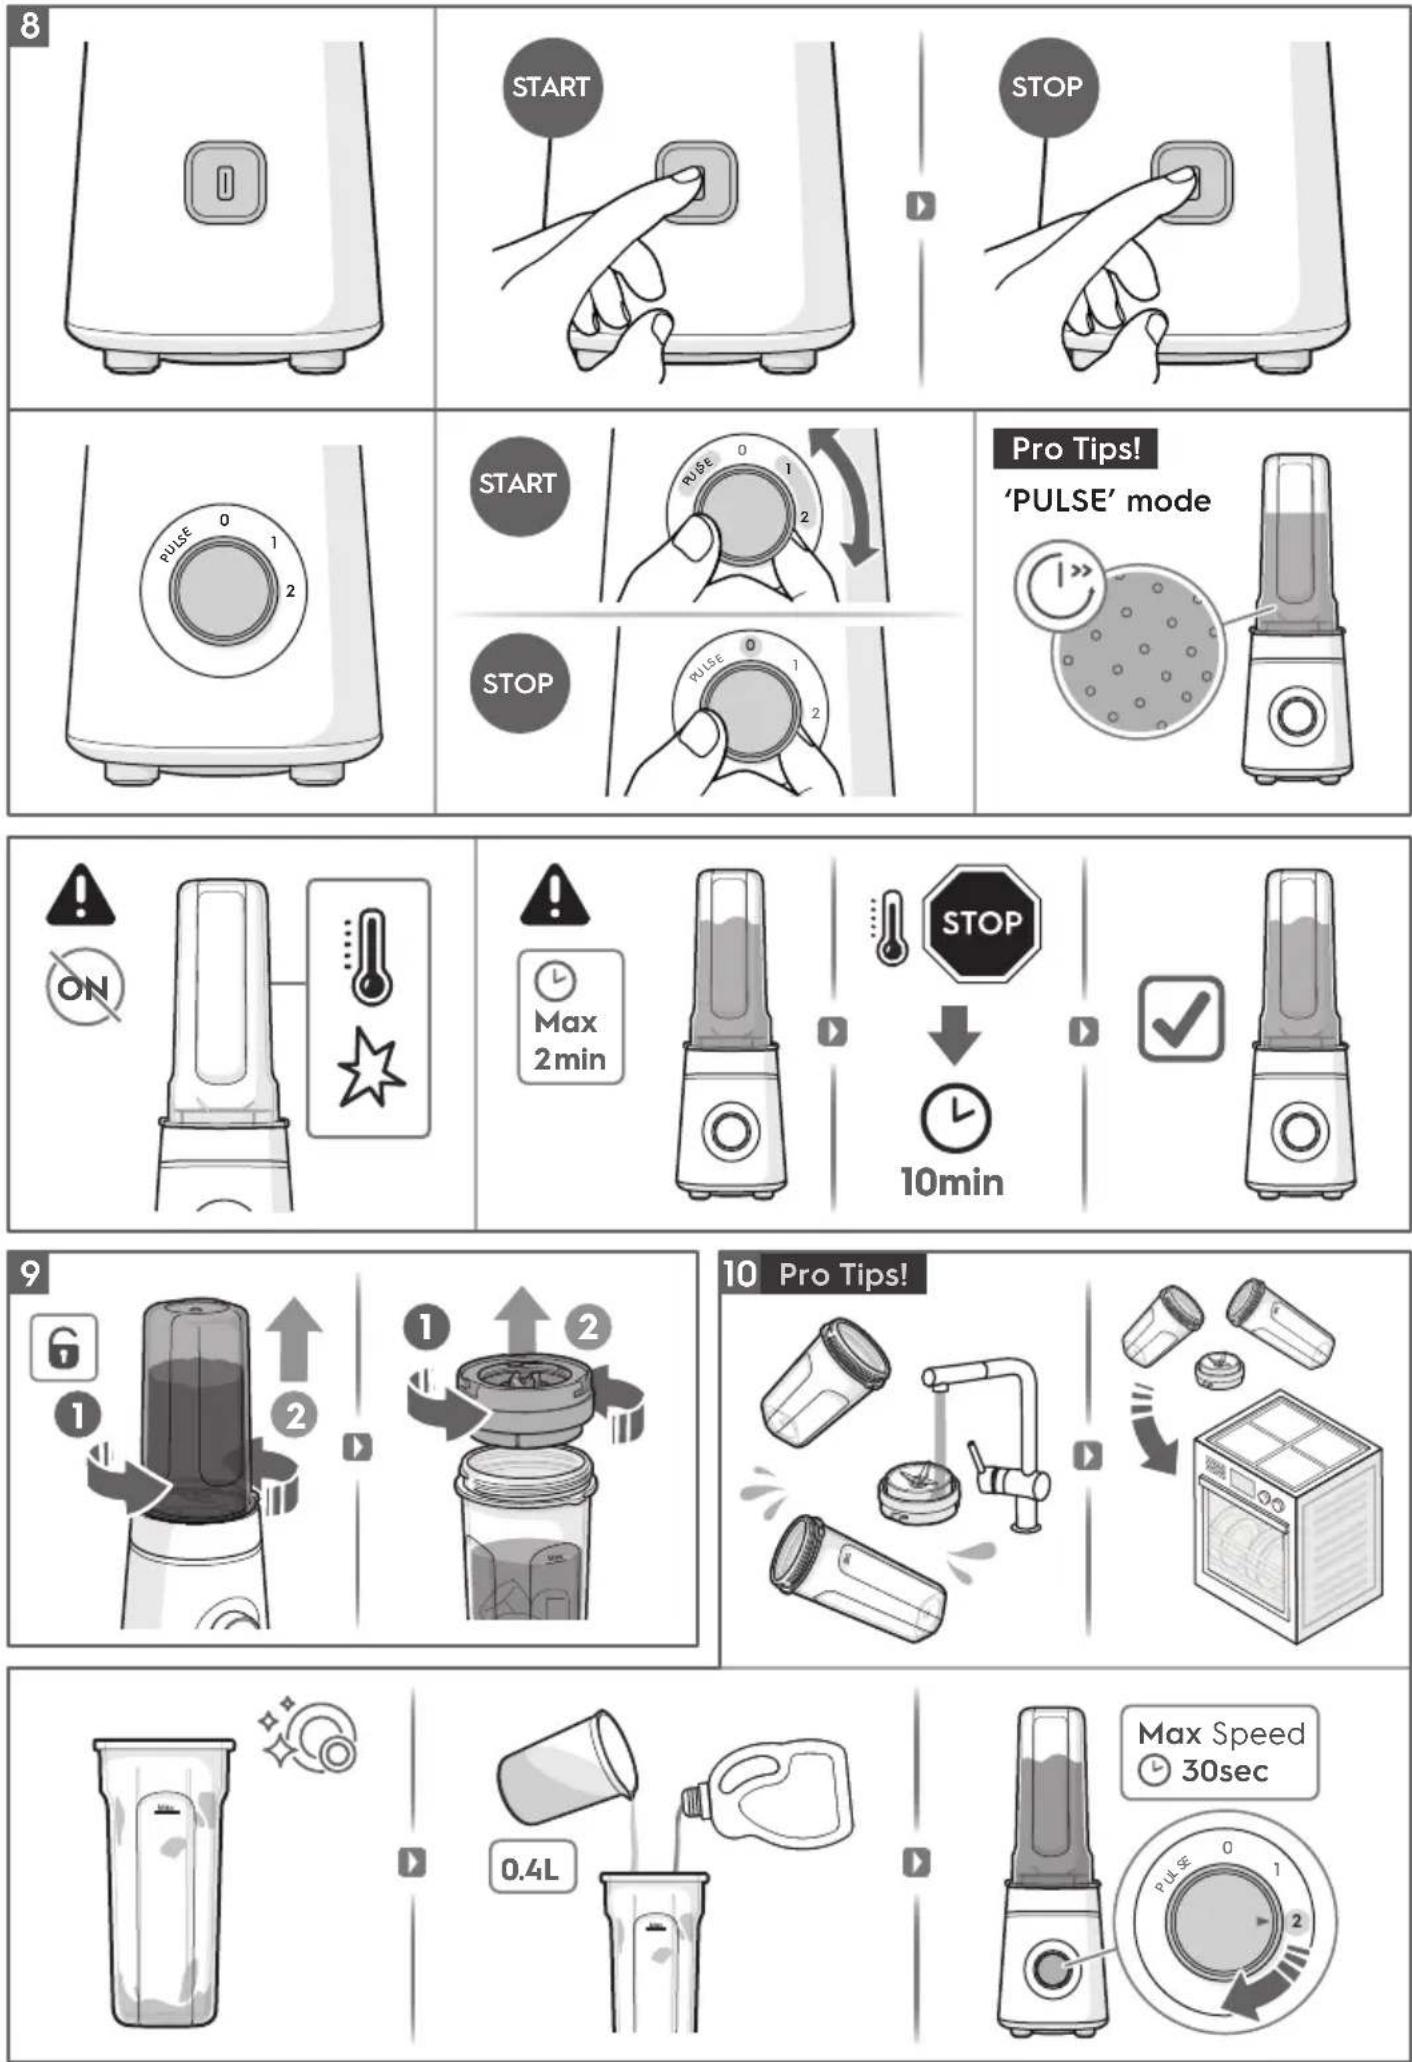
flowchart
graph LR
    A["12: Breakfast"] --> B["Add 1 cup into ice cream"]
    B --> C["Add 2 drops in ice cream"]
    C --> D["Add 3 drop in ice cream"]
    D --> E["Add 4 drop in ice cream"]
    E --> F["Add 5 drop in ice cream"]
    F --> G["Add 6 drop in ice cream"]
    G --> H["Add 7 drop in ice cream"]
    H --> I["Add 8 drop in ice cream"]
    I --> J["Add 9 drop in ice cream"]
    J --> K["Add 10 drop in ice cream"]
    K --> L["Add 11 drop in ice cream"]
    L --> M["Add 12 drop in ice cream"]
    M --> N["PULSE 0 1 2"]
    N --> O["Click to add 1 cup to ice cream"]
flowchart
graph LR
    A["Nut\nMAX 80gr"] --> B["1"]
    B --> C["2"]
    C --> D["1"]
    D --> E["2"]
    E --> F["click"]
    F --> G["PULSE 0\n1\n2"]
flowchart
graph LR
    A["1: Washing Machine"] --> B["PULSE 0: Pulse Mode"]
    B --> C["2: Lock System"]
    C --> D["1: Washer Top Cover"]
    D --> E["2: Washer Bottom Cover"]
    E --> F["1: Washer Top Cover"]
    F --> G["2: Washer Bottom Cover"]
    G --> H["14: Plug-in Jacket"]
CLEANING AND CARE
natural_image
Illustration of a plug inserted into a socket with a cable, showing a force direction (no text or symbols)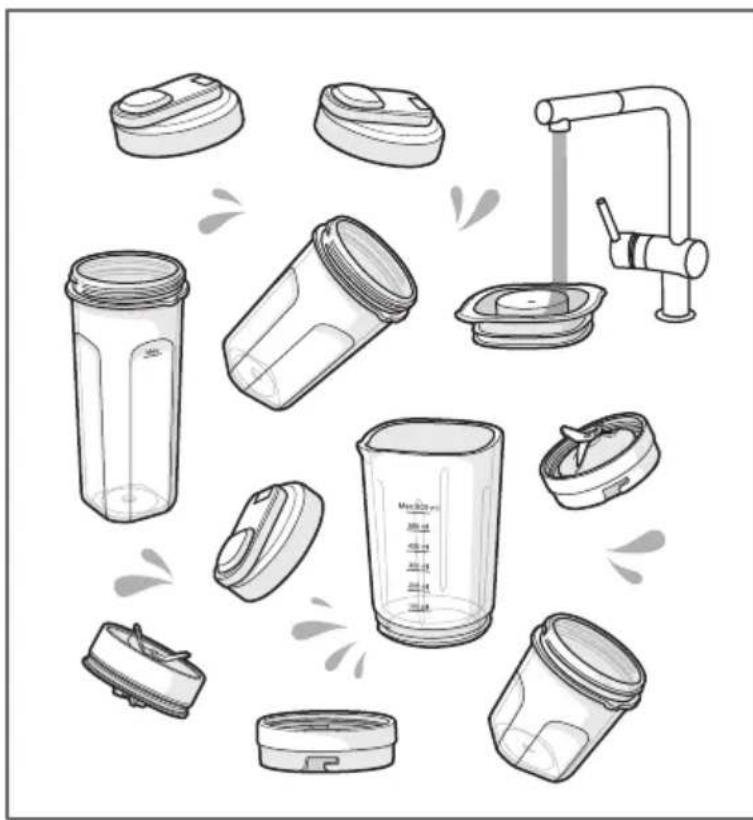
natural_image
Illustration of various kitchen utensils and containers, including a blender, water dispenser, and kitchen sink (no text or symbols present)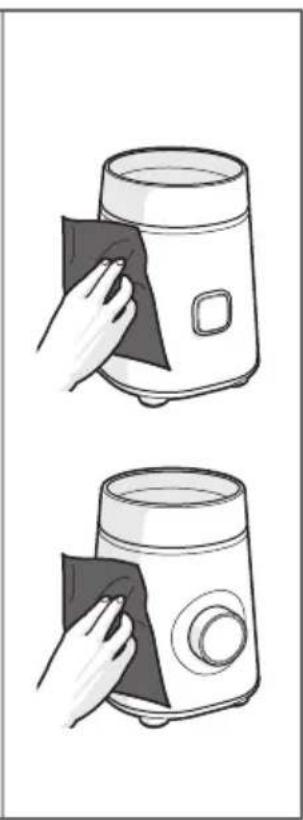
natural_image
Illustration of two hand-painted images showing a kitchen appliance with a cloth, no text or symbols present.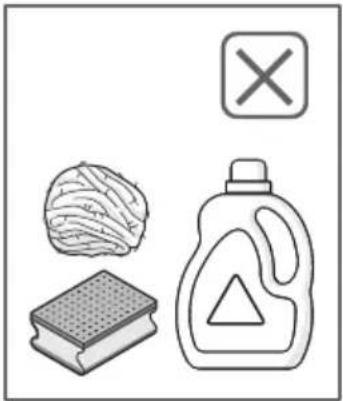
natural_image
Illustration of food items including bread, sponge cake, and a plastic bottle with a warning symbol (no text or labels)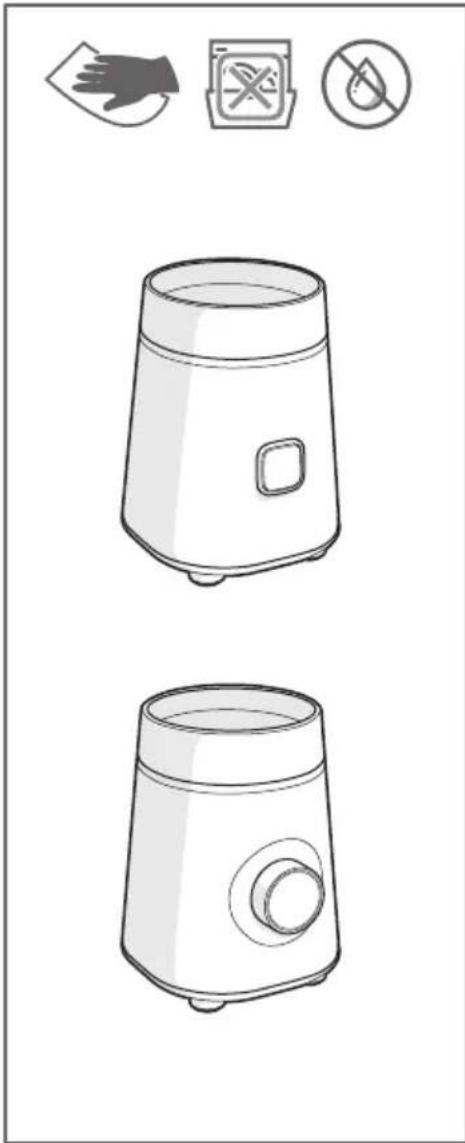
natural_image
Line drawings of two kitchen appliances with icons for gloves, a switch, and a leaf (no text or symbols on the devices themselves)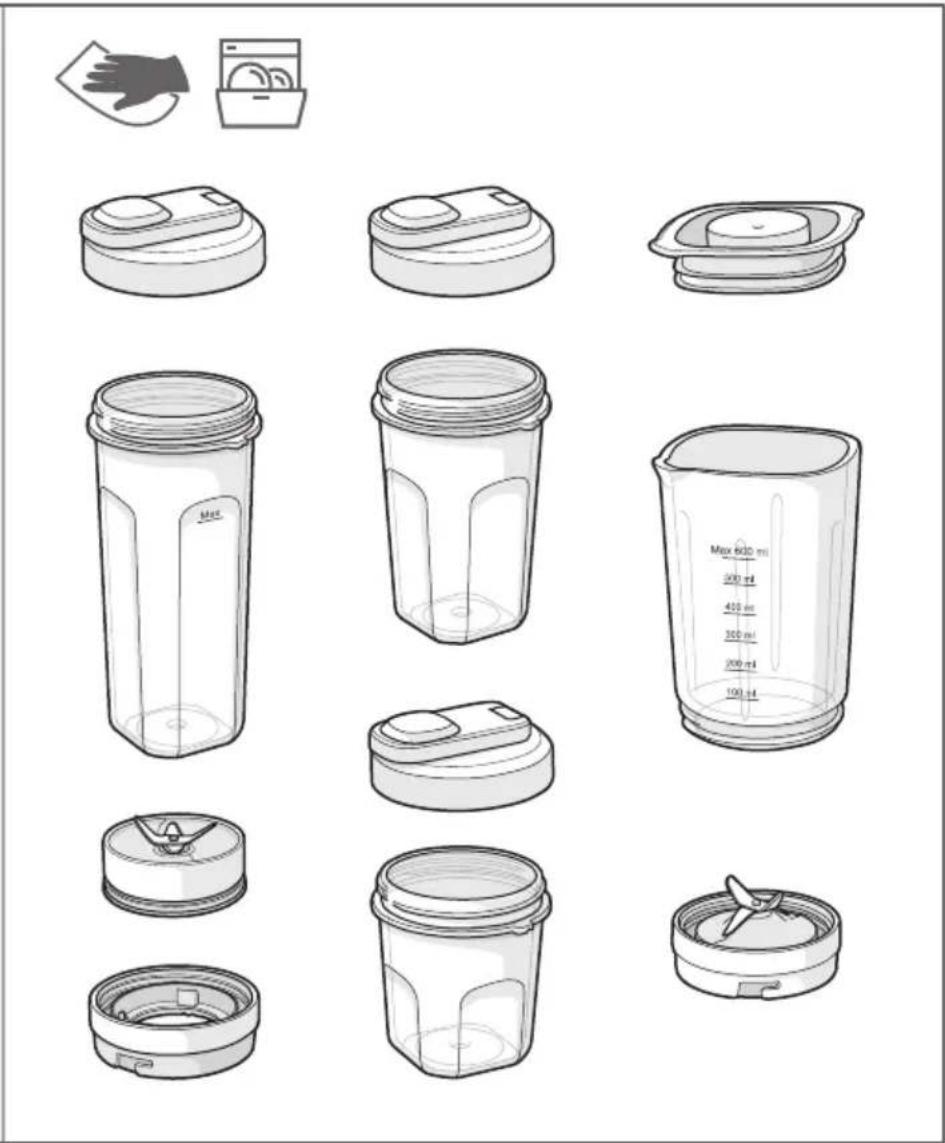
natural_image
Illustration of various kitchen utensils and containers, including a hand holding a glove and a blender with Max 600 ml volume (no text or symbols on the objects themselves)KORISNIČKI PRIRUČNIK
NÁVOD K POUŽITÍ
BRUGSANVISNING
INSTRUCTION BOOK
KASUTUSJUHEND
KÄYTTÖOHJE
NOTICE D'UTILISATION
BEDIENUNGSANLEITUNG
FELHASZNÁLÓI KÉZIKÖNYV
MANUALE D'USO
LIETOTĀJA ROKASGRĀMATA
NAUDOJIMO VADOVAS
BRUKERHÅNDBOK
INSTRUKCJA OBSŁUGI
MANUALUL UTILIZATORULUI
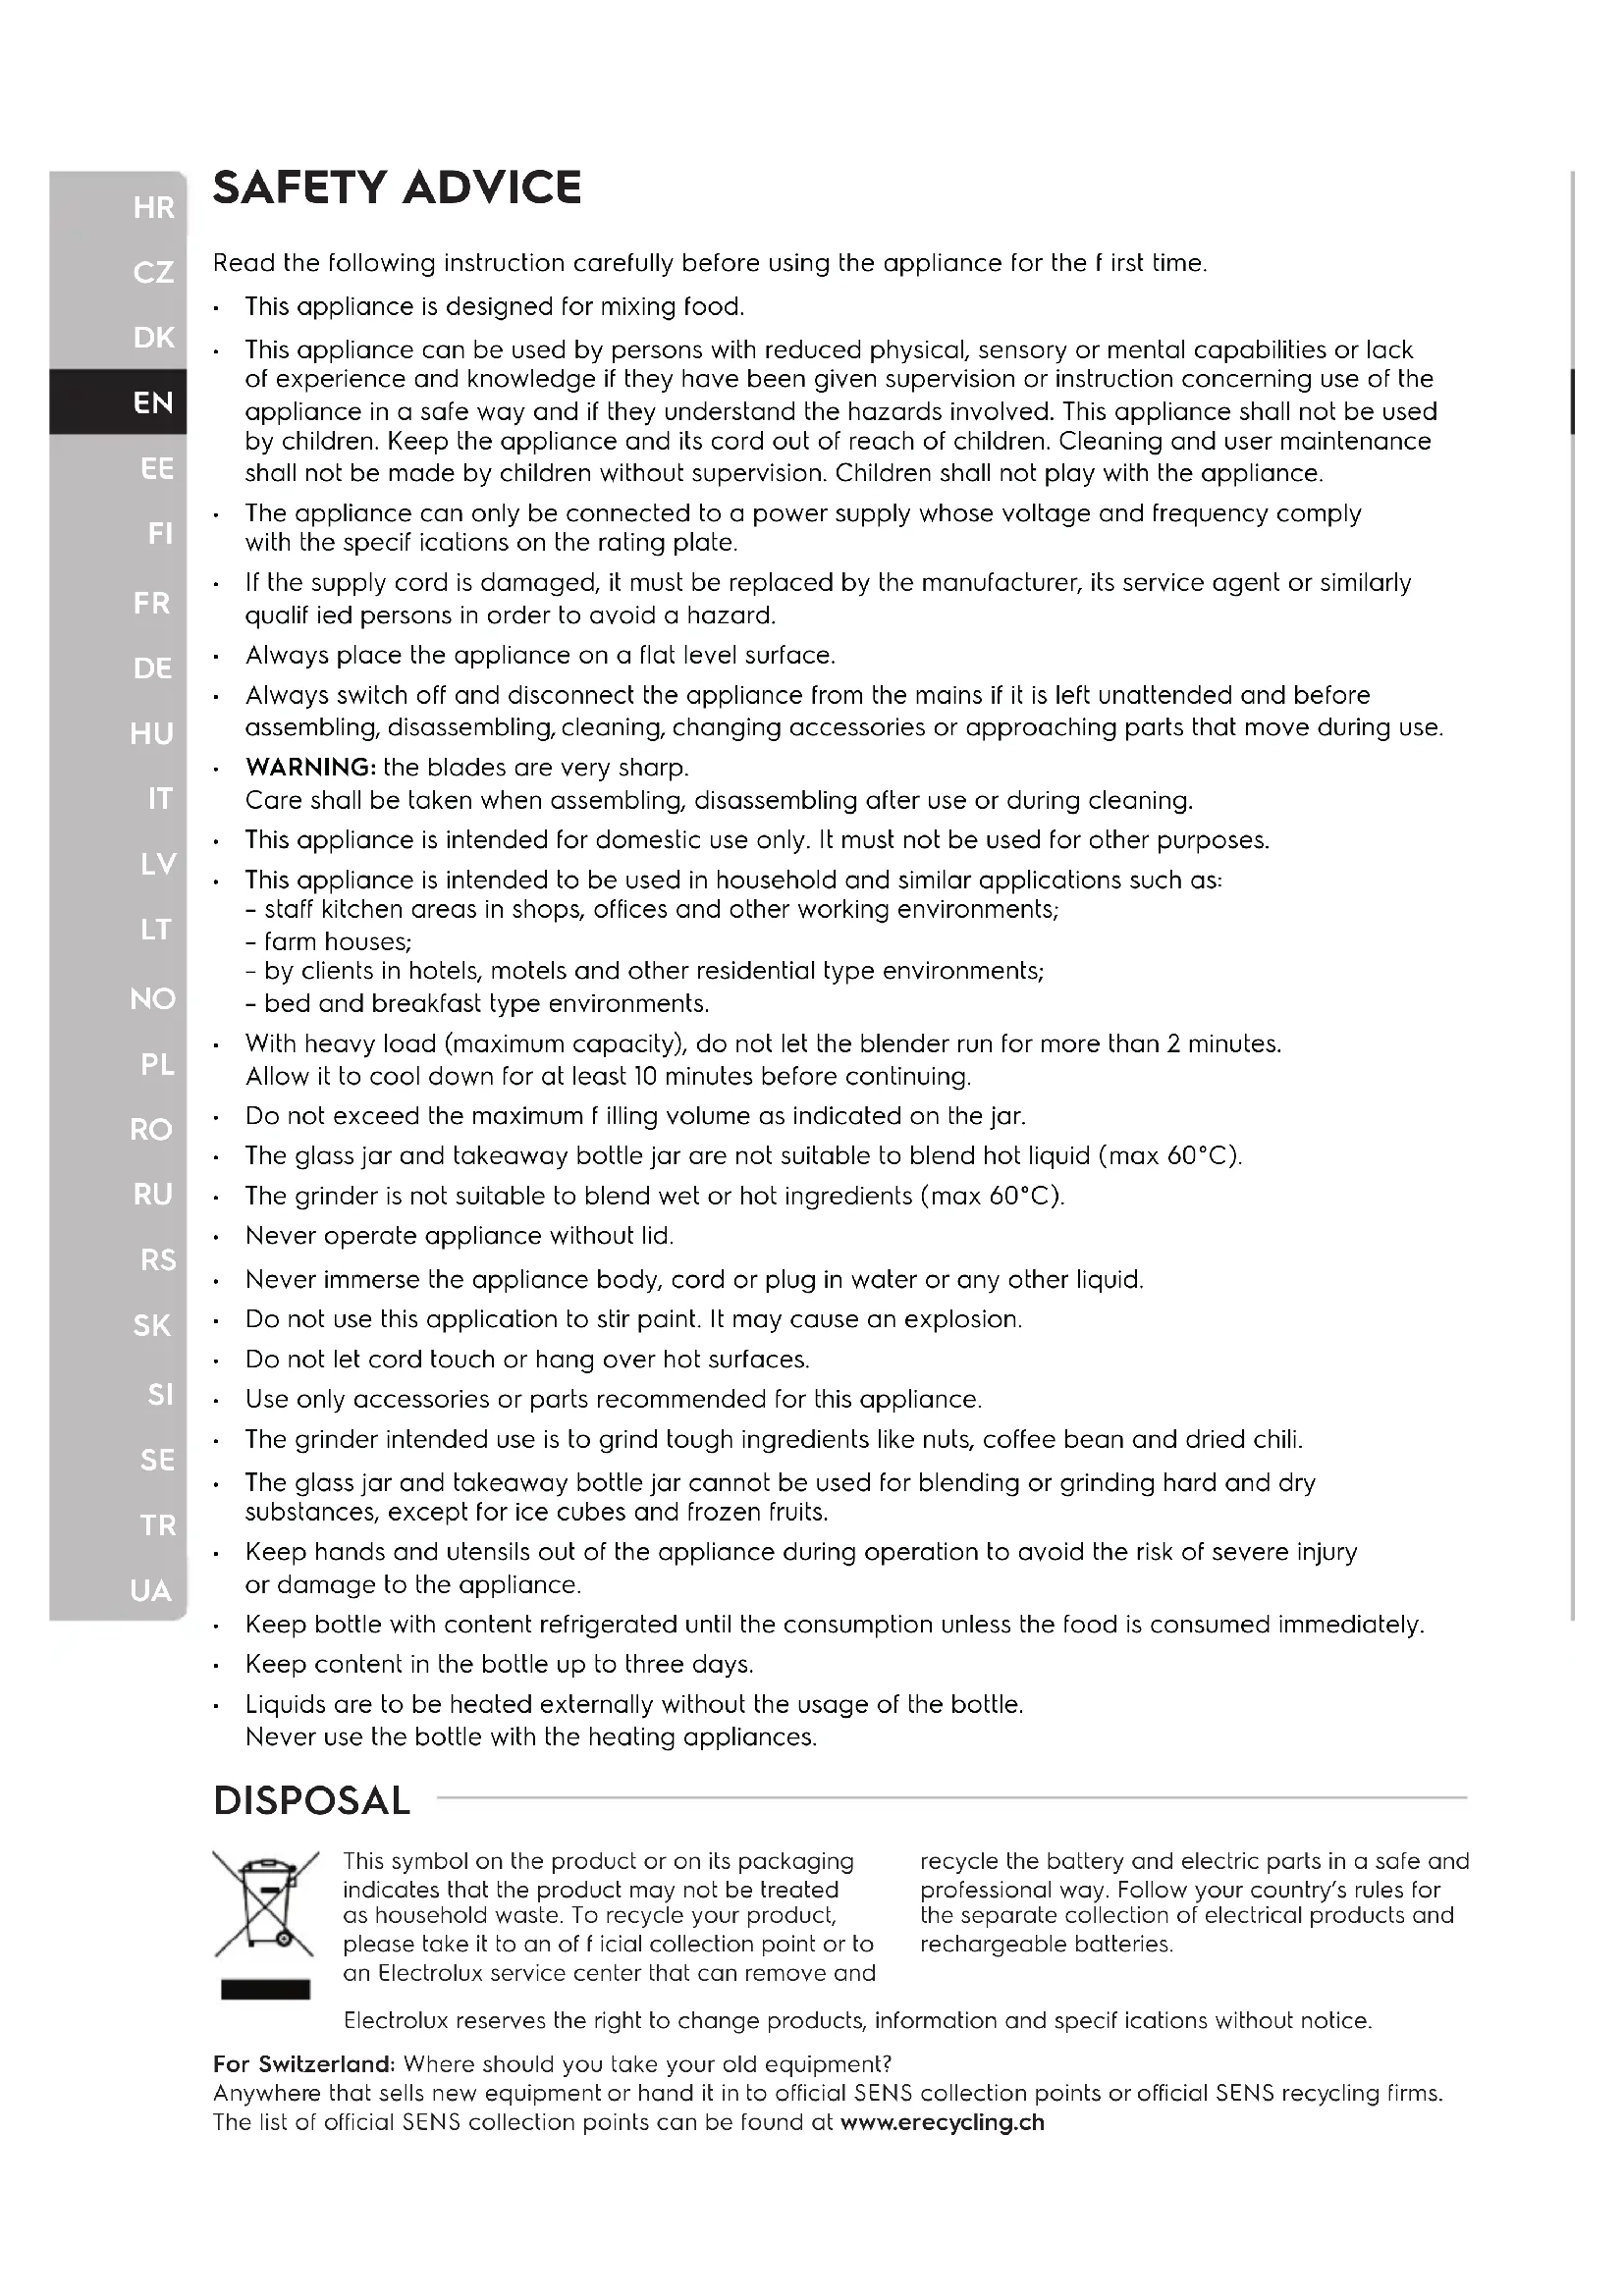
Read the following instruction carefully before using the appliance for the first time.
• This appliance is designed for mixing food.
- This appliance can be used by persons with reduced physical, sensory or mental capabilities or lack of experience and knowledge if they have been given supervision or instruction concerning use of the appliance in a safe way and if they understand the hazards involved. This appliance shall not be used by children. Keep the appliance and its cord out of reach of children. Cleaning and user maintenance shall not be made by children without supervision. Children shall not play with the appliance.
- The appliance can only be connected to a power supply whose voltage and frequency comply with the specifications on the rating plate.
- If the supply cord is damaged, it must be replaced by the manufacturer, its service agent or similarly qualified persons in order to avoid a hazard.
• Always place the appliance on a flat level surface.
• Always switch off and disconnect the appliance from the mains if it is left unattended and before assembling, disassembling, cleaning, changing accessories or approaching parts that move during use.
- WARNING: the blades are very sharp.
Care shall be taken when assembling, disassembling after use or during cleaning.
- This appliance is intended for domestic use only. It must not be used for other purposes.
- This appliance is intended to be used in household and similar applications such as:
- staff kitchen areas in shops, offices and other working environments;
- farm houses;
- by clients in hotels, motels and other residential type environments;
- bed and breakfast type environments.
- With heavy load (maximum capacity), do not let the blender run for more than 2 minutes. Allow it to cool down for at least 10 minutes before continuing.
- Do not exceed the maximum filling volume as indicated on the jar.
- The glass jar and takeaway bottle jar are not suitable to blend hot liquid (max 60°C).
- The grinder is not suitable to blend wet or hot ingredients (max 60°C).
- Never operate appliance without lid.
- Never immerse the appliance body, cord or plug in water or any other liquid.
- Do not use this application to stir paint. It may cause an explosion.
- Do not let cord touch or hang over hot surfaces.
- Use only accessories or parts recommended for this appliance.
- The grinder intended use is to grind tough ingredients like nuts, coffee bean and dried chili.
- The glass jar and takeaway bottle jar cannot be used for blending or grinding hard and dry substances, except for ice cubes and frozen fruits.
- Keep hands and utensils out of the appliance during operation to avoid the risk of severe injury or damage to the appliance.
- Keep bottle with content refrigerated until the consumption unless the food is consumed immediately.
- Keep content in the bottle up to three days.
- Liquids are to be heated externally without the usage of the bottle. Never use the bottle with the heating appliances.
DISPOSAL
This symbol on the product or on its packaging indicates that the product may not be treated as household waste. To recycle your product, please take it to an official collection point or to an Electrolux service center that can remove and
recycle the battery and electric parts in a safe and professional way. Follow your country's rules for the separate collection of electrical products and rechargeable batteries.
Electrolux reserves the right to change products, information and specifications without notice.
For Switzerland: Where should you take your old equipment?
Anywhere that sells new equipment or hand it in to official SENS collection points or official SENS recycling firms. The list of official SENS collection points can be found at www.erecycling.ch
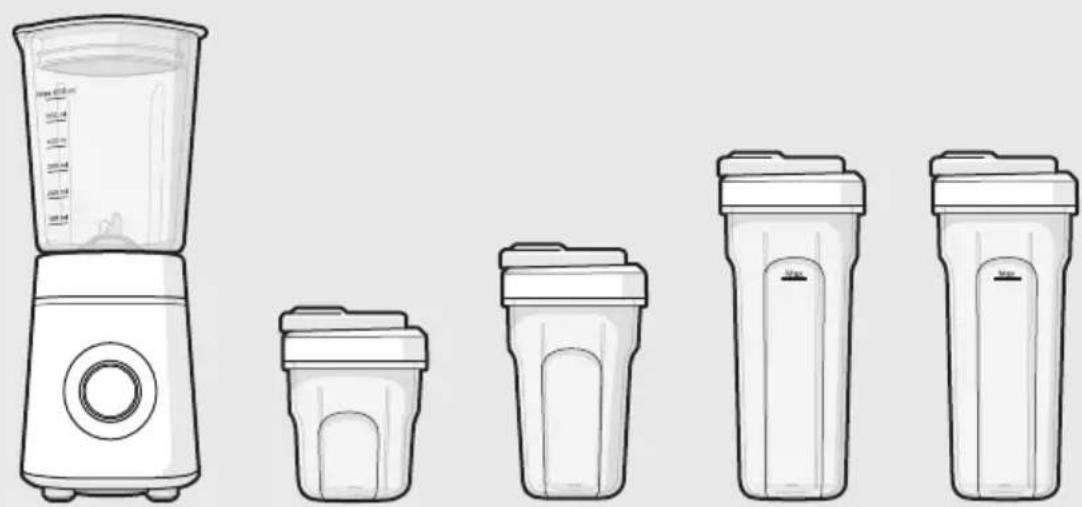
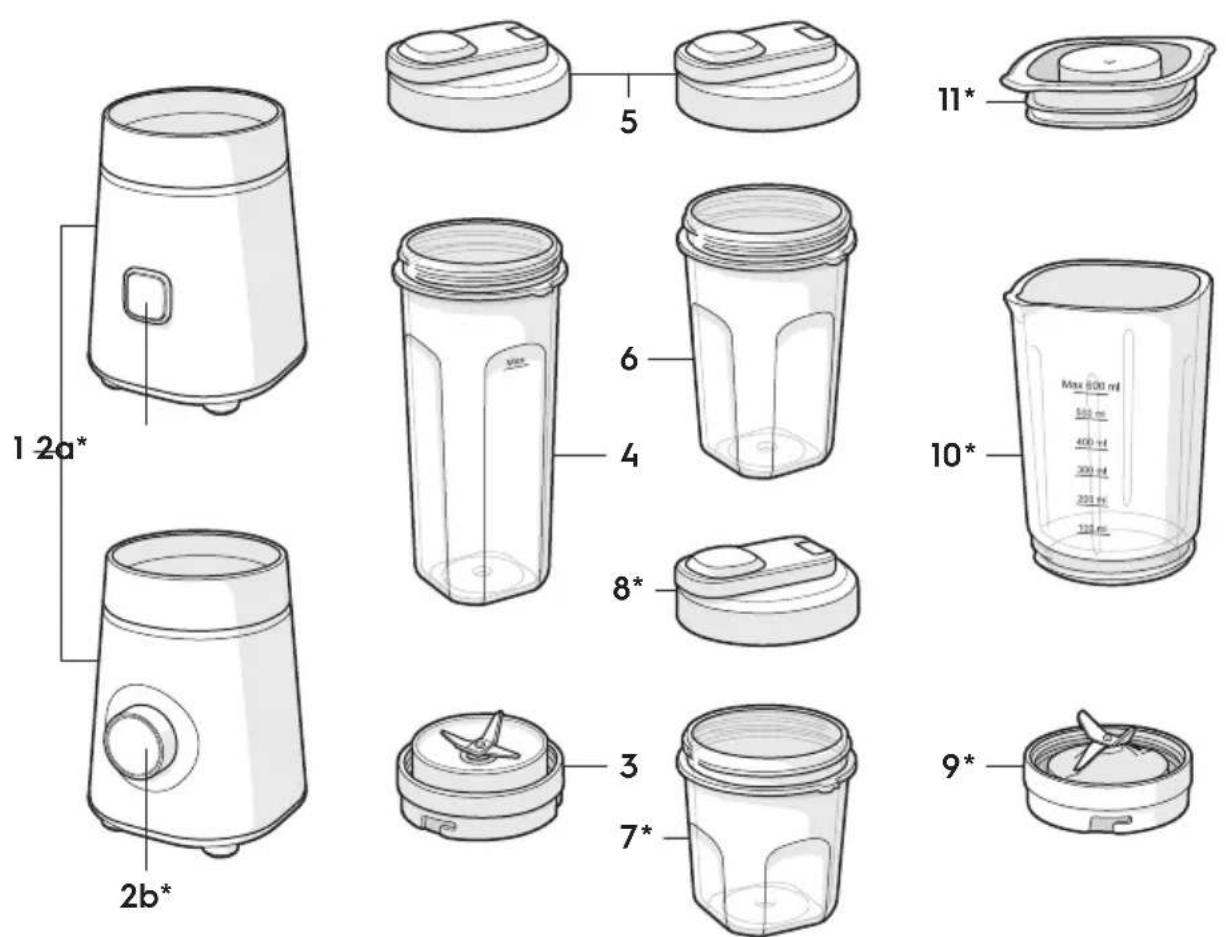
COMPONENT (picture page '2')
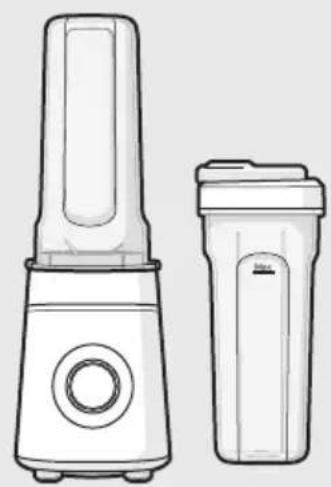
1 Blender base
6 Takeaway bottle jar (300ml) *
2a Easy Push Button*
7 Grinder jar *
2b Knob speed selector*
8 Grinder lid *
3 Takeaway bottle & grinder blade set
9 Glass jar blade set *
4 Takeaway bottle jar (600ml)
10 Glass jar*
5 Takeaway bottle lid
11 Glass jar lid*
* available in certain models only.
HOW TO USE (picture page '2-5')
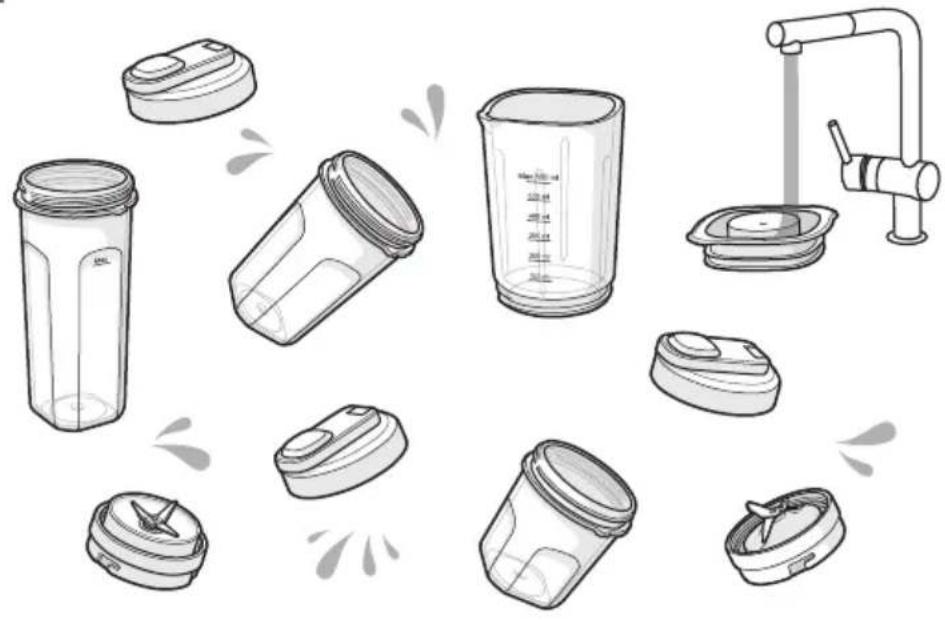
1 Cleaning-Make sure that you start with clean jar before use.
2 Maximum capacity and program/speed setting.
GLASS JAR
| Recipes | Maximum capacity Recommended setting/program |
| Smoothie | 0.6L Max speed for 90 sec |
| Ice crush | 4-5 pcs 10x pulse |
| Carrot Soup | 0.6L Max speed for 60 sec |
TAKEAWAY BOTTLE
| Recipes | Maximum capacity (600ml jar) | Maximum capacity (300ml jar) | Recommended setting/ program |
| Smoothie | 0.6L | 0.3L | Max speed for 90 sec |
| Ice crush | 4-5 pcs | 4-5 pcs | 10x pulse |
| Carrot Soup | 240gr carrot + 360gr water | 120gr carrot + 180gr water | Max speed for 60 sec |
| Warm liquid (max 60°C) | 0.4L | 0.2L | Max speed for 60 sec |
GRINDER
| Recipes | Maximum capacity Recommended setting/program | |
| Cof fee bean | 60gr | Max speed for 40 sec |
| Nut | 80gr | Max speed for 5 sec |
| Dried chili | 20g | Max speed for 10 sec ON, 3 sec OFF (2 times) |
| Fresh chili | 50g | Max speed for 10 sec ON, 3 sec OFF (2 times) |
| Sesame seeds | 80g | Max speed for 10 sec ON, 3 sec OFF (2 times) |
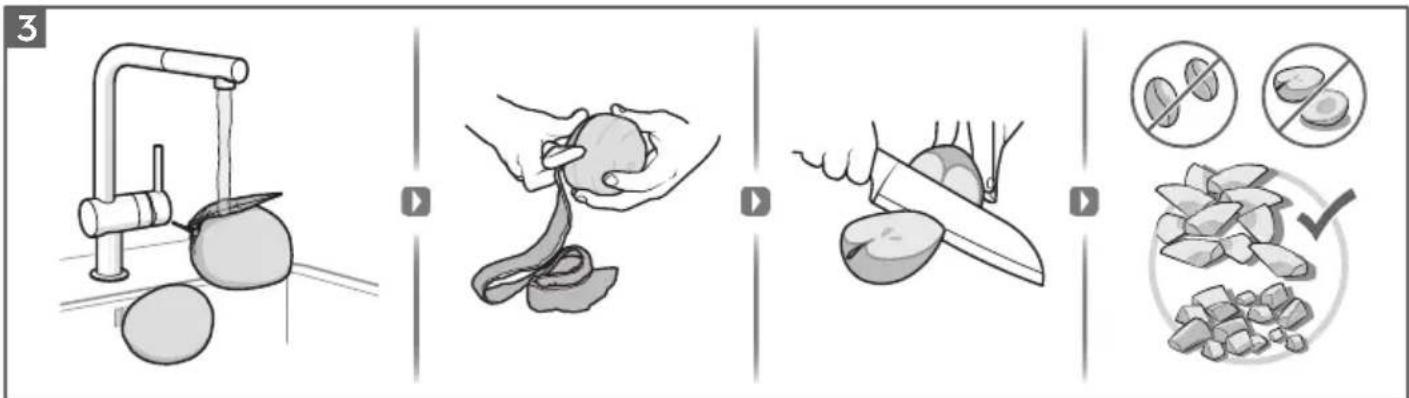
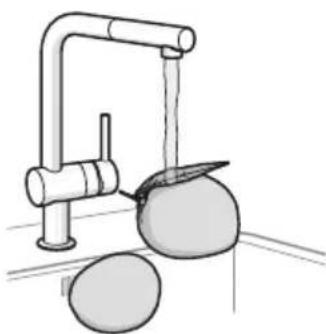
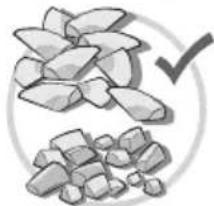
3 Prepare the ingredients by rinsing them thoroughly and cut them into 4 to 6 pieces and remove any hard or large seeds. Remove any thick peel from the fruit or vegetables.
4 Fill in the ingredients in takeaway bottle jars (4,6).
WARNING! Do not exceed the maximum filling volume as indicated on the takeaway bottle jars (4,6).
WARNING! Takeaway bottle jars (4,6) are not suitable to blend hot liquid (max 60°C).
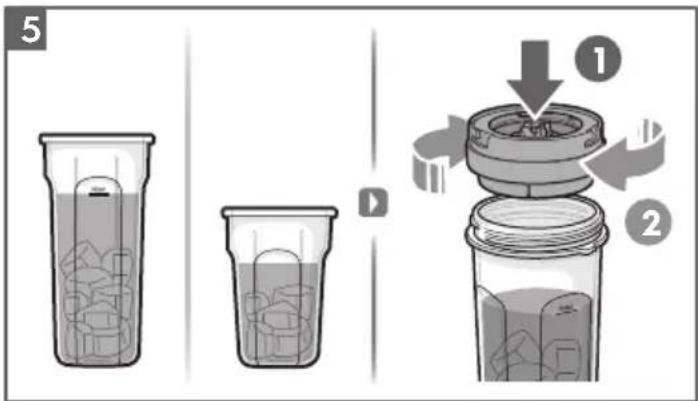
5 Fasten the blade set (3) on the open end of the bottle by turning it clockwise.
Turn the takeaway bottle jars with attached blade set upside down.
WARNING! The blades are very sharp!
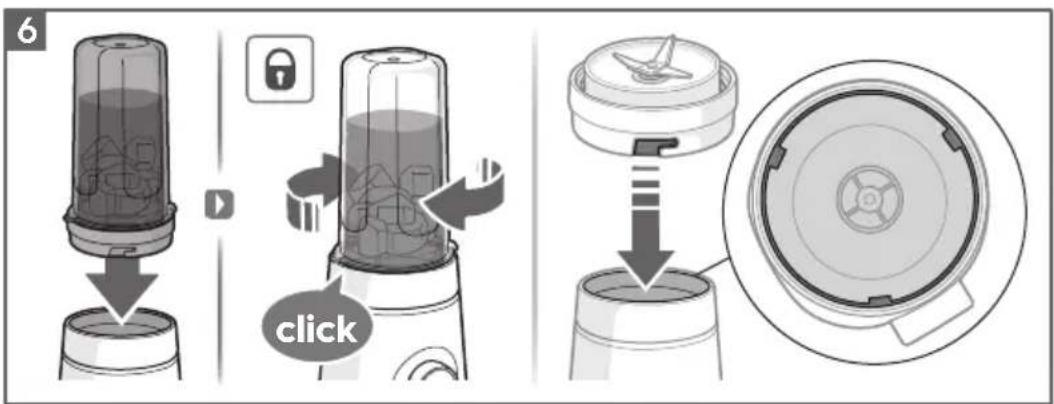
6 Push it down into the blender base (1) and rotate it clockwise until it locks into position.
WARNING! The appliance can't be turned on unless the jar is perfectly fitted on the blender base.
(The triangle symbol aligned with lock symbol on blender base)
WARNING! To reduce risk of injury, never place the blade set on the base without the bottle properly attached.
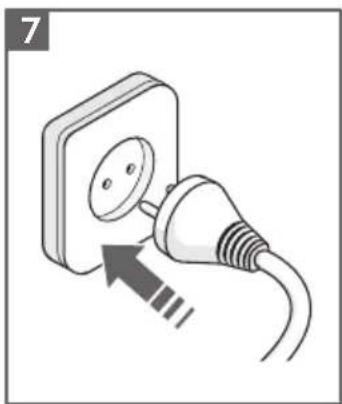
7 Plug into mains.
8 For Create 3 Blender (Easy Push button UI).
Push and hold the easy push button (2a) to start mixing. Once done, release the easy push button to stop mixing
For Create 4 Blender (Knob Speed selector UI).
Turn the knob (2b) to 1 or 2 according to recipe/preference (see no.2 speed setting). Turn the knob to "PULSE" for short burst of power. Once done, turn the knob to "0" to stop mixing. Pro Tips! With Pulse mode you can give the ingredients a quick mix to achieve your desired consistency.
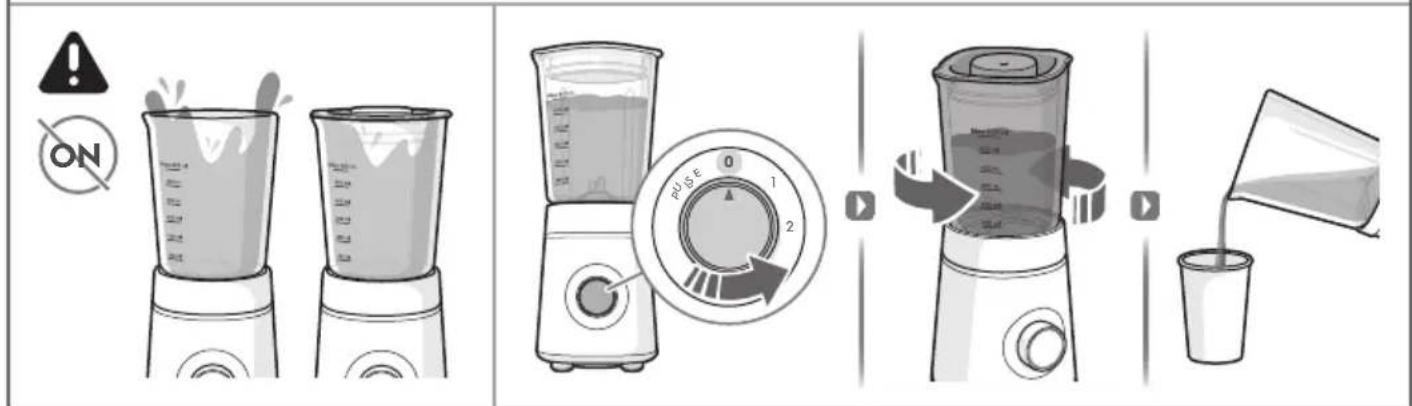
WARNING! Never run the blender with heavy loading (max capacity) under setting 1 with takeaway bottle. Never run the blender empty and without any liquid.
Those can cause overheating and can damage the product.
WARNING! During operation, do not remove your jar from blender base. If it's necessary to remove the jar, please turn of f the appliance f irst then remove it.
WARNING! With heavy load (maximum capacity), do not let the blender run for more than 2 minutes. Allow it to cool down for at least 10 minutes before continuing.
9 Remove the jar (4,6) from blender base (1) by turning it counterclockwise and pull it of f. Take of f the blade set by turning it counterclockwise.
WARNING! Always take of f the blade set within 1 minute after blending to avoid hard disassemble afterwards.
10 Wash the components right after use in order to avoid drying of food residue on components.
Pro Tips! Always detach blade set from jar and rinse them clean even before placing it into the dishwasher. Fill the jar with 0.4L lukewarm water and dishwasher liquid then run MAX speed for 30 seconds for rinsing purpose.
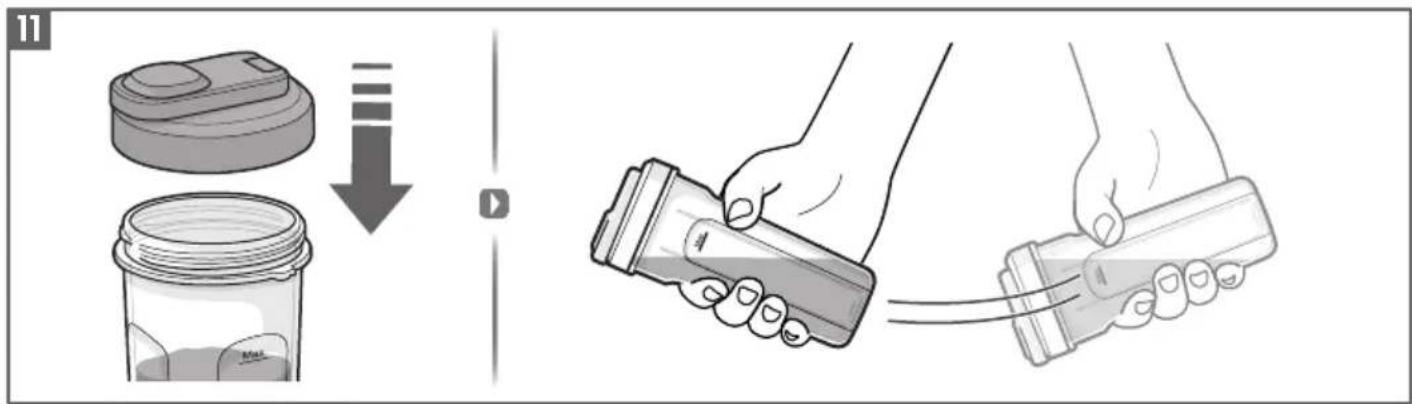
11 Attach the takeaway bottle lid (5) to enjoy your blending on-the-go.
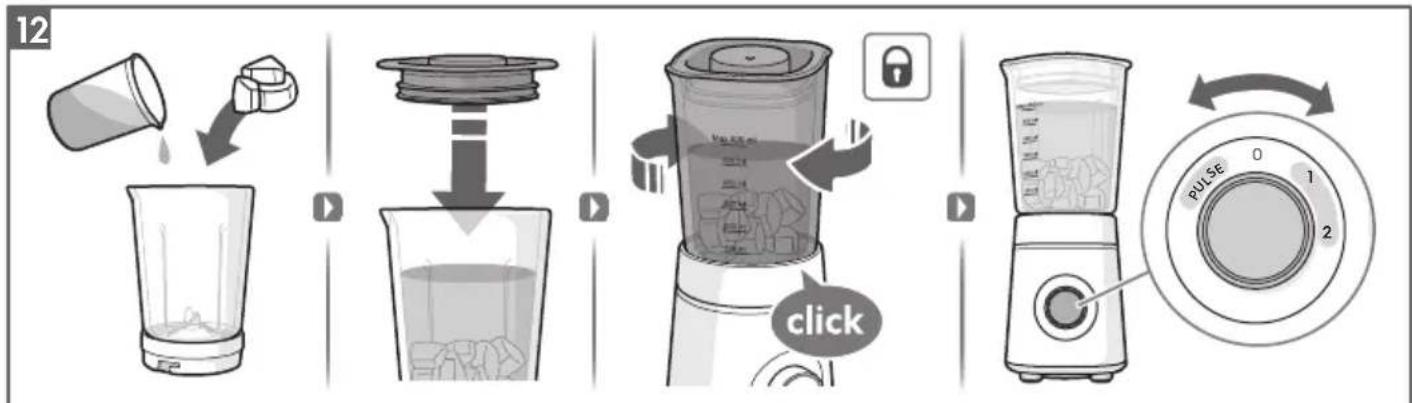
12 Using glass jar
a. Fill the ingredients in the glass jar (10).
b. Place the lid (11) on the glass jar (10).
c. Place the assembled glass jar on the blender base (1), Rotate it clockwise until it locks into position.
WARNING! The appliance can't be turned on unless the jar is perfectly fitted on the blender base.
d. Turn the knob (2b) to 1 or 2 according to recipe/preference (see no.2 speed setting).
Turn the knob to "PULSE" for short burst of power. Once done, turn the knob to "0" to stop mixing.
WARNING! Never operate appliance without lid (11).
Pro Tips! With Pulse mode you can give the ingredients a quick mix to achieve your desired consistency.
e. Remove the jar (10) from blender base (1) by turning it counterclockwise and pull it of f, then pour and serve.
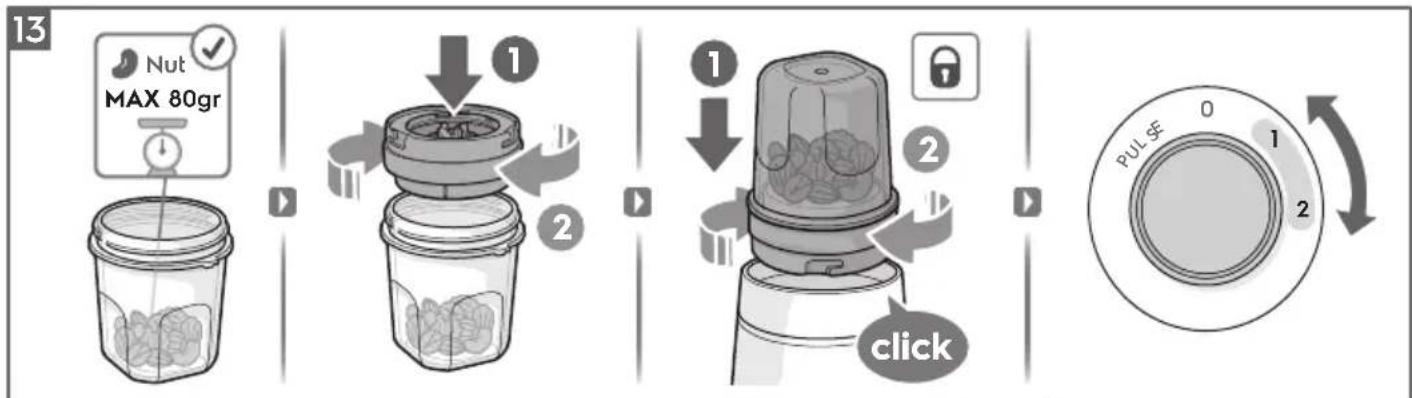
13 Using grinder
a. Fill the ingredients in the grinder jar (7).
b. Fasten the blade set (3) on the open end of the jar by turning it clockwise. Turn the grinder upside down.
WARNING! The blades are very sharp!
c. Push down the assembled grinder onto the blender base (1) and rotate it clockwise to lock until it clicks into position.
WARNING! The appliance can't be turned on unless the jar is perfectly fitted on the blender base.
(The triangle symbol aligned with lock symbol on blender base)
d. Turn the knob (2b) to 1 or 2 according to recipe/preference.
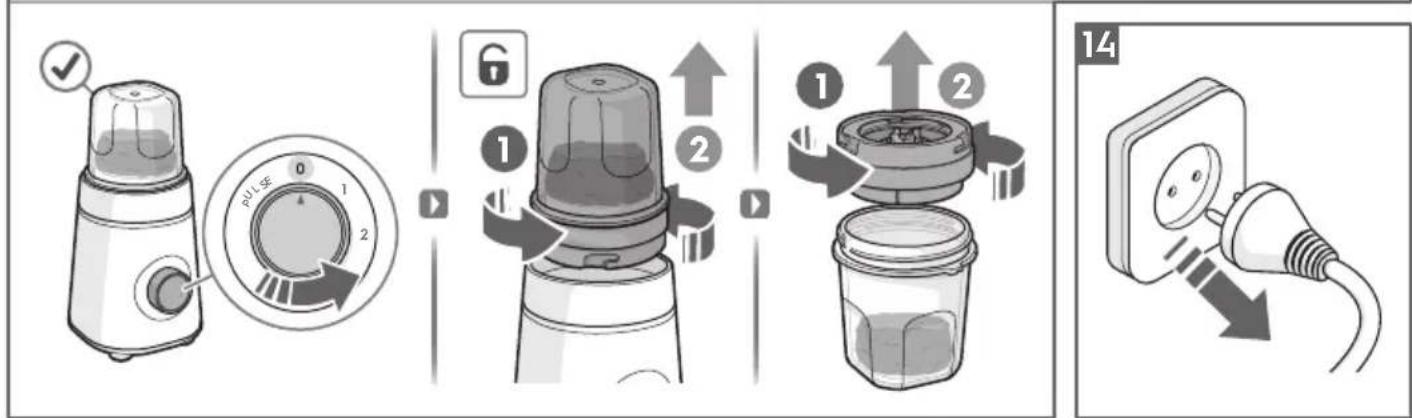
Once done, turn the knob to "0" to stop mixing.
e. Turn the assembled grinder counterclockwise to release it of f from blender base (1). Take of f the blade set (3) by turning it counterclockwise.
WARNING! Always take off the blade set within 1 minute after blending to avoid hard disassemble afterwards.
WARNING! Do not touch the sharp blade after grinding as it might be hot after several grinding cycles.
f. Attach the lid (8) to use the jar for storage.
14 Unplug the appliance.
CLEANING AND CARE (picture page '6')
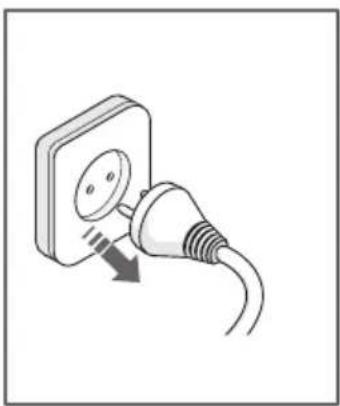
Always unplug the appliance before cleaning.
1 Motor Housing. Never immerse the blender base in water! Clean it only with a damp cloth. Do not use abrasive cleaners, scouring pads or abrasive detergents while cleaning the appliance.
2 Jars* (4,7,10), blade sets * (3,9) and lids * (5,8,11) and measuring cup are dishwasher safe. If washing by hand, don't use wire brush, steel wool or bleach to avoid rust.
Notes: Always detach the blade sets (3,9) from jars for cleaning to ensure no leftover food stuck in between.
WARNING! the blades are very sharp. Handle carefully during cleaning.
* available in certain models only.
TROUBLESHOOTING
| PROBLEM POSSIBLE CAUSE SOLUTION | ||
| You cannot activate or operate the blender. | Blender is not connected to electrical supply. | Check your home power supply and replug. |
| The bottle and blade assembly are not installed correctly in the blender base. The safety interlock system prevents the machine to power on. | Make sure the blade set is fastened and the jar is perfectly fitted on the blender base. (The position symbol on jar base aligned with lock symbol on blender base) | |
| There is functional problem. Contact authorized service centre. | ||
| The blades stalls or machine stops during operation. | The motor is overheated. If the motor | stalls, turn the blender of f immediately, unplug the appliance and let it cool for at least 20 minutes. |
| Ingredients are too large. Cut all firm | fruits and vegetables into pieces no large than 1.8cm^2 to 2.5cm^2 or reduce some food. | |
| Wrong ingredients. Glass jar and take away bottle intended use is production of beverages.Add fruits, vegetables or similar.Never mix ingredients such as dough, mashed potatoes, meat or similar.While grinder intended use is grinding tough ingredients like nuts, cof fee bean and dried chili. | ||
OHUTUSTEAVE
RECOMANDARI PENTRU SIGURANTĂ
RECIPIENT DIN STICLĂ
natural_image
Two identical plastic containers with lids, no text or symbols visible2-in-1 Takeaway bottle 300ml (2 pcs)
Ref: ETBS1
PNC: 900 923 575
natural_image
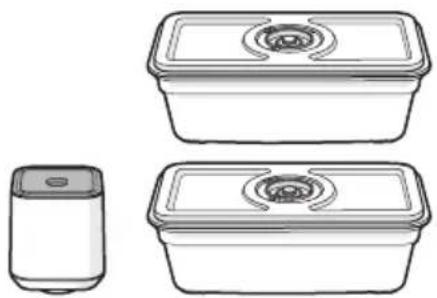
Line drawings of three different food containers: a microwave oven, a rectangular kitchen appliance with a circular vent, and a small cylindrical container (no text or symbols)2containers
+vacuum pump
Ref: EVFK1
PNC: 900 923 309
natural_image
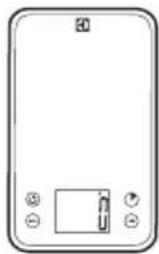
Front view of a smartphone with control buttons and a small display (no text or symbols visible)Bluetooth
Kitchen Scale
Ref: BKS1
PNC: 900 169 098
Brand : ELECTROLUX
Model : Create 3 E3SB14ST
Category : Blender