
Planeet Chef - Food Processor Zeegma - Free user manual and instructions
Find the device manual for free Planeet Chef Zeegma in PDF.
| Product type | Food processor |
| Brand | Zeegma |
| Model | Planeet Chef |
| Usage | Household use only |
| Power supply | 220-240 V ~ 50/60 Hz |
| Maximum ingredient capacity | 2,0 kg |
| Number of speeds | 6 + pulse mode (P) |
| Included accessories | Dough hook, beater, whisk |
| Bowl material | Stainless steel |
| Accessory material | Stainless steel |
| Dimensions (L x W x H) | 30 x 30 x 40 cm (estimated) |
| Weight | 5 kg (estimated) |
| Safety | Unlock button, non-slip feet |
| Body cleaning | Damp cloth |
| Accessory cleaning | Dishwasher |
| Maximum continuous operation time | 6 minutes before cooling |
| Repairability | Authorized service center only |
| Compliance | Directive 2012/19/EU (WEEE) |
| Pulse function | Yes, position P |
| Control type | Rotary speed regulator |
Frequently Asked Questions - Planeet Chef Zeegma
User questions about Planeet Chef Zeegma
0 question about this device. Answer the ones you know or ask your own.
Ask a new question about this device
Download the instructions for your Food Processor in PDF format for free! Find your manual Planeet Chef - Zeegma and take your electronic device back in hand. On this page are published all the documents necessary for the use of your device. Planeet Chef by Zeegma.
USER MANUAL Planeet Chef Zeegma
natural_image
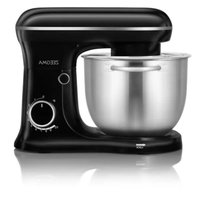
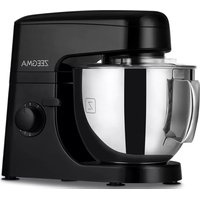
Black and white photo of a ZEEGMA blender with a metal cup and control panel (no visible text or symbols on the device body)ZEEGMA
A

natural_image
Line drawing of a bowl with handle and base, labeled with number 5 (no text or symbols on the diagram itself)

natural_image
Simple line drawing of a curved mechanical component with a labeled end (6), no text or symbols present.
natural_image
Simple line drawing of a mechanical component with a central shaft and curved base, labeled with number 7 (no text or symbols on the diagram itself)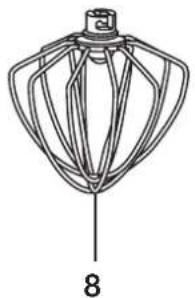
natural_image
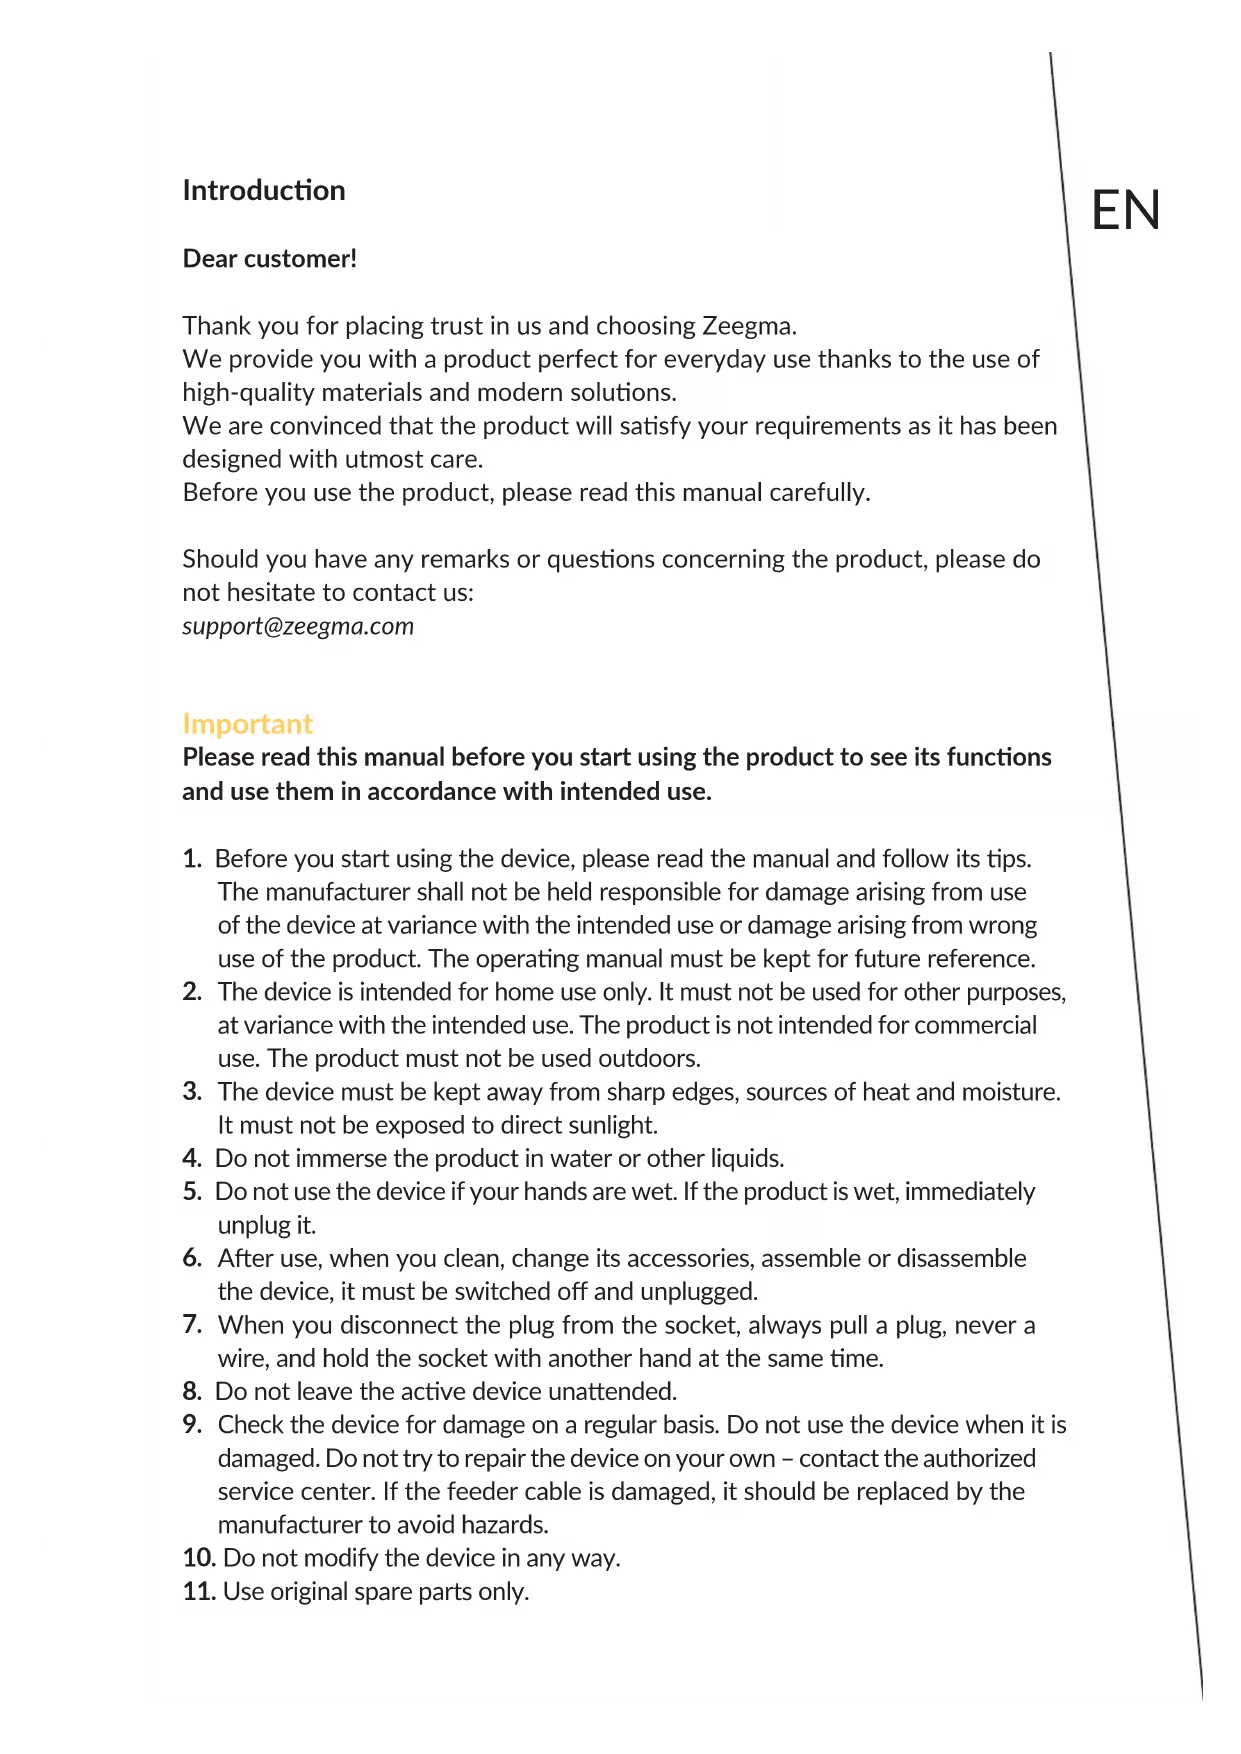
Line drawing of a mechanical component with a central shaft and multiple arms, labeled with number 8 (no text or symbols on the diagram itself)
natural_image
Line drawing of a kitchen mixer with handle and control panel (no text or symbols)123

natural_image
Line drawing of a kitchen mixer with handle and control panel (no text or symbols)

natural_image
Line drawing of a kitchen mixer with a bucket and handle (no text or symbols)456

natural_image
Line drawing of a kitchen mixer with a bowl and handle (no text or symbols)
natural_image
Line drawing of a kitchen mixer with handle and control panel (no text or symbols)Introduction
Dear customer!
Thank you for placing trust in us and choosing Zeegma.
We provide you with a product perfect for everyday use thanks to the use of high-quality materials and modern solutions.
We are convinced that the product will satisfy your requirements as it has been designed with utmost care.
Before you use the product, please read this manual carefully.
Should you have any remarks or questions concerning the product, please do not hesitate to contact us:
support@zeegma.com
Important
Please read this manual before you start using the product to see its functions and use them in accordance with intended use.
- Before you start using the device, please read the manual and follow its tips. The manufacturer shall not be held responsible for damage arising from use of the device at variance with the intended use or damage arising from wrong use of the product. The operating manual must be kept for future reference.
- The device is intended for home use only. It must not be used for other purposes, at variance with the intended use. The product is not intended for commercial use. The product must not be used outdoors.
- The device must be kept away from sharp edges, sources of heat and moisture. It must not be exposed to direct sunlight.
- Do not immerse the product in water or other liquids.
- Do not use the device if your hands are wet. If the product is wet, immediately unplug it.
- After use, when you clean, change its accessories, assemble or disassemble the device, it must be switched off and unplugged.
- When you disconnect the plug from the socket, always pull a plug, never a wire, and hold the socket with another hand at the same time.
- Do not leave the active device unattended.
- Check the device for damage on a regular basis. Do not use the device when it is damaged. Do not try to repair the device on your own – contact the authorized service center. If the feeder cable is damaged, it should be replaced by the manufacturer to avoid hazards.
- Do not modify the device in any way.
-
Use original spare parts only.
-
Small children should not play with the plasti c packaging. To prevent suff ocati on, keep the packaging (plasti c bags, boxes, polystyrene foam) out of reach of children.
- The device is not to be used by persons (including children) with reduced physical, sensory or mental capabilities, or lack of experience and knowledge, unless they are supervised or instructed on safe use of the device.
- The device is not a toy. Children should not play with the device.
- Children aged 8 upwards may clean and maintain the device only if supervised. The device and electric wire must be kept out of reach of children below the age of 8.
- NOTE! To avoid hazards related to unintenti onal resetti ng of thermal cut-out, this device must not be supplied through external devices, i.e. ti mer or circuit which acti vates and deacti vates regularly; this may lead to damage to the product.
- Do not put anything into the device when it operates.
- The surface on which the device is used must be flat, smooth and stable.
- Do not connect the device to source of power before you assemble all required accessories.
List of parts (fi g. A)
- DRIVE SHAFT
- HARD DOUGH STIRRING HOOK
- INTERLOCK RELEASE KNOB
- STIRRER
- SPEED ADJUSTMENT
- BEATER
- FEEDER CABLE
- PAN COVER
- PAN
How to use the pan
- To lift the arm of the device, turn the interlock release knob in a clockwise direction (fi g. 1).
- Place the pan cover on the device (fi g. 2).
- Place the pan in the device and turn in a clockwise direction until it clicks (fig. 3).
- Fix the desired part (hard dough sti rring hook, sti rrer or beater). To do so, place it on the drive shaft (fi g. 4) and turn in an anti -clockwise directi on until it clicks (fi g. 5).
-
Place ingredients in the pan. Do not overfi ll the pan – the maximum amount of ingredients must not exceed 2,0kg.
-
Lower the arm of the device with the interlock release knob (fig. 6).
- Insert the main plug in the relevant electric socket (220-240 V \~ 50/60Hz).
- Switch the device on by setting the desired speed (1-6) of the speed adjustment.
- To set the pulsating mode (kneading dough in short periods), set the speed adjustment as „P” and keep this position as long as you need. The released adjustment returns to „O” automatically.
- When you achieve the desired result, turn the speed adjustment back to „0”. Disconnect the plug from the socket.
- Slide the interlock release knob downwards to lift the arm of the device.
- Now you can take the mixed ingredients out of the pan with the use of a spatula.
- Now you can take the pan out of the device.
Adaptation of speed and use of hard dough stirring hook to the weight of max. 1,5kg
| Use Figure | Speed | Time (min) | Max. Application | Application | |
| Hard dough stirring hook |  | 1-2 | 3-5 | 1000g of flour and 500ml of water | Raised (yeast) cake |
| Stirrer |  | >4 | 3-10 | 660g of flour and 840ml of water | Creams, cakes |
| Beater |  | >6 | 3-10 | 3 egg whites (minimum) | Egg white, cream |
Troubleshooting
| Item | Problem Solution | |
| 1 | The device does not work - Make sure the device is properly connected to power supply.- Make sure the interlock release knob has returned to initial position.- If the device has operated continuously for 6 minutes, let it cool down. | |
| 2 | Wrong sound in pan when the device operates (accessories scratch the pan) | - Make sure the pan is properly mounted.- Make sure the accessories you’ve chosen have been properly fixed. |
| 3 | The pan cover does not cover it properly | - Make sure the cover has been properly placed on the pan.- Make sure the pan has been properly fixed and secured on the device |
| 4 | Some speeds do not work in the device | - If the speed does not work – set the adjustment back at „0”, wait for a couple of minutes, and try again |
| 5 | The device moves when operating | - Make sure the anti-skidding leg is not detached- Make sure the device has been positioned on a flat and smooth surface |
| 6 | The interlock release knob has not returned to initial position after fixing the pan and cover | - Make sure the cover has been properly positioned on the pan.- Make sure the pan has been properly mounted |
How to clean and maintain
- Before you start cleaning, unplug the power cord.
- Never immerse the body of the device in water.
- Do not use abrasive substances or aggressive cleaning agents.
Body of the device
- To clean the external side of the body of the device, use a wet cloth only.
Pan and accessories
NOTE! Parts may get deformed or discolored if exposed to heat or caustic agents.
- The parts that come into contact with food may be washed with a dishwashing liquid.
- The accessories may be washed in a dishwasher.
- Before reuse, leave the parts to dry.
The pictures are for reference only. The real design of the products may differ from the pictures presented.
Einführung
EN: The product complies with requirements of EU directives.
Pursuant to the Directive 2012/19/EU, this product is subject to selective collection. The product must not be disposed of along with domestic waste as it may pose a threat to the environment and human health. The worn-out product must be handed over to the electrics and electronics recycling center.
BrandLine Group Service – Support
www.zeegma.com/en/service
Brand : Zeegma
Model : Planeet Chef
Category : Food Processor