
OL5040 - Lighting IFM - Free user manual and instructions
Find the device manual for free OL5040 IFM in PDF.
| Product type | Photoelectric barrier |
| Brand | IFM |
| Model | OL5040 |
| Category | Lighting |
| Main function | Contactless detection of objects and materials |
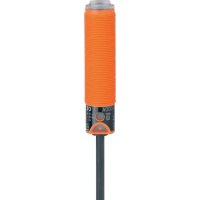
| LED indication | Green: operational; Yellow: switched output; Red: error |
| Range | Variable according to device label |
| Power supply | AC/DC depending on version |
| Output | PNP, NPN or relay depending on version |
| Electrical connection | Wiring diagram provided in the manual |
| Mounting | On mounting bracket |
| Threshold adjustment | Automatic with button programming |
| Programming | Push-button with LED sequence |
| Output function | Switchable between light-on and dark-on |
| Detection | Moving and stationary objects |
| Maintenance | Lens cleaning without aggressive solvents |
| Cleaning | Soft dry cloth; avoid solvents |
| Safety | Disconnect power before connection |
| Protection | Not specified |
| Operating temperature | Not specified |
Frequently Asked Questions - OL5040 IFM
User questions about OL5040 IFM
0 question about this device. Answer the ones you know or ask your own.
Ask a new question about this device
Download the instructions for your Lighting in PDF format for free! Find your manual OL5040 - IFM and take your electronic device back in hand. On this page are published all the documents necessary for the use of your device. OL5040 by IFM.
USER MANUAL OL5040 IFM
Functions and features
The through-beam sensor detects objects and materials without contact and indicates their presence by a switched signal.
Range (r): see type label.
Electrical connection

Isolate power, then connect unit (see page 14 or type label).
Note: insert a miniature fuse according to the technical data sheet, if specified. Recommendation: check the unit for reliable function after a short circuit.
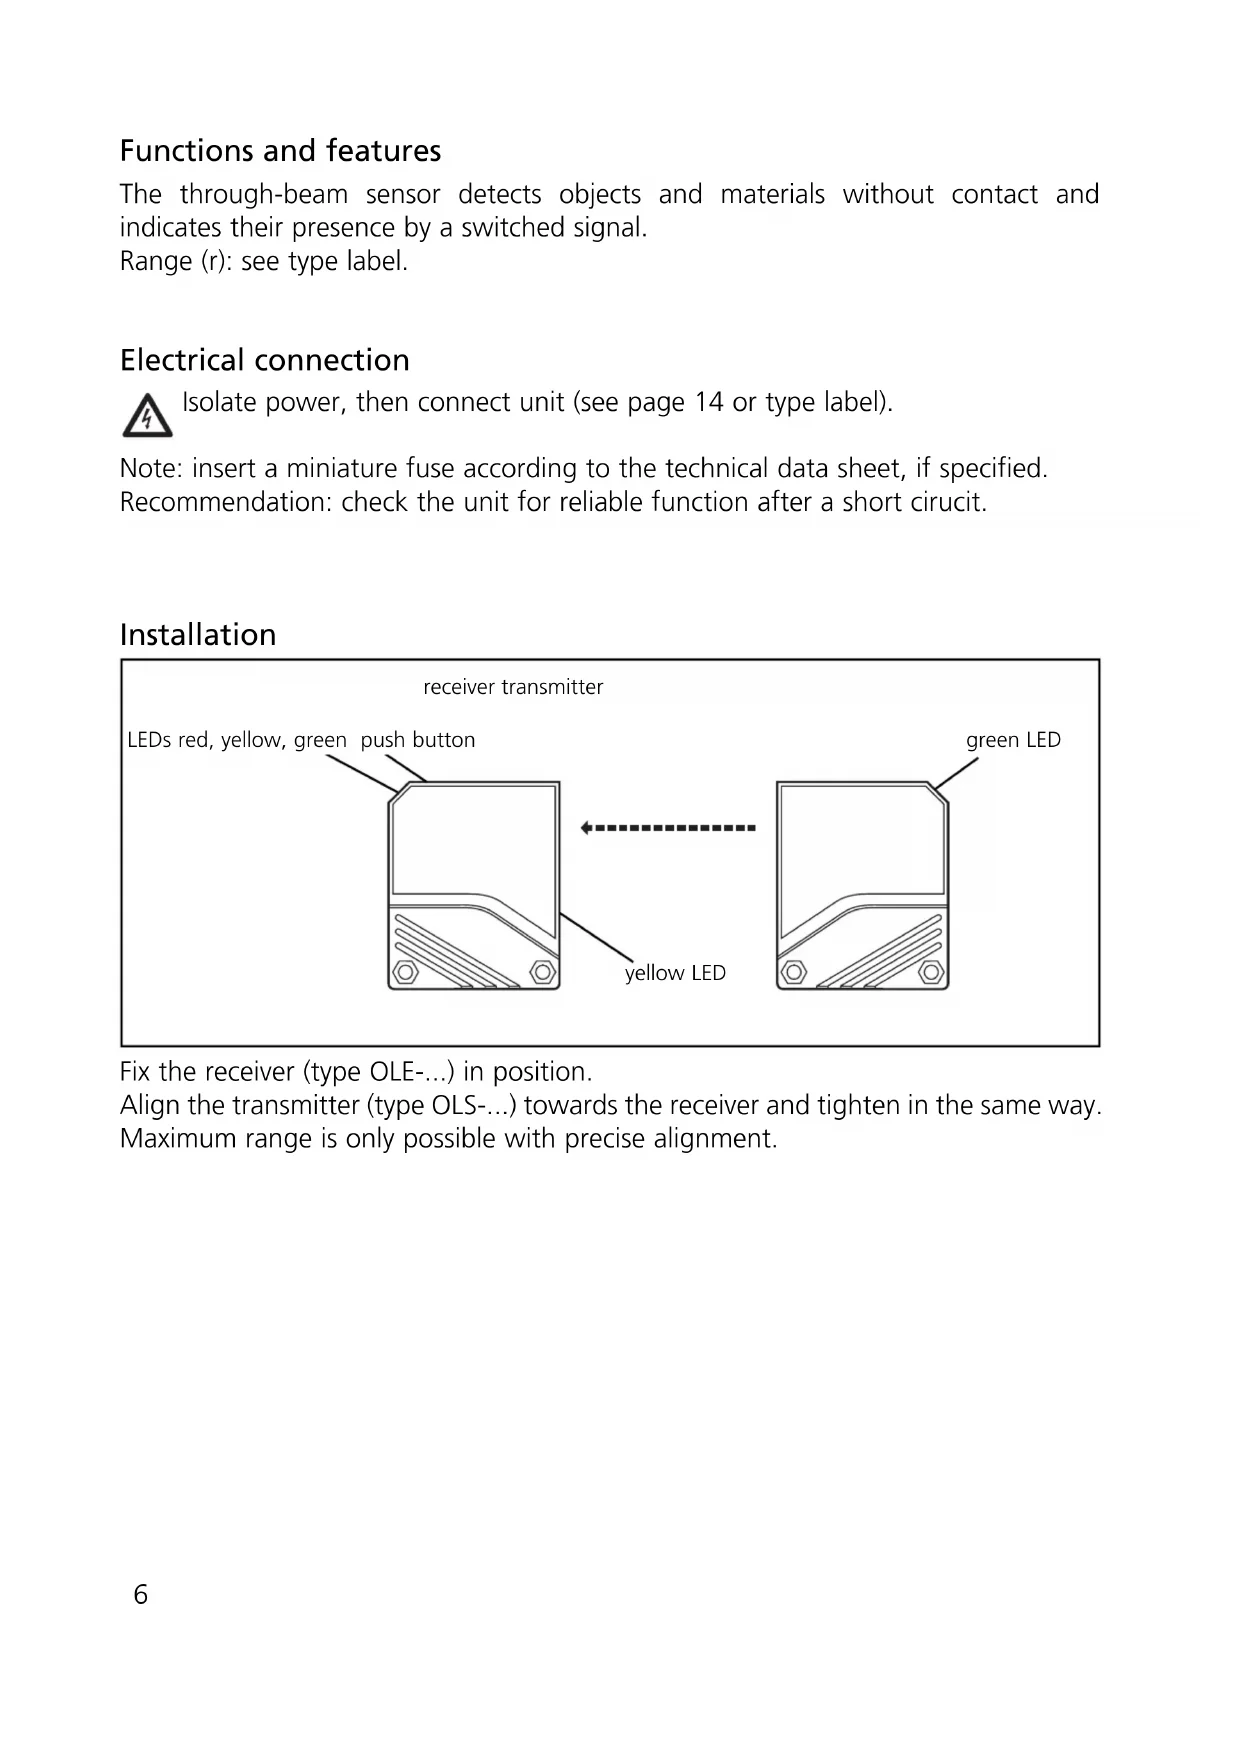
Installation
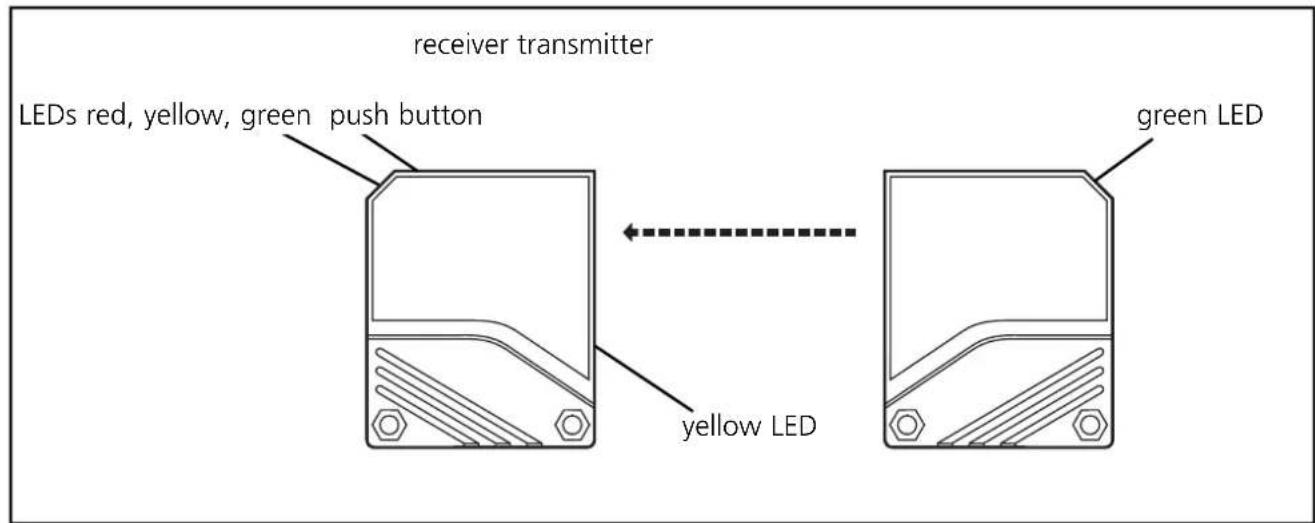
Fix the receiver (type OLE-...) in position.
Align the transmitter (type OLS-...) towards the receiver and tighten in the same way. Maximum range is only possible with precise alignment.
Setting the switching threshold (dynamic operation)
- Moving objects in the detection area
The unit detects input signals of various intensity in any sequence and calculates the optimum switching threshold.
| 1 |  Press until the red LED flashes Press until the red LED flashes | 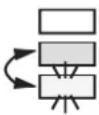 Yellow and green LED's flash alternately (= unit is in the programming mode). Yellow and green LED's flash alternately (= unit is in the programming mode). |
| 2 | Allow the objects to pass through the detection area.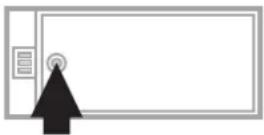 Press once. Press once. | 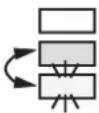 The yellow and green LED’s go out for approx. 1 s, then flash again alternately. The yellow and green LED’s go out for approx. 1 s, then flash again alternately. |
| 3 | 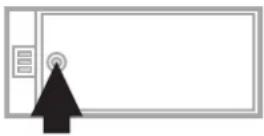 Press once. Press once. |  The yellow and green LED’s go out for approx. 1s, The yellow and green LED’s go out for approx. 1s, | |
 then the green LED is on (= unit is in operating mode). then the green LED is on (= unit is in operating mode). |

If the setting of the switching threshold is not possible (e.g. object signal and background signal are about the same), the red LED flashes after step 3. The unit then passes into the operating mode with the switching signal being unchanged.
If the programming button is not activated for 15 minutes during the programming process, the unit passes automatically into the operating mode with the switching threshold being unchanged.
Setting of the maximum sensitivity:
- Go into the programming mode (step 1).
- Interrupt the light beam.
- Press the setting button twice (see steps 2 and 3).
Setting the switching threshold (stationary operation)
- Stationary objects
The unit detects input signals of various intensity in any sequence and calculates the optimum switching threshold.
| 1 |  Press until the red LED flashes. Press until the red LED flashes. | 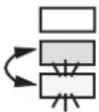 Yellow and green LED's flash alternately (= unit is in the programming mode). Yellow and green LED's flash alternately (= unit is in the programming mode). |
| 2 | Place the object into the detection area *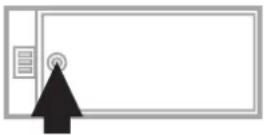 Press once. Press once. | 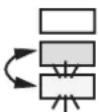 The yellow and green LED's go out for approx. 1 s, then flash again alternately. The yellow and green LED's go out for approx. 1 s, then flash again alternately. |
| 3 | Remove the object * Press once. Press once. |  The yellow and green LED's go out for approx. 1s, The yellow and green LED's go out for approx. 1s, | |
 then the green LED is on (= unit is in operating mode). then the green LED is on (= unit is in operating mode). |
*You can also proceed in reverse order: first setting without the object, then with the object.
If the setting of the switching threshold is not possible (e.g. object signal and background signal are about the same), the red LED flashes after step 3. The unit then passes into the operating mode with the switching signal being unchanged.
If the programming button is not activated for 15 minutes during the programming process, the unit passes automatically into the operating mode with the switching threshold being unchanged.
Setting of the maximum sensitivity:
- Go into the programming mode (step 1).
- Interrupt the light beam.
- Press the setting button twice (see steps 2 and 3).
Programming the output function
| 1 |  Press for 10s. Press for 10s. | The red LED starts to flash fast after 2 s.Then the yellow and green LED's flash alternately. After 8 s all LED's go off, the output function has changed from light-on mode to dark-on mode (or vice versa). |
Operation
Check the safe functioning of the diffuse reflection sensor. Display by LED's.
| LED green unit is ready for operation | |
| LED yellow output is switched | |
| LED red | error in object detection,e.g. maladjustment, soiling of the lenses |
| LED's yellow + red | flashing alternately, 2Hz: output short-circuitedflashing alternately, 1Hz: internal malfunction(output is not switched) |
Maintenance
Keep the plastic lenses of the sensor free from soiling.
For cleaning do not use any solvents or cleaning agents which could damage the plastic lenses.

Brand : IFM
Model : OL5040
Category : Lighting