X3 PowerX Series HC3000GP - Lawn mower REMINGTON - Free user manual and instructions
Find the device manual for free X3 PowerX Series HC3000GP REMINGTON in PDF.
| Product type | Cordless hair clipper |
| Brand | Remington |
| Model | X3 PowerX Series HC3000GP |
| Power supply | Rechargeable lithium-ion battery, mains adapter PA-3215E (100-240 V~) |
| Charging time | 14 to 16 hours |
| Cordless runtime | Up to 45 minutes |
| Cutting guides | 2 adjustable guides: 3-13 mm and 14-24 mm |
| Cutting range | From 0.5 mm (without guide) to 24 mm, in 1 mm increments |
| Blades | Stainless steel, washable under water (removable) |
| Corded use | Yes, works plugged into mains |
| Charge indicator | LED indicator |
| Included accessories | Cleaning brush, oil, comb, scissors, storage bag |
| Maintenance | Brush hair after each use, oil blades regularly |
| Blade cleaning | Removable and washable under running water; wipe body with a damp cloth |
| Safety | Do not use if cord damaged; keep dry; do not twist cord |
| Dimensions (approx.) | 15 cm x 4 cm x 4 cm (estimated) |
| Weight (approx.) | 200 g (estimated) |
| Recycling | Battery and device to be recycled at a collection point |
Frequently Asked Questions - X3 PowerX Series HC3000GP REMINGTON
User questions about X3 PowerX Series HC3000GP REMINGTON
0 question about this device. Answer the ones you know or ask your own.
Ask a new question about this device
Download the instructions for your Lawn mower in PDF format for free! Find your manual X3 PowerX Series HC3000GP - REMINGTON and take your electronic device back in hand. On this page are published all the documents necessary for the use of your device. X3 PowerX Series HC3000GP by REMINGTON.
USER MANUAL X3 PowerX Series HC3000GP REMINGTON
natural_image
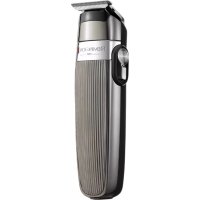
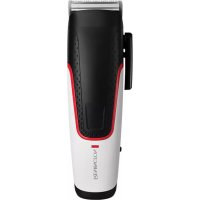
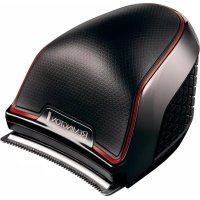
Black Remington electric shaver with visible teeth and mesh grille (no text or symbols on body)X3 Power-X Series Hair Clipper Giftpack HC3000GP
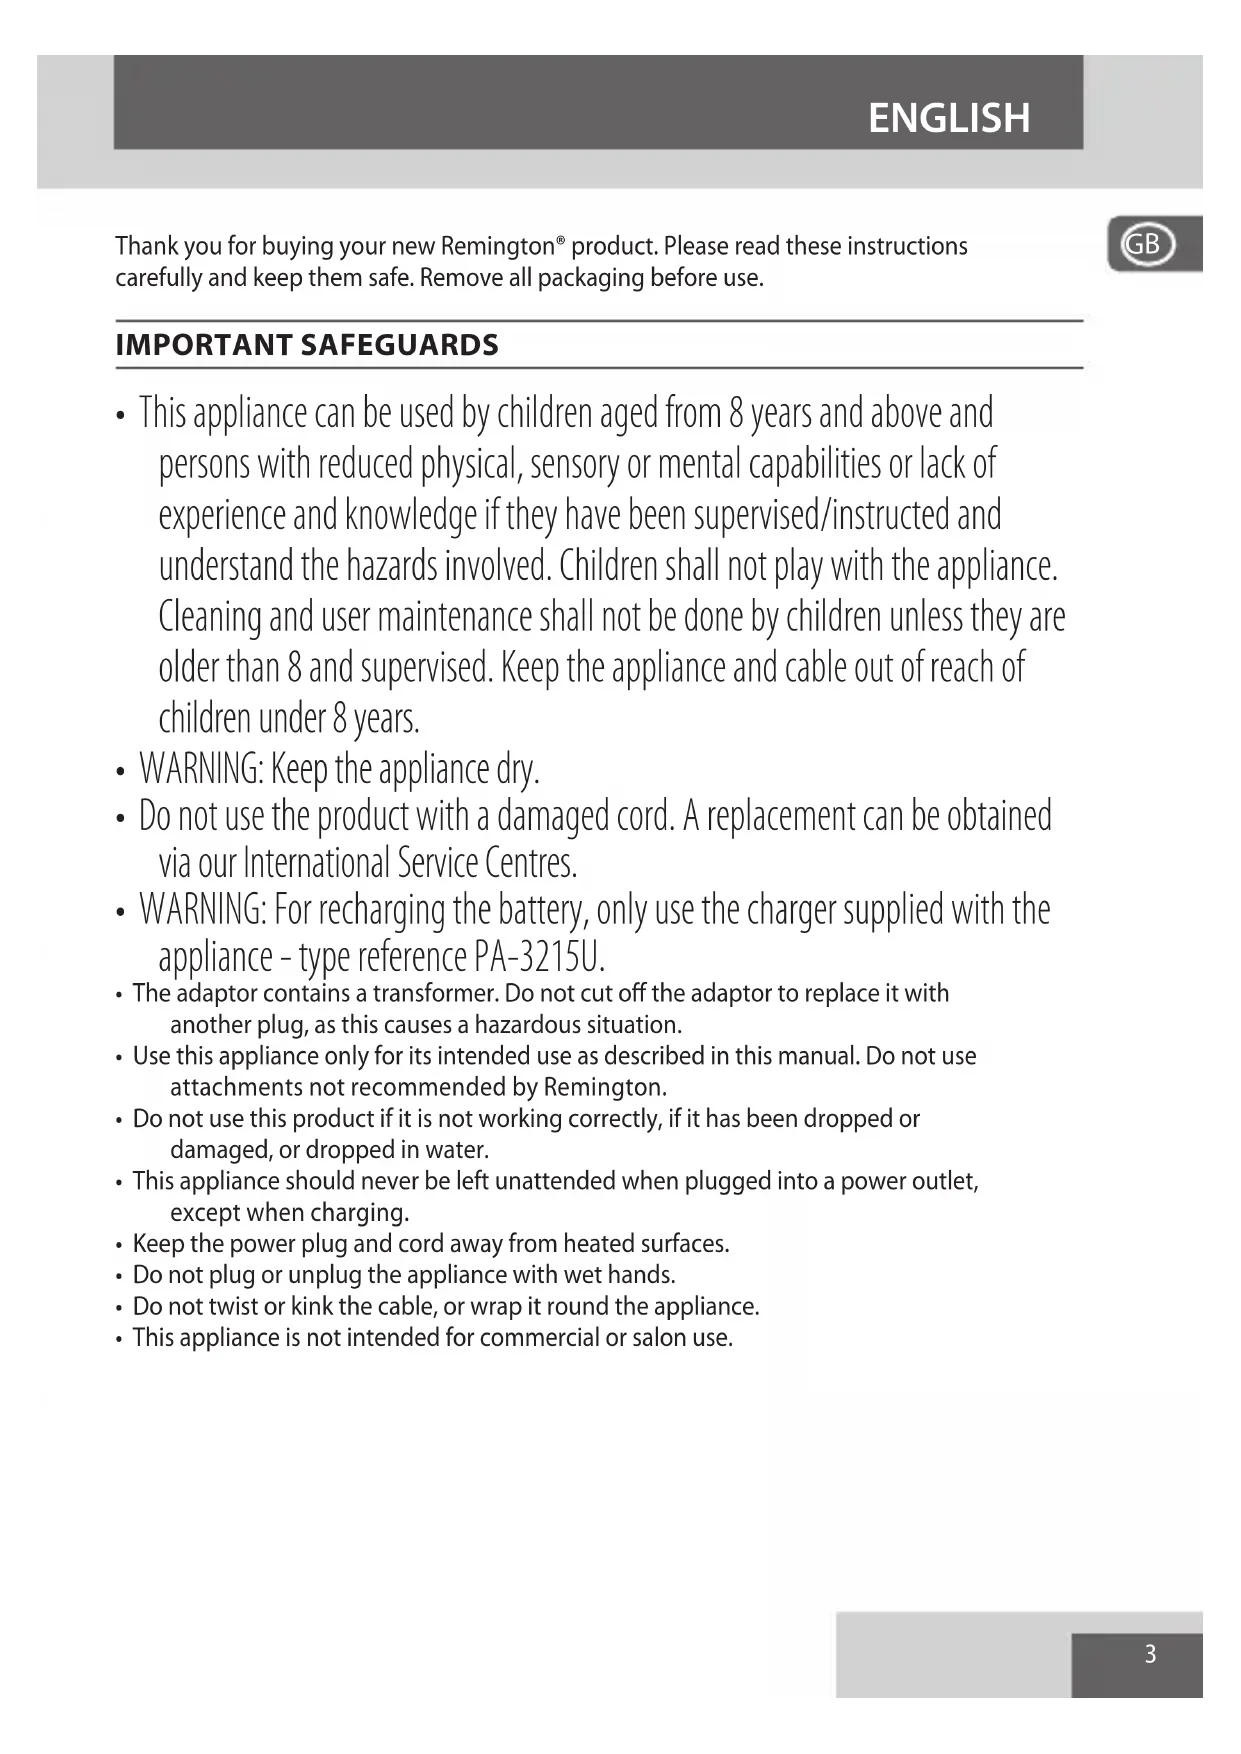
Thank you for buying your new Remington® product. Please read these instructions carefully and keep them safe. Remove all packaging before use.

IMPORTANT SAFEGUARDS
- This appliance can be used by children aged from 8 years and above and persons with reduced physical, sensory or mental capabilities or lack of experience and knowledge if they have been supervised/instructed and understand the hazards involved. Children shall not play with the appliance. Cleaning and user maintenance shall not be done by children unless they are older than 8 and supervised. Keep the appliance and cable out of reach of children under 8 years.
- WARNING: Keep the appliance dry.
- Do not use the product with a damaged cord. A replacement can be obtained via our International Service Centres.
- WARNING: For recharging the battery, only use the charger supplied with the appliance - type reference PA-3215U.
- The adaptor contains a transformer. Do not cut off the adaptor to replace it with another plug, as this causes a hazardous situation.
- Use this appliance only for its intended use as described in this manual. Do not use attachments not recommended by Remington.
- Do not use this product if it is not working correctly, if it has been dropped or damaged, or dropped in water.
- This appliance should never be left unattended when plugged into a power outlet, except when charging.
- Keep the power plug and cord away from heated surfaces.
- Do not plug or unplug the appliance with wet hands.
- Do not twist or kink the cable, or wrap it round the appliance.
- This appliance is not intended for commercial or salon use.
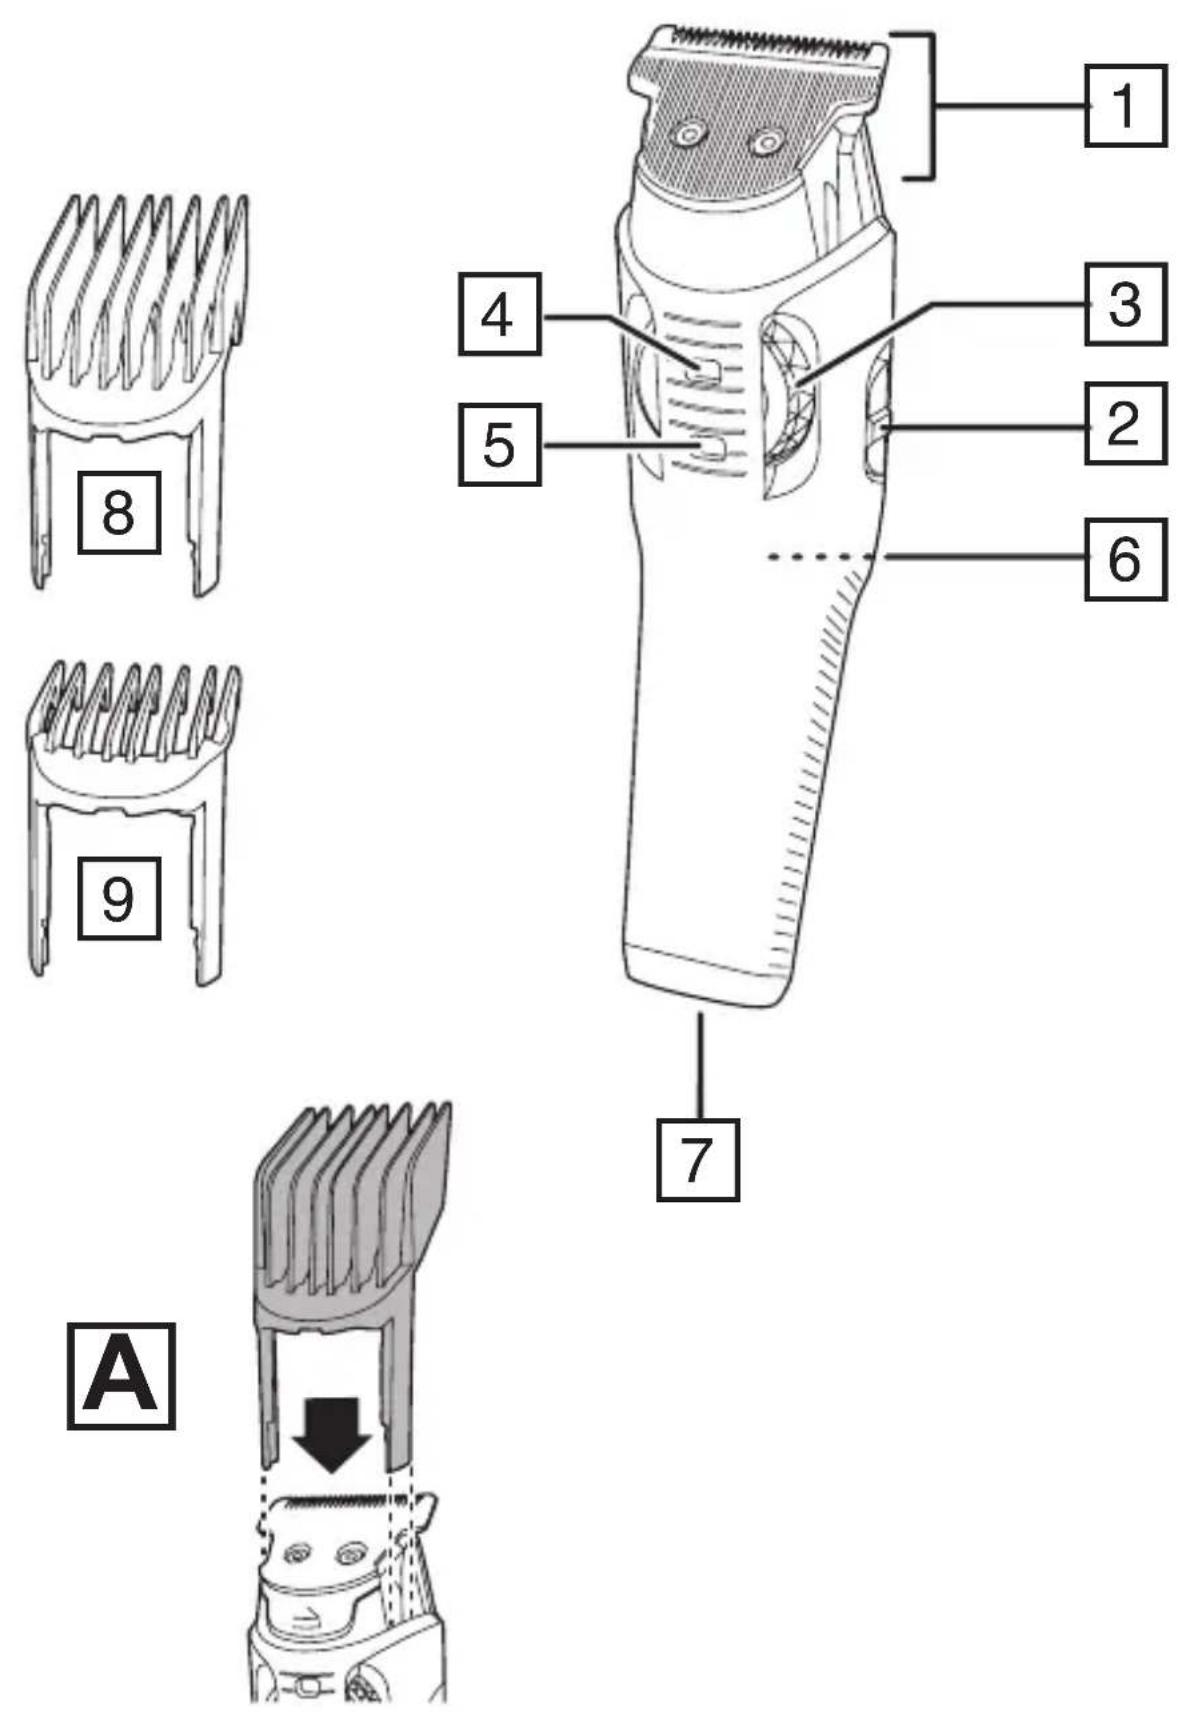
PARTS
-
Blade set
-
On/Off Switch
-
Length adjustment dial
-
Length setting window for 14 - 24 mm comb
-
Length setting window for 3 - 13 mm comb
-
Charging indicator light
-
Charger connector
-
14 - 24 mm comb
-
3 - 13 mm comb
Not Shown:
- Adaptor
- Cleaning brush
- Oil bottle
- Comb
- Scissors
- Storage bag
GETTING STARTED
CHARGING YOUR APPLIANCE
- Before using your hairclipper for the first time, charge for 14-16 hours.
- Ensure the product is switched off.
- Connect the charging adaptor to the product and then to the mains.
- When charging, the charge indicator light will light up.
- If the product is not going to be used for an extended period of time (2 – 3 months), unplug it from the mains and store.
- Fully recharge your hairclipper when you would like to use it again.
- Allow 14-16 hours for a complete charge.
- Note: To preserve the life of your batteries, let them run out every 6 months then fully charge.
CHARGING VIA STANDARD ELECTRICAL SOCKET
- Ensure the product is switched off.
- Connect the charging adaptor to the product and then to the mains.
CORDED USE
- Connect the charging adaptor to the product then to the mains.
CAUTION Extended mains only use will result in the reduction of the battery life.
CORDLESS USE
- When the product is switched on and fully charged it can be used in cordless mode for up to 45 minutes.
INSTRUCTIONS FOR USE

BEFORE STARTING THE CUT
- Inspect the clipper making sure that it is free from hair and dirt.
- Seat the person so that their head is approximately at your eye level.
- Before cutting, always comb the hair so it is tangle free and dry.
TO ATTACH A COMB
- Hold the comb with its teeth upward.
- Align the legs of the comb with the holes in the top of the clipper on each side of the blade and slide the legs into the trimmer until they click (Fig A).
• To remove, firmly pull the comb straight up away from the clipper.
SETTING THE LENGTH OF CUT
- Your clipper comes with 2 adjustable combs 3 to 13 mm and 14 to 24 mm.
-
These provide a length of cut that can be adjusted between 3 and 24 mm in increments of 1 mm.
-
Select the comb that fits the range of cut you want to achieve.
- Fit the comb then rotate the length adjustment dial until the length you want appears in the length selection window for that comb.
- The length setting colour on the wheel matches the length marker colour on the comb.
- For example, if you want a cut length of 20 mm, fit the 14 to 24 mm comb then turn the dial until 20 appears in the length setting window for the 14 - 24 mm comb.
- Use the clipper without any fixed combs for trimming hair close to the skin.
- This will trim hair to 1mm, holding the clipper so the blades are perpendicular to the skin will trim hair to 0.5mm.
INSTRUCTIONS FOR CUTTING HAIR
- For even cutting, allow the comb attachment/blade to cut its way through the hair. Do not force it through quickly. If you are cutting for the first time, start with the maximum comb attachment.
STEP 1 - NAPE OF THE NECK
- Set the comb to 3 mm or 6 mm.
- Hold the clipper with the blade teeth pointing upwards. Begin starting at the centre of the head at the base of the neck.
- Slowly lift the clipper, working upwards and outwards through the hair, trimming just a little at a time.
STEP 2 - BACK OF THE HEAD
- With the comb set at 12 mm or 18 mm, cut the hair at the back of the head.
STEP 3 - SIDE OF THE HEAD
- With the comb set at 3 mm or 6 mm, trim sideburns. Then change to the longer 9 mm guide comb and continue to cut the top of the head.
STEP 4 - TOP OF THE HEAD
- Use the longer length comb attachment and set it to 24 mm then cut hair on top of the head against the direction in which the hair normally grows.
• Always work from the back of the head.
- Use the clipper without an attachment comb for close trimming around the base and sides of the neck.
- To produce a clean straight line at the sideburns, reverse the hair clipper.
- Place the reversed clipper at right angles to the head, tips of the blades lightly touching the skin and then work downwards.
CARE FOR YOUR HAIRCLIPPER
- Your clipper is fitted with high quality blades.
- To ensure long lasting performance of your clipper, clean the blades and unit regularly.
- Always keep the attachment guide comb on the trimmer blade.
AFTER EACH USE
- Ensure the appliance is switched off and unplugged from the charger before cleaning.
- Brush the accumulated hair from the blades and body of the clipper. Do not submerge the clipper in water.
- To clean unit, wipe with a damp cloth and dry immediately.
- Place a few drops of cutter or sewing machine oil onto the blades. Wipe off excess oil.
WASHABLE BLADE CLEANING
- The blades are washable under a running tap but must be removed before they are cleaned in this way. Keep the body of the device dry at all times.
• Take out the hex screws and disassemble the blade set. Brush and clean out accumulated hair. Oil the contact surfaces of the blades and then reassemble.
CLEANING CAUTIONS
- Do not use harsh or corrosive cleaners on the units or their blades.
- Ensure the appliance is switched off and unplug from the main outlet before cleaning.
REMOVING THE RECHARGEABLE BATTERY
We strongly recommend that a professional removes the rechargeable battery. Parts of the shaver case, and tools have sharp edges and may cause injury if not handled correctly.
- The rechargeable battery must be removed from the appliance before it is scrapped.
- Disconnect the charging adapter before removing the battery.
- Ensure that the battery is fully discharged. To do this, operate the device until it stops.
-
Pry off and remove the top panel.
-
Unscrew the 3 screws from the inner bracket.
- Take out the battery bracket assembly.
- Cut off the battery tabs and wires and remove the battery from bracket.
- The battery must be disposed of at an appropriate official recycling/collection point.
- Do not attempt to operate the trimmer once you have opened it.
ADAPTER SPECIFICATIONS
| Manufacturer address and registration number | Spectrum Brands (UK) Limited, Regent Mill, Fir Street, Failsworth, Manchester M35 0HSCompany number: 02394603 |
| Adapter model number PA-3215U | |
| Input voltage 100 - 240 V~ | |
| Input AC Frequency 50/60Hz | |
| Output voltage | 3.2 V --- |
| Output current 1.5 A | |
| Output power 4.8 W | |
| Average active efficiency ≥73.31% | |
| Efficiency at 10% - | |
| No load power consumption ≤0.1 W |
RECYCLING
To avoid environmental and health problems due to hazardous substances, appliances and rechargeable and non-rechargeable batteries marked with one of these symbols must not be disposed of with unsorted municipal waste. Always dispose of electrical and electronic products and, where applicable, rechargeable and non-rechargeable batteries, at an appropriate official recycling/collection point.

UW APPARAAT VERZORGEN
INNAN DU BÖRJAR KLIPPA
UŻYWANIE Z PRZEWODEM SIECIOWYM
natural_image
Two identical line diagrams of a trash bin with no visible text, numbers, or symbols.مواصفات المAbout
Remington ^® is a Registered Trade Mark of Spectrum Brands, Inc., or one of its subsidiaries
Russell Hobbs Deutschland GmbH, Am Unisyspark 1, 65843 Sulzbach, Germany remington-europe.com