
PCES 1109 - Coffee machine PROFICOOK - Free user manual and instructions
Find the device manual for free PCES 1109 PROFICOOK in PDF.
Pick your language and provide your email: we'll send you a specifically translated version.
| Product type | Filter coffee machine |
| Brand | ProfiCook |
| Model | PCES 1109 |
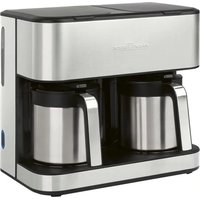
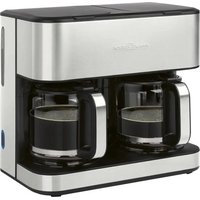
| Colour | Black and silver |
| Dimensions (H x W x D) | 35 x 25 x 20 cm |
| Weight | 1.5 kg |
| Power supply | 220-240 V ~ 50/60 Hz |
| Power | 1000 W |
| Carafe capacity | 1.25 L (approx. 10 cups) |
| Filter type | Reusable permanent filter or size 4 paper filter |
| Automatic shut-off function | Yes, after approx. 40 minutes |
| Warming plate | Yes, keep warm |
| Anti-drip system | Yes, allows removing the carafe during brewing |
| Water level indicator | Transparent with graduations |
| Aromatic infusion function | Yes, uniform water distribution over ground coffee |
| Care and cleaning | Carafe and permanent filter dishwasher safe; regular descaling recommended |
| Safety | Overheat protection; automatic shut-off when running empty |
| Spare parts available | Carafe, permanent filter, filter basket |
| Repairability | Repairability index not provided; standard parts available |
| Warranty | 2 years |
Frequently Asked Questions - PCES 1109 PROFICOOK
How do I descale my ProfiCook PCES 1109 coffee machine?
Use a special coffee machine descaler or diluted white vinegar. Pour the mixture into the water tank, run a cycle without coffee, then rinse with two cycles of clean water. Consult the manual for exact proportions.
What should I do if my coffee machine no longer heats up?
Check that the machine is properly plugged in and the switch is on. If the problem persists, the thermostat or heating element may be defective; contact customer service.
Can I use ground coffee with a permanent filter?
Yes, the permanent filter is designed for ground coffee. Use a medium to coarse grind to prevent coffee from passing through the mesh and ending up in the cup.
How do I clean the glass carafe?
Wash the carafe with warm soapy water or in the dishwasher (if compatible). Avoid abrasive sponges to prevent scratching the glass. Dry thoroughly before next use.
The machine stops by itself, is that normal?
Yes, your coffee maker is equipped with an automatic shut-off after approximately 40 minutes of inactivity for safety and energy-saving reasons.
How do I use the anti-drip system?
The anti-drip system activates automatically when you remove the carafe. You can then pour a cup without the coffee dripping. Replace the carafe quickly to prevent the filter from overflowing.
What is the maximum water capacity?
The tank can hold up to 1.25 liters of water, which corresponds to about 10 cups of coffee. Do not exceed the MAX mark to avoid overflow.
Can I use soft pods in this machine?
No, the PCES 1109 is a classic filter coffee machine. It is not compatible with soft pods or capsules. Use ground coffee or suitable paper filters.
How do I change the water filter?
If your model is equipped with a water filter (optional), remove the old filter, rinse the new one under cold water and insert it into the water tank. Replace every 1 to 2 months depending on use.
The coffee maker makes an abnormal noise, what should I do?
A slight heating noise is normal. If the noise is loud or unusual, check that the tank is full and the carafe is correctly positioned. If the problem persists, turn off the machine and contact a professional.
User questions about PCES 1109 PROFICOOK
0 question about this device. Answer the ones you know or ask your own.
Ask a new question about this device
No questions yet. Be the first to ask one.
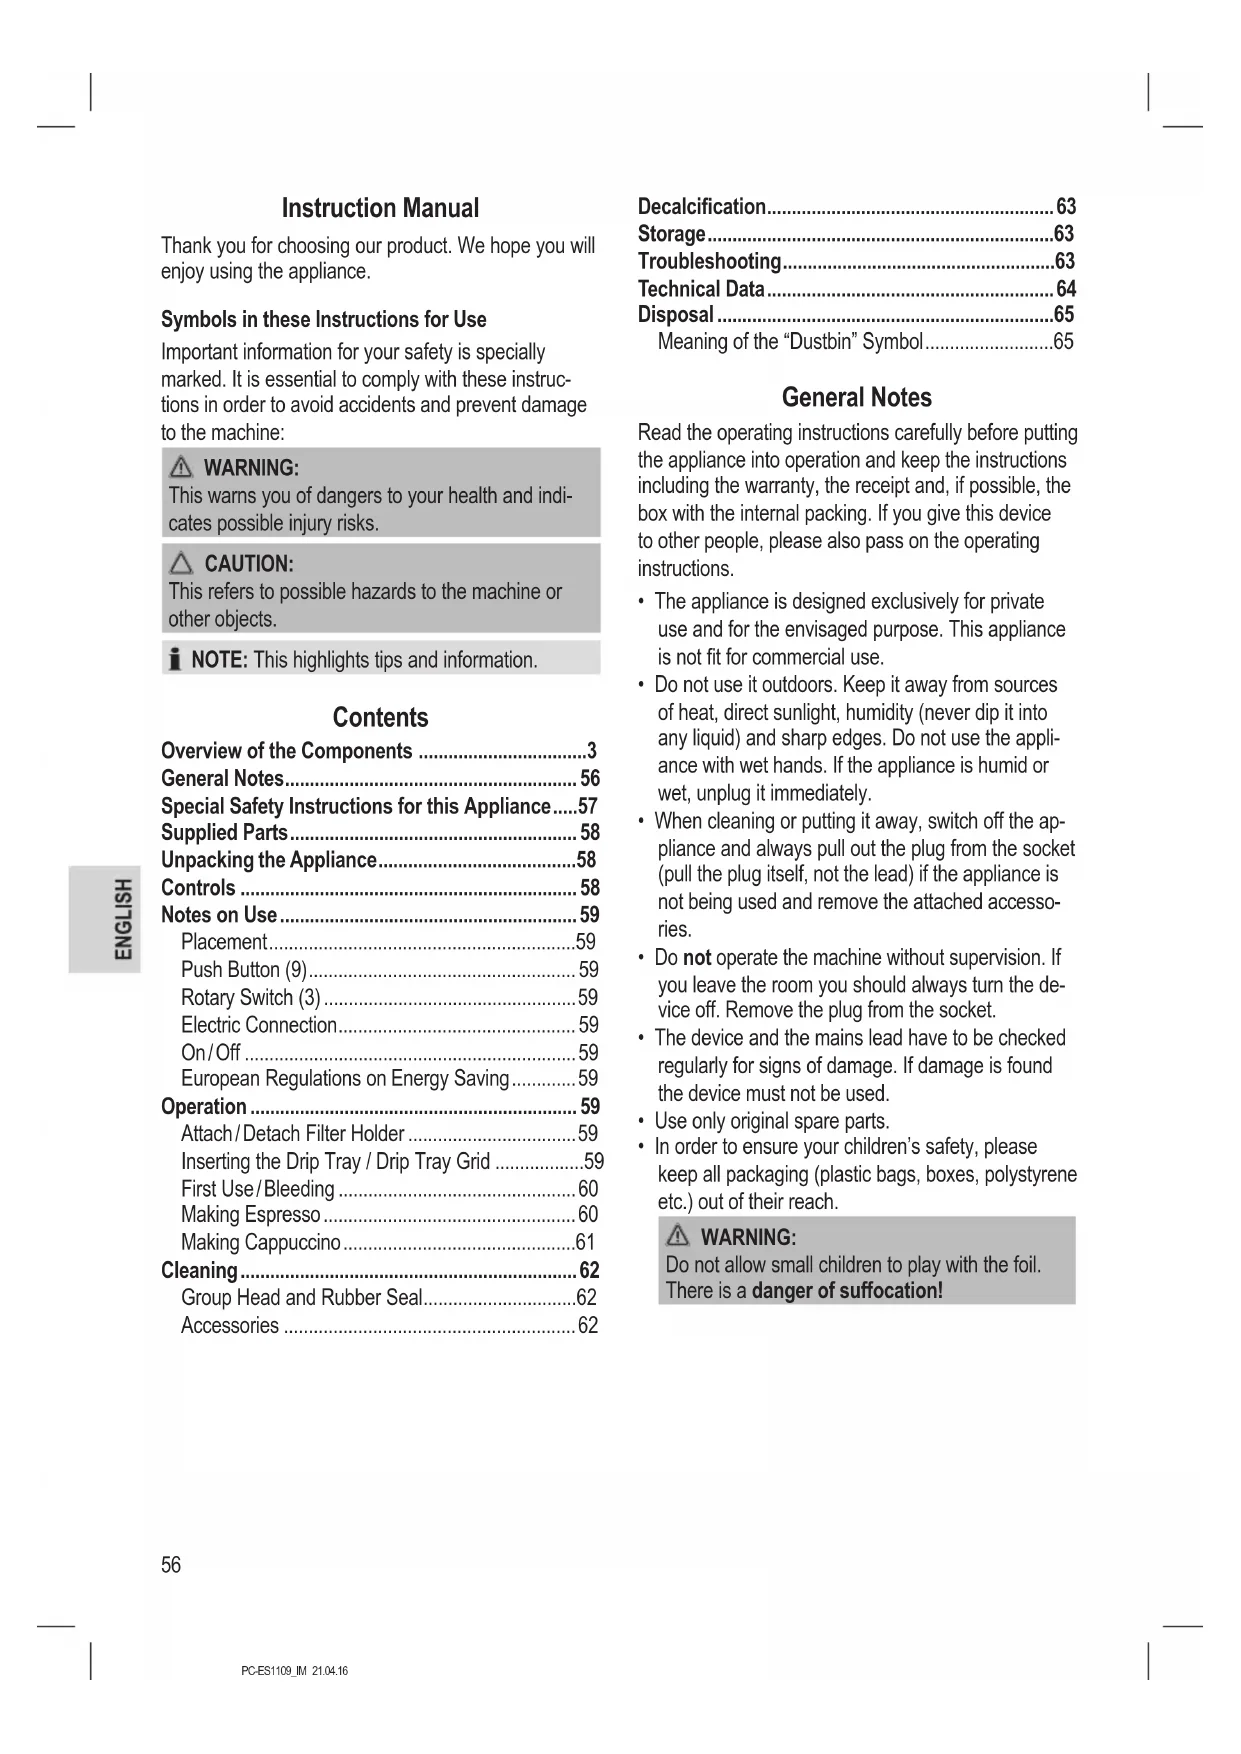
Download the instructions for your Coffee machine in PDF format for free! Find your manual PCES 1109 - PROFICOOK and take your electronic device back in hand. On this page are published all the documents necessary for the use of your device. PCES 1109 by PROFICOOK.
USER MANUAL PCES 1109 PROFICOOK


Manual assistant
Powered by Anthropic
Waiting for your message
Product information
Brand : PROFICOOK
Model : PCES 1109
Category : Coffee machine