
CM 820 - Coffee grinder GRAEF - Free user manual and instructions
Find the device manual for free CM 820 GRAEF in PDF.

| Brand | Graef |
| Model | CM 820 |
| Product type | Coffee grinder |
| Use | Domestic |
| Grind setting | 35 positions, from coarse to fine |
| Grinding function with timer | Yes, ON/OFF switch |
| Direct grinding into filter holder | Yes, with automatic switch (AUTO) |
| Portafilter holders | 2 holders: 60 mm and 70 mm |
| Coffee bean container | Removable, with sliding closure |
| Ground coffee container | Removable |
| Removable burr | Yes, for cleaning |
| Cleaning brush included | Yes |
| Upper burr cleaning | Adjustable with screw to fine-tune grind |
| Automatic stop | Yes, when removing the portafilter in AUTO mode |
| Safety switch | Yes, to prevent operation without portafilter |
| Power supply | Mains 220-240 V ~ 50 Hz |
| Manufacturer's warranty | 2 years |
| Included accessories | Cleaning brush, 2 portafilter holders |
Frequently Asked Questions - CM 820 GRAEF
User questions about CM 820 GRAEF
0 question about this device. Answer the ones you know or ask your own.
Ask a new question about this device
Download the instructions for your Coffee grinder in PDF format for free! Find your manual CM 820 - GRAEF and take your electronic device back in hand. On this page are published all the documents necessary for the use of your device. CM 820 by GRAEF.
USER MANUAL CM 820 GRAEF
natural_image
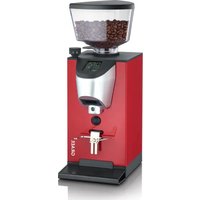
Illustration of a GRAEF coffee maker with a measuring scale and base mount (no text or symbols on the device itself)natural_image
Line drawing of a tool with a handle and spout, no text or symbols present
natural_image
Simple line drawing of a curved mechanical part with a circular hole, no text or symbols present.
natural_image
Simple line drawing of a curved mechanical part with a circular label containing the number 2 (no text or symbols on the shape itself)
natural_image
Simple line drawing of a cylindrical container with an oval end (no text or symbols)
natural_image
Simple line drawing of a cabinet or enclosure with no text, numbers, or symbolsnatural_image
Symbol of a trash bin with crossed lines indicating no waste, and a solid black rectangle below (no text or labels)Safety instructions....13
Product description 15
Preface 16
Unpacking 16
Requirements on the installation location....16
Prior to first use 16
Setting of degree of grinding 16
Grinding coffee with permanent functionality .....17
Grinding coffee directly into the filter holder....17
Cleaning....17
Cleaning the grinding mechanism....18
Fine adjustment of the upper grinding mechanism....18
Tips 18
After-sales service 19
Disposal....19
2 year warranty....19
SAFETY INSTRUCTIONS
This unit is in conformity with the safety instructions mentioned hereinbefore. However, incorrect handling may lead to injury and damage.
For safe handling of this unit, please observe the following safety instructions:
- Before using the unit check for any external visible damage of the housing, the connection cable and plug. Do not operate a damaged unit.
- Repairs may be carried out only by an expert or by Graef after-sales service. Incorrect repairs may cause considerable hazards for the user. In addition, any claim under guarantee is forfeited.
- A repair of the unit during the guarantee period may be carried out by Graef after-sales service only as otherwise there is no claim under guarantee in case of subsequent damage.
- Defective parts must be replaced by original spare parts only. It is only with these parts that the safety requirements are met.
- This unit may be used by persons with reduced physical, sensory or mental abilities or deficiencies in experience and knowledge, if they are supervised or have been instructed in the safe use of the unit, and in addition understand the resulting dangers.
- Children must not use this device. The unit and the connecting cable must not get within the reach of children.
- Children should be supervised in order to make sure that they do not play with this unit.
- In the absence of supervision and prior to assembly, disassembling during cleaning disconnect the unit from the mains. For details of how to clean surfaces contact with food, please refer to following cleaning section page 16.
- The unit is not intended to be used with an external timer or a separate remove control.
- This unit is intended for use in households and similar use, such as: Staff kitchens in shops and office; in agricultural estates; by guests in hotels, motels and other living quarters; in bed and breakfast
boarding houses.
- Before changing accessories or approaching that move in use, always disconnect the connection cable by using plug; do not pull the connecting cable.
- The electric safety of the unit is ensured only when it is connected to a socket with protective conductor. Operation on a socket without protective conductor is forbidden. If in doubt, let the house installation checked by a trained electrician. The manufacturer shall not assume responsibility for damage which has been caused by absent or interrupted protective conductor.
- Never touch the plug with moist hands.
- Never carry the unit by its power cable.
- The socket has to be easily accessible so that the power cable can be removed easily in case of emergency.
- Never transport the unit during operation.
- Please do not operate the appliance other than it's intended use (grinding coffee beans) so as to avoid the potential injury from misuse.
- Packaging materials must not be used for playing. There is a danger of suffocation.
- Do not attempt to grind ground coffee again.
- It takes 60s to grind a cup of coffee powder, and please break off 60s between each cycle.
natural_image
Line drawing of a tool with a handle and spout, no text or symbols present
natural_image
Simple line drawing of a curved mechanical part with a circular hole, no text or symbols present.
natural_image
Simple line drawing of a curved mechanical part with a central hole, labeled with number 2 (no text or symbols on the shape itself)
natural_image
Simple line drawing of a cylindrical container with an oval end (no text or symbols)
natural_image
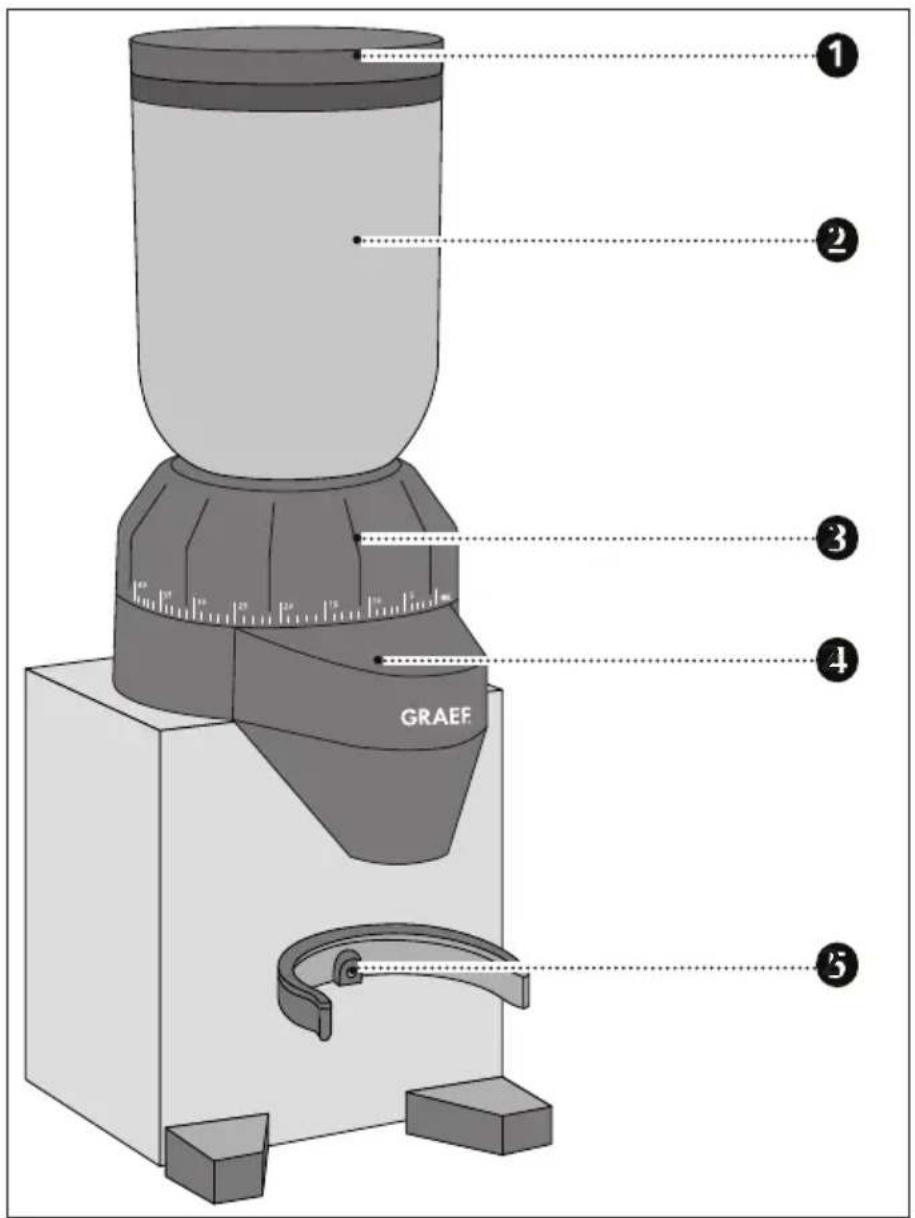
Simple line drawing of a cabinet or enclosure with no text, numbers, or symbols1 Lid
2 Coffee bean container
3 Grinding ring
4 Coffee grounds ejector
5 Contact switch
5 Cleaning brush
7 Filter holder retainer diam. approx. 60 mm
3 Filter holder retainer diam. approx. 70 mm
9 Coffee grounds container
20 Switch with ON / OFF / auto function
PREFACE
Dear Customer,
You have made a good choice by buying this coffee grinder. You have purchased a recognised quality product.
Thank you very much for buying our product. We wish you a lot pleasure with your new Graef coffee grinder.
UNPACKING
Proceed as follows to unpack the unit:
- Remove the unit from the box.
- Remove the packaging parts.
- Remove any stickers on the unit (do not remove the typeplate).
REQUIREMENTS ON THE INSTALLATION LOCATION
For safe and faultfree operation of the unit, the following requirements of the installation location have to be met:
- The unit has to be placed on a solid, flat, horizontal, non-slipping and heat-resistant surface with a sufficient weight-carrying capacity.
- Choose the location in such a way that children cannot reach the unit.
- The unit is not intended for installation in a wall or a built-in cupboard.
- Do not set up the unit in a hot, wet or moist environment.
PRIOR TO FIRST USE
Clean all parts as described in the chapter titled "Cleaning and care".
- Place the coffee bean container on the unit (observe locking mechanism).
- Press the coffee bean container down and turn clockwise (approx. 30 deg.).
SETTING OF DEGREE OF GRINDING
The grain size of the coffee grounds can be varied by means of the different settings of the grinding degree.
Precise data on the grinding degree cannot be given as many different factors play a role, such as type of coffee / bean, room temperature, personal taste, etcetera.
In general, it can be said that a finer grinding degree is used for Espresso; for filter coffee a medium grinding degree and for French Press a coarser grinding degree is set.
Note:
- The finer the grinding degree, the longer the grinding process.
- If you use a very fine grinding degree, it may happen that the coffee agglutina-
tes. If several coffee bean lumps block the grinding mechanism, tap the coffee bean container.
GRINDING COFFEE WITH PERMANENT FUNCTIONALITY
- Insert the plug into the socket.
- Fill the coffee bean container with coffee beans.
Note: Use whole coffee beans only.
- Open the outlet of the coffee bean container by using the sliding closure.
- Set requested grinding degree.
- Place the coffee grounds container below the outlet.
- Set the switch to "ON". The grinding process will start automatically.
- After completing the grinding process, set the switch to "OFF".
GRINDING COFFEE DIRECTLY INTO THE FILTER HOLDER
- Use the large or the small filter holder retainer as requested.
- Open the outlet of the coffee bean container by using the sliding closure.
- Set requested grinding degree.
- Hold the filter holder between the filter holder retainer.
- Set the switch to "AUTO".
- Press the filter holder against the contact switch between the filter holder retainer. The grinding process will start automatically.
- As soon as the filter holder is sufficiently filled, pull it back. The grinding process will stop automatically.
CLEANING
Old coffee remaining in the unit may lead to oxidation. This affects the result of the preparation; unpleasant and unpalatable taste may develop. The unit should always be in a well-kept condition in order to ensure perfect Espresso at all times.
Depending on use, clean the unit at least once a week.
Before cleaning, remove the power plug.
- Use a soft and moist cloth to clean the outer surfaces of the unit. Use a mild detergent in case of heavy soiling.
- Remove the coffee bean container; hold the grinding ring; press the bean container down and turn counter-clockwise.
- Place the unused beans in an airtight container so keep the flavour.
- Clean the coffee bean container and the coffee grounds container in warm water using a little washing-up liquid.
• Afterwards, dry the containers well.
CLEANING THE GRINDING MECHANISM
- Remove the power plug.
- Remove the coffee bean container as described in the chapter titled “Cleaning”
- Turn the grinding ring to the right as far as possible.
- Press the "PUSH" button, and continue to the grinding ring to the right.
- When the two arrows point at each other exactly, you can remove the grinding ring together with the upper grinding mechanism. Remove the upper grinding mechanism from the grinding ring.
- Clean the lower and upper grinding mechanism with the brush enclosed.
- After cleaning, first of all place the grinding ring back on to the motor block (arrow pointing to arrow).
- Now place the upper grinding mechanism.
- Turn the grinding ring clockwise to the requested grinding degree.
- Clean the lower and upper grinding mechanism with the brush enclosed.
Note: In order to test whether the grinding mechanism has been set in correctly, turn the grinding ring to “coarse”, such as level 35, and try to pull out the grinding mechanism by the metal ring. If the grinding mechanism cannot be removed, it has been installed correctly.
- Place the coffee bean container on the unit.
FINE ADJUSTMENT OF THE UPPER GRINDING MECHANISM
By means of the fine adjustment of the upper grinding mechanism, you can set the grinding degree to coarser or finer.
Proceed as follows:
- Remove the upper grinding mechanism.
- Use a screwdriver to remove the small screws.
- Turn the grinding mechanism one stop to the right (coarser) or left (finer).
Note: Set the grinding mechanism two to three stops to the right or left maximum at first.
- Screw the screws back in again.
- Place the upper grinding mechanism back in again.
TIPS
- Precise recommendations for grinding degree settings cannot be provided due to various factors.
→ Beans / types of beans react differently (oily, old, freshly ground etcetera).
→ The personal taste plays a role as well.
→ Choose a finer grinding degree setting for Espresso.
→ Choose a medium grinding degree setting for filter coffee.
→ Choose a coarse grinding degree setting for French Press.
→ Room temperature / air humidity have an effect on the coffee beans.
- The tendency for the correct grinding degree setting for Espresso can be seen by the fact that the coffee grounds start to go lumpy. The coffee grounds are not too lumpy when dropping out; smaller to medium-sized lumps are formed which spread again when dropping out. The coffee grounds have a fine feel.
- It is very important to find the right grinding degree for preparing coffee (extraction time). In case of a wrong grinding degree, the coffee cannot be extracted in an ideal way. It is either under or over extracted.
- However, there is no “perfect grinding degree”. Everyone should find his or her grinding degree according to his or her taste preferences.
- The setting of the grinding degree should also take into consideration the contact pressure and the dosage as well as the roasting degree of the bean used. Some test grinds are necessary here. For this reason the contact pressure and the dosage should be kept constant; the grinding degree should be attuned.
- The finer the grinding degree, the longer the grinder needs.
- It may happen that the grinding degree has to be corrected after some time because the quality, the moisture content and the freshness of the bean depends very much on the surroundings. This can be corrected quickly by trying out and adapting the grinding degree and/or contact pressure, if the Espresso run into the cup too quickly or too slowly.
AFTER-SALES SERVICE
If your Graef unit should be damaged, please get in touch with your specialist dealer or with a Graef after-sales service at +49 (2932) 97 03 688 or write an e-mail to service@graef.de.

DISPOSAL
At the end of its service life, this product cannot be disposed of in normal domestic waste. The symbol on the product and in the operating instructions point out to this fact. Reuse the materials according to their marking. By reusing, recycling or other applying other forms of use of old units, you render an important contribution to the protection of our environment. Please ask your municipal administration for the disposal point.
2 YEAR WARRANTY
As from the date of purchase we assume manufacturer warranty of twenty-four months for defects which can be traced back to manufacturing and material defect. Your legal warranty claim in conformity with Section 437 ff. of the German Civil Code (BGB) shall remain unaffected by this regulation. The guarantee does not cover any damage which is caused by incorrect handling or use as well as
defects which only slightly influence the function or the value of the unit. Moreover, transport damage provided we are not responsible shall be excluded from the claims under guarantee. Guarantee shall be ruled out for damage, the repair of which has not been carried out by us or one of our representations. In case of justified complaints, we shall repair the defective product or replace it by a product without defects at our discretion.
Contenu
natural_image
Line drawing of a tool with a handle and spout, no text or symbols present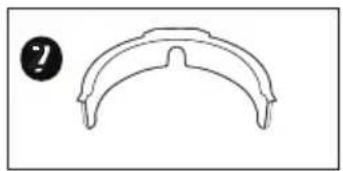
natural_image
Simple line drawing of a curved mechanical part with a circular icon containing a question mark (no text or symbols on the shape itself)
natural_image
Simple line drawing of a curved mechanical part with a circular badge (no text or symbols)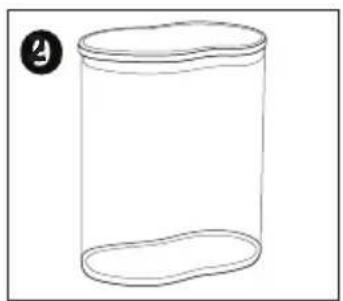
natural_image
Simple line drawing of a cylindrical container with an oval end (no text or symbols)
natural_image
Simple line drawing of a cabinet or enclosure with no text, numbers, or symbolsVOORWOORD
Geachte klant,
KOFFIE MET CONTINUE FUNCTIE MALEN
natural_image
Line drawing of a tool with a handle and segmented body, no text or symbols present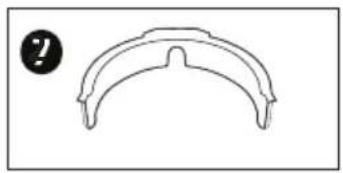
natural_image
Simple line drawing of a curved mechanical part with a circular hole, no text or symbols present.
natural_image
Simple line drawing of a curved mechanical part with a circular label containing the number 2 (no text or symbols on the shape itself)
natural_image
Simple line drawing of a cylindrical container with an oval end (no text or symbols)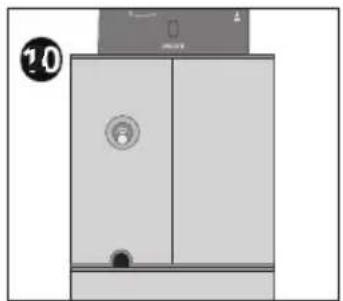
natural_image
Simple line drawing of a cabinet or enclosure with no text, numbers, or symbolsnatural_image
Line drawing of a tool with a handle and spout, no text or symbols present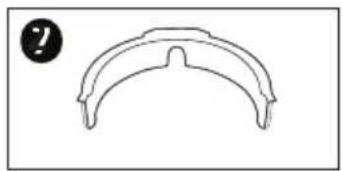
natural_image
Simple line drawing of a curved mechanical part with a circular hole, no text or symbols present.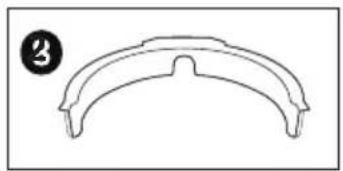
natural_image
Simple line drawing of a curved mechanical part with a circular badge (no text or symbols)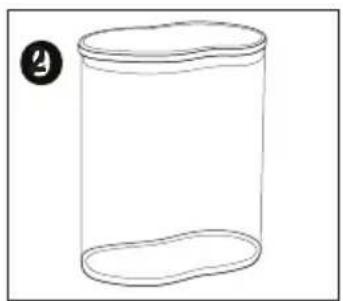
natural_image
Simple line drawing of a cylindrical container with an oval end (no text or symbols)
natural_image
Simple line drawing of a cabinet or enclosure with no text, numbers, or symbolsnatural_image
Line drawing of a tool with a handle and spout, no text or symbols present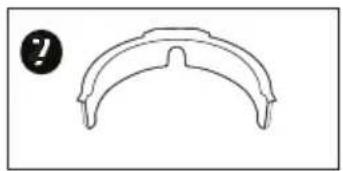
natural_image
Simple line drawing of a curved mechanical part with a circular hole, no text or symbols present.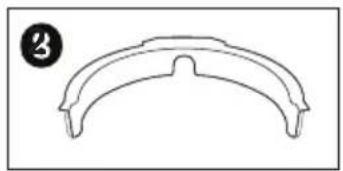
natural_image
Simple line drawing of a curved mechanical part with a circular label containing the number 2 (no text or symbols on the shape itself)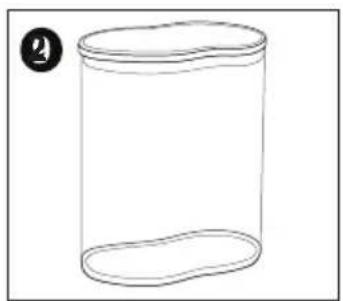
natural_image
Simple line drawing of a cylindrical container with an oval base, no text or symbols present
natural_image
Diagram of a refrigerator with doors and a doorbell, no text or symbols presentnatural_image
Line drawing of a tool with a handle and spout, no text or symbols present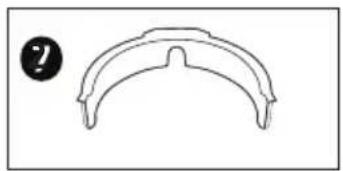
natural_image
Simple line drawing of a curved mechanical part with a circular indicator (no text or symbols)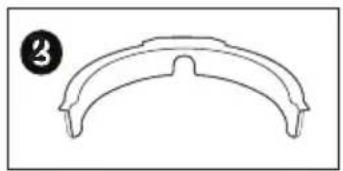
natural_image
Simple line drawing of a curved mechanical part with a circular badge (no text or symbols)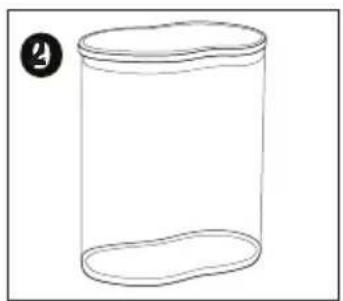
natural_image
Simple line drawing of a cylindrical container with an oval base, no text or symbols present.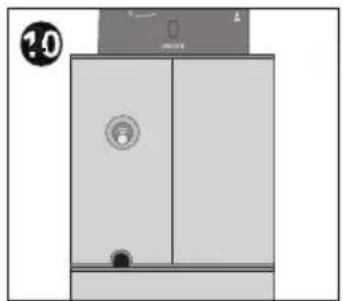
natural_image
Simple line drawing of a cabinet or enclosure with no text, numbers, or symbols1
2
3
4
5
5
7
3
9
20
Låg
Kaf
Mal
Kaf
Kon
Ren
Filte
Filte
Kaf
Kon
Låg Kaf Mal Kaf Kon Ren Filte Filte Kaf Kon
FORORD
Kære kunde,
natural_image
Line drawing of a tool with a handle and spout, no text or symbols present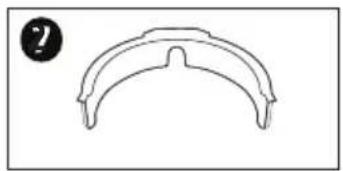
natural_image
Simple line drawing of a curved mechanical part or bracket (no text or symbols)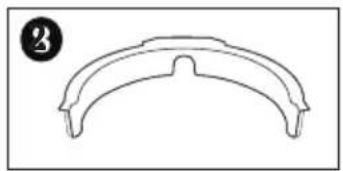
natural_image
Simple line drawing of a curved mechanical part or bracket (no text or symbols)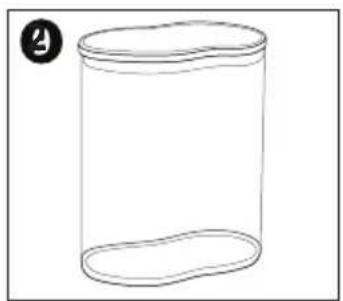
natural_image
Simple line drawing of a cylindrical container with an oval end (no text or symbols)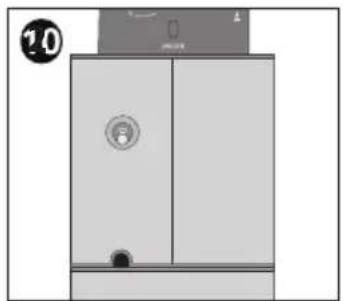
natural_image
Simple diagram of a refrigerator with doors and a doorbell, no text or symbols presentnatural_image
Line drawing of a tool with a handle and spout, no text or symbols present
natural_image
Simple line drawing of a curved mechanical part with a circular indicator (no text or symbols)
natural_image
Simple line drawing of a curved mechanical part with a circular label containing the number 2 (no text or symbols on the shape itself)
natural_image
Simple line drawing of a cylindrical container with an oval end (no text or symbols)
natural_image
Simple line drawing of a cabinet with doors and a doorbell, no text or symbols present1
2
3
4
5
5
7
3
9
20
Lock
Bönb
Kvar
Kaffe
Kont
Reng
Filter
Filter
Bönb
Strör
FÖRORD
Kära kund,

- SAFETY INSTRUCTIONS
- PREFACE
- UNPACKING
- REQUIREMENTS ON THE INSTALLATION LOCATION
- PRIOR TO FIRST USE
- SETTING OF DEGREE OF GRINDING
- Note:
- GRINDING COFFEE WITH PERMANENT FUNCTIONALITY
- GRINDING COFFEE DIRECTLY INTO THE FILTER HOLDER
- CLEANING
- Before cleaning, remove the power plug.
- CLEANING THE GRINDING MECHANISM
- FINE ADJUSTMENT OF THE UPPER GRINDING MECHANISM
- TIPS
- AFTER-SALES SERVICE
- DISPOSAL
- YEAR WARRANTY
- Contenu
- VOORWOORD
- KOFFIE MET CONTINUE FUNCTIE MALEN
- FORORD
- FÖRORD
Brand : GRAEF
Model : CM 820
Category : Coffee grinder