DNPF16 - Pneumatic stapler Prebena - Free user manual and instructions
Find the device manual for free DNPF16 Prebena in PDF.

User questions about DNPF16 Prebena
0 question about this device. Answer the ones you know or ask your own.
Ask a new question about this device
Download the instructions for your Pneumatic stapler in PDF format for free! Find your manual DNPF16 - Prebena and take your electronic device back in hand. On this page are published all the documents necessary for the use of your device. DNPF16 by Prebena.
USER MANUAL DNPF16 Prebena
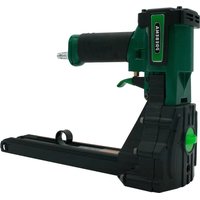
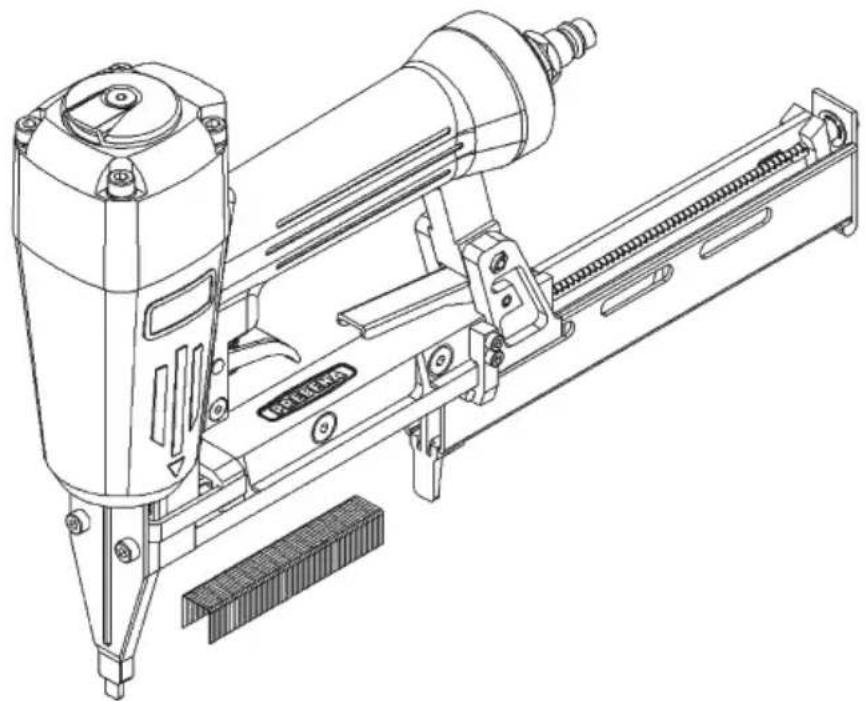
Original instructions for Pneumatic Fastener Driving Tools
natural_image
Technical line drawing of a precision nesting press tool (no text or symbols)
These Instructions are intended for use as a workplace reference. The enclosed Spare part list is one part of the operating instruction. Please read carefully before operating the tool and observe all safety rules!
The replacement parts list with schematics, replacement part numbers, technical specifications and areas of application is annexed.
natural_image
Technical line drawing of a mechanical assembly with no visible text or symbolsnatural_image
Technical line drawing of a precision machine tool (no text or symbols visible)natural_image
Technical line drawing of a high-voltage pad built-in assembly (no text or symbols)
natural_image
Technical line drawing of a mechanical device with no visible text or symbolsRead the operating instructions and pay particular attention guidelines and technical descriptions.

If there is no other information available, only use the tool for the fastening of wood to wood or material with the same or less hardness.
1.1 Regulations
Tackers must comply with ES 792-13 concerning "Hand-held non-electric power tools -Safety requirements- Part 13: Fastener driving tools".
This standard stipulates that:
instructions accompanying the tool (see TECHNICAL SPECIFICATIONS). The tacker as well as the fasteners described in the operating instructions are to be considered as a system in compliance with the safety specifications.
tool to the compressed air source and the male con must be affixed to the tool in such a manner t remains in the tool after the line has been disconnected.
pneumatic tackers.
sure does not exceed the maximum operating pressure of the tool by more than 10%. If the pressure is higher, a pressure control valve (pressure limiter) equipped with a downstr pressure relief valve must be installed in the compressed air line.
facturer or his agent may be employed in the maintenance of the tool.
centers or other competent repair professionals in accordance with the specifications printed in the operating instructions.
Note: A competent repair professional is defined as a person who possesses sufficient knowledge of tackers due to his professional training and experience and who has sufficient knowledge of the relevant government work safety regulations, accident prevention regulations, guidelines and generally recognised technological directives (e. g. CEN or CENELEC Standards) to permit him to evaluate whether the tacker is safe for operation.
∞mounting devices whose purpose is to fix the tacker to a base, e. g. a work table, must be designed by their manufacturers to allow the tacker to be affixed in such a way that it can be safely operated, e.g. preventing damage, twisting or shifting.
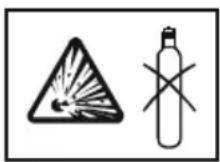
The use of the tacker in particular areas of application may require compliance with additional regulations and directives (e. g. work areas where c explosion exists).
1.2 Work Safety Guidelines
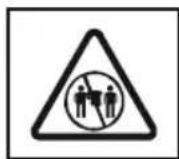
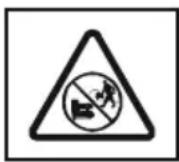
Danger! At close distances, the stapler is similar to a firearm.
Therefore, never point a stapler that is ready for operation directly at yourself, other persons or animals.
Danger! The stapler can recoil and cause injury to the operator.
When working with the stapler, hold it in such a manner that your head and body cannot be injured in case it recoils.
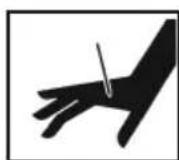
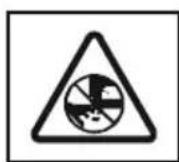
Danger! Hands and other parts of the body in the vicinity of the muzzle can be injured.
Hold your hands and other parts of your body away from the area of the muzzle when working.

Danger! Triggering the stapler while it is pointed into the air car cause danger due to flying fasteners and can cause the device to overload.
Never trigger the stapler when pointing it into the air!
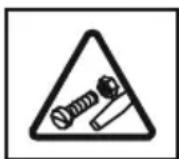
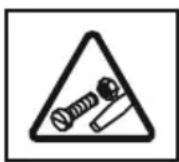
Danger! Fasteners can slide off and injure the operator.
Never try to set a second fastener on the back or head of a fastener alread inserted, this can cause damage.
Danger! The stapler can accidentally be triggered during transport.
During transport, the stapler must be disconnected from source of pneumatic pressure, especially if you are using laders or are working in unaccustomed positions.
Danger! The stapler can accidentally be triggered wh carried.
Always carry the stapler by the handle at the workplace and never with your finger on the trigger.
Danger! Fasteners can penetrate thin work materials or can slide o working on ceilings or edges of work materials, thus posing a danger to per-sonal safety.
Therefore, you should always take the conditions of the individual workpl into consideration.

Danger! Fasteners can fly through a room or materials can pl due to the stapling process. The loudness at the place of use can exceed the permissible values. Always wear protective gear such as eye protection and hearing protection. The same also applies to other persons nearby.
1.3 Tacker Safety Guidelines

Danger! A defective or improperly functioning stapler can result in danger to yourself and others.
Each time before use, verify that safety features and the t mechanism are working correctly and that all screws and nuts are firmly fastened.
Do not make any unauthorized changes to the tacker.
Do not disassemble the tacker or block the operation of any part, (e. g. do not disarm the trigger safety).
Danger! Improper or inadequate maintenance can result in danger to yourself and others. Do not perform any "makeshif using inappropriate material. The upkeep of the tacker m performed regularly by authorized service personnel. In or avoid damaging or weakening the tacker, do not:
- engrave or strike the tool;
- make modifications not approved by manufacturer;
– drive fasteners in hard metal, e. g. steel; - drop or slide along the floor;
- use as a hammer;
- misuse the tool in any way.
1.4 Noise Emission

The noise output of the tacker was measured in accordance with DIN EN 12549 "Noise test code for fastener driving tools" (see TECHNICAL SPECIFICATIONS).
The values are a measure of the noise output of the tool itself and are not an indication of noise in the workplace. The workplace noise levels will depend upon, for example, the surroundings, the work material, the work surface, the number of fasteners being driven etc.
According to the workplace conditions and the work material, measures may have to be taken to reduce noise levels for individuals by laying the work material on a sound-absorbing base, by reducing vibrations of the work material by securing it in a vice or covering it up, by setting the operating pressure to the lowest position possible for the task being performed. Personal hearing protection should be worn.
1.5 Vibrations
The vibration measurements for the tacker were carried out in accordance with ISO 8662-11 "Hand-held portable power tools- Measurements of vibrations at the handle - Part 11: fastener driving tools".

The value is a measure of the vibration produced by the tool itself and does not represent the effect on the hand or arm when the tacker is in use. The effect on the hand and arm depends upon how strong the machine is gripped or pushed against the work material, the angle the tool is held at, the pressure setting, the work surface and the base being worked on.
1.6 Triggering Mechanismus

The tacker is activated by pulling the trigger with your finger. In addition, certain tackers must be equipped with trigger safeties that prevent a fastener from being driven in if the muzzle is not placed against the work surface. These tackers are identified with an upside down triangle (▼) and cannot be used without the trigger safety in place.
1.7 Triggering Systems

Depending upon the use, the tackers can be equipped with different triggering systems.
Single-Fire Trigger: In this triggering procedure, the trigger must be activated once each time a fastener is ejected. The trigger must
be fully released before a new fastener can be driven in.
Single-Fire Trigger with Trigger Safety (preferred method of use): In this triggering procedure, the trigger and the trigger safety must be activated before a fastener can be ejected. This means that when the trigger is pulled, a fastener is ejected only when the tacker muzzle is pushed against the point where the fastener is to be driven. Further fasteners can only be driven after the trigger has been fully released.
Single-Fire Trigger with Safety Sequence: In this triggering procedure, the trigger and the trigger safety must be activated before a fastener can be ejected. This means that when the trigger is pulled, a fastener is ejected only after the tacker muzzle has been pushed against the point where the fastener is to be driven. Further fasteners can only be driven after the trigger and the trigger safety have been fully released.

Contact Trigger (for restricted uses): In this trigger condition, the trigger and the trigger safety must be activated before a fastener can be ejected, but the order in which this takes place is not important. To drive in further fasteners, all you have to do release the trigger safety while keeping the trigger held down, or vice versa.
The contact trigger may not be used:
- when moving from one work point to the next for example over stairs, ladders or scaffolding.
- when sealing boxes or crates.
- when attaching safeties for transport.

Rapid-fire Trigger: In this triggering procedure ejected as long as the trigger is held down.
Rapid-fire Trigger with Trigger Safety (for restricted uses this triggering procedure, the trigger and the trigger safety must be
activated before a fastener can be ejected. This means that when the trigger is pulled, a fastener is ejected only after the tacker muzzle has been against the point where the fastener is to be driven, but the tacker fires contin-
uously until the trigger is released.
The rapid-fire trigger may not be used:
- when moving from one work point to the next for example over stairs, ladders or scaffolding.
- when sealing boxes or crates.
- when attaching safeties for transport.
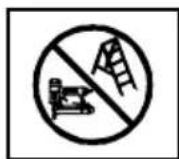
Pneumatic staplers that are equipped with co-restricted use) or Rapid fire trigger with trigger safety and labelled with the symbol “do not use on scaffoldings and ladders” are not allowed to be used for above mentioned applications.
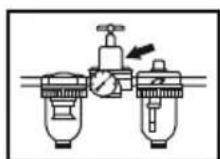
2. Compressed Air System

For optimal tacker operation, dry, filtered and oiled compressed air is required in sufficient quantities.
If the pressure in the air lines is higher than the maximal admissible operating pressure of the tacker, a pressure (pressure limiter) equipped with a downstream pressure relief valve
must be installed in the inlet line to the tacker.
Note: When compressed air is generated using a compressor, the natural humidity in the air condenses and collects as condensation in the pressure chamber and tubing. This condensation is removed from the system using water collectors. The collectors must be checked daily and emptied if necessary, otherwise rust may form in the pneumatic lines and the tacker and result in tool wear.
The compressors must meet all requirements regarding the pressure and suction capacity (volume flow) for the envisioned use. Excess strain on the compressor or capacities that are too low in function of the tubing lengths (tube and hoses) will lead to loss of pressure.
Permanently laid air lines must have an interior diameter of at least 19 mm. In the case of longer air lines or multiple users, the lines must be strengthened correspondingly.
The air lines should be sloped (highest point towards the compressor). Instal easily accessible water collectors at the lowest points.
All user air outlets must be built on to the top side of the air lines.
Compressed air outlets that are planned for use with equipped with compressed air maintenance units (i. e. filter, water collector oiler). The oilers must be checked daily and, if necessary, be filled required oil (see TE CHNICAL SPE CIFICATIONS).
For hose lengths of over 10 m, it cannot be guaranteed that a sufficient supply of lubricant will reach the tacker. For this reason, we recommend oiling the tool directly through the air input with 2-5 drops of the recommend before use (see TECHNICAL SPECIFICATIONS) or to build an oiler directly onto the tool.
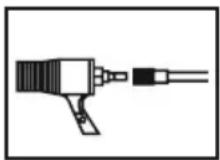
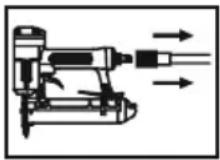
3. Connecting the tacker to the compressed air line

Make sure that the pressure in the compressed air lines does not exceed the maximal admissible operating pressure of the tackle. First set the air pressure to the lowest working (TECHNICAL SPECIFICATIONS). Empty the magazine so that fasteners are ejected during the next step, in case parts inside the tacker did not return to the initial position due to repairs, maintenance or transport. Connect the tacker to the compressed air source using a compressed air hose equipped with a rapid action coupling.
Verify that the tacker is in optimal working condition by setting against a piece of wood and pulling the trigger once or twice.
4. Loading the magazine
Only fasteners listed in the TECHNICAL SPECIFICATIONS and on the model identification plate may be employed in the tacker.
Familiarise yourself with the magazine system that the tacker is equipped with (see TECHNICAL SPECIFICATIONS).
With bottom-loading systems, push down the safety catch and pull back the lower slide bar. Hold the tool at an upwards angle and insert the bars of staples or pins with the upper side first into the magazine.
natural_image
Technical line drawing of a precision measuring instrument with no visible text or symbols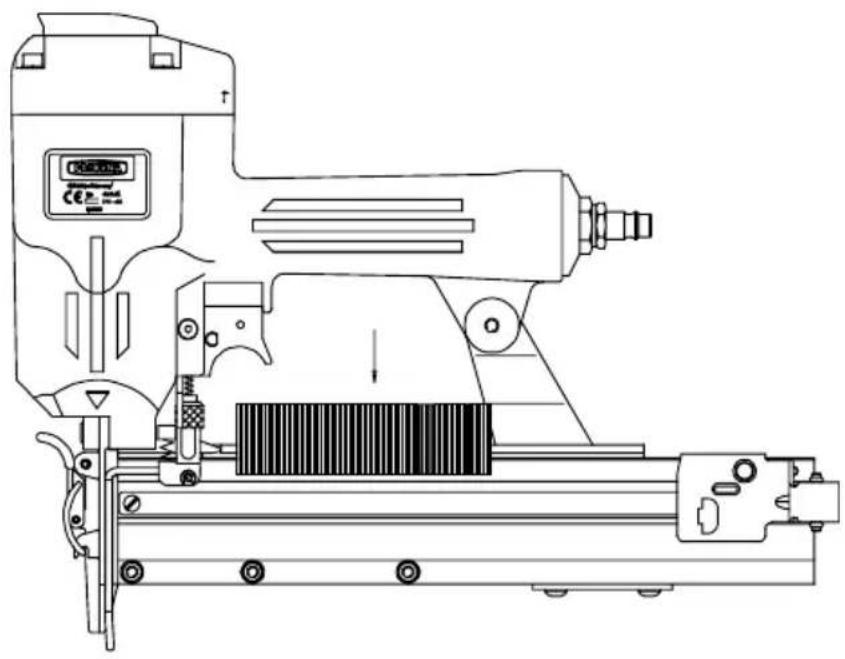
natural_image
Technical line drawing of a precision machine tool with no visible text or symbolsPush the lower slide bar back into place until the safety catch clicks into place.
There are two types of top-loading systems. Either the upper part of the magazine is unlocked and then pulled back until it catches or the fastener feed bar is pulled back until it catches. Point the tool towards the ground. Staple bars are inserted on top of the guiding rails and nail strips are inserted them.
Release the feed bar and snug up to the bar or strip by hand, or push the magazine forwards until it locks into place.
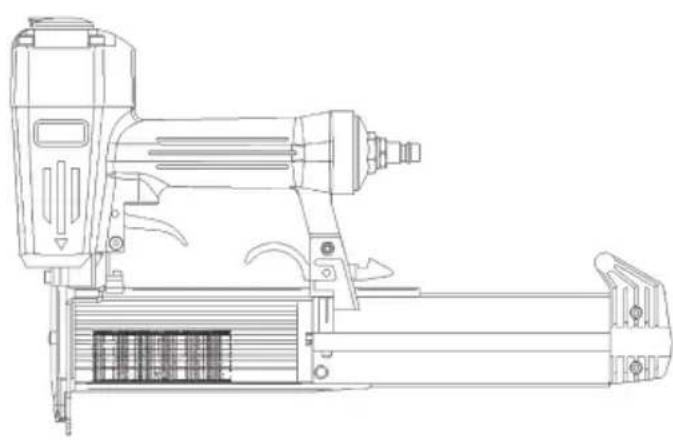
(A)
natural_image
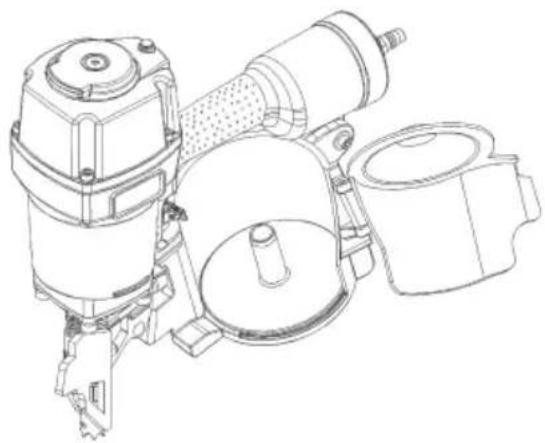
Technical line drawing of a high-voltage pad kit (no text or symbols)(B)
natural_image
Technical line drawing of a mechanical device with no visible text or symbolsWith side-loading systems (A), release the safety catch and pull the side slide bar back.
Point the tool at an angle towards the ground and insert the nail strips so that the head slips into the corresponding groove and the tip lies as close to the magazine bottom as possible.

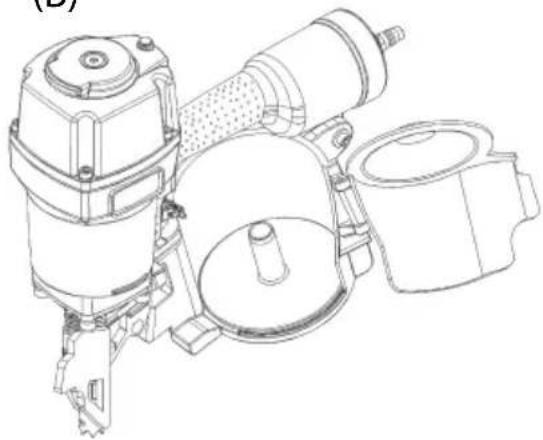
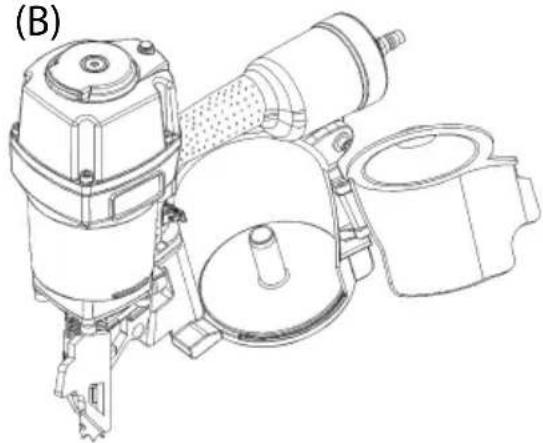
With the coil nailer system (B), push down the hook and open the flap.
Open the magazine lid. Verify that the nail plate is properly adjusted for the nail length being used. To adjust the plate, push lightly on the middle knob and turn counter-clockwise to raise it. Repeat
if necessary. To lower the plate, push down the middle knob lightly and turn clockwise. Repeat if necessary.
Insert the roll in the magazine and pull the first nail into the front of the tool with the heads in the head guide grooves and the two wires in their respective grooves. Secure the first nail between the teeth of the feed mechanism. Close the magazine lid and check to see if the plastic tooth is pushing into the side wall of the feed mechanism. Make sure that the flap is locked into position! If you do not check for this, the nailer could jam or the lid could open when working in vertical positions or above your head.
The trigger must never be activated during loading and the muzzle of the tool must never be pointed at yourself or at another person.
5. Tool Use

Please pay special attention to Section 1 – Special Remarks – of these operating instructions.
Once you have verified that the tool is in optimal operating order, set the muzzle against the work surface and activate the trigger.

Warning: When driving in fasteners, especially in hard when using longer fasteners, the tool may recoil. In the ca tackers with contact triggers (see 1.7), unintentionally setting tacker against the work surface may cause it to eject another fastener when you do not want this. For this reason, always hold the
tacker well away from the work surface and set it on the surface only when you wish to drive another fastener.
Verify that the fastener was driven in according to your specifications.
If the fastener is sticking out, increase the air pressure in 0.5 bar incren (do not exceed maximum pressure) until the proper depth is obtained.
If the fastener was driven in too far, reduce the air pressure in 0.5 bar ments until the fastener is driven in satisfactorily.
In all cases, try to work with the lowest required pressure. This has three essential advantages for you:
- Energy savings.
- Noise levels are kept to a minimum.
- Tool wear is kept to a minimum.
Avoid pulling the trigger when the magazine is empty. Discontin immediately from the air supply if it is defective or not in optimal working order and bring it to a competent repair person.
Disconnect the tacker from the air supply and if possible empty the magazine during longer work breaks and at the end of the day.
Protect the air connections on the tacker and the air hoses from dirt.
If sawdust, shavings, sand etc. get into the tacker, this can lead to breaks the seal and will eventually damage the tacker and the hook-ups.
- Troubleshooting
| Problem Possible Cause | |
| The tacker will not eject a fastener. | after lengthy storage period. |
| Fasteners are not being driven in all the way. | |
| Air is leaking from the tool. | |
| The tacker is shooting "blanks". | in tacker. original position after firing. lo |
| The magazine opens when the trigger is pulled. | material. the tool plate. |
| When the trigger is pulled, no fastener is ejected. | The connector between the piston and the driver is broken. The driver tip remains visible at the muzzle after the driving mechanism has returned to its starting position. |
In case of complex operating difficulties, please call us. Our service department will deal with your problem as quickly as possible.
| Solution | |
| Increase air pressure (do not exceed maximum), after a few test shots, reduce pressure again. | |
| Increase air pressure (do not exceed maximum). Driver may have to be replaced. | |
| Tighten screws, replace o-ring, send tool in. | |
| w. | Use authorised fasteners. Verify that the feed bar moves freely. Clean magazine. Replace stretched or damaged spring on feed bar. Bent driver? Increase air pressure (do not exceed max.) Follow correct triggering procedure. Oil the male connector (nipple) with a few drops of PREBENA special oil. |
| Use authorised fasteners. If neccessary, replace driver and safety catch. Verify tool plate and driver. Send tool in to customer service. | |
| Send tool in to customer service. |
natural_image
Technical line drawing of a mechanical assembly with no visible text or symbolsnatural_image
Technical line drawing of a precision machine tool with no visible text or symbolsnatural_image
Technical line drawing of a high-voltage inverter assembly (no text or symbols)(B)
natural_image
Technical line drawing of a mechanical device with no visible text or symbolsnatural_image
Technical line drawing of a mechanical assembly with no visible text or symbolsnatural_image
Technical line drawing of a precision machine tool with no visible text or symbolsnatural_image
Technical line drawing of a high-voltage inverter assembly (no text or symbols)(B)
natural_image
Technical line drawing of a mechanical device with no visible text or symbolsWarranty information:
PREBENA will repair or at its option replace this product without charge, other than transportation charges, if it is returned to the dealer concerned with transportation charges prepaid, as being defective, within 1 year of the date of purchase and provided that inspection by the company indicates that it is defective because of faulty workmanship or material. The guarantee does not include working parts which are subject to fair wear and tear i.e. O-rings, Driver blades, Bumpers, Pushers etc. Should a part be considered faulty (i.e. a driver blade) due to faulty workmanship or material it must be checked by PREBENA and will be replaced if the claim is confirmed.
This Limited Warranty does not cover damage to this product through accident or misuse, nor does it cover any incidental expense to the user resulting from non-funktion of this product. To submit a warranty claim the product must be returned to your dealer and with proof of purchase.
Information de garantie:
These Operating Instructions were prepared in cooperation with TÜV Produkt Service GmbH, 45145 Essen.