Radical Arc X13 - Indoor bike trainer Capital Sports - Free user manual and instructions
Find the device manual for free Radical Arc X13 Capital Sports in PDF.
| Product Type | Indoor Cycle Trainer |
| Brand | Capital Sports |
| Model | Radical Arc X13 |
| Maximum User Weight | 120 kg |
| Dimensions (L x W x H) | 110 x 56 x 125 cm (approx.) |
| Device Weight | 28 kg (approx.) |
| Power Supply | None (manual device, no electricity) |
| Resistance Type | Manually adjustable friction or magnetic resistance (not specified) |
| Braking System | Emergency stop button integrated into resistance adjustment |
| Freewheel | Yes, allows immediate stop of pedals |
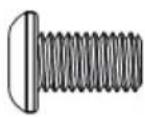
| Pedals | Left and right pedals with standard thread (left: counterclockwise, right: clockwise) |
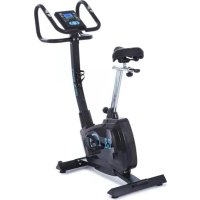
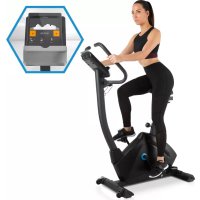
| Seat | Adjustable in height and horizontal position (with STOP mark) |
| Handlebar | Height adjustable |
| Stabilizers | Front and rear; front stabilizer with transport wheels |
| Usage | Home use only (not commercial or therapeutic) |
| Assembly | Assembly required (instructions included) |
| Maintenance | Regular lubrication of moving parts; cleaning with a damp cloth (no cleaning products) |
| Safety | Do not use in a damp room; 0.5 m clearance around; check tightness before each use |
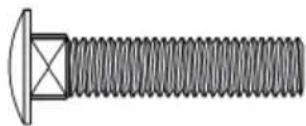
| Included Spare Parts | Screws, cap nuts, washers, adjustment knobs, Allen key, multi wrench |
| Manufacturer | Chal-Tec GmbH, Berlin, Germany |
Frequently Asked Questions - Radical Arc X13 Capital Sports
User questions about Radical Arc X13 Capital Sports
0 question about this device. Answer the ones you know or ask your own.
Ask a new question about this device
Download the instructions for your Indoor bike trainer in PDF format for free! Find your manual Radical Arc X13 - Capital Sports and take your electronic device back in hand. On this page are published all the documents necessary for the use of your device. Radical Arc X13 by Capital Sports.
USER MANUAL Radical Arc X13 Capital Sports
Congratulations on purchasing this equipment. Please read this manual carefully and take care of the following hints to avoid damages. Any failure caused by ignoring the mentioned items and cautions mentioned in the instruction manual are not covered by our warranty and any liability.
SAFETY INSTRUCTIONS
- Please keep this manual in a safe place for your reference when necessary.
- Please do not assembly or use this equipment until you read this manual thoroughly & carefully. The safety and efficiency only can be achieved when the equipment is assembled, maintained and used properly. It is your responsibility to ensure that all the users are informed of all the warnings and precautions.
- For totally safe use, a stable, leveled surface is required. Protect your floor with a mat. Do not use the equipment in a damp areas such as swimming pool sauna, etc. For safety space, the equipment must have at least 0.5 meter of free space all around it.
- Before starting any exercise program you must consult your doctor to determine if you have any physical or health conditions that could create a risk to your health and safety, or prevent you from using the equipment properly. Your doctor's advice is essential if you are taking medication that affects your heart rate, blood pressure or cholesterol level.
- Be aware of your body's signals. Incorrect or excessive exercise can damage your health. Stop exercising if you experienced any of the following symptoms: pain, tightness in your chest, irregular heartbeat, extreme shortness of breath, feeling light headed, dizzy or nauseous. If you do experience any of these conditions you must consult your doctor before continuing with your exercise program.
- Keep children and pets away from the equipment, the equipment must be assembled and used by adults only.
- The equipment is designed for home use only,
Note: Maximum weight of the user is 120kg
- The equipment is not suitable for therapeutic use.
- Wearing proper clothing while using the equipment, Avoid wearing loose clothing that may get caught in the equipment or that may restrict or prevent movements.
- Keep your back straight while exercising.
- Before using the equipment, check the handle bar, seat, and the nuts & bolts are securely tightened.
- For adjustable parts, bear the maximum position in your mind, do not exceed the mark _v stop",otherwise will cause risk.
- Always use the equipment as indicated. If you find any defective components while assembling or checking the equipment, or if you hear any unusual noises coming from the equipment during use, stop immediately. Do not use the equipment until the problem has been solved.
- Care must be taken when lifting or moving the equipment so as not to injure your back. always use proper lifting techniques and/or seek assistance if necessary.
- All moveable accessories (e.g. pedal, handlebar, saddle...etc.) require weekly maintenance. Check them before use every time. If anything broken or loose, please fix them immediately. You may continue using them only after they return to good conditions.
- Pay attention to the absence of a free wheel system which will cause serious risk.
Note: Press on the brake knob for emergency. Also, you can adjust the resistance by turning around the resistance adjusting & brake knob.
- Lock the equipment when stop using.
OVERVIEW AND SPARE PARTS

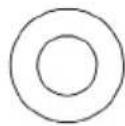
Washer
X4
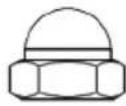
Domed nut
X4
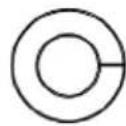
Spring washer
X4
Bolt
X4
Bolt
X4
Adjusting knob
X3
X1
ASSEMBLY
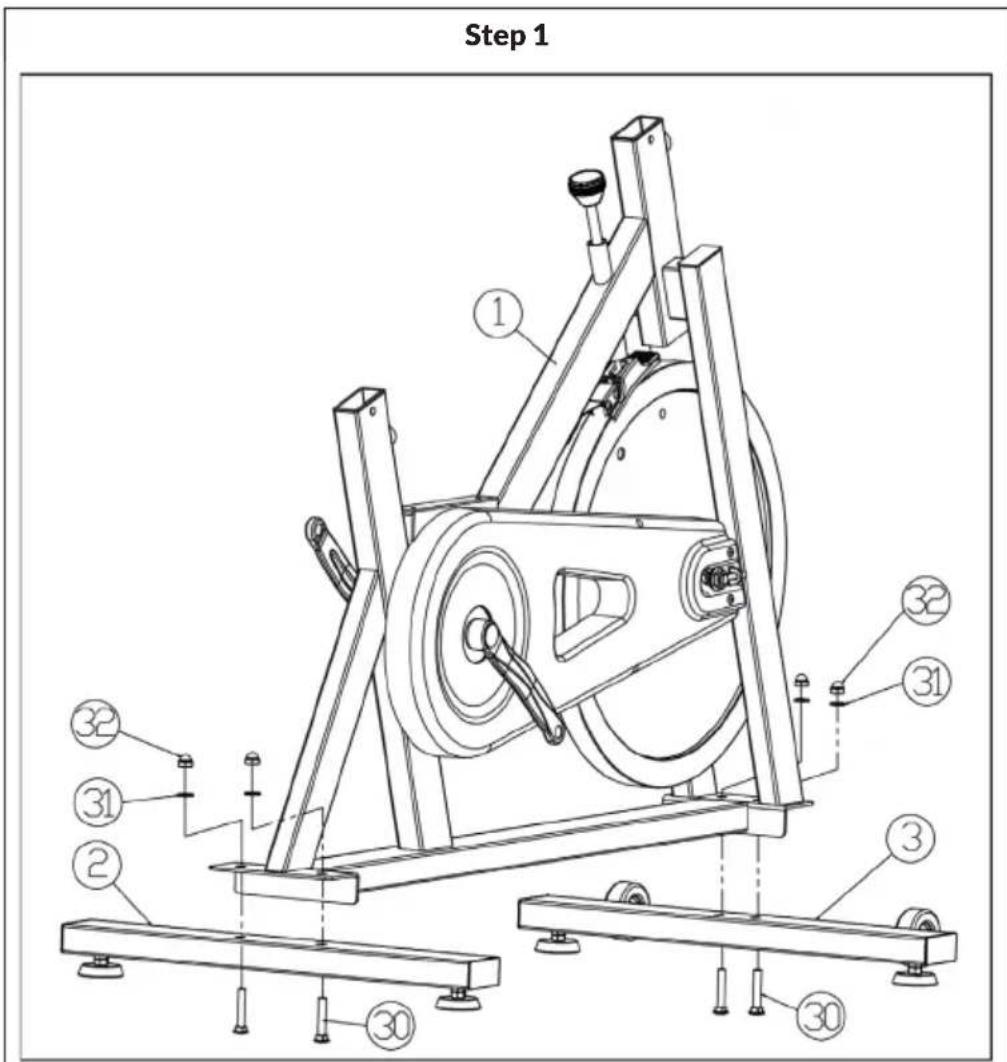
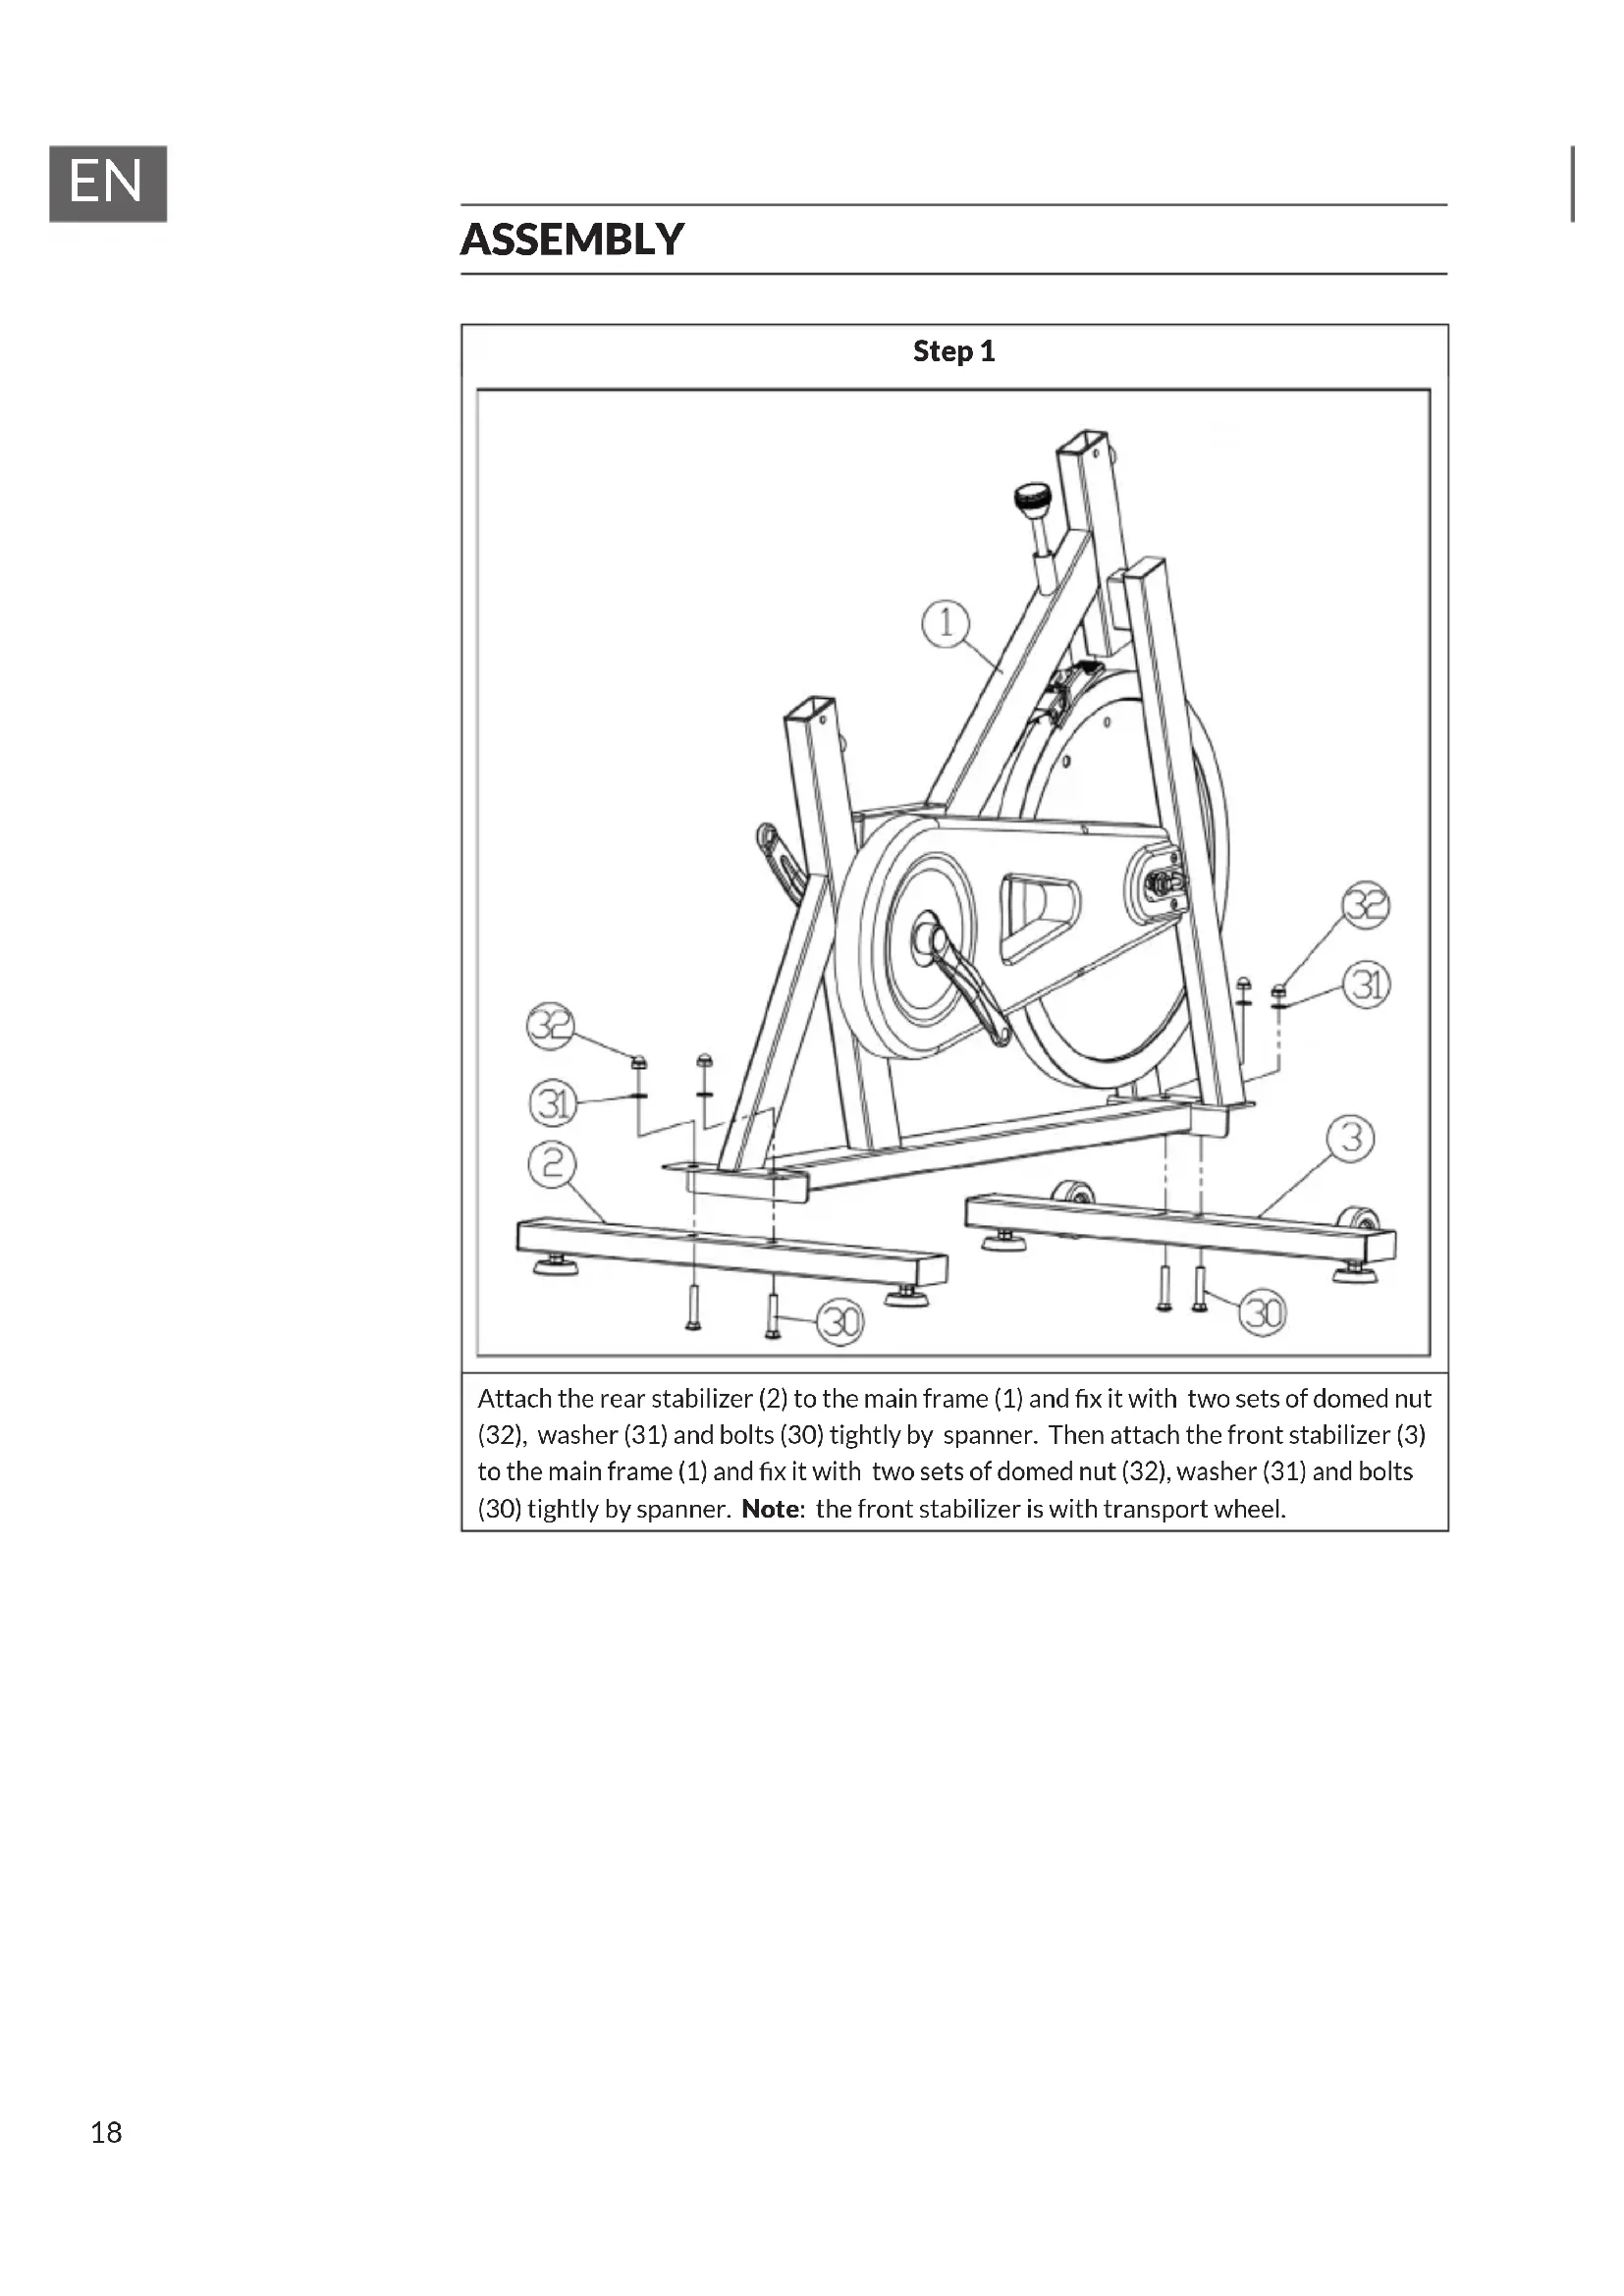
Attach the rear stabilizer (2) to the main frame (1) and fix it with two sets of domed nut (32), washer (31) and bolts (30) tightly by spanner. Then attach the front stabilizer (3) to the main frame (1) and fix it with two sets of domed nut (32), washer (31) and bolts (30) tightly by spanner. Note: the front stabilizer is with transport wheel.
Step 2
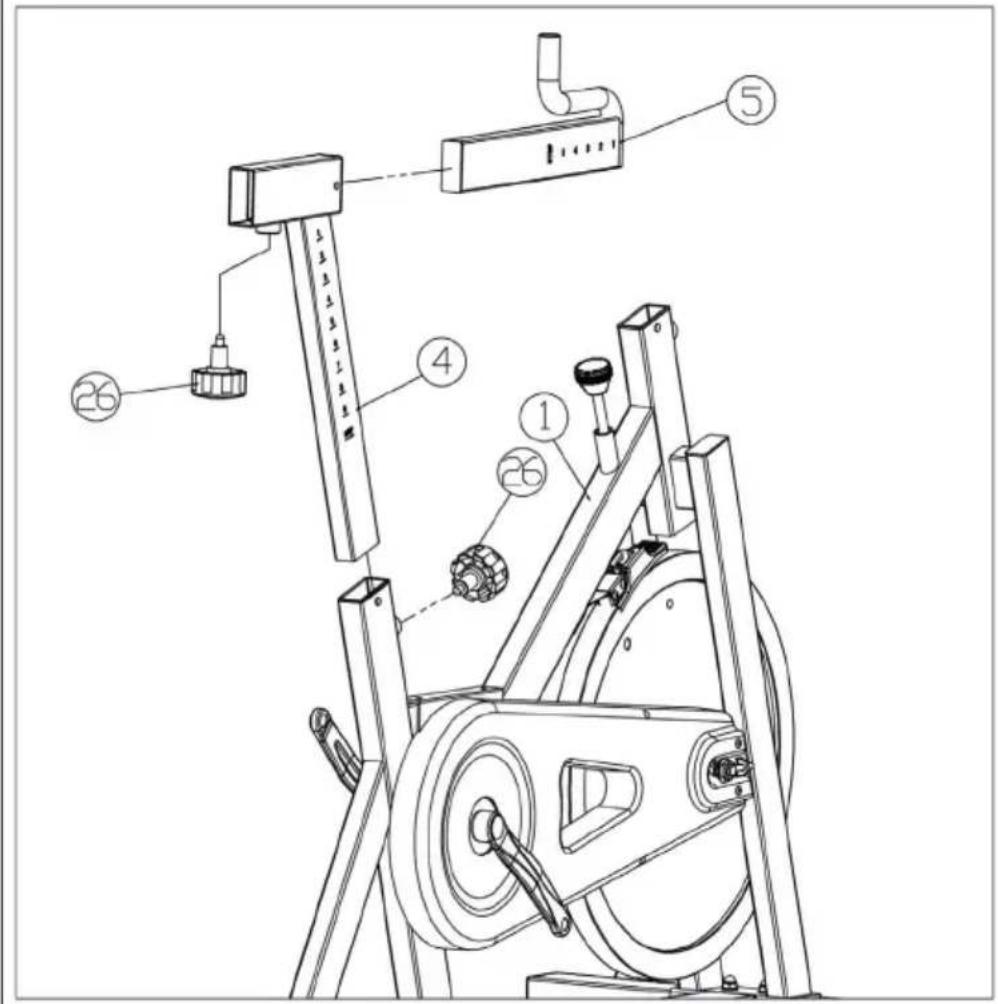
Sliding the seat support post(4) into the seat support post housing on the main frame (1) and align holes for your desired height, then tighten it properly by the adjusting knob (26). Sliding the seat sliding set (5) into the seat support post (4) and align holes for your desired distance, then tighten it properly by the adjusting knob (26). Note: Do not exceed the mark "stop".
Step 3
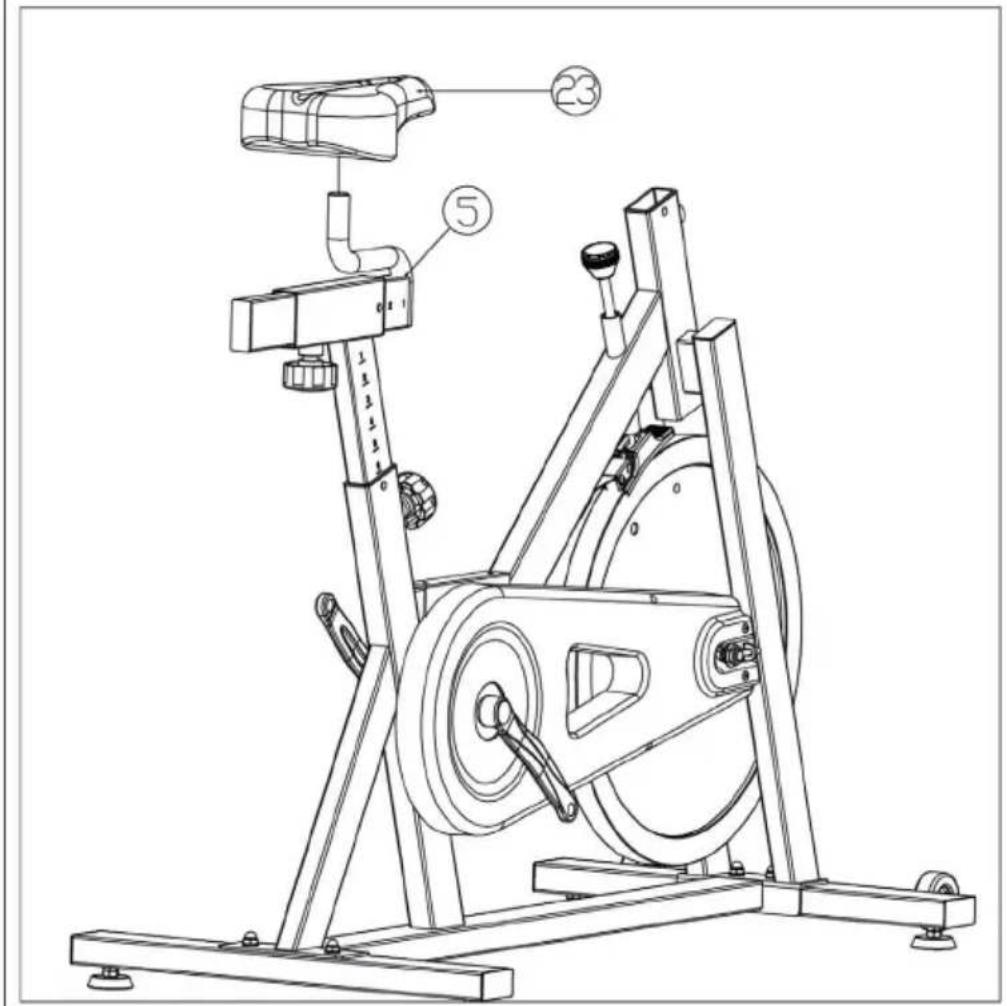
Fix the seat (23) on the seat sliding set (5) properly by spanner.
Step 4

Sliding the handle bar support post (6) into the front post on the main frame (1) and align holes for your desired height, then tighten it properly by the adjusting knob (26).
Note: Do not exceed the mark ,stop".
Step 5
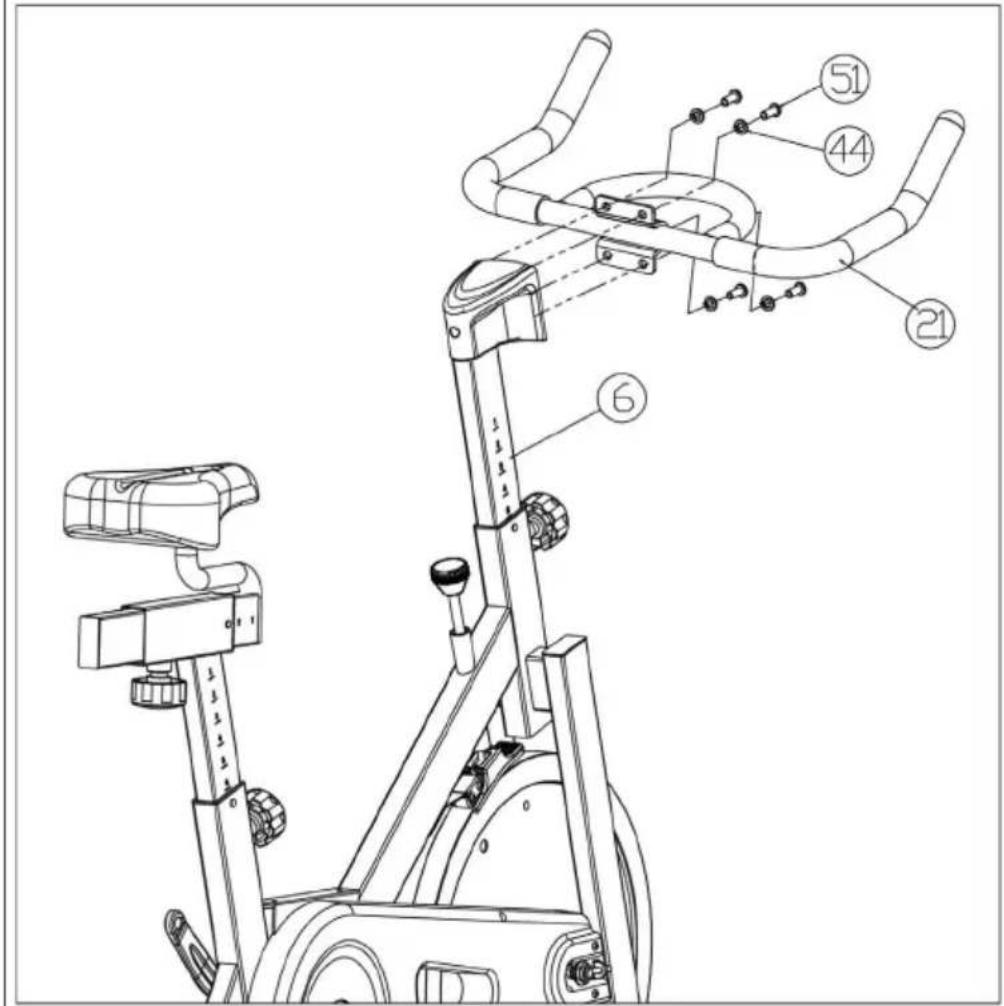
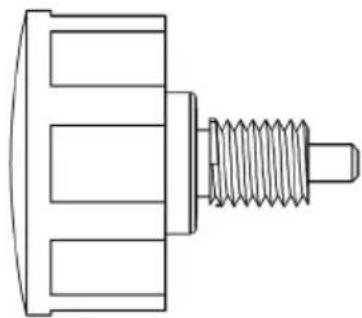
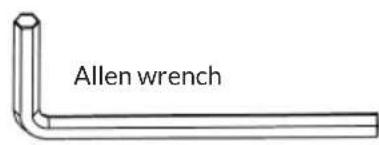
Fix the handle bar (21) on the handle bar support post (6) with bolt (51), spring washer (44) tightly by allen wrench.
Step 6
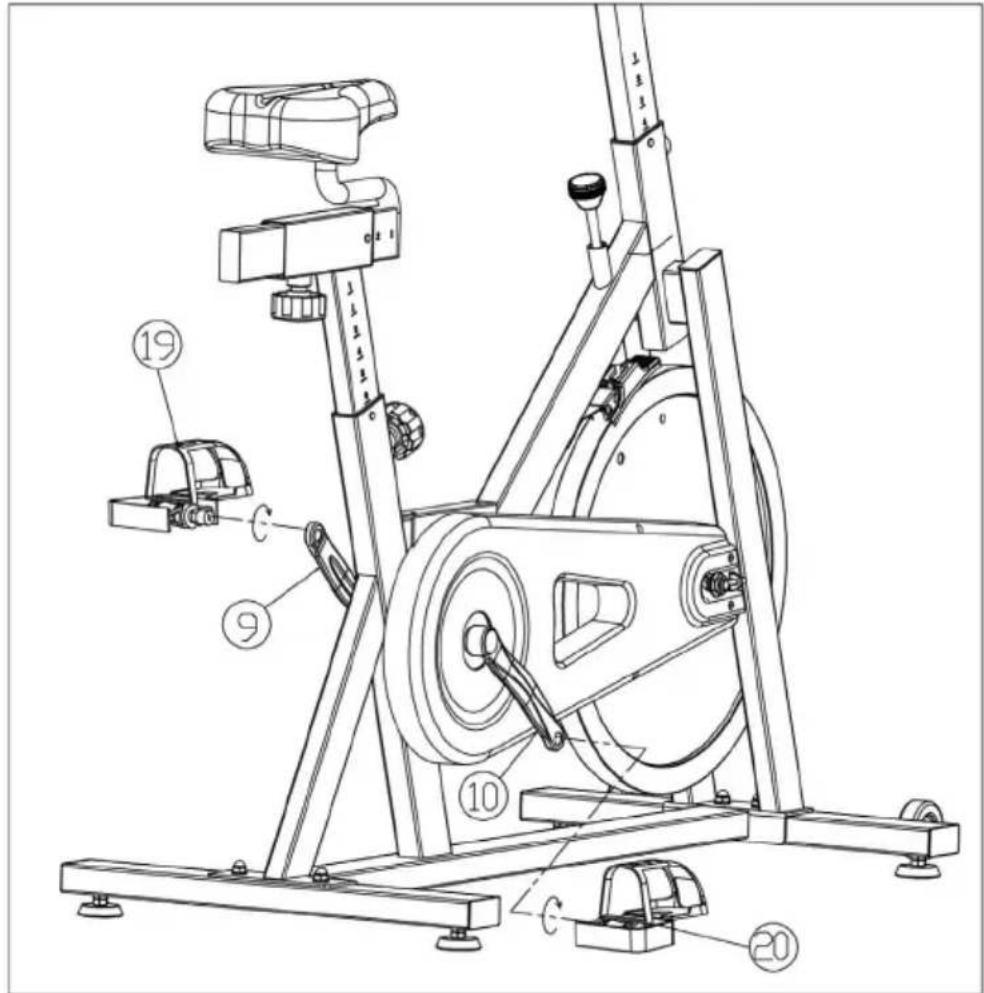
Screw the left pedal (19) onto the left crank (9) tightly by spanner in anticlockwise direction, and then screw the right pedal (20) onto the right crank (10) tightly by spanner in clockwise direction.
CARE AND CLEANING
- The safety level of the equipment only can be maintained if it is regularly examined for damage and or /wear and tear.(e.g. handle bar, pedals and seat ...etc.). It is vital that any faulty parts are replaced and the it is not used until completed repaired.
- Regularly check that the elements fastened with nuts and bolts are correctly tightened.
- Remember regularly to grease moving parts.
- Special attention to the component, most of them are susceptible to wear like brake system, foot pad etc..
- As sweat is very corrosive, do not allow it to come into contact with the enameled or chromed parts of the equipment, particularly the computer. Immediately wipe the equipment after using. The enameled parts can be cleaned using a damp sponge. All aggressive or corrosive products must be avoided.
- Stor the equipment in a clean and dry environment away from children.
PRODUCER
Chal-Tec GmbH, Wallstraße 16, 10179 Berlin, Germany.