Noon - Baby bed JANE - Free user manual and instructions
Find the device manual for free Noon JANE in PDF.
User questions about Noon JANE
0 question about this device. Answer the ones you know or ask your own.
Ask a new question about this device
Download the instructions for your Baby bed in PDF format for free! Find your manual Noon - JANE and take your electronic device back in hand. On this page are published all the documents necessary for the use of your device. Noon by JANE.
USER MANUAL Noon JANE
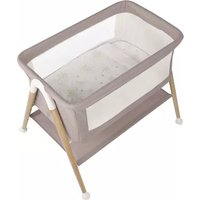
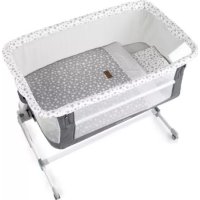
A Set of structure and fabric cover
B Support vertical
C Detachable lower bar
D Mattress
D
TEILE
IMPORTANT. KEEP FOR FUTURE REFERENCE. READ CAREFULLY
WARNING
-WARNING: Do not use this product without reading the instructions first.
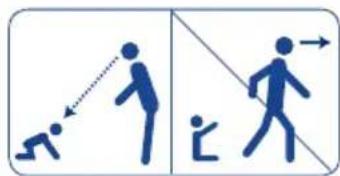
-WARNING: The cot should no longer be used when the child can sit up, kneel up or stand up unaided.
-WARNING: Placing additional elements in the cot may cause asphyxiation.
-WARNING: Do not place the product near any other products that could cause a danger of asphyxiation or strangulation, for example: strings, curtains, cords, etc.
- The assembly elements must always be securely fastened and inspected to make sure they do not collapse and to prevent any of the fastening screws or connection elements from coming loose, as the baby or parts of the baby's clothing could get trapped, such as: dummy cords, hooks, collars and earrings causing a possible risk of strangulation.
- The mini cot should always be placed or a horizontal floor.
-Do not let children play near the mini cot without supervision.
-When the child is unsupervised in the mini cot, make sure that the rail is always up, correctly fastened in place and that the zips are fully closed.
-DO NOT use the product if any of the parts are broken, damaged or missing. Contact JANE S.A. for replacement parts and extra instructions if necessary. DO NOT replace any parts yourself.
-Make sure that all the assembly devices are correctly fitted, as well as the locking devices.
- Never use the cover without the metal structure.
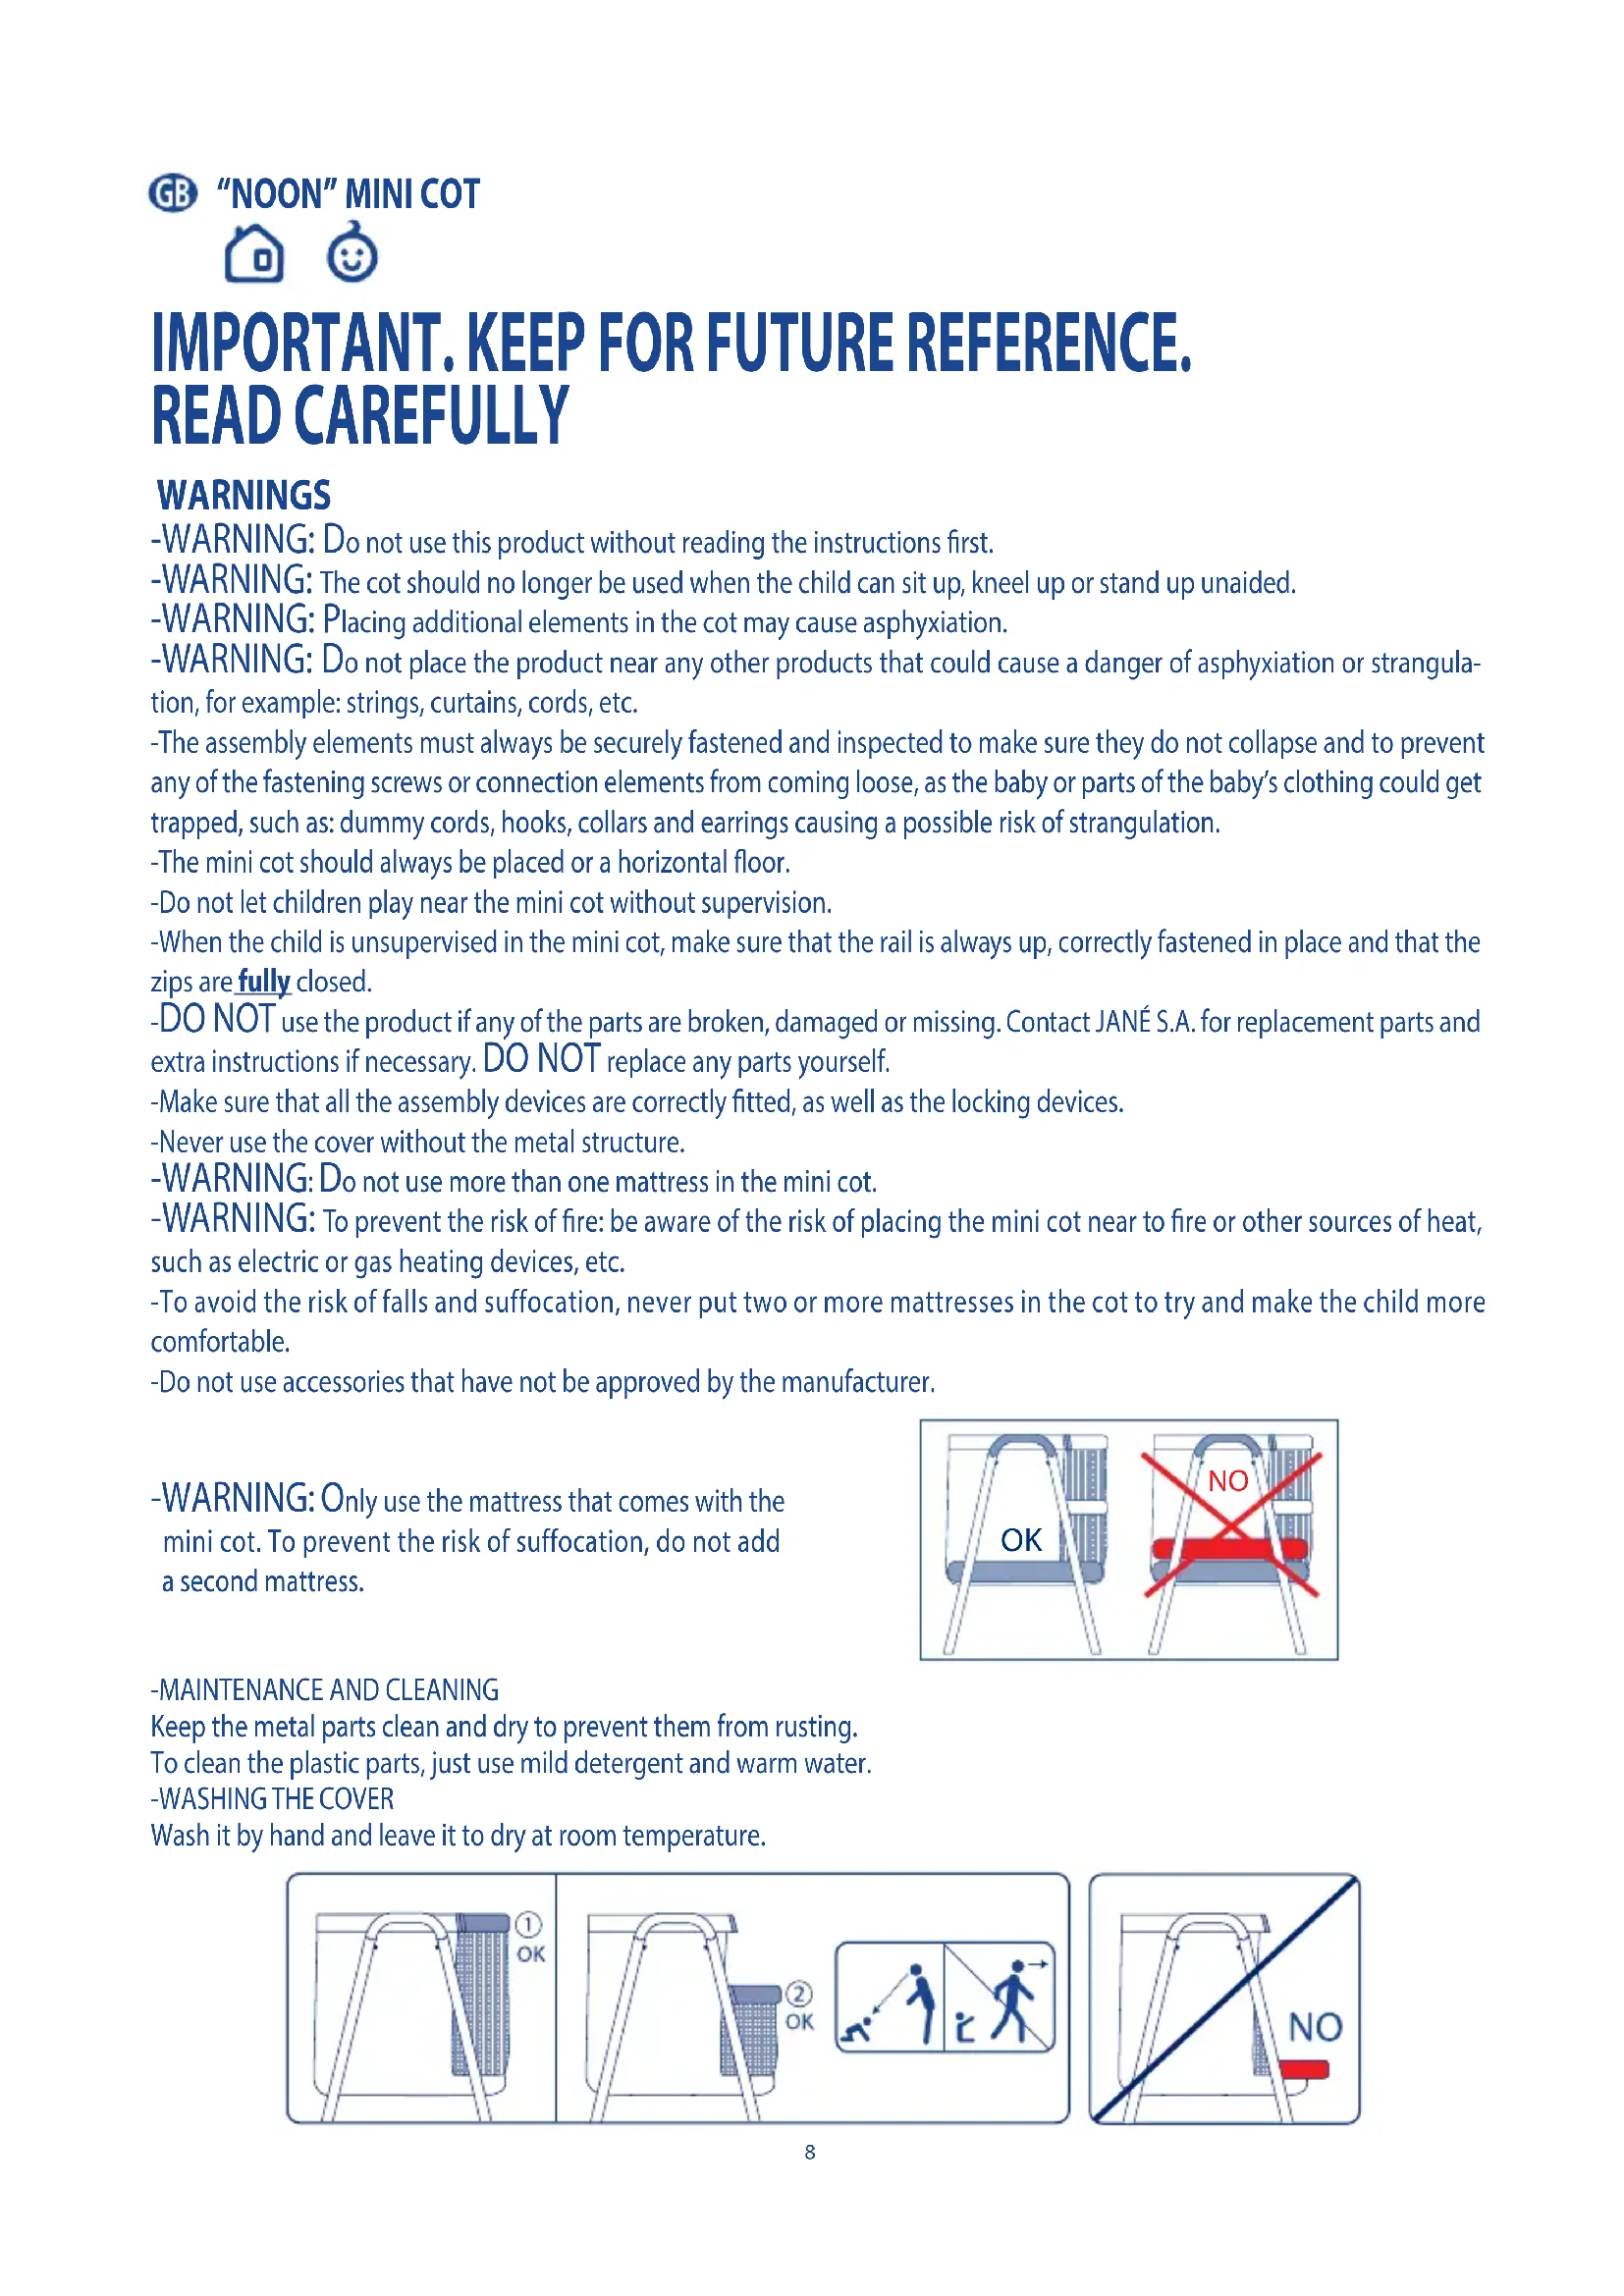
-WARNING: Do not use more than one mattress in the mini cot.
-WARNING: To prevent the risk of fire: be aware of the risk of placing the mini cot near to fire or other sources of heat, such as electric or gas heating devices, etc.
- To avoid the risk of falls and suffocation, never put two or more mattresses in the cot to try and make the child more comfortable.
-Do not use accessories that have not be approved by the manufacturer.
-WARNING: Only use the mattress that comes with the mini cot. To prevent the risk of suffocation, do not add a second mattress.
-MAINTENANCE AND CLEANING
Keep the metal parts clean and dry to prevent them from rusting.
To clean the plastic parts, just use mild detergent and warm water.
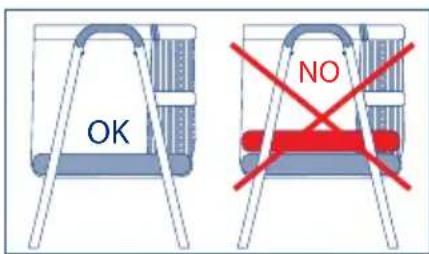
WASHING THE COVER
Wash it by hand and leave it to dry at room temperature.
INSTRUCTIONS FOR USE
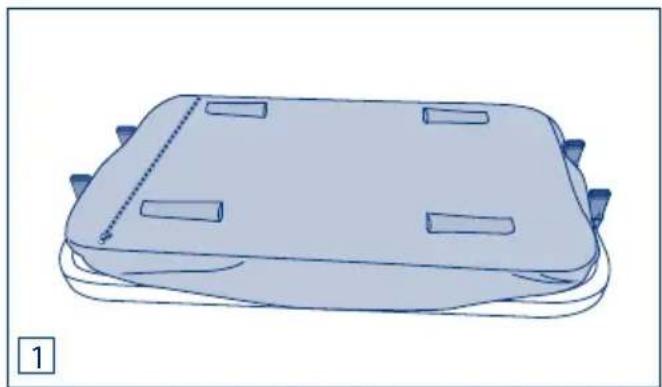
ASSEMBLING THE MINI COT
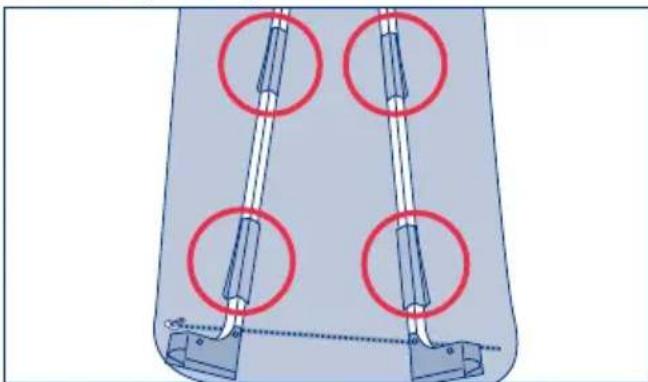
Remove the mattress, the duvet and the pillow and place the cot face down on a table or a clean, flat surface. Insert the 4 legs into the plastic supports aligning the side orifice on the leg with the plastic support flange (diagram 2).
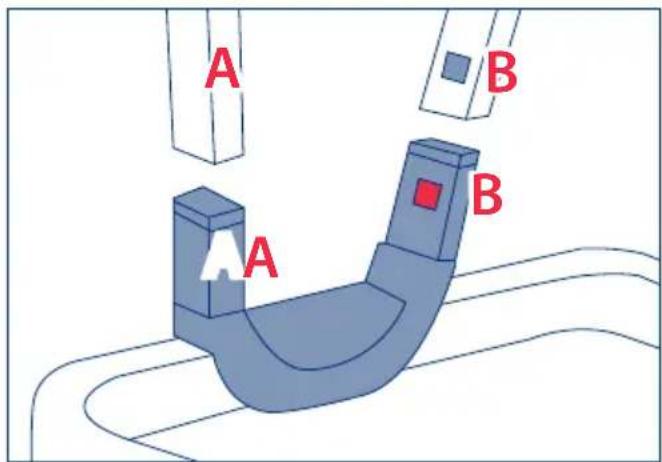
Follow the order marked by the letters A B C D. The letter on the leg should match up with the letter on the plastic support A-A, B-B, C-C, D-D.
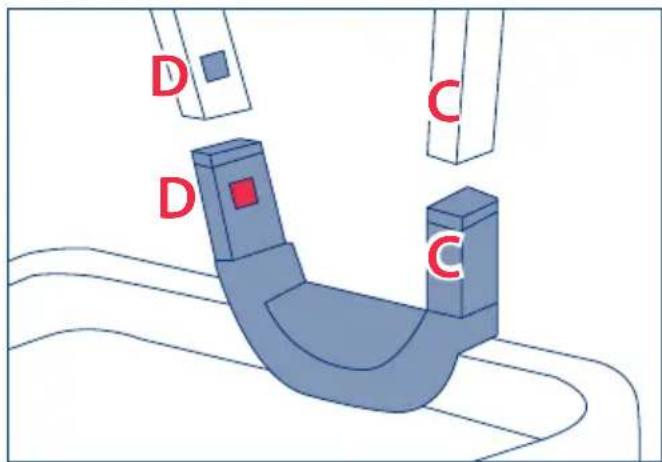
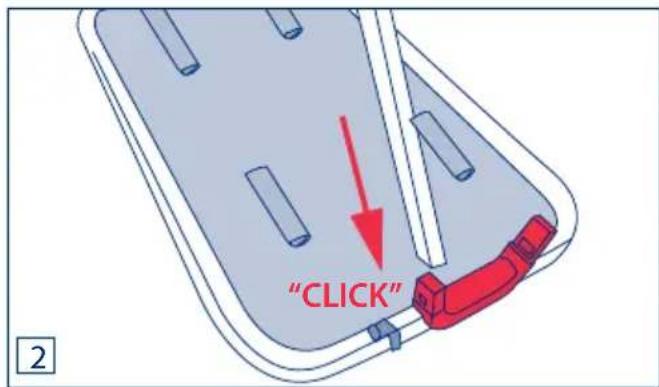
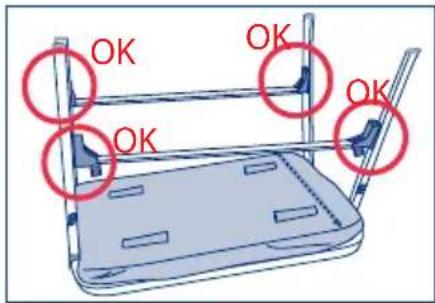
To fasten the leg correctly in place press downwards until you hear the safety click and repeat the same process with the other legs.

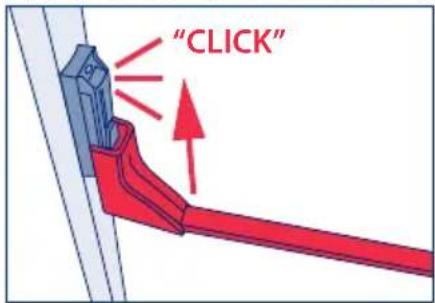
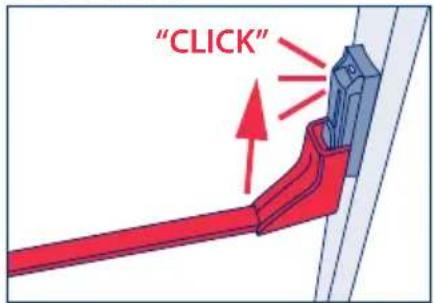
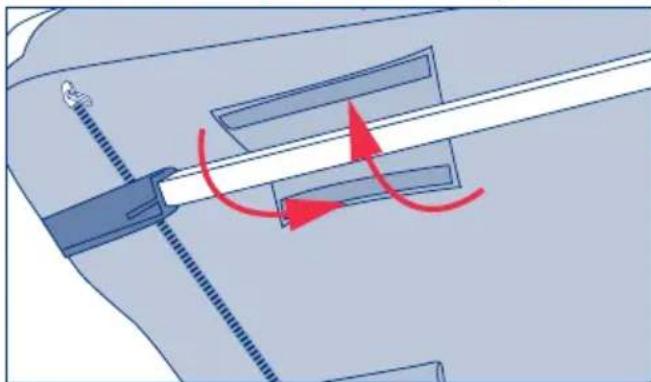
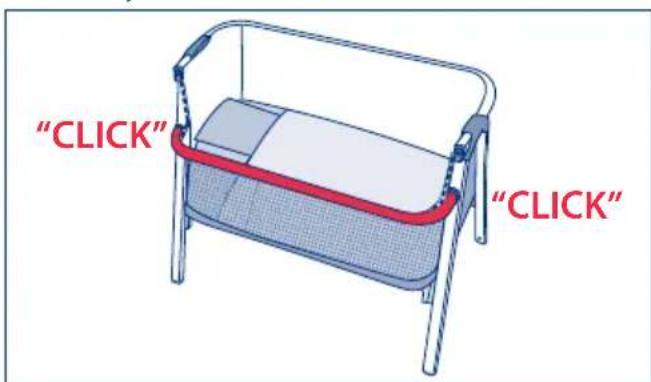
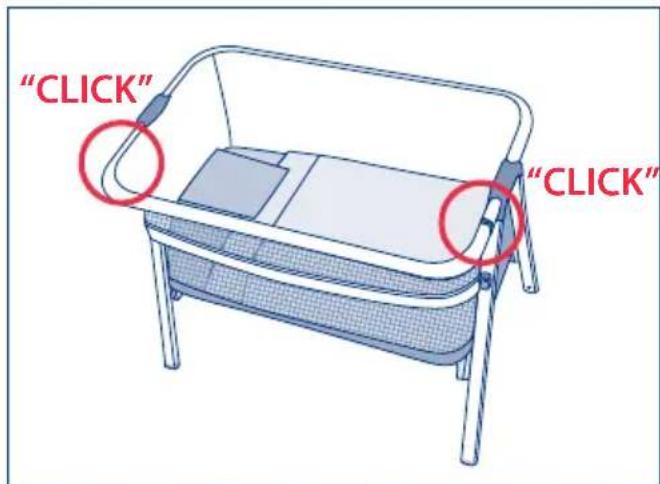
Next, fit the crosspieces by simultaneously inserting the 2 side connectors upwards into the guides until they are slotted in fully.
Insert them from the bottom to the top until they have both clicked into place.
Repeat the same process with the second crosspiece.
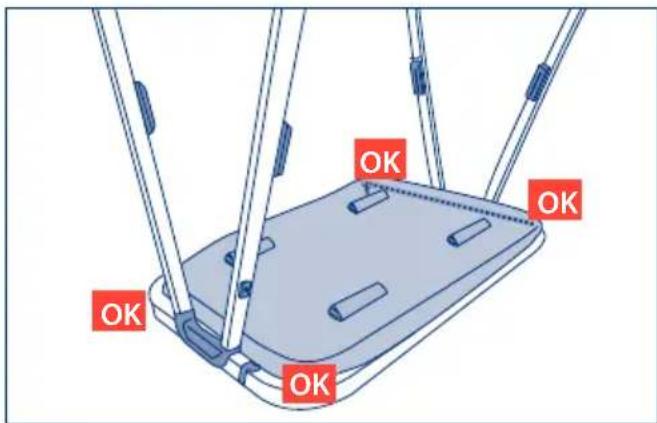
Turn the cot over and put the mattress and the pillow back in it.
Fasten the 4 Velcro flaps around the crosspieces, making sure that they are fully fastened.
To dismantle the cot, follow the same process in reverse.
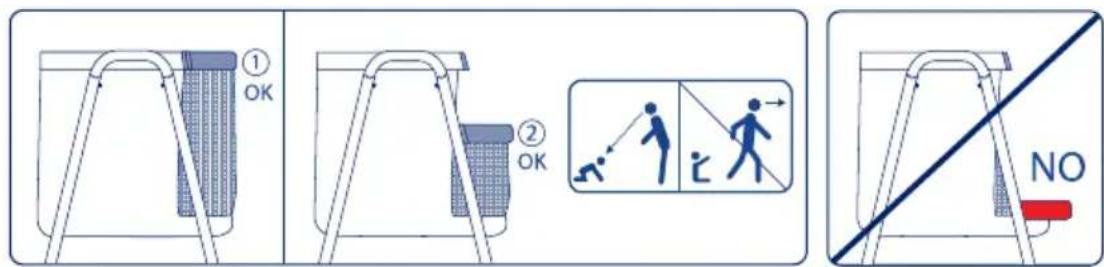
CHANGING THE HEIGHT OF THE RAIL TO THE LOWER POSITION
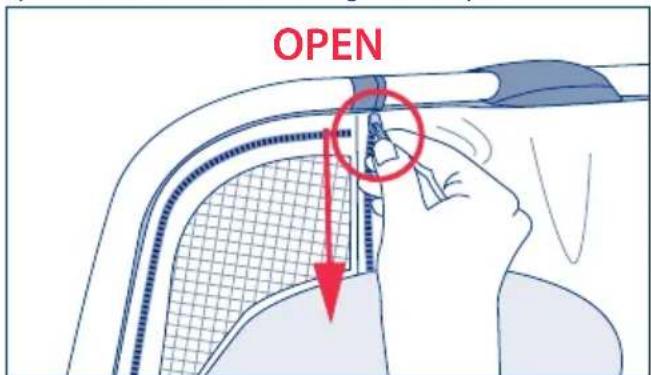
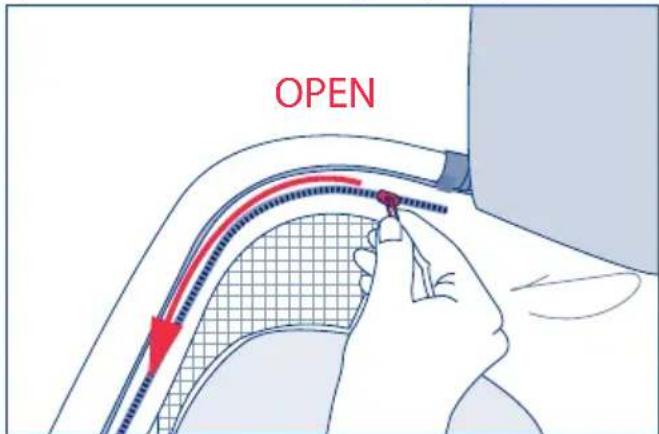
To lower the height of the safety rail: fully open the 2 vertical zips on the sides.
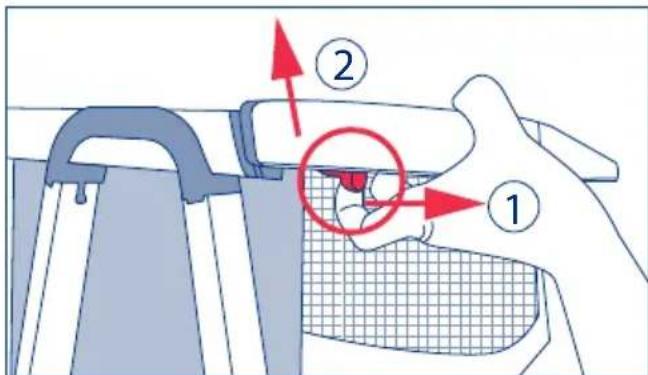
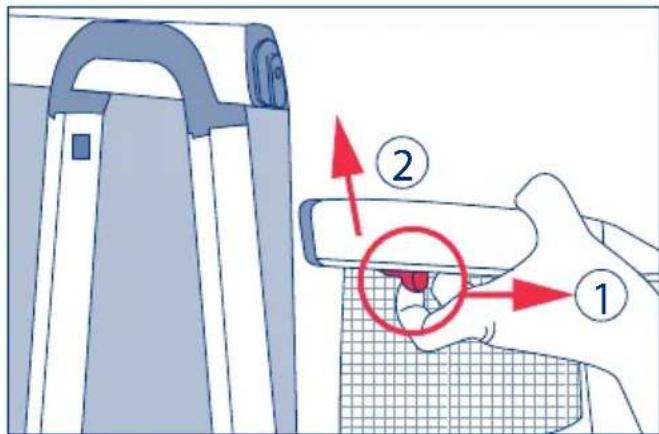
At the same time on both sides, unlock the safety rail by sliding buttons with your finger (Step 1) and move the rail upwards to take it out of the guide (Step 2).
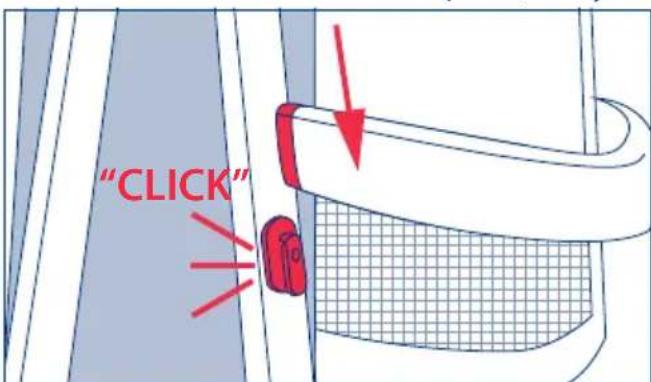
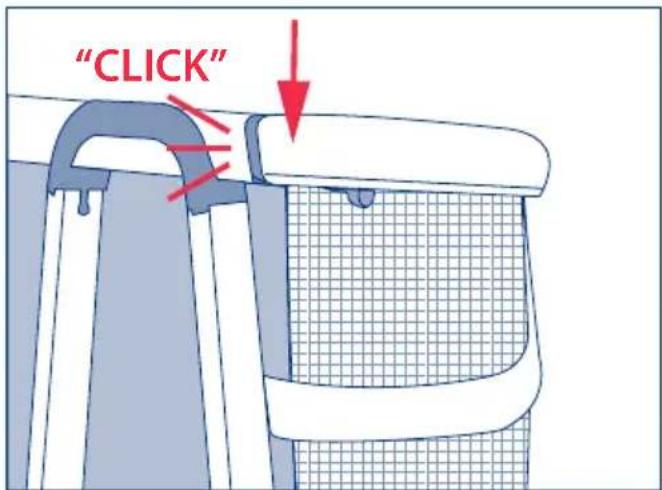
Insert the rail into the 2 lower anchor points, until you hear the safety clicks.
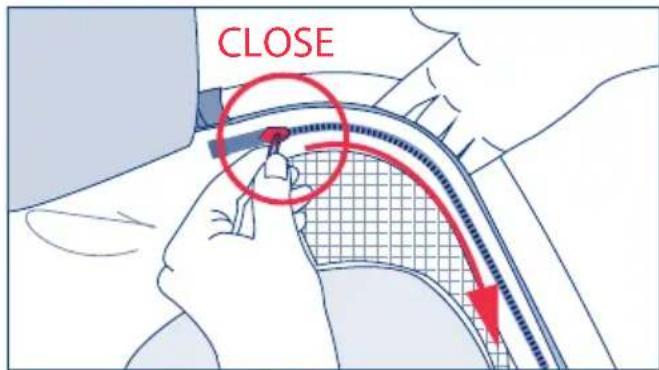
Conceal all the surplus netting along the rail under the zip. Fully close the horizontal zip to finish the rail lowering process.


POSITION 2 (RAIL LOCKED IN THE LOWER POSITION)
WARNING: Only use this position when an adult is permanently supervising the child and only up to the age of 4 months.
CHANGING THE HEIGHT OF THE RAIL TO THE HIGHER POSITION
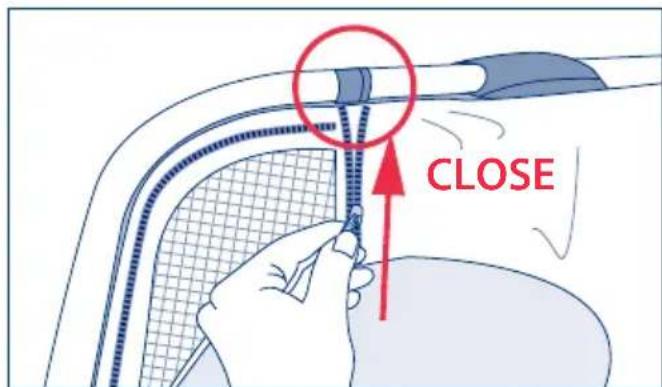
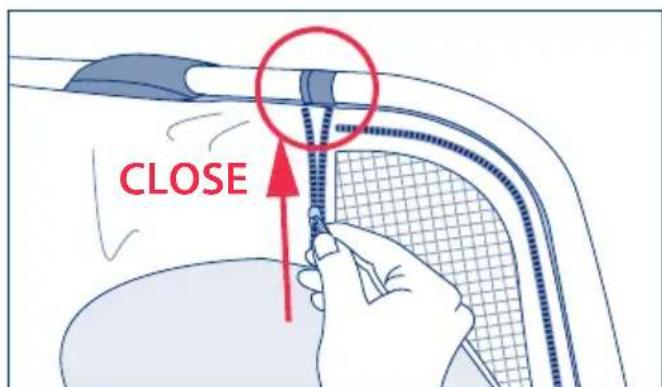
To raise the height of the safety rail, fully open the front zip.
At the same time on both sides, unlock the safety rail by sliding buttons with your finger (Step 1) and move the rail upwards to take it out of the guide (Step 2).
Insert the rail into the 2 upper anchor points, from top to bottom, until you hear the safety clicks.
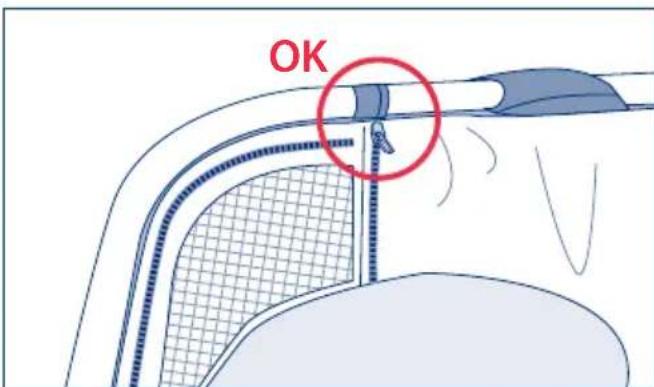
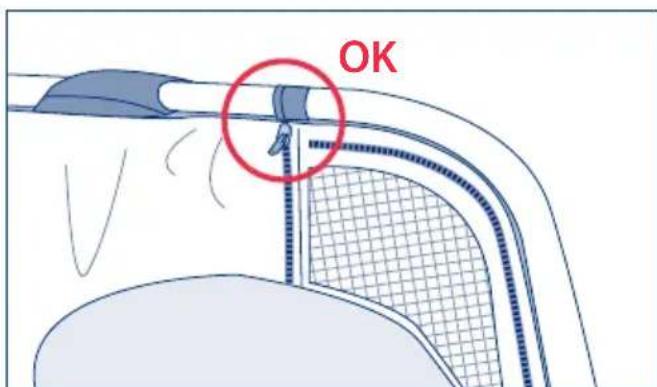
Lastly, close the 2 vertical zips to finish the process.