Lambada - Food Processor Klarstein - Free user manual and instructions
Find the device manual for free Lambada Klarstein in PDF.
User questions about Lambada Klarstein
0 question about this device. Answer the ones you know or ask your own.
Ask a new question about this device
Download the instructions for your Food Processor in PDF format for free! Find your manual Lambada - Klarstein and take your electronic device back in hand. On this page are published all the documents necessary for the use of your device. Lambada by Klarstein.
USER MANUAL Lambada Klarstein
Congratulations on purchasing this equipment. Please read this manual carefully and take care of the following hints to avoid damages. Any failure caused by ignoring the mentioned items and cautions mentioned in the instruction manual are not covered by our warranty and any liability.
Contents
Technical Data 8
Safety Instructions 8
Product Description 9
Use and Operation 9
Cleaning and Care 11
Hints on Disposal 13
Declaration of Conformity 13
Technical Data
Item number 10030085.10030086
Power supply 220-240 V ~ 50-60 Hz
Safety Instructions
- Please read through the information and safeguards contained in these operating instructions carefully and thoroughly before you use the table blender for the first time.
- This table blender is intended only for domestic use.
- Never allow children, patient and disable person to operate the table blender without supervision.
- Make sure that the voltage shown on the rating plate corresponds with that of the mains supply. The rating plate can be found on the bottom of the housing.
- Cutting blades are sharp. Handle the blender with extreme care and caution.
- This the table blender only operates if the blending unit has been inserted into the housing.
Before touch on the blender, make sure that the blending unit has been assembled correctly and has been inserted into the housing with the lid attached.
The unit is not to be operated with an empty blending unit ( i . e . without solid or liquid foodstuff ) . - Do not disassemble the unit when it is plugged in the power outlet and do not immerse the unit or power cord or motor base in water or any other liquid.
-
Allow any hot liquids to cool to a lukewarm temperature before you pour them into the blending unit. This electrical device complies with the relevant safety regulations. Repairs are only to be carried out by an authorized electrician. Improperly carried out repairs can lead to accidents and injury to the user.
-
Do not operate the appliance in any malfunction and dry motion.
- If the supply cord is damaged, it must be replaced by the manufacturer or its service agent or a similarly qualified person in order to avoid a hazard.
- Do not operate the smoothie cup (drinking cup) in Pulse, Mid and Hi.
Important Hints on Use
After using the unit, always touch " OFF " and pull out the mains plug .
- Never immerse housing in water and any other liquids. Wipe it only with a moist cloth.
- The unit can not be used for stirring the flour.
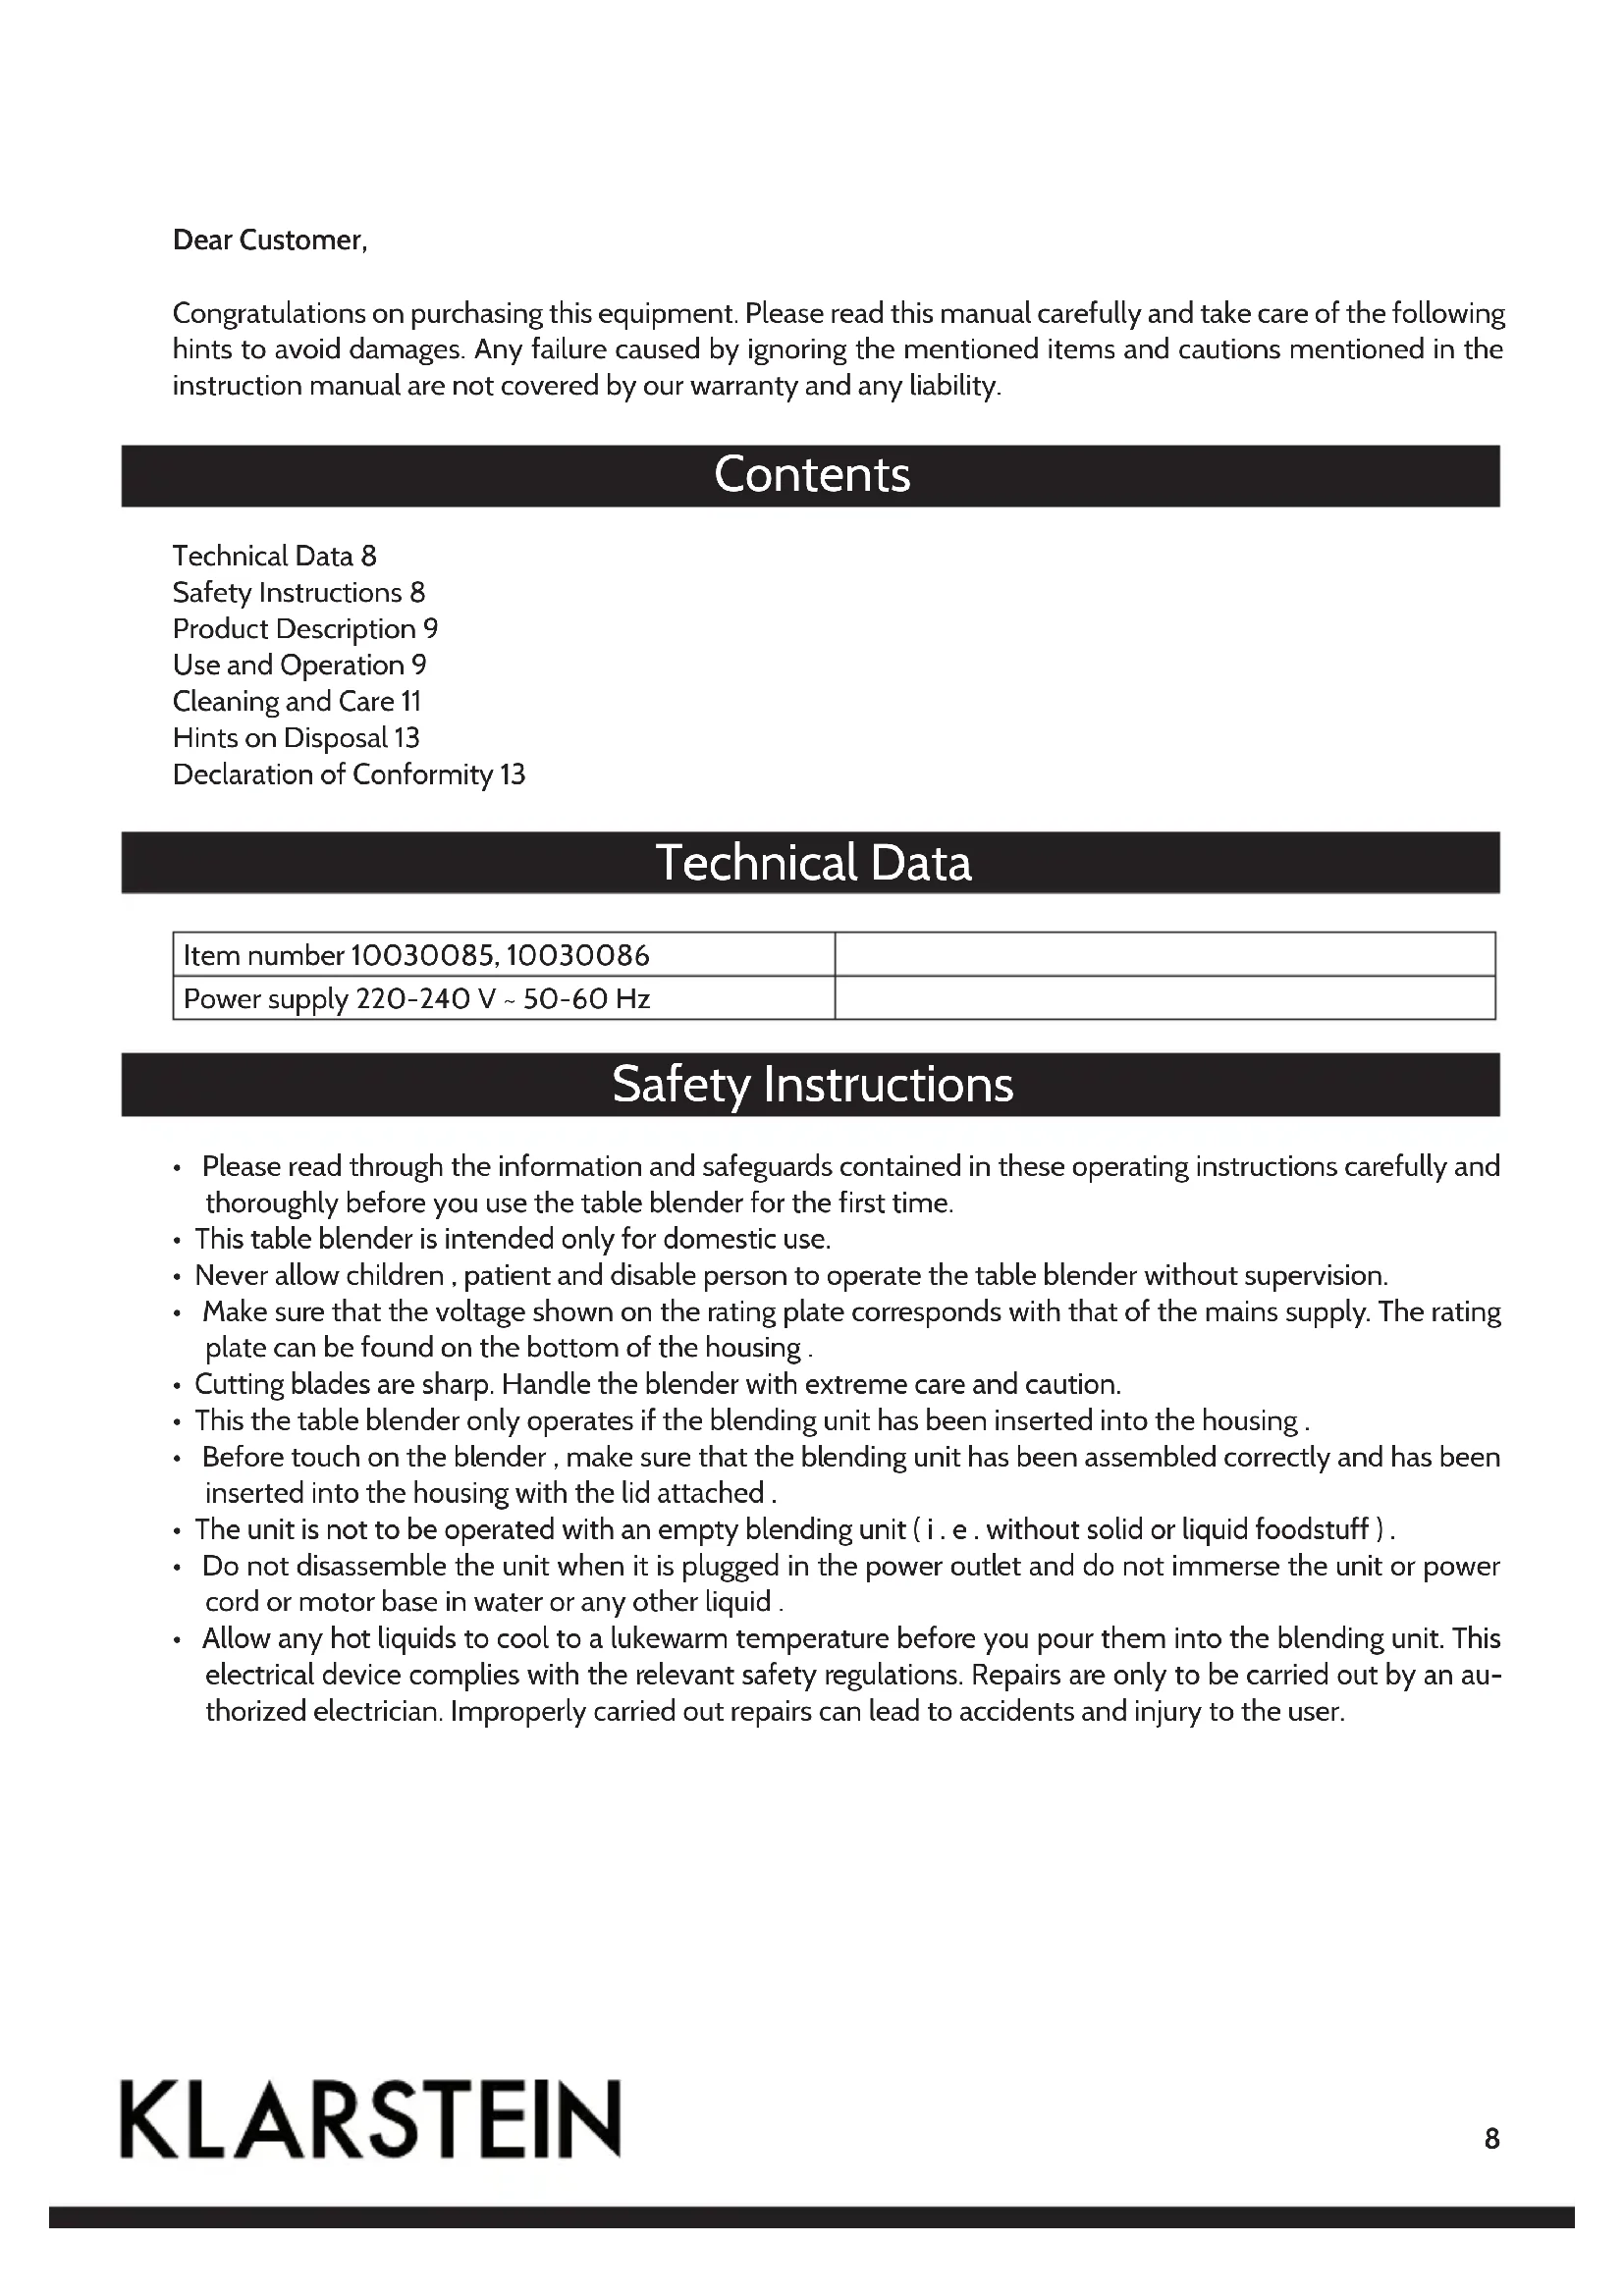
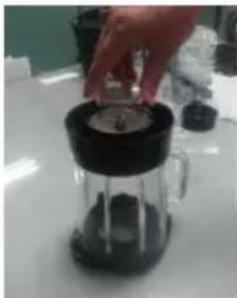
Product Description
1 Measure Cup
2 Cover
3 Glass Jar
4 Housing
5 Control Panel
Use and Operation
Before first Use
- Check the voltage of the unit corresponding to your mains supply meter accordingly.
- Wash the parts of the unit, which will contact with foods.
- Try to assemble and disassemble the unit for a few times before starting to the units.
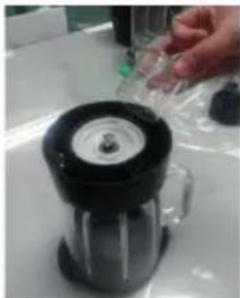
Dismantling and Assemble
- Touch control panel "OFF".
- Remove the glass jug assembly.
- Remove the measure cup, then the lid cover.
- Place the glass jug Assembly onto the housing and tune it in direction until it is properly fit.
- Insert the lid cover into the glass jug and insert the measure cup into the lid cover .
Control Panel

Important Hints on Use
- Before use: do not put the main plug in the socket until you have attached the blender jar and the housing cap in the correct way.
- After use: unplug the appliance before you remove the blender jug from the housing.
- To prevent spilling, do not put more than MAX liters of liquid in the blender jar.
- Never remove the lid while the blender is running
Function
The blender can be used for pureeing very finely and for blending. It can be used for e.g. sauscs, milk shakes, baby food, vegetables, fruit thin batter, puree, etc. if necessary, cut solid ingredients into smaller pieces before you put them in the blender.
Note: Pre-set programs will stop automatically and the indicator light will go out when the cycle has finished. Alternatively press the STOP button to finish cycle. SLOW and FAST settings will stop only when the STOP button is pressed. PULSE will stop when you take your finger off the button.
Instruction about the control panel
| Function Suggested use Hints, Tips and comments | ||
| Smoothie Smoothes (fruit and yogurt or fruit and milk based drinks), Fruit or vegetable drinks | Make drinks with a base of naturally soft/ripe fruit and vegetables or from vegetables which have been softened through cooking. Do not blend hard vegetables such as potatoes or carrots, unless cooked first. Add liquid to the fruit or vegetables to achieve the smoothie consistency. | |
| Pulse / Ice crush | Chopping nuts, herbs, breadcrumbs, biscuit crumbs | This function provides short bursts of power for greater control when blending. Allows varying levels of blending. |
| Ice slush drinks, Crush ice cubes for all kinds of drinks | For best results defrost ice cubes slightly before crushing. To crush ice cubes only: home-made (small ice cubes), fill the jug up to 750 ml mark and add 200 ml water. | |
| High Controlled chipping, mixing blending at high speed | Use this function for greater control at high speed. Manual function allows you to stop and start when you desire. | |
| Mid Controlled chipping, mixing blending at mid speed | Use this function for greater control at mid speed. Manual function allows you to stop and start when you desire. | |
| Low Controlled chipping, mixing blending at low speed | Use this function for greater control at lower speed. Manual function allows you to stop and start when you desire. | |
| Stop To cease operation This button stops the setting which is in process. | ||
Cleaning and Care
Empty the glass jug and fill it with water, place the glass jug on the housing and touch the "pulse / ice crush" several times. Empty the glass jug and rinse until clean.
Caution: Before next step operation. To make sure the safety of person. Must unplug!
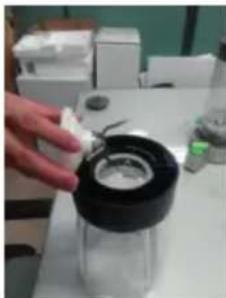
Blade Assembly Removal
- IMPORTANT: Do not remove blade assembly unless absolutely necessary!
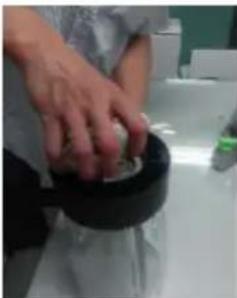
To removal the blade assembly, rotate the Jar collar carefully counter-clockwise as shown in the following figure.

- Carefully removal the blade assembly by placing a thick cloth over the blade assembly and pulling straight out.
- Hint: place jar on a flat surface to facilitate removal.
- Use caution when handling the blades, they are very sharp.
The way to removal the smoothie cup same like this.
Blade Assembly Repaycement
- When inserting the sealing and the blade assembly into the jar bottom, align the flat sides of the blade assembly with the flat sides of the jar opening.
- Insert the jar collar first, then hand tighten and turn clockwise until tight.
The way to replace the smoothie cup same like this.
Note : if the blade assembly is not tight enough , you will notice increased
Blade Assembly Cleaning
- Wash on the blade assembly up surface in soapy water. Do not soak or use abrasive cleaners. If necessary, scrub lightly with a soft bristle brush to remove any residue left on the blades or put.
- Rinse the blade assembly up surface under running water. Dry thoroughly with a clean cloth (do not wash the bottom in water or any other liquid). Do not place the blade assembly in the dishwasher.

Hints on Disposal
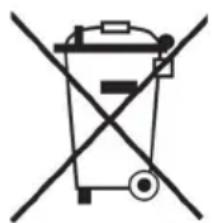
According to the European waste regulation 2002/96/EG this symbol on the product or on its packaging indicates that this product may not be treated as household waste. Instead it should be taken to the appropriate collection point for the recycling of electrical and electronic equipment. By ensuring this product is disposed of correctly, you will help prevent potential negative consequences for the environment and human health, which could otherwise be caused by inappropriate waste handling of this product. For more detailed information about recycling of this product, please contact your local council or your household waste disposal service.
Declaration of Conformity
Producer: Chal-Tec GmbH, Wallstraße 16, 10179 Berlin, Germany.

This product is conform to the following European Directives:
2004/108/EC (EMC)
2011/65/EU (RoHS)
2006/95/EC (LVD)
Estimado cliente,
Chere cliente, cher client,