E1 Zoom - Surveillance Camera REOLINK - Free user manual and instructions
Find the device manual for free E1 Zoom REOLINK in PDF.
Download the instructions for your Surveillance Camera in PDF format for free! Find your manual E1 Zoom - REOLINK and take your electronic device back in hand. On this page are published all the documents necessary for the use of your device. E1 Zoom by REOLINK.
USER MANUAL E1 Zoom REOLINK
Apply to: Reolink E1 Series Operational Instruction @ReolinkTech https://reolink.comEN Contents What’s in the Box What’s in the Box Camera Introduction Set up the Camera Mount the Camera Troubleshooting Specifications Notification of Compliance
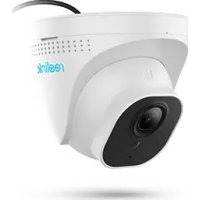
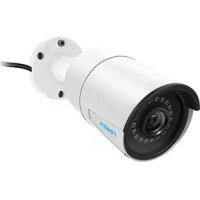
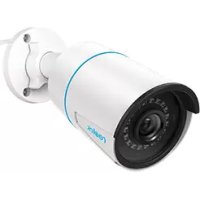
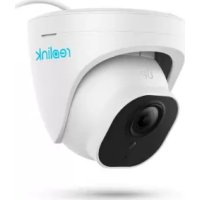
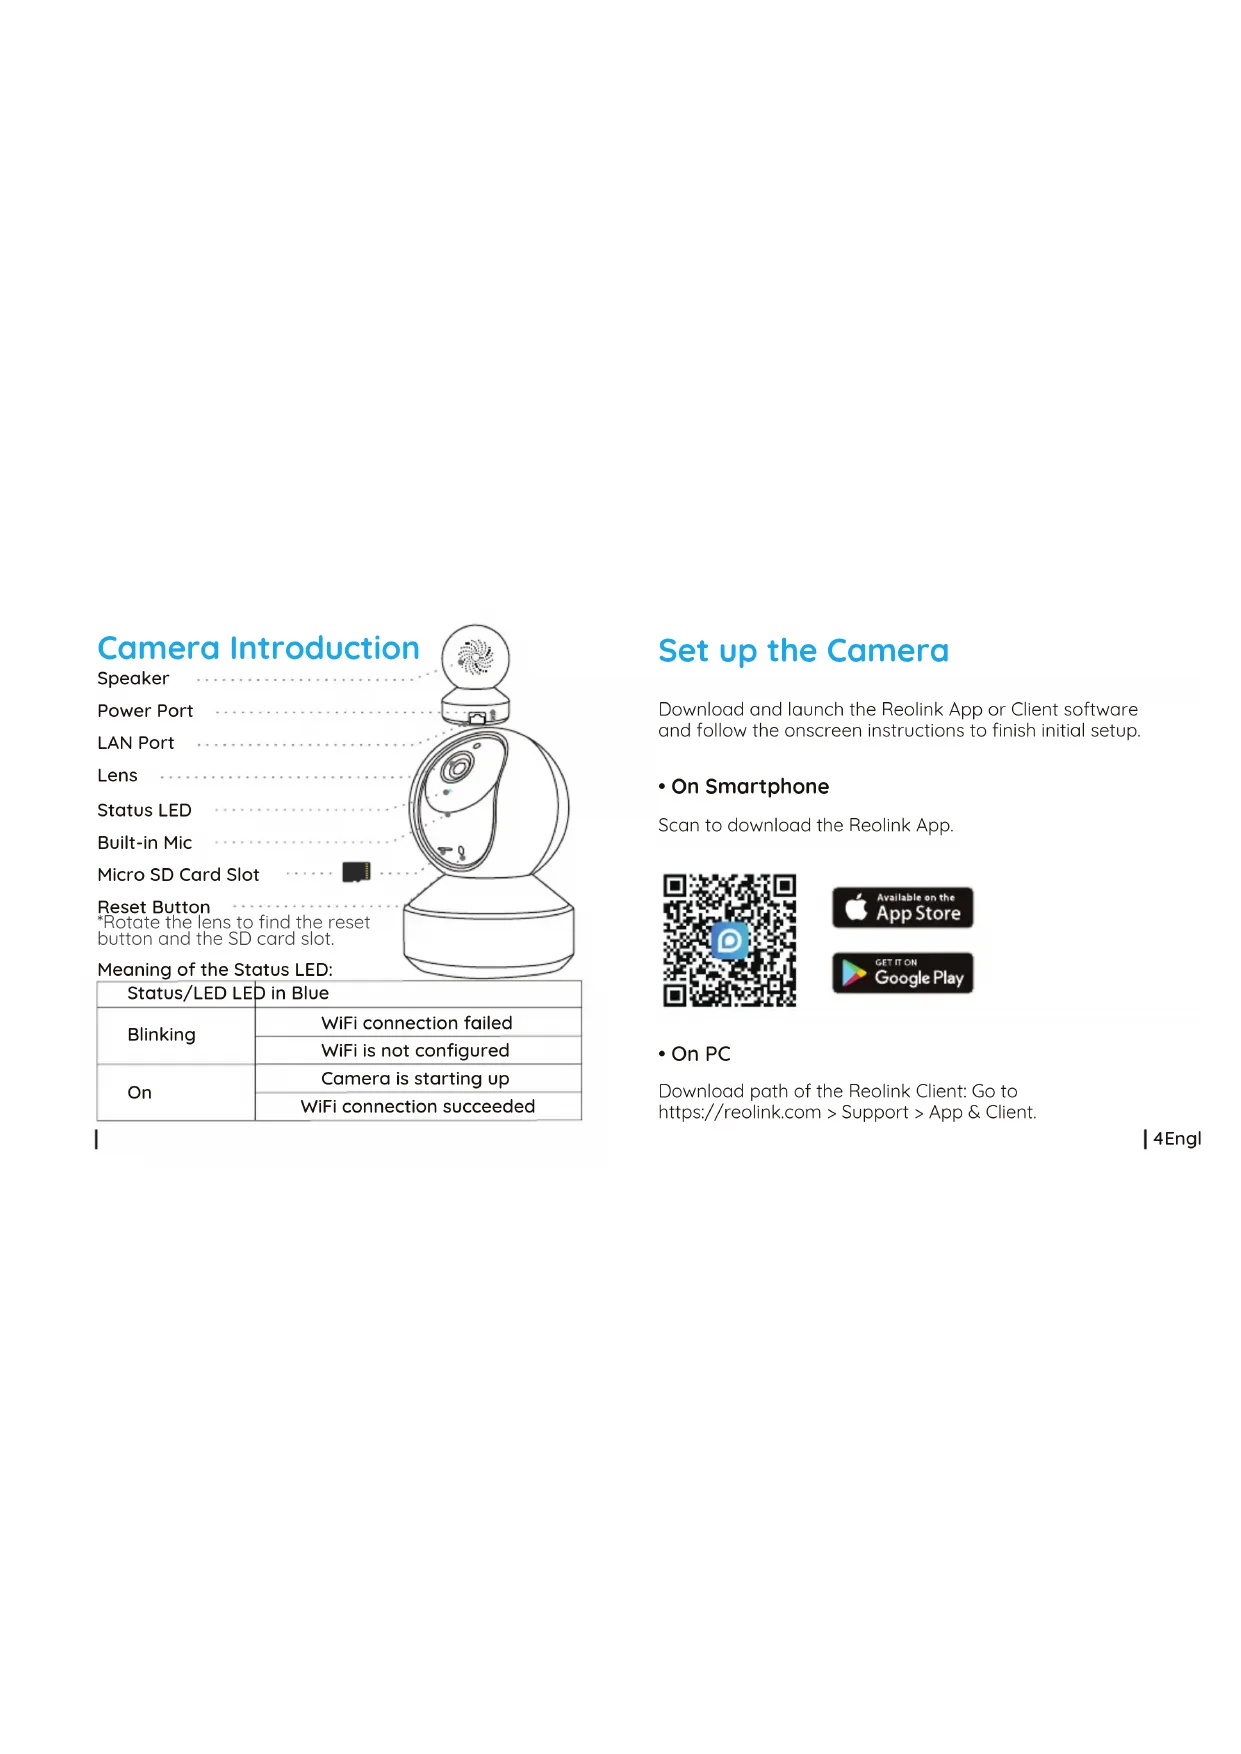
2English1 English E1 Series Camera Quick Start Guide Pack of Screws Mounting Hole Template Mounting Plate Power Adapter Surveillance SignSpeaker Power Port Micro SD Card Slot Camera Introduction LAN Port Built-in Mic Status LED Lens Reset Button *Rotate the lens to find the reset button and the SD card slot. 4English3 English Meaning of the Status LED:
- On Smartphone Download and launch the Reolink App or Client software and follow the onscreen instructions to finish initial setup. Scan to download the Reolink App. Set up the Camera
- On PC Download path of the Reolink Client: Go to https://reolink.com > Support > App & Client. WiFi connection failed Status/LED LED in Blue WiFi is not configured Camera is starting up WiFi connection succeeded
BlinkingMount the Camera Step 1 Drill two holes on the wall according to the mounting hole template. Step 2 Insert the two plastic anchors into the holes. Step 3 Secure the base unit in place by tightening the screws into the plastic anchors. Step 4 Align the camera with the bracket and turn the camera unit clockwise to lock it in position. NOTE:
1. To remove it from the
wall, turn the camera anticlockwise.
2. In case your camera is
mounted upside down, its picture shall be rotated as well. Please go to Device Settings -> Display on Reolink app/Client and click Rotation to adjust the image. 6English 5 EnglishIf your camera is not powering on, please try the following solutions:
- Plug the camera into another outlet.
- Use another 5V power adapter to power up the camera. If these won't work, please contact Reolink Support https://support.reolink.com/ Troubleshooting Camera is not Powering on If the camera failed to scan QR code on your phone, please try the following solutions:
- Remove the protective film from the camera lens.
- Wipe the camera lens with a dry paper/towel/tissue. Failed to Scan QR Code on Smartphone 8English7 English Tips for Camera Placement
- Do not face the camera towards any light sources.
- Do not point the camera towards a glass window. Or, it may result in poor image performance because of the window glare by infrared LEDs, ambient lights or status lights.
- Do not place the camera in a shaded area and point it towards a well-lit area. Or, it may result in poor image performance. For better image quality, please make sure that the lighting condition for both the camera and the capture object is the same.
- For better image quality, it’s recommended to clean the lens with a soft cloth from time to time.
- Make sure the power ports are not exposed to water or moisture or blocked by dirt or other elements.• Vary the distance (about 30cm) between your camera and the mobile phone, which enables the camera to focus better.
- Try scanning the QR code under a brighter atmosphere. If these won't work, please contact Reolink Support https://support.reolink.com/ If the camera fails to connect to WiFi, please try the following solutions:
- Please make sure the WiFi band meets the network requirement of the camera.
- Please ensure you have entered the correct WiFi password.
- Put your camera close to your router to ensure a strong WiFi signal.
- Change the encryption method of the WiFi network to WPA2-PSK/WPA-PSK (safer encryption) on your router interface.
- Change your WiFi SSID or password and make sure that SSID is within 31 characters and password is within 64 characters.
- Set your password using only the characters on the keyboard. If these won't work, please contact Reolink Support https://support.reolink.com/ WiFi Connection Failed During Initial Setup Process 10English9 English Hardware Specifications Display Resolution: 5MP (E1 Zoom)/4MP (E1 Pro)/3MP (E1) IR Distance: 12 meters (40ft) Pan/Tilt Angle: Horizontal: 355°/Vertical: 50° Power Input: DC 5V/2A (E1 Zoom)/DC 5V/1A (E1/E1 Pro)12English 11 English Frame Rate: 15fps (default) Audio: Two-way audio IR Cut Filter: Yes Software Features Operating Frequency: Dual-band (E1 Zoom/E1 Pro)/2.4 GHz (E1) Operating Temperature: -10°C to 55°C (14°F to 131°F) Size: Φ84 x 118 mm (E1 Zoom/E1 Pro)/Φ76 x 106 mm (E1) Weight: 275g (E1 Zoom)/235g (E1 Pro)/196g (E1) General FCC Compliance Statement Notification of Compliance This device complies with Part 15 of the FCC Rules. Operation is subject to the following two conditions:
- this device may not cause harmful interference, and NOTE: This equipment has been tested and found to comply with the limits for a Class B digital device, pursuant to part 15 of the FCC Rules. These limits are designed to provide reasonable protection against harmful interference in a residential installation. This equipment generates uses and can radiate radio frequency energy and, if not installed and used in accordance with the instructions, may cause harmful interference to radio communications. However, there is no guarantee that interference will not occur in a particular installation. If this equipment does cause harmful interference to radio or television reception, which can be determined by turning the equipment o and on, the user is encouraged to try to correct the interference by one or more of the following measures:
- Reorient or relocate the receiving antenna.
- Increase the separation between the equipment and this device must accept any interference received, including interference that may cause undesired operation.14English13 English This product comes with a 2-year limited warranty that is valid only if purchased from Reolink ocial stores or a Reolink authorized reseller. Learn more: https://reolink.com/warranty-and-return/ Limited Warranty Reolink declares that this device is in compliance with the essential requirements and other relevant provisions of Directive 2014/53/EU. This marking indicates that this product should not be disposed with other household wastes throughout the EU. To prevent possible harm to the environment or human health from uncontrolled waste disposal, recycle it responsibly to promote the sustainable reuse of material resources. To return your used device, please use the return and collection systems or contact the retailer where the product was purchased. They can take this product for environment safe recycling. Simplified EU Declaration of Conformity Correct Disposal of This Product This equipment complies with FCC radiation exposure limits set forth for an uncontrolled environment. This equipment shall be installed and operated with minimum distance 20cm between the radiator & body. FCC RF Exposure Warning Statements receiver.
- Connect the equipment into an outlet on a circuit dierent from that to which the receiver is connected.
- Consult the dealer or an experienced radio/TV technician for help. Changes or modifications not expressly approved by the party responsible for compliance could void the user's authority to operate the equipment.Use of the product is subject to your agreement to the Terms of Service and Privacy Policy at reolink.com. Keep out of the reach of children. Terms and Privacy By using the Product Software that is embedded on the Reolink product, you agree to the terms of this End User License Agreement (“EULA”) between you and Reolink. Learn more: https://reolink.com/eula/ End User License Agreement NOTE: We hope that you enjoy the new purchase. But if you are not satisfied with the product and plan to return, we strongly suggest you to reset the camera to factory default settings and take out the inserted SD card before returning. 16English 15 English This device contains licence-exempt transmitter(s)/re ISED Statements The device has been evaluated to meet general RF exposure requirements. The device can be used in mobile exposure conditions. The min separation distance is 20cm. Radio Frequency Exposure Statement for IC ceiver(s) that comply with Innovation, Science and Economic Development Canada’s licence-exempt RSS(s). Operation is subject to the following two conditions: (1) This device may not cause interference. (2) This device must accept any interference, including interference that may cause undesired operation of the device.DE Überblick Lieferumfang Allgemeine Einführung Einrichtung der Kamera Installation der Kamera Fehlerbehebung Spezifikationen Konformitätserklärung