B400 - Surveillance Camera REOLINK - Free user manual and instructions
Find the device manual for free B400 REOLINK in PDF.
Download the instructions for your Surveillance Camera in PDF format for free! Find your manual B400 - REOLINK and take your electronic device back in hand. On this page are published all the documents necessary for the use of your device. B400 by REOLINK.
USER MANUAL B400 REOLINK
Room B, 4th Floor, Kingway Commercial Building, 171-173 Lockhart Road, Wan Chai, Hong Kong @ReolinkTech https://reolink.com2English 1 English Contents What’s in the Box What’s in the Box Camera Introduction Set up the Camera Troubleshooting Specifications Notification of Compliance
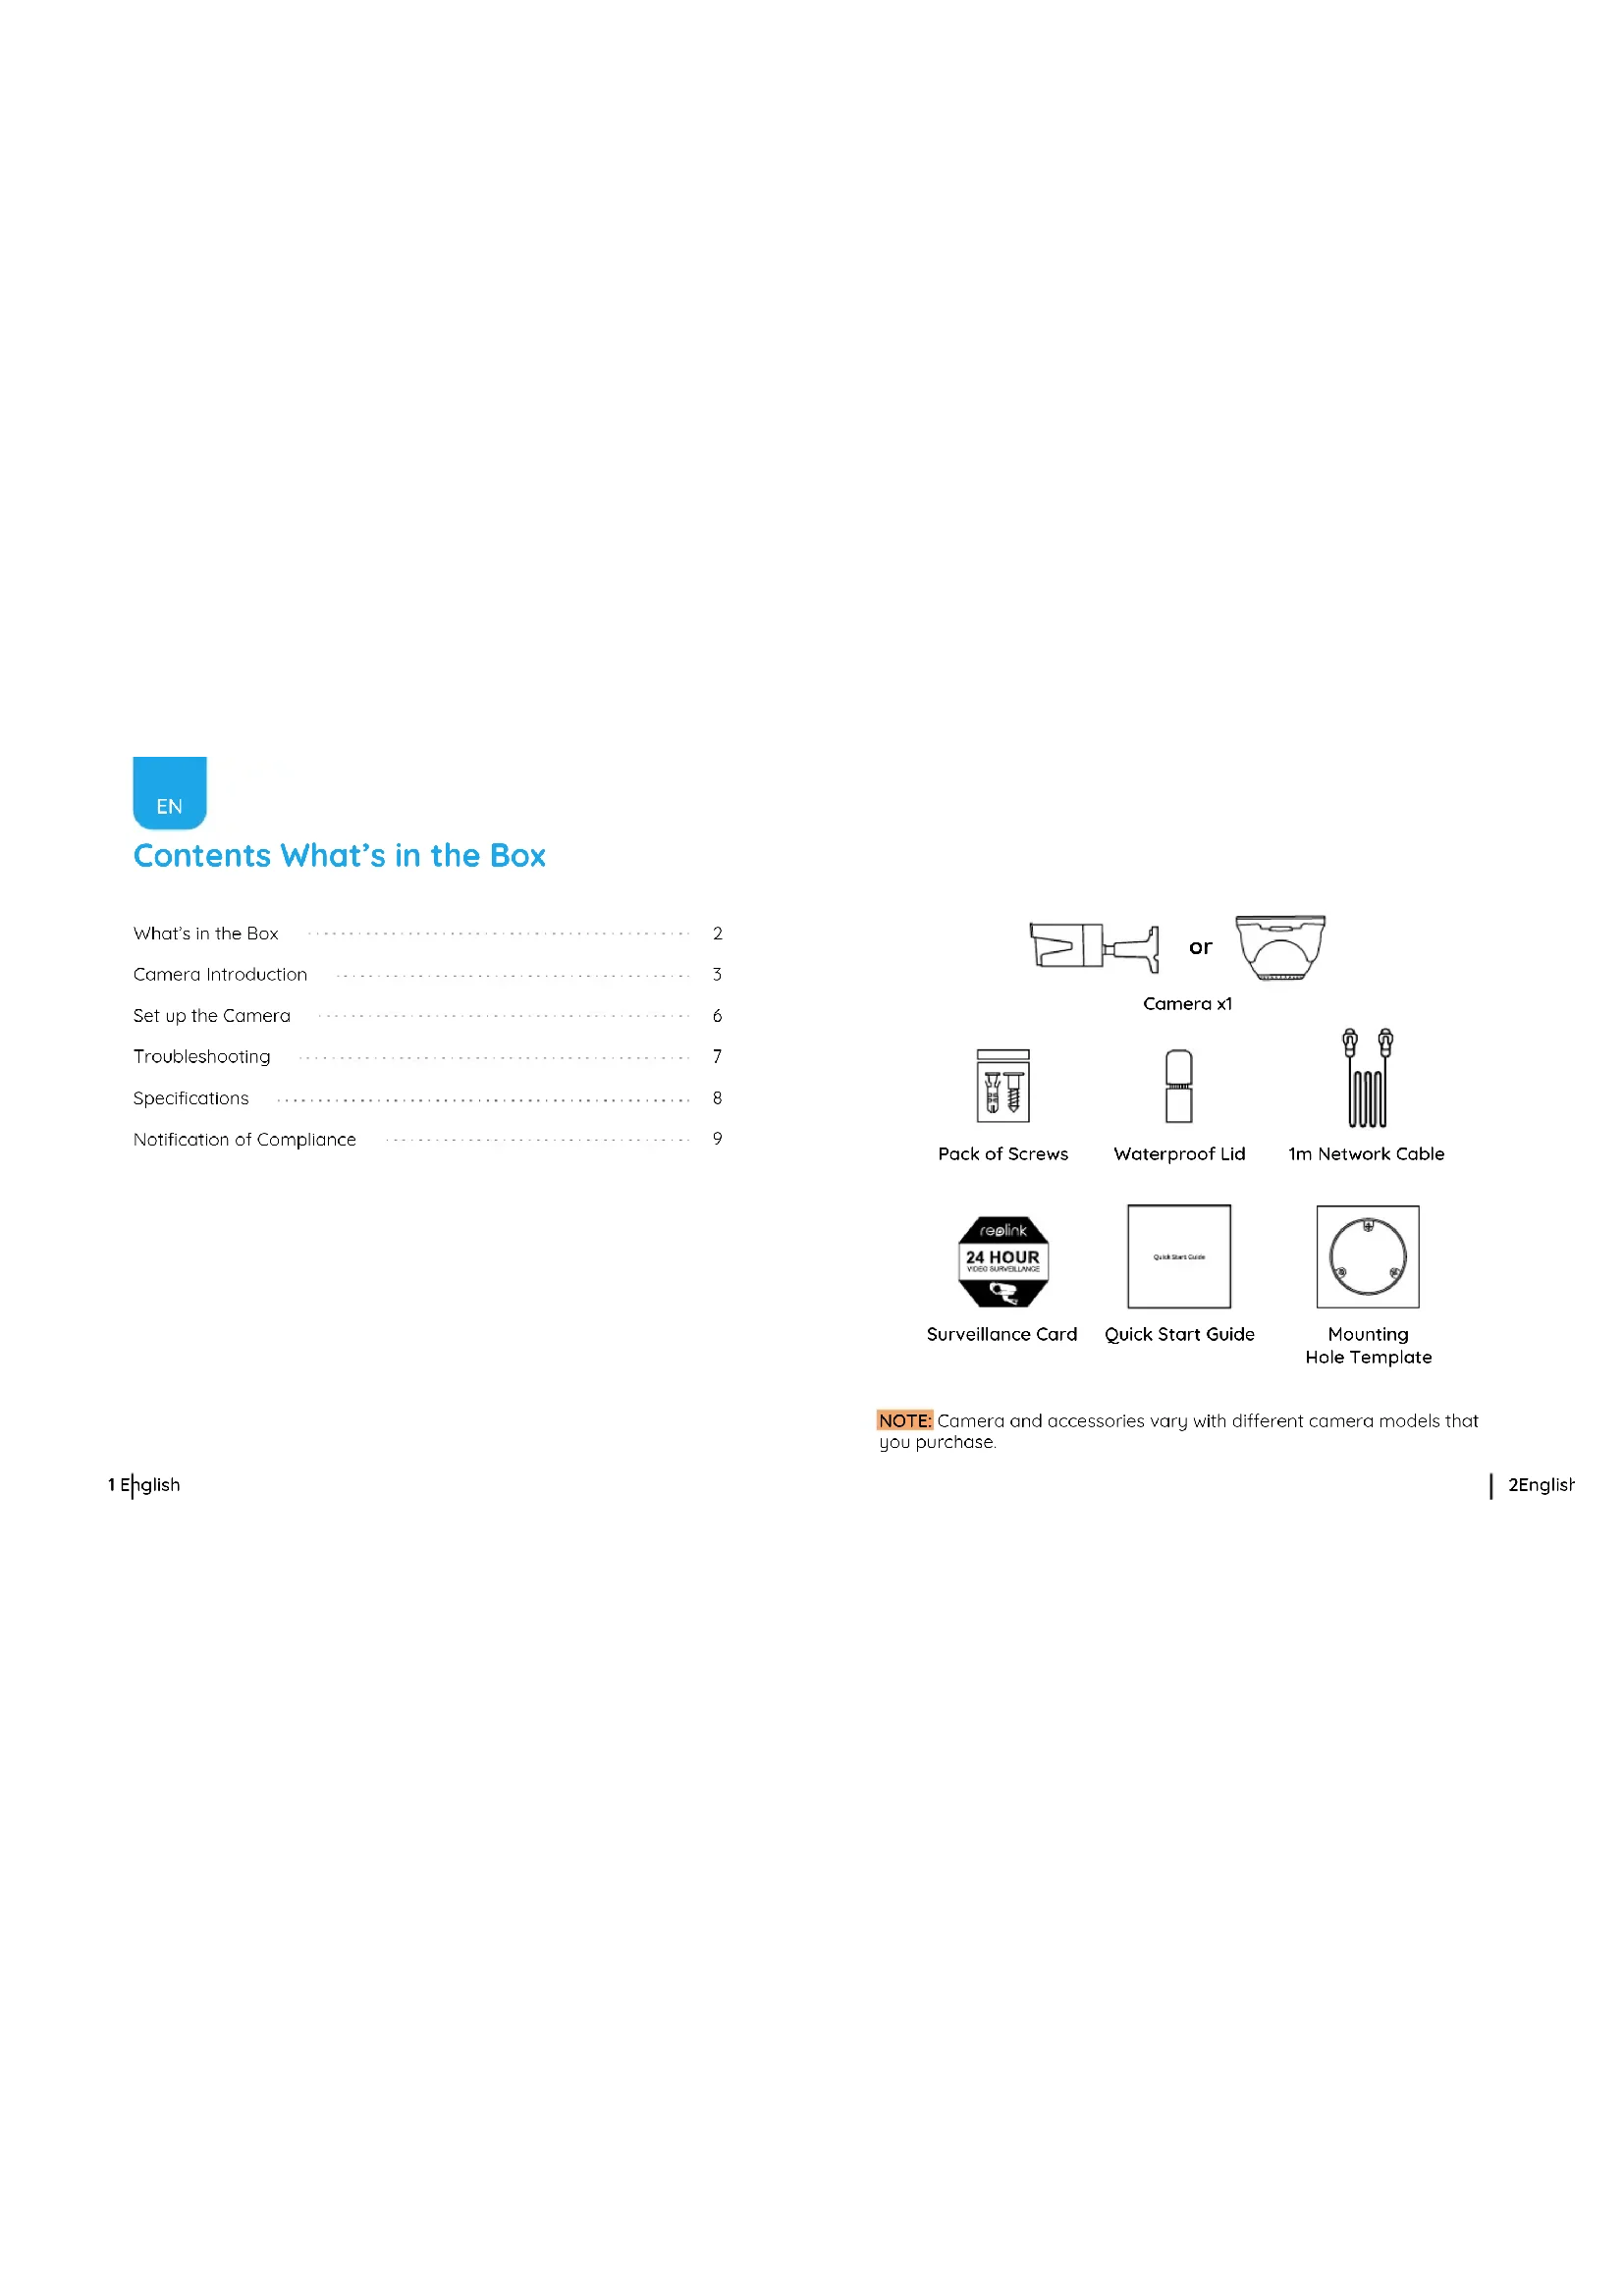
Camera x1 Quick Start Guide 1m Network Cable Mounting Hole Template Surveillance Card Waterproof Lid Pack of Screws NOTE: Camera and accessories vary with dierent camera models that you purchase.4English 3 English Camera Introduction Built-in Mic Lens Infrared Lights Daylight Sensor Power Port(Optional) Network Cable Waterproof Lid Metal Case Mount Reset Button *Press for about 10 seconds to restore factory settings. Lens Metal Case Mount Infrared Lights Built-in Mic Daylight Sensor Built-in Mic Lens Infrared Lights Daylight Sensor Mount6English 5 English Step 1. Plug the camera into the POE port of the Reolink POE NVR by an Ethernert cable as shown below. Step 2. Set up the camera via NVR platform. Click on the live view screen and go to setup menu to configure the camera. NOTE: The add-on camera can ONLY work with Reolink POE NVR. It is not standalone camera and it cannot work with other third-party software. Set Up the Camera
- Please check if the camera is powered on. Reset the camera and cover the daylight sensor on the camera lens or turn o the lights for a few seconds to see if the infrared LEDs will turn on. If these won’t work, please contact Reolink Support https://support.reolink.com/. If you fail to upgrade firmware for the camera, please try the following solutions:
- Confirm the current firmware version to see if it is the latest one.
- Make sure that you download the correct firmware from download center.
- Make sure the network of your computer is stable. If these won’t work, please contact Reolink Support https://support.reolink.com/. Night Vision: 30 meters (100ft) Day/Night Mode: Auto switchover Hardware Features IP Camera Is Not Powering on Troubleshooting Camera Video Loss on Reolink PoE NVR Failed to Upgrade Firmware If there is video loss on Reolink PoE NVR, please try the following solutions:
- Please login to the NVR and go to Menu -> IP Channel to check if the camera is assigned a specific channel number and check the status of the channel that doesn't show.
- If the camera has the channel number and the channel status shows Incorrect Password, you may drag bottom slider to the right and enter the camera password again. Next, click Apply to save the change. If the status shows Oine, try to connect the camera to other ports on the Reolink NVR or try with another Ethernet cable. If your camera is not powering on, please try the followingsolutions:
- Plug the camera into another POE port on the NVR.
- Try with another Ethernet cable.
- If you have a 12V power adapter, power up the camera with the power adapter. If these won’t work, please contact Reolink Support https://support.reolink.com/.General 10English 9 English Notification of Compliance FCC Compliance Statement Limited Warranty Reolink declares that this device is in compliance with the essential requirements and other relevant provisions of Directive 2014/53/EU. Simplified EU Declaration of Conformity Correct Disposal of This Product This device complies with Part 15 of FCC Rules. Operation is subject to the following two conditions: (1) this device may not cause harmful interference, and (2) this device must accept any interference received, including interference that may cause undesired operation. For more information, visit: https://reolink.com/fcc-complia nce-notice/. This marking indicates that this product should not be disposed with other household wastes throughout the EU. To prevent possible harm to the environment or human health from uncontrolled waste disposal, recycle it responsibly to promote the sustainable reuse of material resources. To return your used device, please use the return and collection systems or contact the retailer where the product was purchased. They can take this product for environmentally safe recycling. This product comes with a 2-year limited warranty that is valid only if purchased from Reolink ocial stores or a Reolink authorized reseller. Learn more: https://reolink.com/warranty-and-return/. Terms and Privacy Use of the product is subject to your agreement to the Terms of Service and Privacy Policy at reolink.com. Keep it out of the reach of children. Operating Temperature: -10°C to 55°C (14°F to 131°F) Operating Humidity: 10%-90% Weather Resistance: IP66 For more specifications, visit https://reolink.com. NOTE: This equipment has been tested and found to comply with the limits for a Class B digital device, pursuant to Part 15 of the FCC Rules. These limits are designed to provide reasonable protection against harmful interference in a residential installation. NOTE: We hope that you enjoy the new purchase. But if you are not satisfied with the product and plan to return, we strongly suggest that you reset the camera to factory default settings before returning.11 English End User License Agreement By using the Product Software that is embedded in the Reolink products, you agree to the terms of this End User License Agreement (“EULA” between you and Reolink. Learn more: https://reolink.com/eula/. 12Deutsch Überblick Lieferumfang Allgemeine Einführung Kamera Einrichtung Fehlerbehebung Spezifikationen Konformitätserklärung