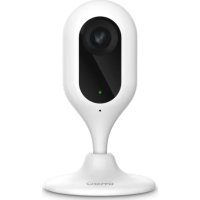
Cue - Camera IMOU - Free user manual and instructions
Find the device manual for free Cue IMOU in PDF.



| Product type | Surveillance camera |
| Brand | Imou |
| Model | Cue |
| Power | AC power adapter (included) |
| Connectivity | Wi-Fi (2.4 GHz), WPS |
| Storage | SD card (built-in slot) |
| Audio | Built-in microphone and speaker |
| Indicator light | Multi-color LED for device status (red, green, blinking) |
| Viewing angle | Wide angle (not specified, standard estimate) |
| Night vision | Yes (infrared, not specified) |
| Resolution | HD (not specified, estimated 1080p) |
| Installation | Wall or ceiling mounting with included mounting kit (template, screws, wall anchors) |
| Mobile app | Imou (iOS and Android) for setup and control |
| Reset | Reset/WPS button (long press 10s to reset, short press for WPS) |
| Package contents | Camera, power adapter, quick start guide, mounting kit, USB cable, installation template |
| Maintenance | Clean with a soft, dry cloth; do not use chemicals |
| Security | Hardware reset possible, WPS support for secure connection |
Frequently Asked Questions - Cue IMOU
User questions about Cue IMOU
0 question about this device. Answer the ones you know or ask your own.
Ask a new question about this device
Download the instructions for your Camera in PDF format for free! Find your manual Cue - IMOU and take your electronic device back in hand. On this page are published all the documents necessary for the use of your device. Cue by IMOU.
USER MANUAL Cue IMOU
natural_image
Illustration of a person sitting on a sofa using a tablet, with a coffee table and coffee cup nearby (no text or symbols)Contents
Quick Start Guide 1
1 Packing List 1
2 Product Appearance 1
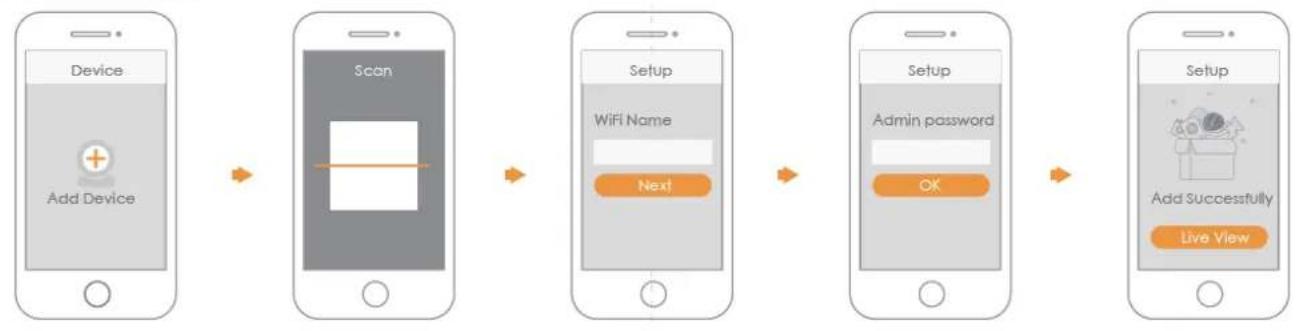
3 Operation by Imou App 2
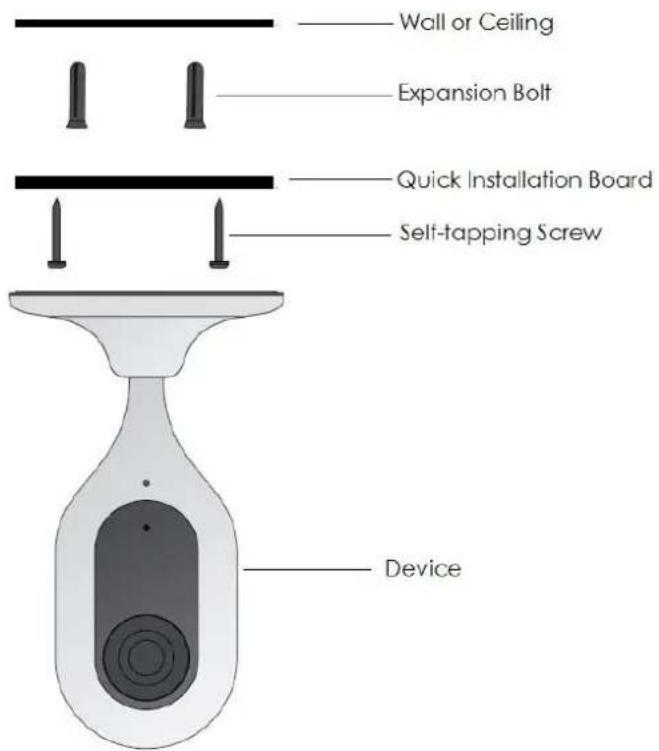
4 Device Installation 3
Kurzanleitung 5
natural_image
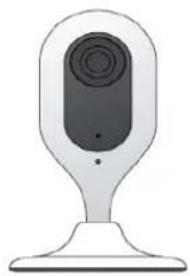
Illustration of a stylized digital device with a circular screen and base (no text or symbols)Device *1
natural_image
Blank white image with a small orange bookmark icon on the left side (no text or symbols)QSG *1
natural_image
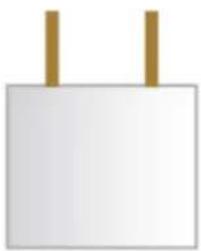
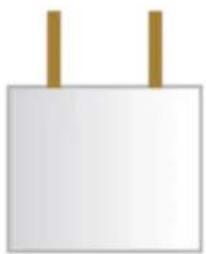
Simple illustration of a white rectangular object with two vertical brown bars on top (no text or symbols)Power Adapter *1
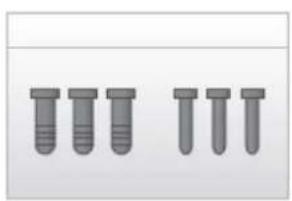
natural_image
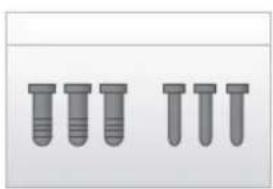
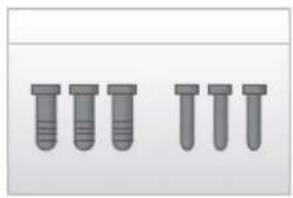
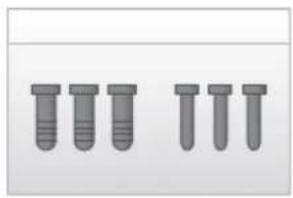
Six identical gray test tubes arranged in two rows (no text or symbols visible)Screw Package *1
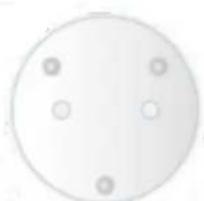
natural_image
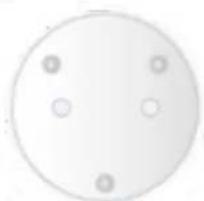
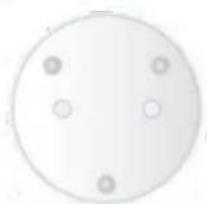
Simple circular diagram with four small circles at the center (no text or symbols)Quick Installation Board *1
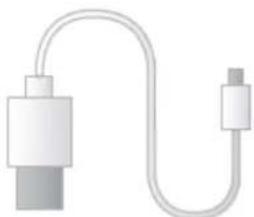
natural_image
Illustration of a USB cable with two connectors (no text or symbols)USB *1
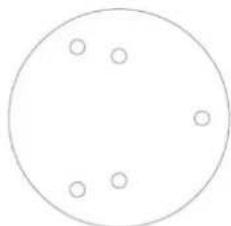
natural_image
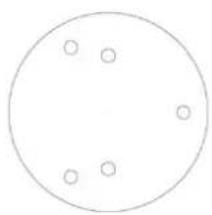
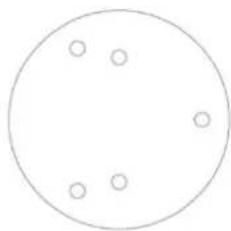
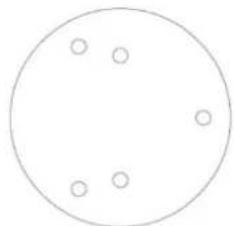
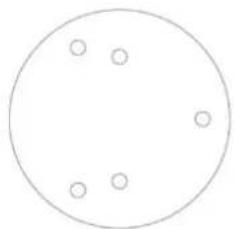
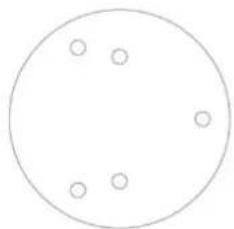
Simple circular diagram with five evenly spaced small circles inside (no text or symbols)Installation Position Map *1
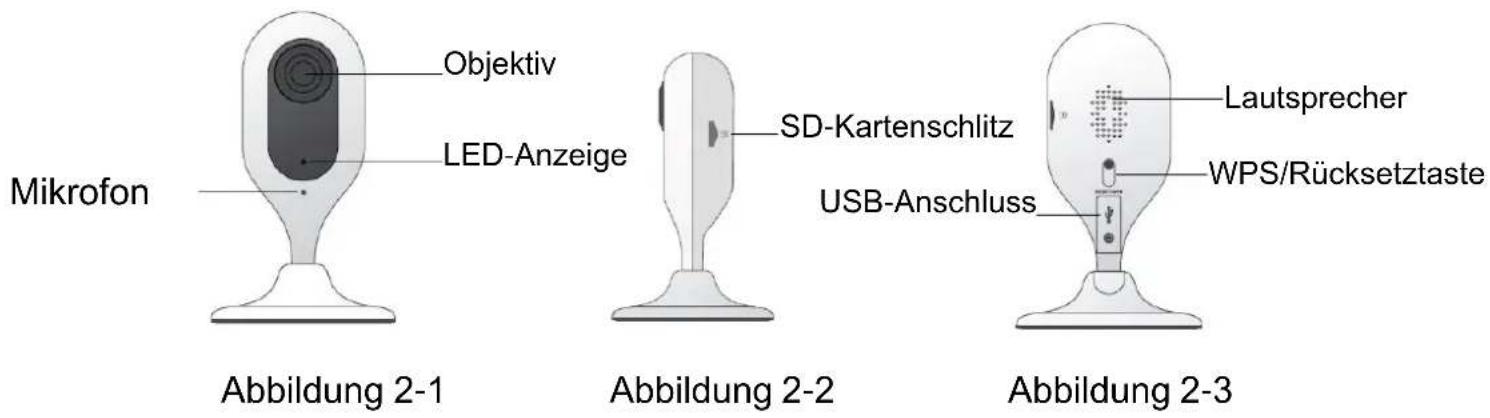
Product Appearance 2
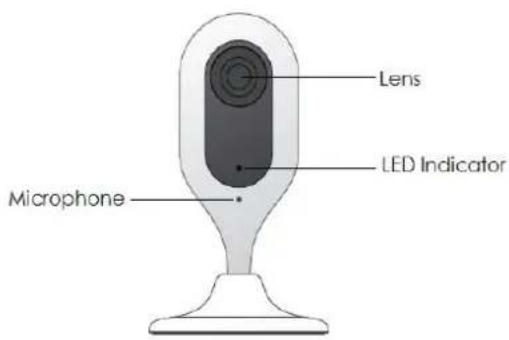
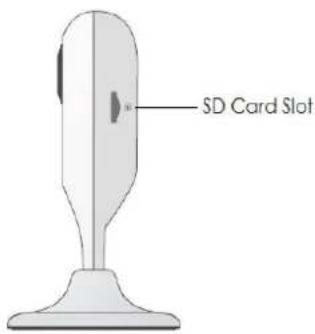
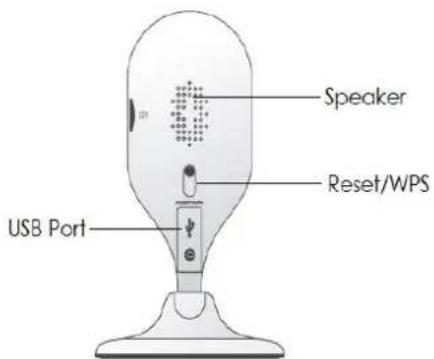
Figure 2-1
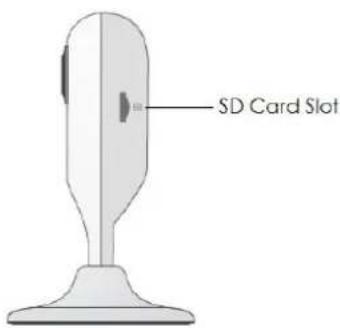
Figure 2-2

Figure 2-3
lmou
Note
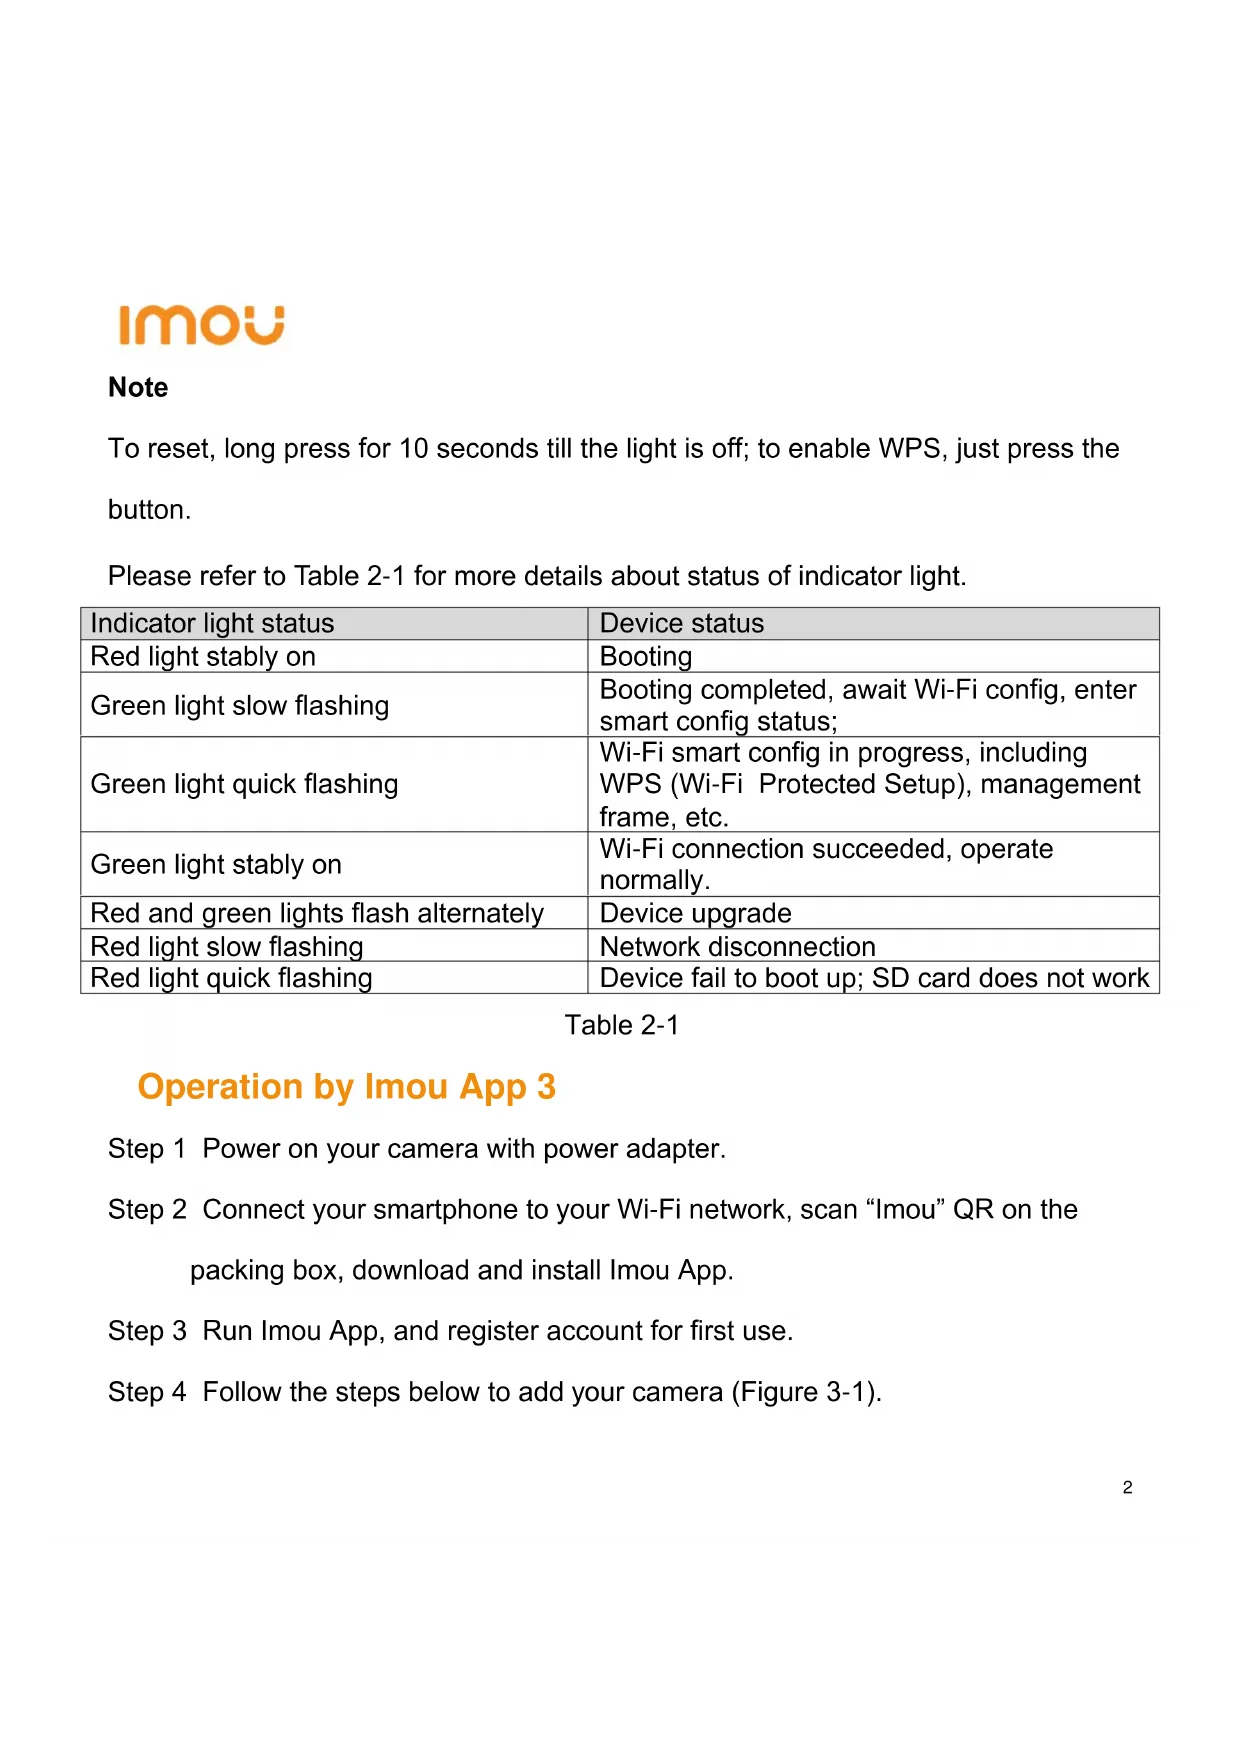
To reset, long press for 10 seconds till the light is off; to enable WPS, just press the button.
Please refer to Table 2-1 for more details about status of indicator light.
| Indicator light status | Device status |
| Red light stably on | Booting |
| Green light slow flashing | Booting completed, await Wi-Fi config, enter smart config status; |
| Green light quick flashing | Wi-Fi smart config in progress, including WPS (Wi-Fi Protected Setup), management frame, etc. |
| Green light stably on | Wi-Fi connection succeeded, operate normally. |
| Red and green lights flash alternately | Device upgrade |
| Red light slow flashing | Network disconnection |
| Red light quick flashing | Device fail to boot up; SD card does not work |
Table 2-1
Operation by Imou App 3
Step 1 Power on your camera with power adapter.
Step 2 Connect your smartphone to your Wi-Fi network, scan "Imou" QR on the packing box, download and install Imou App.
Step 3 Run Imou App, and register account for first use.
Step 4 Follow the steps below to add your camera (Figure 3-1).
lmou
flowchart
graph LR
    A["Device\nAdd Device"] --> B["Scan"]
    B --> C["Setup\nWiFi Name\nNext"]
    C --> D["Setup\nAdmin password\nOK"]
    D --> E["Setup\nAdd Successfully\nLive View"]
Figure 3-1
Note
- If you have more cameras, please follow step 4 to add them one by one.
- If you want to change the Wi-Fi signal, please reset the camera to factory default and repeat step 4 to add the camera.
Device Installation 4
Note
Please make sure the mounting surface can sustain at least 3X weight of the camera.
Step 1 Dig holes on the proper mounting surface according to the hole sites of installation position map.
Step 2 Knock the expansion bolts into the holes.
Step 3 Use self-tapping screws to install the quick installation board and fix it well.
lmou
Step 4 Connect the device to power.
Step 5 Adjust the device monitoring angle and stick the device on the quick installation board.
Disclaimer
- This quick start guide is for reference only. Minor difference might be found in user interface.
- All the designs and software here are subject to change without prior written notice.
- All trademarks and registered trademarks mentioned are the properties of their respective owners.
- Please visit our website or contact your local service engineer for more information.
• If there is any uncertainty or controversy, please refer to our final explanation.
lmou
Kurzanleitung
Lieferumfang 1
natural_image
Illustration of a white digital camera with a circular screen and base (no text or symbols)1 x Gerät
natural_image
Blank white image with a small orange bookmark icon on the left side (no text or symbols)1 x Kurzanleitung
natural_image
Simple white rectangular object with two vertical brown bars on top (no text or symbols)1 x Netzteil
natural_image
Six identical gray screw-like components arranged in two rows (no text or symbols visible)natural_image
Illustration of a USB cable with two connectors (no text or symbols)1 x USB-Kabel
natural_image
Simple circular diagram with five evenly spaced small circles inside (no text or labels)1 x Montageschablone*1
Überblick 2
natural_image
Illustration of a stylized digital camera with a circular lens and base (no text or symbols)1 cámara
natural_image
Blank white image with a small orange bookmark icon on the left side (no text or symbols)natural_image
Simple white rectangular object with two vertical brown bars on top (no text or symbols)natural_image
Three identical gray screw-like components arranged in a row (no text or symbols visible)natural_image
Simple circular diagram with four small circles at the center (no text or symbols)natural_image
Illustration of a USB cable with two connectors (no text or symbols)1 x USB
natural_image
Simple geometric diagram of a circle with five small circles inside, no text or symbols present.natural_image
Illustration of a handheld device with a labeled component (R) and a base, no text or symbols present.Figura 2-2
le la tarjeta SD
Puerto USB
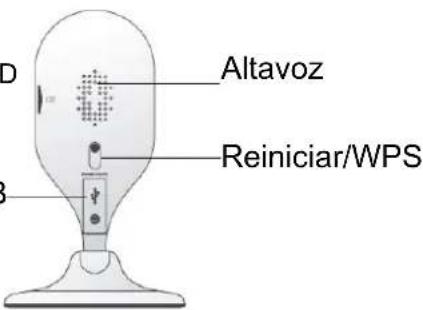
Figura 2-3
lmou
Nota
flowchart
graph LR
    A["Device\nAdd Device"] --> B["Scan"]
    B --> C["Setup\nWiFi Name\nNext"]
    C --> D["Setup\nAdmin password\nOK"]
    D --> E["Setup\nAdd Successfully\nLive View"]
Figura 3-1
Nota
natural_image
Illustration of a white digital camera with a circular lens and base (no text or symbols)Appareil × 1
natural_image
Blank image with a single orange bookmark icon on the left page (no text or symbols)natural_image
Simple white rectangular object with two vertical brown bars on top (no text or symbols)natural_image
Three identical gray screw-like components arranged in a row (no text or symbols visible)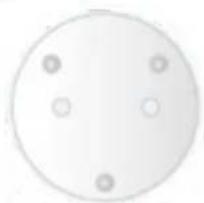
natural_image
Simple circular diagram with four small circles at the center (no text or symbols)
natural_image
Illustration of a USB cable with two connectors (no text or symbols)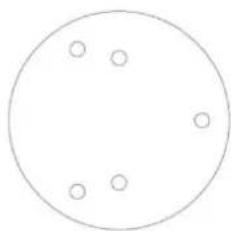
natural_image
Simple circular diagram with five evenly spaced small circles inside (no text or symbols)natural_image
Illustration of a stylized device with a lid and base, no text or symbols presentflowchart
graph LR
    A["Device\nAdd Device"] --> B["Scan"]
    B --> C["Setup\nWiFi Name\nNext"]
    C --> D["Setup\nAdmin password\nOK"]
    D --> E["Setup\nAdd Successfully\nLive View"]
Figure 3-1
Remarque
natural_image
Illustration of a stylized digital device with a circular button and base (no text or symbols)Appareil × 1
natural_image
Blank image with a small orange bookmark icon on the left page (no text or symbols)natural_image
Simple white rectangular object with two vertical brown bars on top (no text or symbols)natural_image
Three identical gray test tubes arranged in a row (no text or symbols visible)Jeu de vis × 1
natural_image
Simple circular diagram with four small circles at the center (no text or symbols)natural_image
Illustration of a USB cable with connector and port (no text or symbols)USB × 1
natural_image
Simple circular diagram with five evenly spaced small circles inside (no text or symbols)Afbeelding 2-1
Afbeelding 2-2
Afbeelding 2-3
lmou
Opmerking
flowchart
graph LR
    A["Device\nAdd Device"] --> B["Scan"]
    B --> C["Setup\nWiFi Name\nNet"]
    C --> D["Setup\nAdmin password\nOK"]
    D --> E["Setup\nAdd Successfully\nLive View"]
Afbeelding 3-1
Opmerking
lmou
natural_image
Illustration of a digital camera with a circular lens and base (no text or symbols)1 Dispositivo
natural_image
Blank document page with a small orange bookmark icon on the left margin (no text or symbols)1 Dispositivo
natural_image
Simple white rectangular object with two vertical brown bars on top (no text or symbols)1 Adattatore
natural_image
Six identical gray test tubes arranged in two rows (no text or symbols visible)1 Kit di vi
natural_image
Simple circular diagram with four small circles at the center (no text or symbols)natural_image
Illustration of a USB cable with two connectors (no text or symbols)1 Cavo USB
natural_image
Simple geometric diagram of a circle with five small circles inside, no text or symbols present.flowchart
graph LR
    A["Device\nAdd Device"] --> B["Scan"]
    B --> C["Setup\nWiFi Name\nNext"]
    C --> D["Setup\nAdmin password\nOK"]
    D --> E["Setup\nAdd Successfully\nLive View"]
Figura 3-1
Nota
natural_image
Illustration of a digital camera with a circular lens and base (no text or symbols)Dispositivo × 1
natural_image
Blank document page with a small orange bookmark icon on the left margin (no text or symbols)QSG × 1
natural_image
Simple white rectangular object with two vertical brown bars on top (no text or symbols)Adaptador de corrente × 1
natural_image
Six identical gray screw-like components arranged in two rows (no text or symbols visible)natural_image
Simple circular diagram with four evenly spaced circles and a central dot (no text or symbols)natural_image
Illustration of a USB cable with two connectors (no text or symbols)USB × 1
natural_image
Simple geometric diagram of a circle with five small circles inside, no text or symbols present.Figura 2-3
lmou
Observações
flowchart
graph LR
    A["Device\nAdd Device"] --> B["Scan"]
    B --> C["Setup\nWiFi Name\nNext"]
    C --> D["Setup\nAdmin password\nOK"]
    D --> E["Setup\nAdd Successfully\nLive View"]
Figura 3-1
Observações
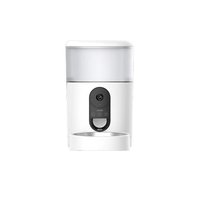
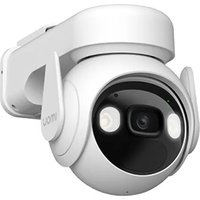


Brand : IMOU
Model : Cue
Category : Camera