
AD1390X - Basket BRANDT - Free user manual and instructions
Find the device manual for free AD1390X BRANDT in PDF.
| Product type | Extractor hood / filter hood |
| Brand | Brandt |
| Model | AD1390X |
| Installation | Extracting (external evacuation) or filtering (internal recirculation) |
| Evacuation diameter | 150 mm |
| Max supported power (gas) | 12.25 kW total |
| Number of speeds | 4 speeds + Boost (4th intensive speed) |
| Intensive speed | Yes, automatic return to 3rd speed after 5 minutes |
| Control | Touch, 5 keys (P1-P5) |
| Lighting | LED |
| Telescopic panel | Yes, height adjustable (P5 key) |
| Timer function | Yes, 5 minutes (motor stop) |
| Filter cleaning alarm | Yes, after 30h and 120h of operation |
| Automatic shut-off | Yes, after 10 hours without intervention |
| Grease filters | Metallic, dishwasher safe |
| Charcoal filter | Optional, to be replaced every 6 months |
| Safety | Panel blockage detection, carriage locking |
| Power supply | Fixed connection, 220-240 V (estimated) |
Frequently Asked Questions - AD1390X BRANDT
User questions about AD1390X BRANDT
0 question about this device. Answer the ones you know or ask your own.
Ask a new question about this device
Download the instructions for your Basket in PDF format for free! Find your manual AD1390X - BRANDT and take your electronic device back in hand. On this page are published all the documents necessary for the use of your device. AD1390X by BRANDT.
USER MANUAL AD1390X BRANDT
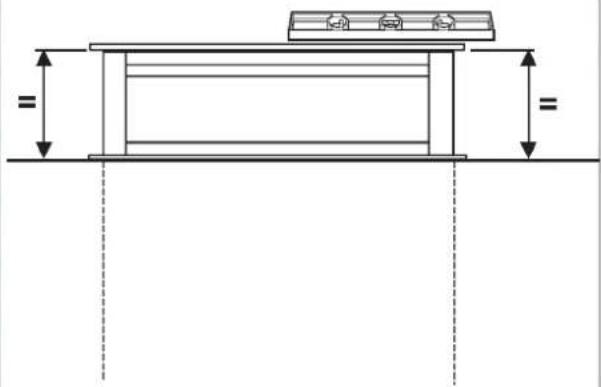
This model is suitable for GAS hobs with the maximum configuration shown in the drawing below and is suitable for use with all GAS hobs with a total power output not exceeding 12.25 kW.

other
| Component | Power Rating | | --------- | ------------ | | 1 KW | 1 kW | | 3 KW | 3 KW | | 1.75 KW | 1.75 KW | | 1.75 KW | 1.75 KW | | 3 KW | 3 KW | | 500 mm | 500 mm | | 900 mm | 900 mm |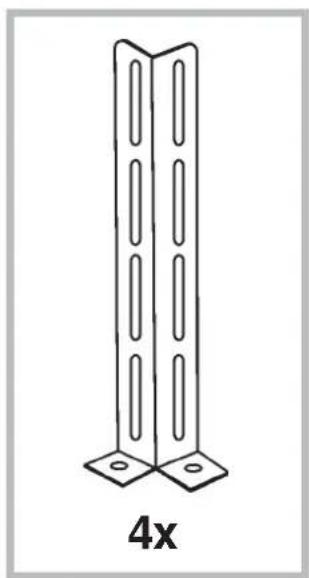
natural_image
Simple line drawing of a vertical metal bracket with two flanks and a 4x label below (no text or symbols on the structure itself)
natural_image
Two warning symbols: a triangular warning sign and a hand gesture (no text or labels)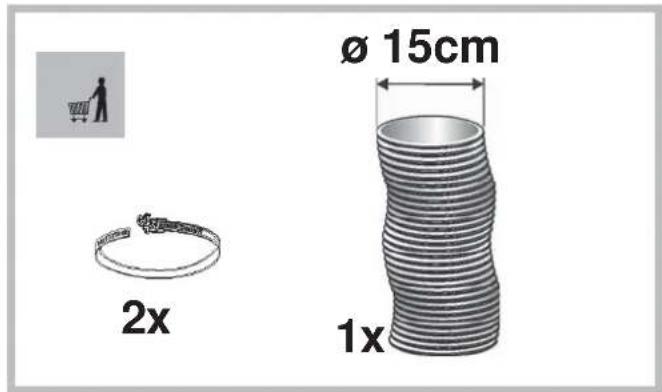

EN MOTOR ASSEMBLY SEPARATE - You can install the blower separately from the hood, in this case order the kit DHK130.
natural_image
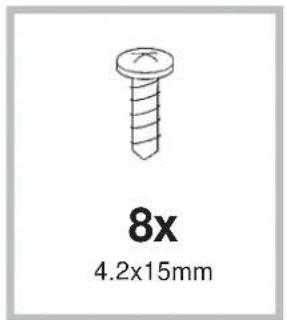
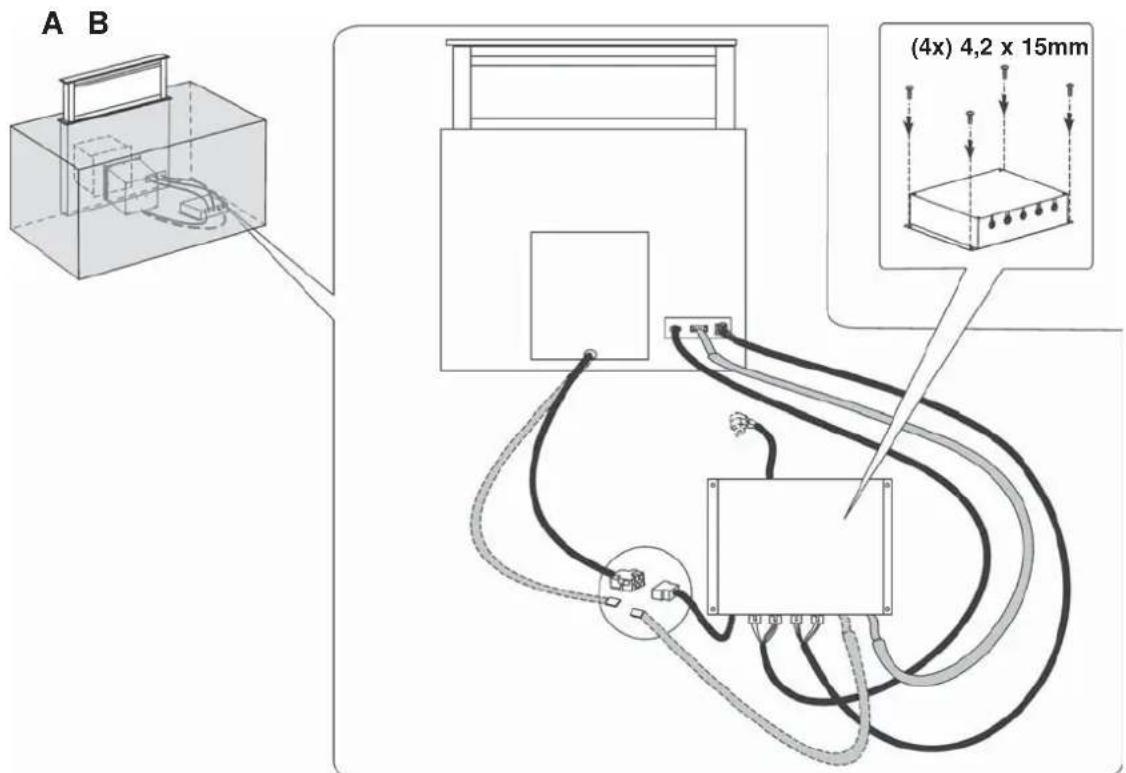
Technical line drawing of a mechanical assembly with a magnified inset showing a cylindrical component inserted into a housing (no text or symbols present)4,2 x 15 mm
6
natural_image
Pure technical line drawing of a mechanical assembly with no text or symbols8
A B
natural_image
Diagram of a mechanical or electrical component with directional arrows and circular features (no text or symbols)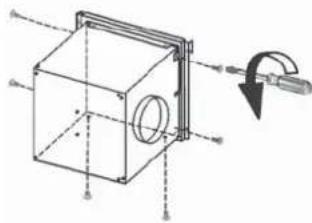
natural_image
Technical line drawing of a mechanical housing with a rotating arm and mounting bracket (no text or symbols)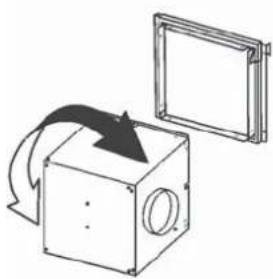
natural_image
Diagram of a mechanical component with directional arrows indicating motion, no text or symbols present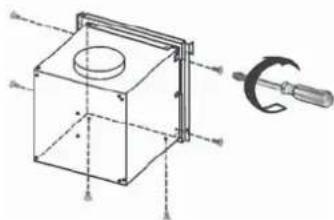
natural_image
Technical line drawing of a mechanical assembly with a cube, cylindrical component, and a circular clamp (no text or symbols)9 A
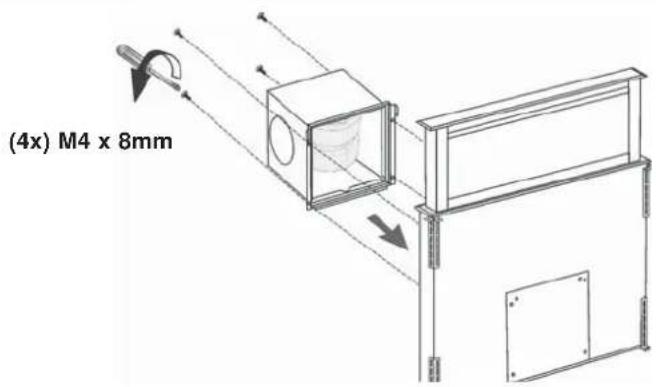
(4x)M4 x 8mm
10 B
11
12 AB
natural_image
Technical line drawing of a mechanical device with a magnified inset showing a tool interacting with a cylindrical component (no text or symbols present)13


Chère Cliente, Cher Client,
You have just acquired a BRANDT hood and we would like to thank you.
We have invested all our dedication and know-how in this appliance so that it would best meet your needs. With innovation and performance, we designed it to be always easy to use.
In the BRANDT product range, you will also find a wide choice of ovens, microwaves, cooking hobs, cookers, dishwashers, washing machines, driers, fridges and freezers, that you can coordinate with your new BRANDT hood
Visit our website www.brandt.com where you will find all of our products, as well as useful and complementary information.
BRANDT
As part of our commitment to constantly improving our products, we reserve the right to make changes to them based on technical advances to their technical and functional features and appearance.
Warning: Before installing and using your appliance, please carefully read this Guide to Installation and Use, which will allow you to quickly familiarise yourself with its operation.
www.brandt.com
SAFETY AND IMPORTANT PRECAUTIONS
These instructions are also available on the web site. Please take heed of this advice when installing and using your appliance. These instructions are intended to protect your safety and the safety of others. Keep this manual with your appliance. If you sell or give the appliance to anyone else, make sure that you also give them this manual.
•In order to constantly improve our products, we reserve the right to make changes to their technical, functional or aesthetic characteristics in line with technological progress.
- Make a note of the references of your appliance on the "ConsumerService" page so that you can readily find them in future.
Important precautions
- This appliance is designed for use by consumers in the home. Donot use it for commercial or industrial purposes or for any other purpose for which it is not intended.
- This appliance is designed for use by consumers in the home. Do not use it for commercial or industrial purposes or for any other purpose for which it is not intended.
- This appliance can be used by children aged under 8 and by persons with diminished physical, sensory or mental capacities, or persons without any experience or knowledge, provided that they are properly attended to or are given the instructions on how to use the appliance in complete safety and that any potential risks are anticipated. Children must not play with this appliance. The appliance must not be cleaned and maintained by unattended children.
- Caution: The accessible parts of this appliance may become hot when used with cooking equipment.
- Adjust the speed to the cooking method and the number of pans in use. It is preferable to use the rings at the back of the range.
- To make optimal use of your appliance, keep the length of the duct and the number of bends in the duct to a strict minimum.
Electrical risks
- All the power supply circuits must be disconnected before touching the connection terminals. If the power cord is damaged, it must be replaced by the manufacturer, its after-sales service or asimilarly qualified person in order to avoid any danger.
- The appliance can be disconnected by using an accessible poweroutlet or by incorporating a switch in the fixed lines, in accordance with the installation rules.
- Do not change or attempt to change the characteristics of this appliance. Doing so can be dangerous.
- The appliance must only be repaired by an approved specialist.
• Always disconnect the hood before cleaning or maintaining it. - Never use steam or high-pressure tools to clean your appliance(for the purposes of electrical safety).
Risk of asphyxiation
- The regulations applying to the evacuation of air must be obeyed. The air must not be sent into a duct used to evacuate fumes from appliances that use gasor other fuels (this does not apply to appliances that only emit air into the room).
- The room must be suitably ventilated when the range hood is used at the sametime as appliances that use gas or other fuels (this does not apply to appliances that only emit air into the room).
Risk of fire
- It is forbidden to flambé food or to turn on gas rings that are not covered by a cooking recipient beneath the hood, as the flames may sucked in and damage the appliance.
- Keep a constant eye on fryers used beneath the hood. When heated to veryhigh temperatures, oil and fat can catch fire.
- Clean the appliance and replace the filters at the recommended frequency. Accumulated deposits of grease can cause a fire.
- It is forbidden to use the hood above a fuel fire (wood, coal, etc.).
! The appliance must be installed by a qualified person in compliance with the instructions provided.

Wear gloves when carrying out installation and maintenance operations.
If the supply cord is damaged, it must be replaced by the manufacturer, its service agent or similarly qualified persons in order to avoid a hazard.
Warning: Failure to install the screws or fixing device in accordance with these instructions may result in electrical hazards.
The hood can look different to that illustrated in the drawings in this booklet. The instructions for use, maintenance and installation, however, remain the same.
The 4th speed (intensive) is automatically lowered to 3rd speed after 5 minutes of operation to optimise energy consumption.
- If the hood is left on (lights and/or motor), after 10 hours in the absence of commands from the user, it will automatically switch to OFF condition with all services switched off.
- The Buzzer emits a "beep" each time that a command is set from the keyboard or remote control (optional).
- In the event of interruption of power during the hood, if you restore the hood in the OFF state, then the engine must be reactivate manually.
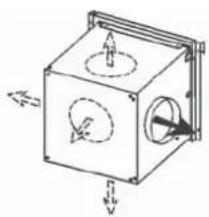
MOTOR ASSEMBLY SEPARATE
You can install the blower separately from the hood, in this case order the kit DHK130.
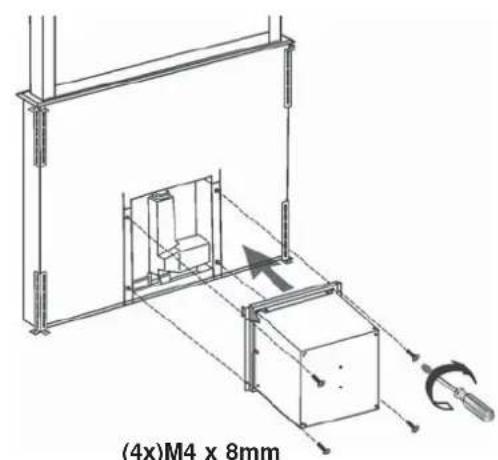
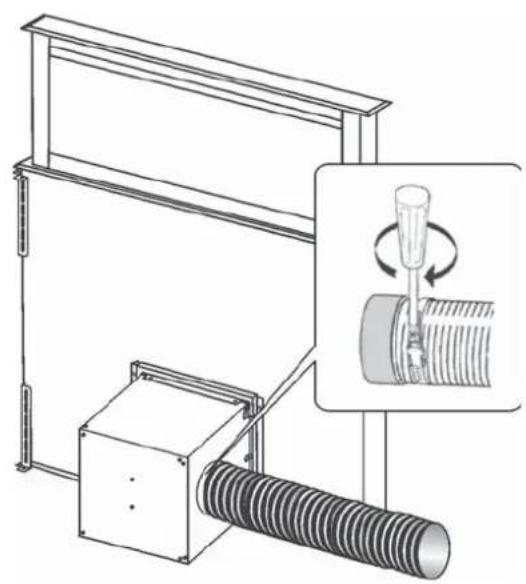
AIR VENT
(for ducting versions)
!Prepare the hole and the air vent duct (150 mm diameter).
!Use a duct of the minimum indispensable length.
!Use a duct with as few elbows as possible (maximum elbow angle: 90°).
!Avoid drastic changes in the duct cross-section.
!Use a duct with an as smooth as possible inside.
!The duct must be made of certified material.
!Do not connect the hood to smoke exhaust ducts for the products of combustion (boilers, fireplaces, stoves, etc).
!For the air vents comply with the provisions laid down by the competent authorities.
In addition, the air must not be evacuated through a hole in the wall unless specifically intended for this purpose.
!Fit air intakes in the room to prevent the hood from creating a negative pressure in the room (which must not exceed 0.04 mbar); if the hood is used at the same
time as non-electrical equipment (gas-, oil- and charcoal-fired stoves, etc.) the exhaust gas may be sucked in by the heat source.
FILTERING OR DUCTING VERSION ?
The hood may be in filtering or in ducting version. Decide from the outset which type is to be installed. For better efficiency, we recommend installing the hood in the ducting version (if possible).

Ducting version
The hood purifies the air and evacuates it to the outside through an exhaust duct (diameter 150 mm).

Filtering version
The hood purifies the air and recycles the clean air back into the room.
CONTROLS
P1 P2 P3 P4 P5

L1 L2 L3 L4 L5
P1: Motor on/off - 1st speed
P2: 2nd speed
P3: 3rd speed
P4: 4th speed
P5: Lift panel up/down (during opening the panel can be stopped at the desired height by pressing the button a second time).
5' Timer function:
When the motor is on, holding the keys P1-P4 pressed down (depending on the speed set), the 5' timer function is activated. When this function is active, the LED corresponding to the speed (L1-L4) blinks. When the 5' have elapsed, the motor turns off and the carriage closes.
Filter alarm display:
After 30 hours of motor operation, the LEDs L1-L5 come on for 30" each time the motor is turned off.
After 120 hours of motor operation, the LEDs L1-L5 blink for 30" each time the motor is turned off.
To reset the alarm, press any one of the keys P1-P5 for 2" during alarm display.

ATTENTION
SAFETY SYSTEMS
In order to function correctly the product is equipped with a series of safety devices which are also intended to prevent any injury caused by inappropriate use. In any case be very careful in using the product, above all the parts in motion.
ALARMON CONTROL
- All LEDs flashing: this means that the telescopic trolley is locked. Wait 30" and then press the UP/DOWN button to release the trolley
- UP/DOWN button LED flashing: this means that the front panel of the filters is not closed properly. Reposition it correctly.
MAINTENANCE
!Before cleaning or maintenance cut the power.
If the light spot is damaged, it must be replaced only by the manufacturer, its service agent or similarly qualified persons in order to avoid a hazard
Cleaning the hood
WHEN TO CLEAN IT: clean it at least every 2 months to prevent the risk of fire.
EXTERNAL CLEANING: use a cloth moistened in lukewarm water and neutral detergent (for painted hoods); use specific products for steel, copper or brass hoods.
INTERNAL CLEANING: use a cloth (or brush) soaked in denatured ethyl alcohol.
WHAT NOT TO DO: do not use abrasive or corrosive products (e.g. metal sponges, brushes, too hard brushes, very aggressive detergents, etc.)
Cleaning the grease filters
WHEN TO CLEAN IT: clean it at least every 2 months to prevent the risk of fire.
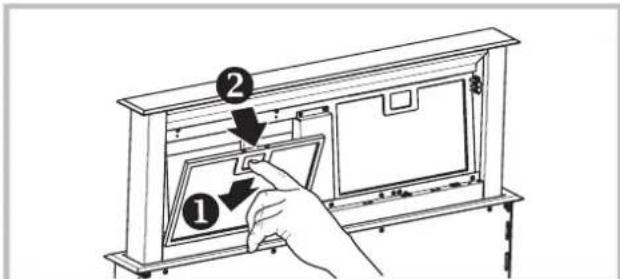
HOW TO REMOVE THE FILTERS: push the catch near the handle towards the rear of the hood and pull the filter downwards
HOW TO CLEAN THE FILTERS: hand wash or in the dishwasher using a neutral detergent. If washing in the dishwasher, possible discoloration of the filters does not in any way compromise their functioning.
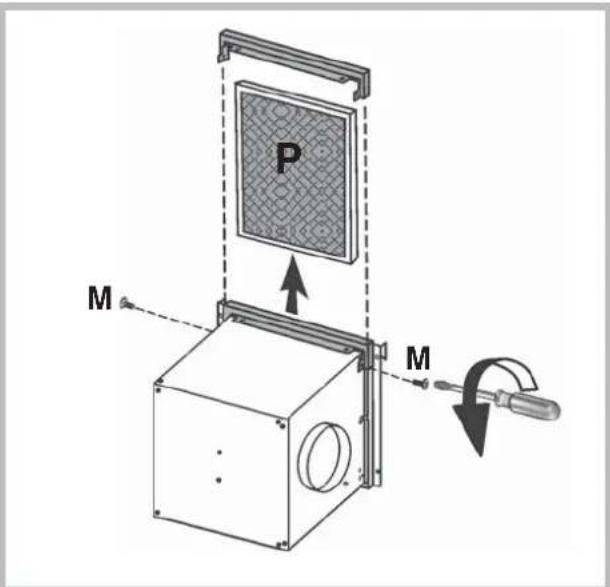
Replacing the charcoal filter (P)
(for filtering version only)
WHEN TO REPLACE IT: replace it at least every 6 months.
HOW TO REMOVE IT: remove the charcoal filter unscrewing (2) screws (M).
MALFUNCTIONS
If something appears not to be working properly, do the following simple checks before calling Technical Service:
- If the hood is not working:
Check that:
- The power has not been disconnected.
- A speed has been selected.
- If the hood performs inefficiently:
Check that:
- The motor speed selected is sufficient for the amount of smoke and vapours released.
- The kitchen is sufficiently ventilated to allow air intake.
- The charcoal filter is not worn (hood in filtering version).
- If the hood has turned off during normal functioning:
Check that:
- The power has not been disconnected.
- the omnipolar disconnection device has not tripped.

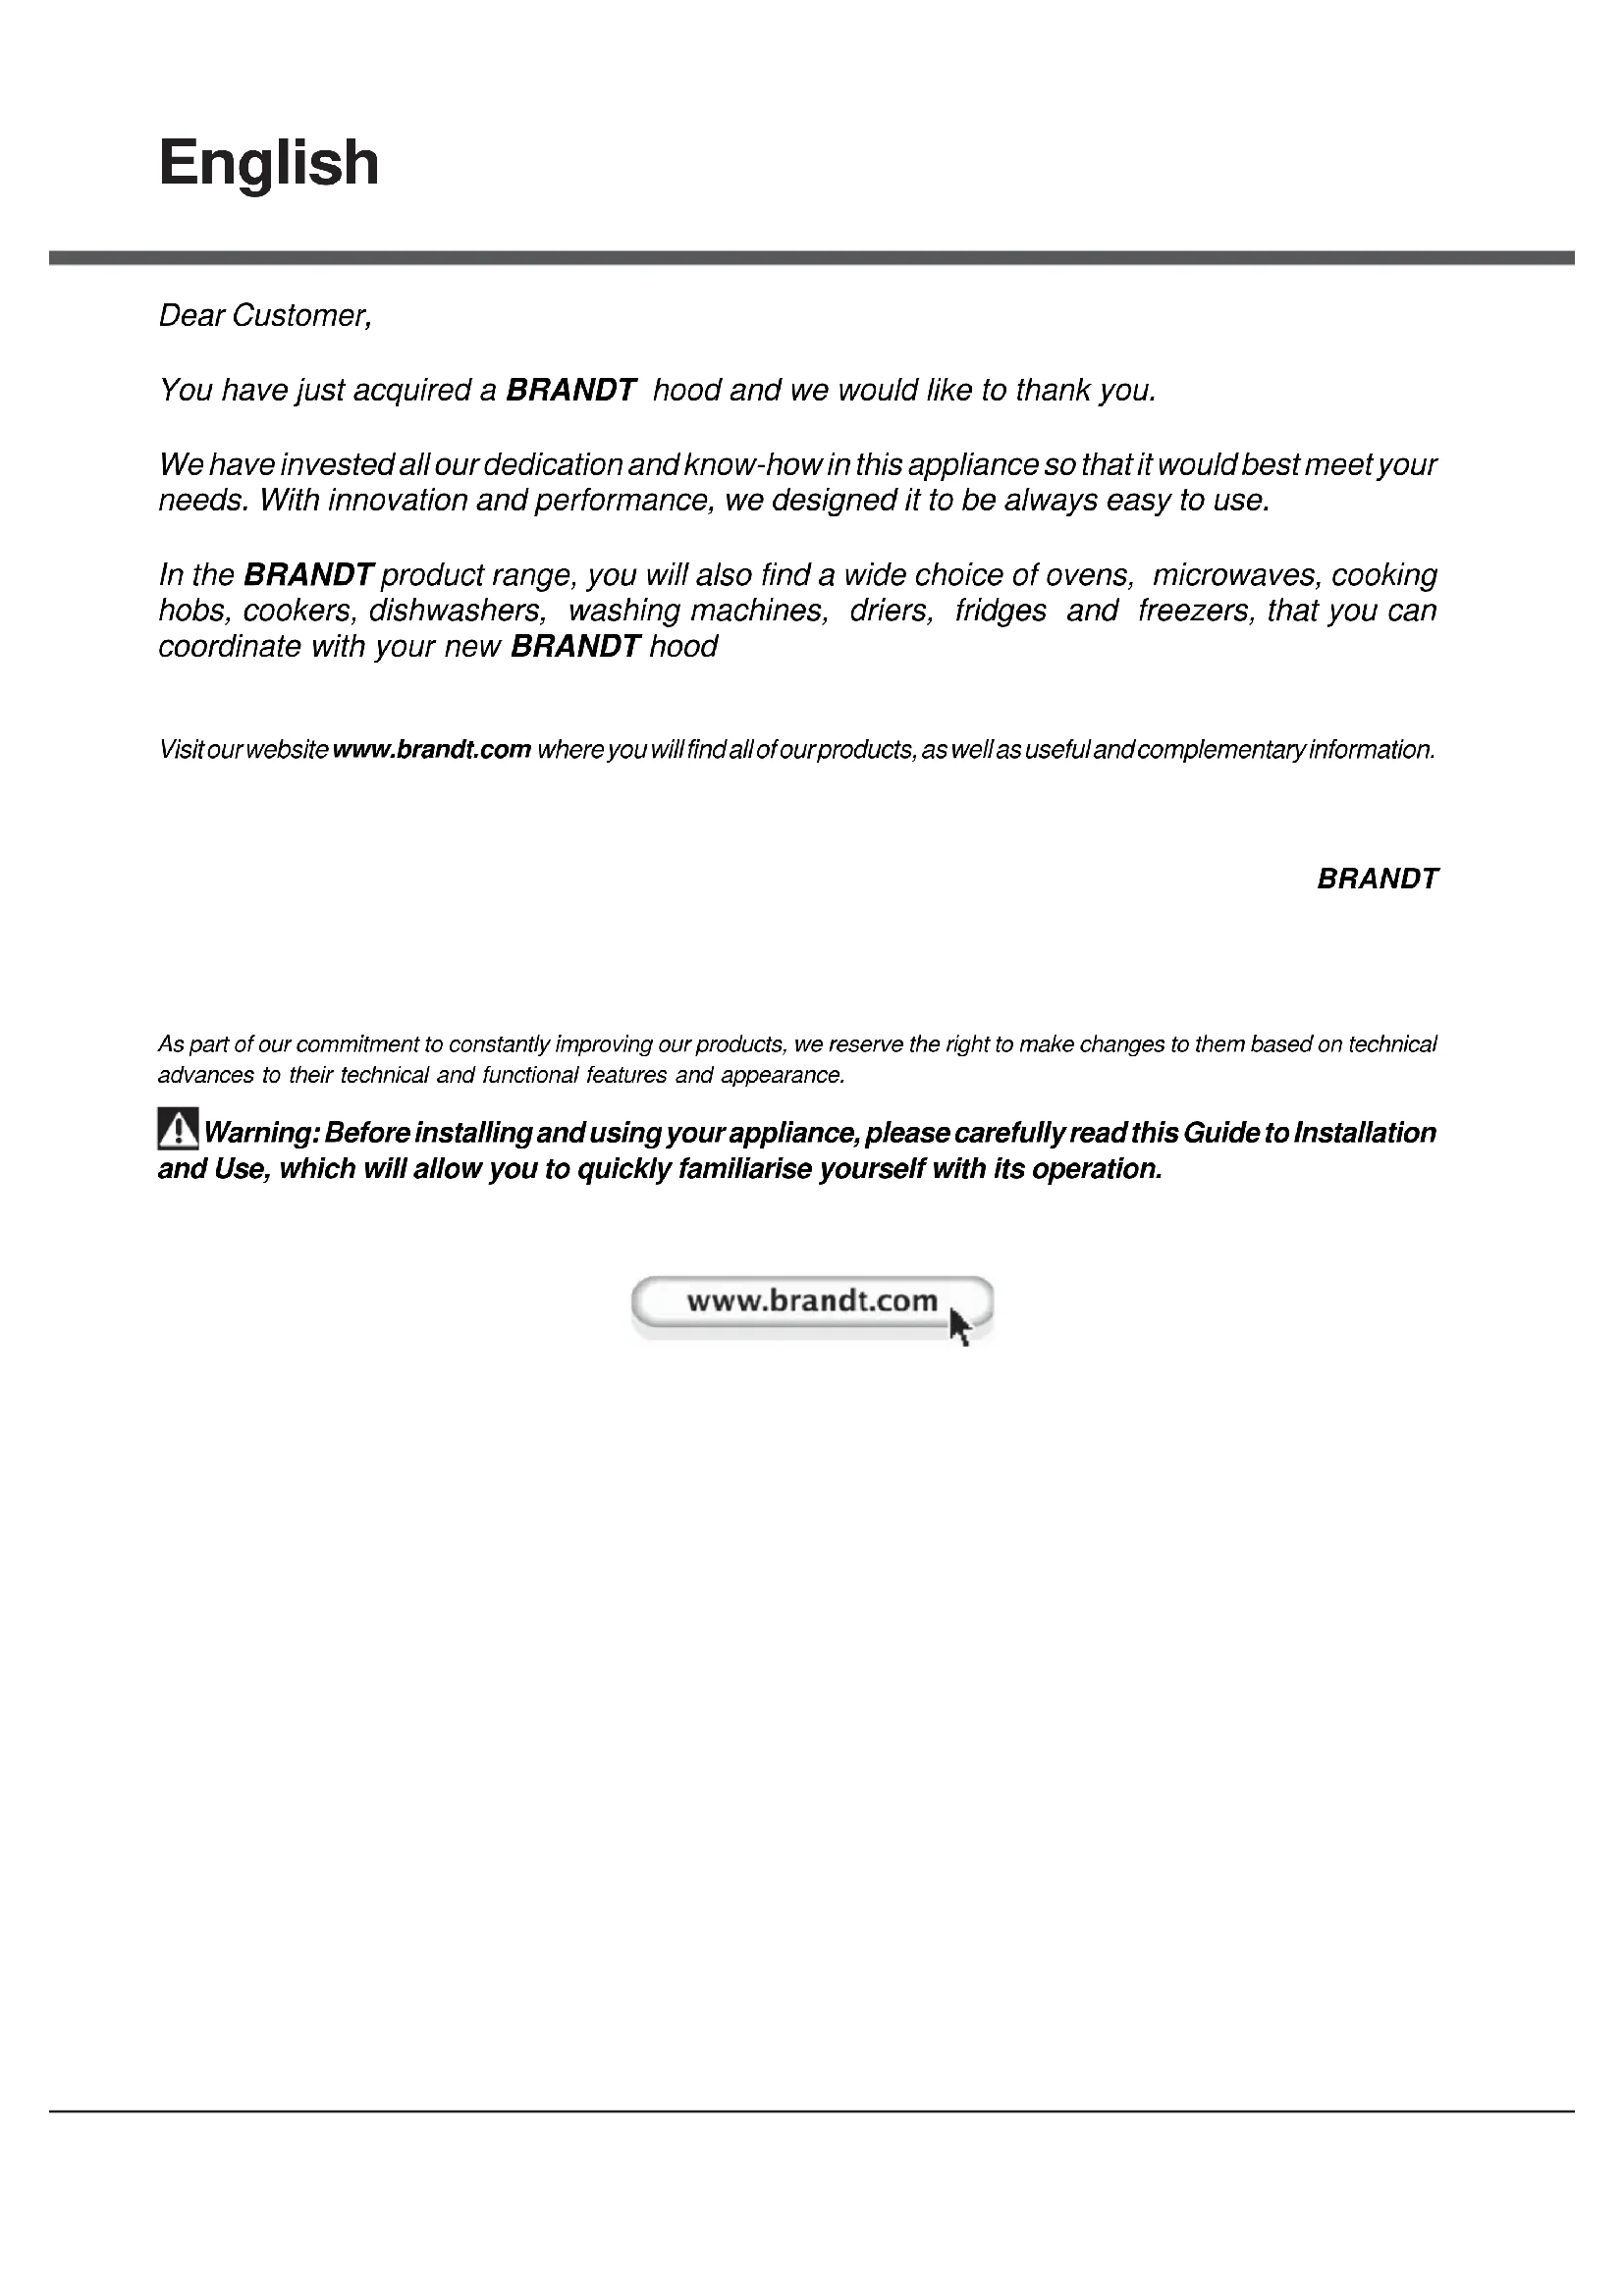
Components not provided with the product
RELATIONS CONSOMMATEURS

- SAFETY AND IMPORTANT PRECAUTIONS
- Important precautions
- Electrical risks
- Risk of asphyxiation
- Risk of fire
- MOTOR ASSEMBLY SEPARATE
- AIR VENT
- FILTERING OR DUCTING VERSION ?
- Ducting version
- Filtering version
- CONTROLS
- 5' Timer function:
- Filter alarm display:
- ATTENTION
- SAFETY SYSTEMS
- ALARMON CONTROL
- MAINTENANCE
- Cleaning the hood
- Cleaning the grease filters
- Replacing the charcoal filter (P)
- MALFUNCTIONS
- Check that:
- RELATIONS CONSOMMATEURS
Brand : BRANDT
Model : AD1390X
Category : Basket