Heat Screen 1800 - Heating SUNTEC - Free user manual and instructions
Find the device manual for free Heat Screen 1800 SUNTEC in PDF.
User questions about Heat Screen 1800 SUNTEC
0 question about this device. Answer the ones you know or ask your own.
Ask a new question about this device
Download the instructions for your Heating in PDF format for free! Find your manual Heat Screen 1800 - SUNTEC and take your electronic device back in hand. On this page are published all the documents necessary for the use of your device. Heat Screen 1800 by SUNTEC.
USER MANUAL Heat Screen 1800 SUNTEC
text_image
suntec® WellnessWARNING!
ACHTUNG!
GB This product is not suitable as the main heater. This product is only suitable for well-insulated rooms or for occasional use.
natural_image
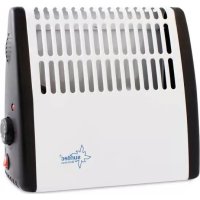
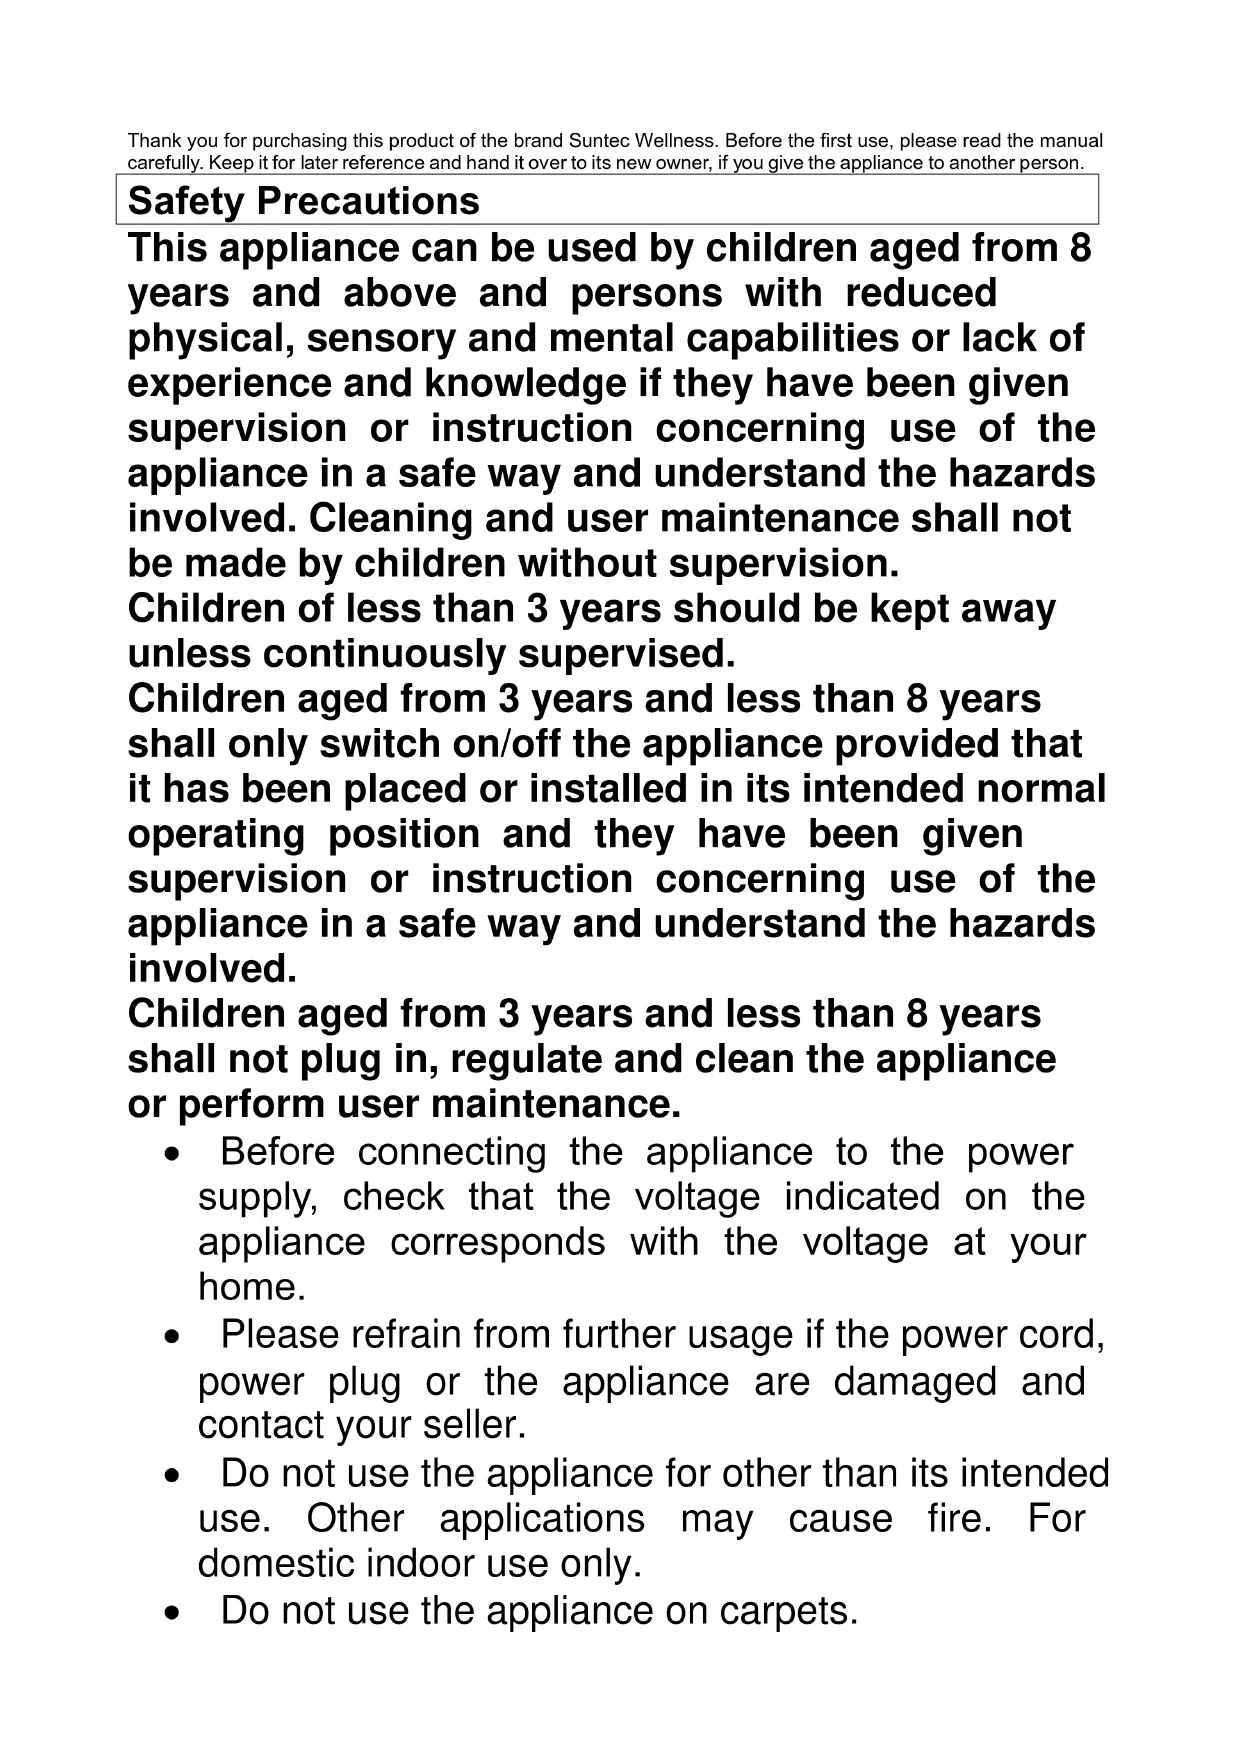
Exterior view of two Suntec air purifiers with digital temperature displays and control buttons (no readable text or symbols)Safety Precautions
This appliance can be used by children aged from 8 years and above and persons with reduced physical, sensory and mental capabilities or lack of experience and knowledge if they have been given supervision or instruction concerning use of the appliance in a safe way and understand the hazards involved. Cleaning and user maintenance shall not be made by children without supervision.
Children of less than 3 years should be kept away unless continuously supervised.
Children aged from 3 years and less than 8 years shall only switch on/off the appliance provided that it has been placed or installed in its intended normal operating position and they have been given supervision or instruction concerning use of the appliance in a safe way and understand the hazards involved.
Children aged from 3 years and less than 8 years shall not plug in, regulate and clean the appliance or perform user maintenance.
- Before connecting the appliance to the power supply, check that the voltage indicated on the appliance corresponds with the voltage at your home.
- Please refrain from further usage if the power cord, power plug or the appliance are damaged and contact your seller.
- Do not use the appliance for other than its intended use. Other applications may cause fire. For domestic indoor use only.
-
Do not use the appliance on carpets.
-
Do not use multiple sockets or extension cords.
- Please do not leave the appliance unattended.
- Do not attempt to repair, disassemble or change the appliance by yourself.
- Please be careful of hot surfaces and do not touch them as they might cause burns.
- The use of accessory not recommended by the manufacturer, e.g. time switches, may cause harm.
- Only operate the appliance on a flat, stable and heat-resistant surface.
- Remove the appliance from the wall socket when it is not in use, before cleaning, when moving and in case of malfunctions. Pull on the power plug, not on the power cord.
- Never use the appliance with wet hands.
- Do not insert any objects into the appliance as this may cause electric shocks, fire or damages to the appliance.
- Do not place the heater under or near curtains, drapes and other flammable materials as well as walls or other objects.
- Never immerse the appliance, it's cord and plug into water or other liquids.
Warning: In order to avoid overheating, do not cover the heater!
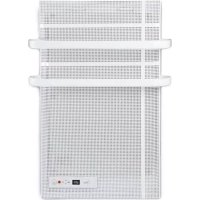
Components
(1) Motion sensor
(2) Control keys
(3) Main switch
(4) Air outlet
(5) Feet
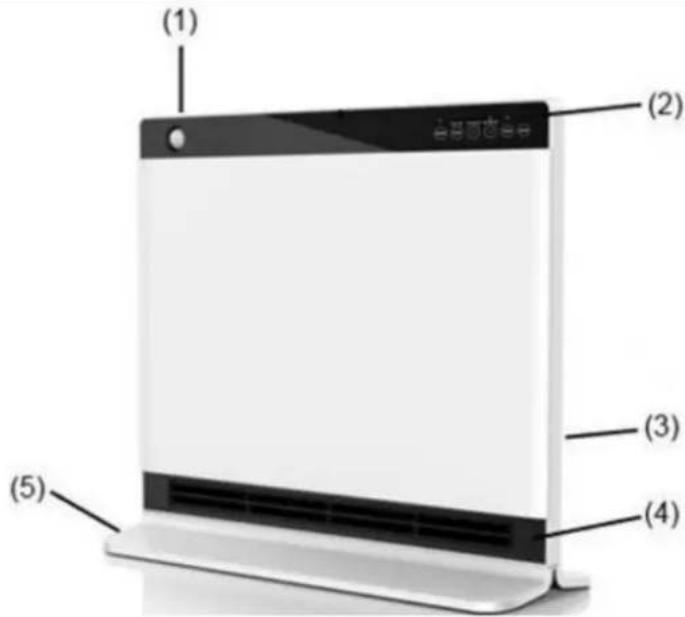
text_image
(1) (2) (3) (4) (5)Before using it for the first time, please leave the device in operation at full power for about two hours, in order to eliminate the unpleasant odor. Make sure that the room where the device is located is well ventilated during this operation. Please do not be worry about the "clicking sounds" during operating the unit for the first time. This is completely normal and the sounds will disappear.
Operation
Plug the power cord into an outlet that corresponds to the voltage on the rating label of the appliance.
1. I/O
Press the main switch (3) to position "I" to switch into the standby mode.
2. ON/OFF
Press the "ON / OFF" button (2) to switch into the "LO" mode. Press the "ON / OFF" button (2) again to shut down the device. The power turns off and the ventilation will turn off 30 seconds later.
3. Mode
Please press the "MODE" button (2) to switch to "HI" mode. The second time you press it, you can switch to "AUTO" mode. Here you can set the target temperature between 18°C and 30°C using the "TEMP" key. If the target temperature is reached, heating is interrupted and only switched on again when the room temperature is below the set target temperature. The default setting in "AUTO" mode is 24°C.
Please press the "MODE" button (2) again to return to the "LO" mode. The corresponding mode lights up (2).
4. SENSOR
Press the "SENSOR" button to switch into the "SENSOR" mode. Press the button again to enter the "normal" mode. The corresponding mode lights up (2).
The unit turns off if the "SENSOR" does not recognize any motion in the area ( ≤slant 2 m) for 2 minutes.
Once the "SENSOR" perceives a movement in the area ( ≤slant 2 m), the unit automatically turns on with a buzzer sound.
5. TIMER
Press the "TIMER" button to activate the timer and set the off-time. The maximum is 8 hours. Each level adds one hour.
6. LOCK
Press the "LOCK" button for 5 seconds to lock the control panel (2). You can not change any settings now. Press the "Lock" button again for 5 seconds to reactivate the control panel (2).
7. WINDOW SENSOR
Please press the "MODE" and "TIMER" buttons simultaneously for 3 seconds to activate the window sensor. A flashing symbol "[ ]" appears on the display.
As soon as the device detects a temperature drop of 10^ C within 30 minutes, e.g. through an open window, the heating function is interrupted. The unit automatically switches to standby mode and the symbol lights up continuously on the display.
When the unit detects an increase in room temperature of 2^ C again, the heating function is resumed and the symbol of the window sensor flashes again on the display.
Remote control
Press the "OFF" button to shut down the unit. The other buttons on the remote correspond to the control keys on the unit.
Note: The remote control can turn the device off, but not turn it on to prevent risks. The remote control does only when the device is turned on. The window sensor cannot be operated via the remote control, but only on the device.
Cleaning
- Disconnect the device from the power supply and let it completely cool down before cleaning.
- Clean the outside of the unit with a damp cloth and dry it with a dry cloth. Do not immerse the device into water; do not let water drip into the unit.
- Do not use water, aggressive cleaning agents, abrasives, or chemicals (alcohol, benzene, etc.) to clean the unit.
- It is possible to clean the filter. Please take the removable filter from the back of the heater and clean it with the vacuum cleaner.
Storage
- Disconnect the unit from the power supply when it is not in use, or if you want to clean it.
- If you do not use this unit for a long time, put it for safekeeping along with the manual back in the original box in a dry, dust-free place.
- Do not place any heavy objects on the box, as this may damage the device.
In case of complaint
- You can claim the device within 24 months from date of purchase (receipt).
- A free replacement or repair will be excluded from prior improper product handling.
- Defects in wear parts, consumables, as well as cleaning, maintenance or replacement of said parts are therefore with costs.
- If you want to make a complaint, please bring the entire device in its original packaging and with proof of purchase to your dealer. For a timely and convenient service register, visit our website www.suntec-wellness.de and learn more.
• Without a proof of purchase, generally there will be no repair or replacement. - In the event that the complaint case is analogous to our terms of service, all defects of the device or its accessories due to material or manufacturing defects will be eliminated by repair or, at our discretion, replacing the unit.
- The damage of accessories does not automatically lead to a free exchange of the whole device. In these cases, please contact your dealer. Glass breakage, or breakage of plastic parts are always to charge.
- The dealer or repair service can perform the repair after the expiration of warranty against charge.
Note concerning protection of environment

This product must not be disposed of via normal household waste after its service life, but must be taken to a collection station for the recycling of electrical and electronic devices. The symbol on the product, the operating instructions or the packaging indicates such disposal procedures. The materials are recyclable in accordance with their respective symbols. By means of re-use, material recycling or any other form of recycling old appliances you are making an important contribution to the protection of our environment.
Please ask your local council where your nearest disposal station is located.
As part of our extended producer responsibility, this product is indicated in accordance to the European Directive 2002/96/EC on Waste Electrical and Electronic Equipment (WEEE). The aim is to avoid, reduce, and environmentally friendly disposal of electronic waste. Please help actively to protect the environment and dispose electronic waste through local collection points. The packaging and this manual can be recycled.
EC declaration of conformity
The device meets the essential health and safety requirements of the European Union. The EC declaration of conformity is the basis for CE marking this unit.
With publication of this manual supersedes all previous their validity. SUNTEC, SUNTEC Wellness, KLIMATRONIC and the Sun-Logo are registered trademarks. © 2018/02 SUNTEC WELLNESS GMBH Liability is excluded for all printing errors and omissions.
KLIMATRONIC®
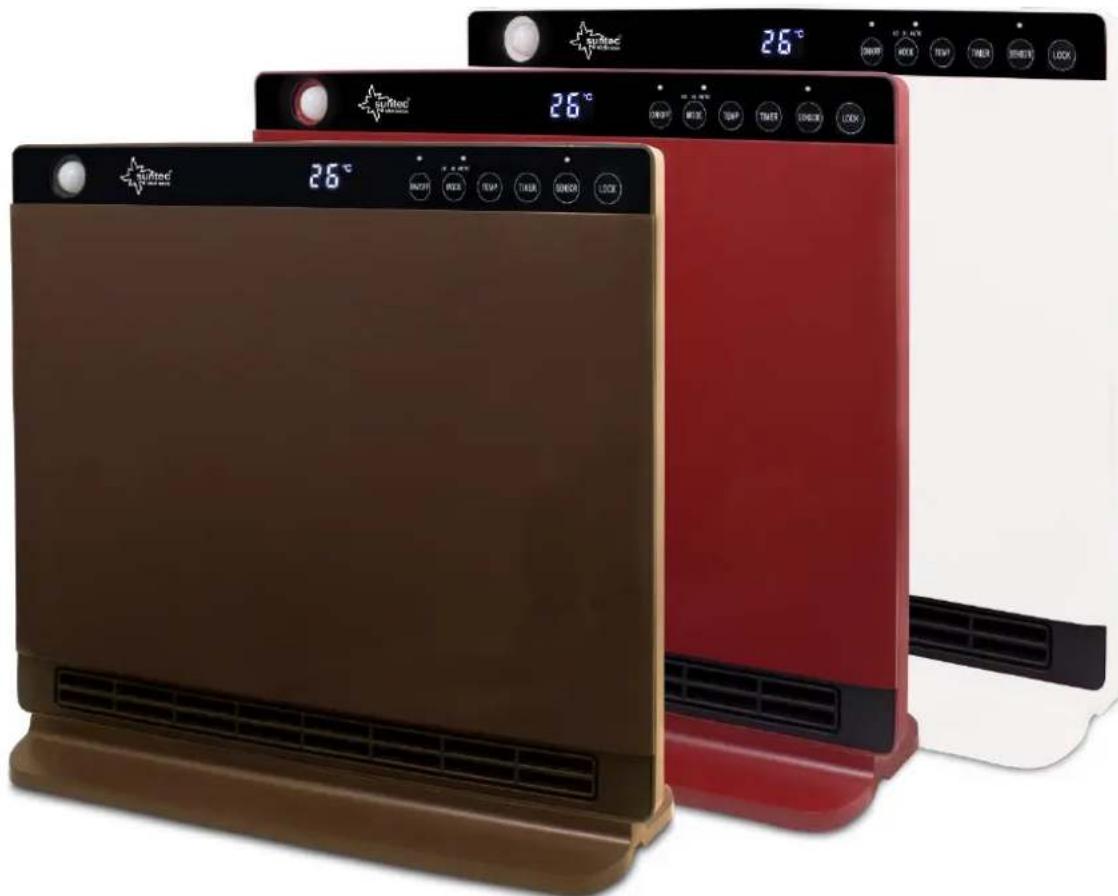
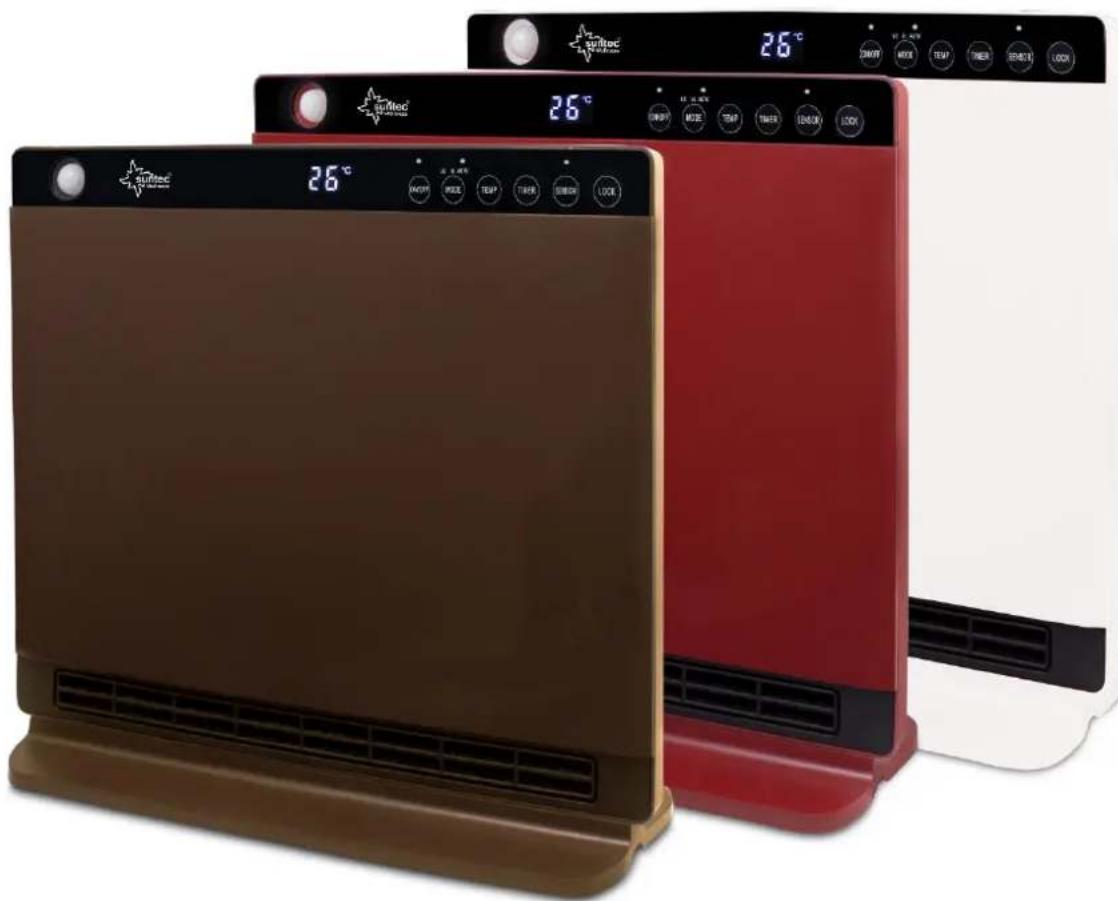
Heat Screen 1800 chocolate/bordeaux/pearl
Termoventilador PTC
natural_image
Two Suntec air purifier units, one brown and one red, displayed against a white background with digital temperature displays (no visible text or symbols on the devices themselves).natural_image
Two red and brown outdoor air purifiers with digital temperature readings, displayed against a white background (no visible text or symbols on the devices themselves)© 2018 KLIMATRONIC® Heat Screen 1800
KLIMATRONIC®
Heat Screen 1800 chocolate/bordeaux/pearl
PTC Ventilatorkachel
text_image
Surtec 26°C 26°C 26°C 26°C AVCH MOB TEMP TIME SPEED LOCK SWITCH MOB TEMP TIME SPEED LOCK SWITCH MOB TEMP TIME SPEED LOCK© 2018/02 SUNTEC WELLNESS GMBH
natural_image
Two Suntec air purifiers with digital temperature displays and control buttons, one brown and one red, against a white background (no visible text or symbols on the devices themselves)© 2018 KLIMATRONIC® Heat Screen 1800
KLIMATRONIC®
Heat Screen 1800 chocolate/bordeaux/pearl
PTC-Ventilatorska grijalica

natural_image
Two modern air purifiers with digital temperature displays, one brown and one red, displayed against a white background (no visible text or symbols on the devices themselves)Zahvaljujemo Vam što ste kupili ovaj uređaj marke Suntec Wellness. Prije prve upotrebe, molimo pročitajte pažljivo ovaj priručnik. Čuvajte ga za kasnije savjete ili ga predajte novom vlasniku ukoliko ćete dati uređaj drugoj osobi.
natural_image
Two Sunlit Smart Thermostat devices with digital temperature displays and control buttons (no visible text or symbols on main body)Varnost previden
natural_image
Two Sunlitac air purifiers with digital temperature displays and control buttons, one brown and one red, against a white background (no visible text or symbols on the devices themselves)© 2018 KLIMATRONIC® Heat Screen 1800
KLIMATRONIC®
Heat Screen 1800 chocolate/bordeaux/pearl
natural_image
Two RoTirec air purifier units, one brown and one red, displayed against a white background with no visible text or symbols.Návod k použití
© 2018 KLIMATRONIC® Heat Screen 1800
KLIMATRONIC®
Heat Screen 1800 chocolate/bordeaux/pearl
natural_image
Two SunMec air purifier units, one brown and one red, displayed against a white background with control buttons and temperature display (no visible text or symbols on the devices themselves).Használati útmutató
natural_image
Two Suftec air purifier units, one brown and one red, displayed against a white background with digital temperature indicators (no visible text or symbols on the devices themselves).Instrukcja obsługi
For this appliance we assure 24 months warranty.
During the 24 months warranty we guarantee to repair your appliance free of charge or to provide your seller the spare parts free of charge if the appliance fails to work due to production failure.
Other claims are excluded from this warranty. We will not be liable for any defects caused by acts of nature, improper use, neglection of the instruction manual, damage from continuous use and damages during transportation.
This warranty card is only applicable with the according invoice.
In case of service please bring your purchased product to your seller.
Product name:
Serial number:
Name of buyer:
Date of purchase:
Stamp and signature of seller:
Manufacturer:
Suntec Wellness GmbH
Holzstraße 2
40221 Düsseldorf
Germany