LB 8 - Humidifier STEBA - Free user manual and instructions
Find the device manual for free LB 8 STEBA in PDF.
| Product type | Ultrasonic humidifier |
| Brand | Steba |
| Model | LB 8 |
| Category | Humidifier |
| Power supply | 220-240 V ~ 50 Hz |
| Power | 25 W |
| Weight | 1.2 kg |
| Dimensions (L x W x H) | 20 x 20 x 30 cm |
| Tank capacity | 3 L |
| Recommended humidification area | 25-30 m² |
| Timer | Yes, adjustable from 1 to 12 hours |
| Humidity control | Yes, adjustable from 30% to 90% RH in 5% steps |
| Night mode | Yes, turns off indicator lights |
| Automatic shut-off | Yes, when tank is empty |
| Atomization (levels) | 3 levels: low, medium, high |
| Cleaning | Weekly cleaning; descaling with vinegar or descaling agent |
| Safety | Automatic shut-off, overheat protection, use by children aged 8 and above under supervision |
| Spare parts | Ceramic filter, ultrasonic membrane, water tank (available from customer service) |
| Warranty | 2 years |
Frequently Asked Questions - LB 8 STEBA
User questions about LB 8 STEBA
0 question about this device. Answer the ones you know or ask your own.
Ask a new question about this device
Download the instructions for your Humidifier in PDF format for free! Find your manual LB 8 - STEBA and take your electronic device back in hand. On this page are published all the documents necessary for the use of your device. LB 8 by STEBA.
USER MANUAL LB 8 STEBA
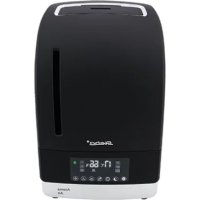
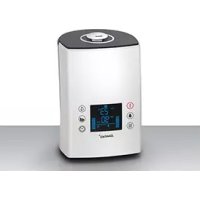
natural_image
White and blue portable water heater with a black lid, no visible text or symbols on the body.220-240 V\~; 50/60 Hz; 30 W
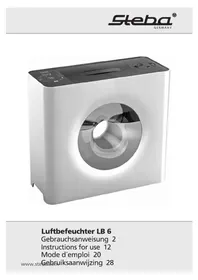
Luftbefeuchter
LB 8
Instructions for use 12
Mode d'emploi 22
This appliance is for private and indoor use only and must not be used commercially. Please read the instruction manual carefully and keep it at a safe place. When the appliance is given to another person the instruction manual should be passed to that person, too. Only use the appliance as described in the instruction manual and pay attention to the safety information. No liability for damages or accidents will be accepted, which are caused by not paying attention to the instruction manual. Remove all packaging and sticker. Wash up all parts carefully (see cleaning).
Safety information
- Connect and operate the appliance in accordance with the specifications shown on the rating label.
- Do not use if the plug cord is damaged. Verify before every use.
- Do not plug with wet hands.
- Connect the power plug to a properly installed and easily accessible socket only.
- To unplug the power plug, always pull the plug – not the cable.
- Plug off the appliance after each use or in case of failure.
- Do not pull at the cord. Don't pull it over edges and don't bend it too much.
- Keep the cord away from hot parts.
The appliance can be used by children aged 8 and above and persons with limited physical, sensory or mental capabilities or lack of experience/knowledge, provided that are supervised or have been provided with instruction in the safe use of the appliance and have understood the resulting dangers. Children must not use the packaging as a toy. Cleaning and user maintenance must not be carried out by children unless they are 8 years or older and are supervised. -
Children under the age of 8 must be kept away from the appliance and the connecting cable.
-
Children should be supervised to ensure that they do not play with the appliance or packaging material (e.g. Plastic Bags).
-
The appliance must not be operated using a timer or a separate remote system!
-
Never leave the appliance unattended when in use.
- Do not leave the appliance outdoors or in a damp area.
- Never immerse the unit in water.
- Never use the device after a malfunction, e.g. if it felt down or has been damaged in any other manner.
- The manufacturer is not liable for damage which is occurring due to the usage of the appliance in a different way as described or a mistake in the handling has been made.
- To prevent injury, repairs such as replacing a damaged cord, should only be carried out by a customer service. Only original spare parts have to be used.
- Only use the device as described in this manual.
- This appliance is intended to be used in household and similar applications such as:
o staff kitchen areas in shops, offices and others working environments
o by clients in hotels, motels and other residential type environments
o bed and breakfast type environments.
- If an extension cable is used, it has to have a cross-section of 1,5mm^2 . A cable drum must always be unwound.
- If a GS-tested 16 A multi-pin extension is used, it may not be charged with more than 3680 watts due to fire hazard.
- Make sure that children do not tease the cable or that a trip hazard occurs.
-
The device must always be disconnected from the power supply if it is not supervised and before assembling, disassembling or cleaning.
-
The appliance should be switched off when the water tank is empty or when it should not be used. If the appliance is not used for longer time, it should be unplugged and cleaned.
- If any abnormal smell occurs is it important to switch off the appliance and contact the service.
- Do not direct the air outlet on sockets, furniture, books, computers, etc.
Cleaning
Attention! Pull the plug before cleaning and allow the device to cool down.
- Never immerse the unit into water.
- Hygiene: Please always clean the device to avoid bacteria and mold formation.
- The appliance must be cleaned more often the harder the water is. Too much lime disturbs the correct working of the appliance and leads to the formation of scale. In this case use boiled or distilled water. In any case do not use carbonated mineral water!
- If you do not use the device for a longer period of time, or if the device is calcified, proceed as follows:
o Pull the plug and remove the water from the water tank and the basin.
o Scale remains at the base, the transductor and the water tank should be wiped away. It is essential, that the transductor is not damaged. When there is excessive scale some scale remover should be used or fill vinegar in the basin. After some time, depending on deposit, the scale dissolved. After this the base must be cleaned completely with clean water.
o Screw the ceramic filter back into the water tank with the perforation facing up.
• Hygiene: Weekly cleaning avoids white sediments. Bacteria and germs will not have a chance! When the device is regularly used, its cleaning will be easier and quicker.
- Carefully clean the ultrasonic membrane at the bottom part with a brush. Scale reduces the atomization.
- Reassemble the appliance and store in a dry place up till next usage.
Workplace
Important:
Never place this device on or next to hot surfaces (e.g. hot stoves). Only use it on a
even, stable and water-resisting surface. It is important that no inflammable items are near to the device. Do not place the device on the edge of the table so that it cannot be touched by children or fall down when touched.
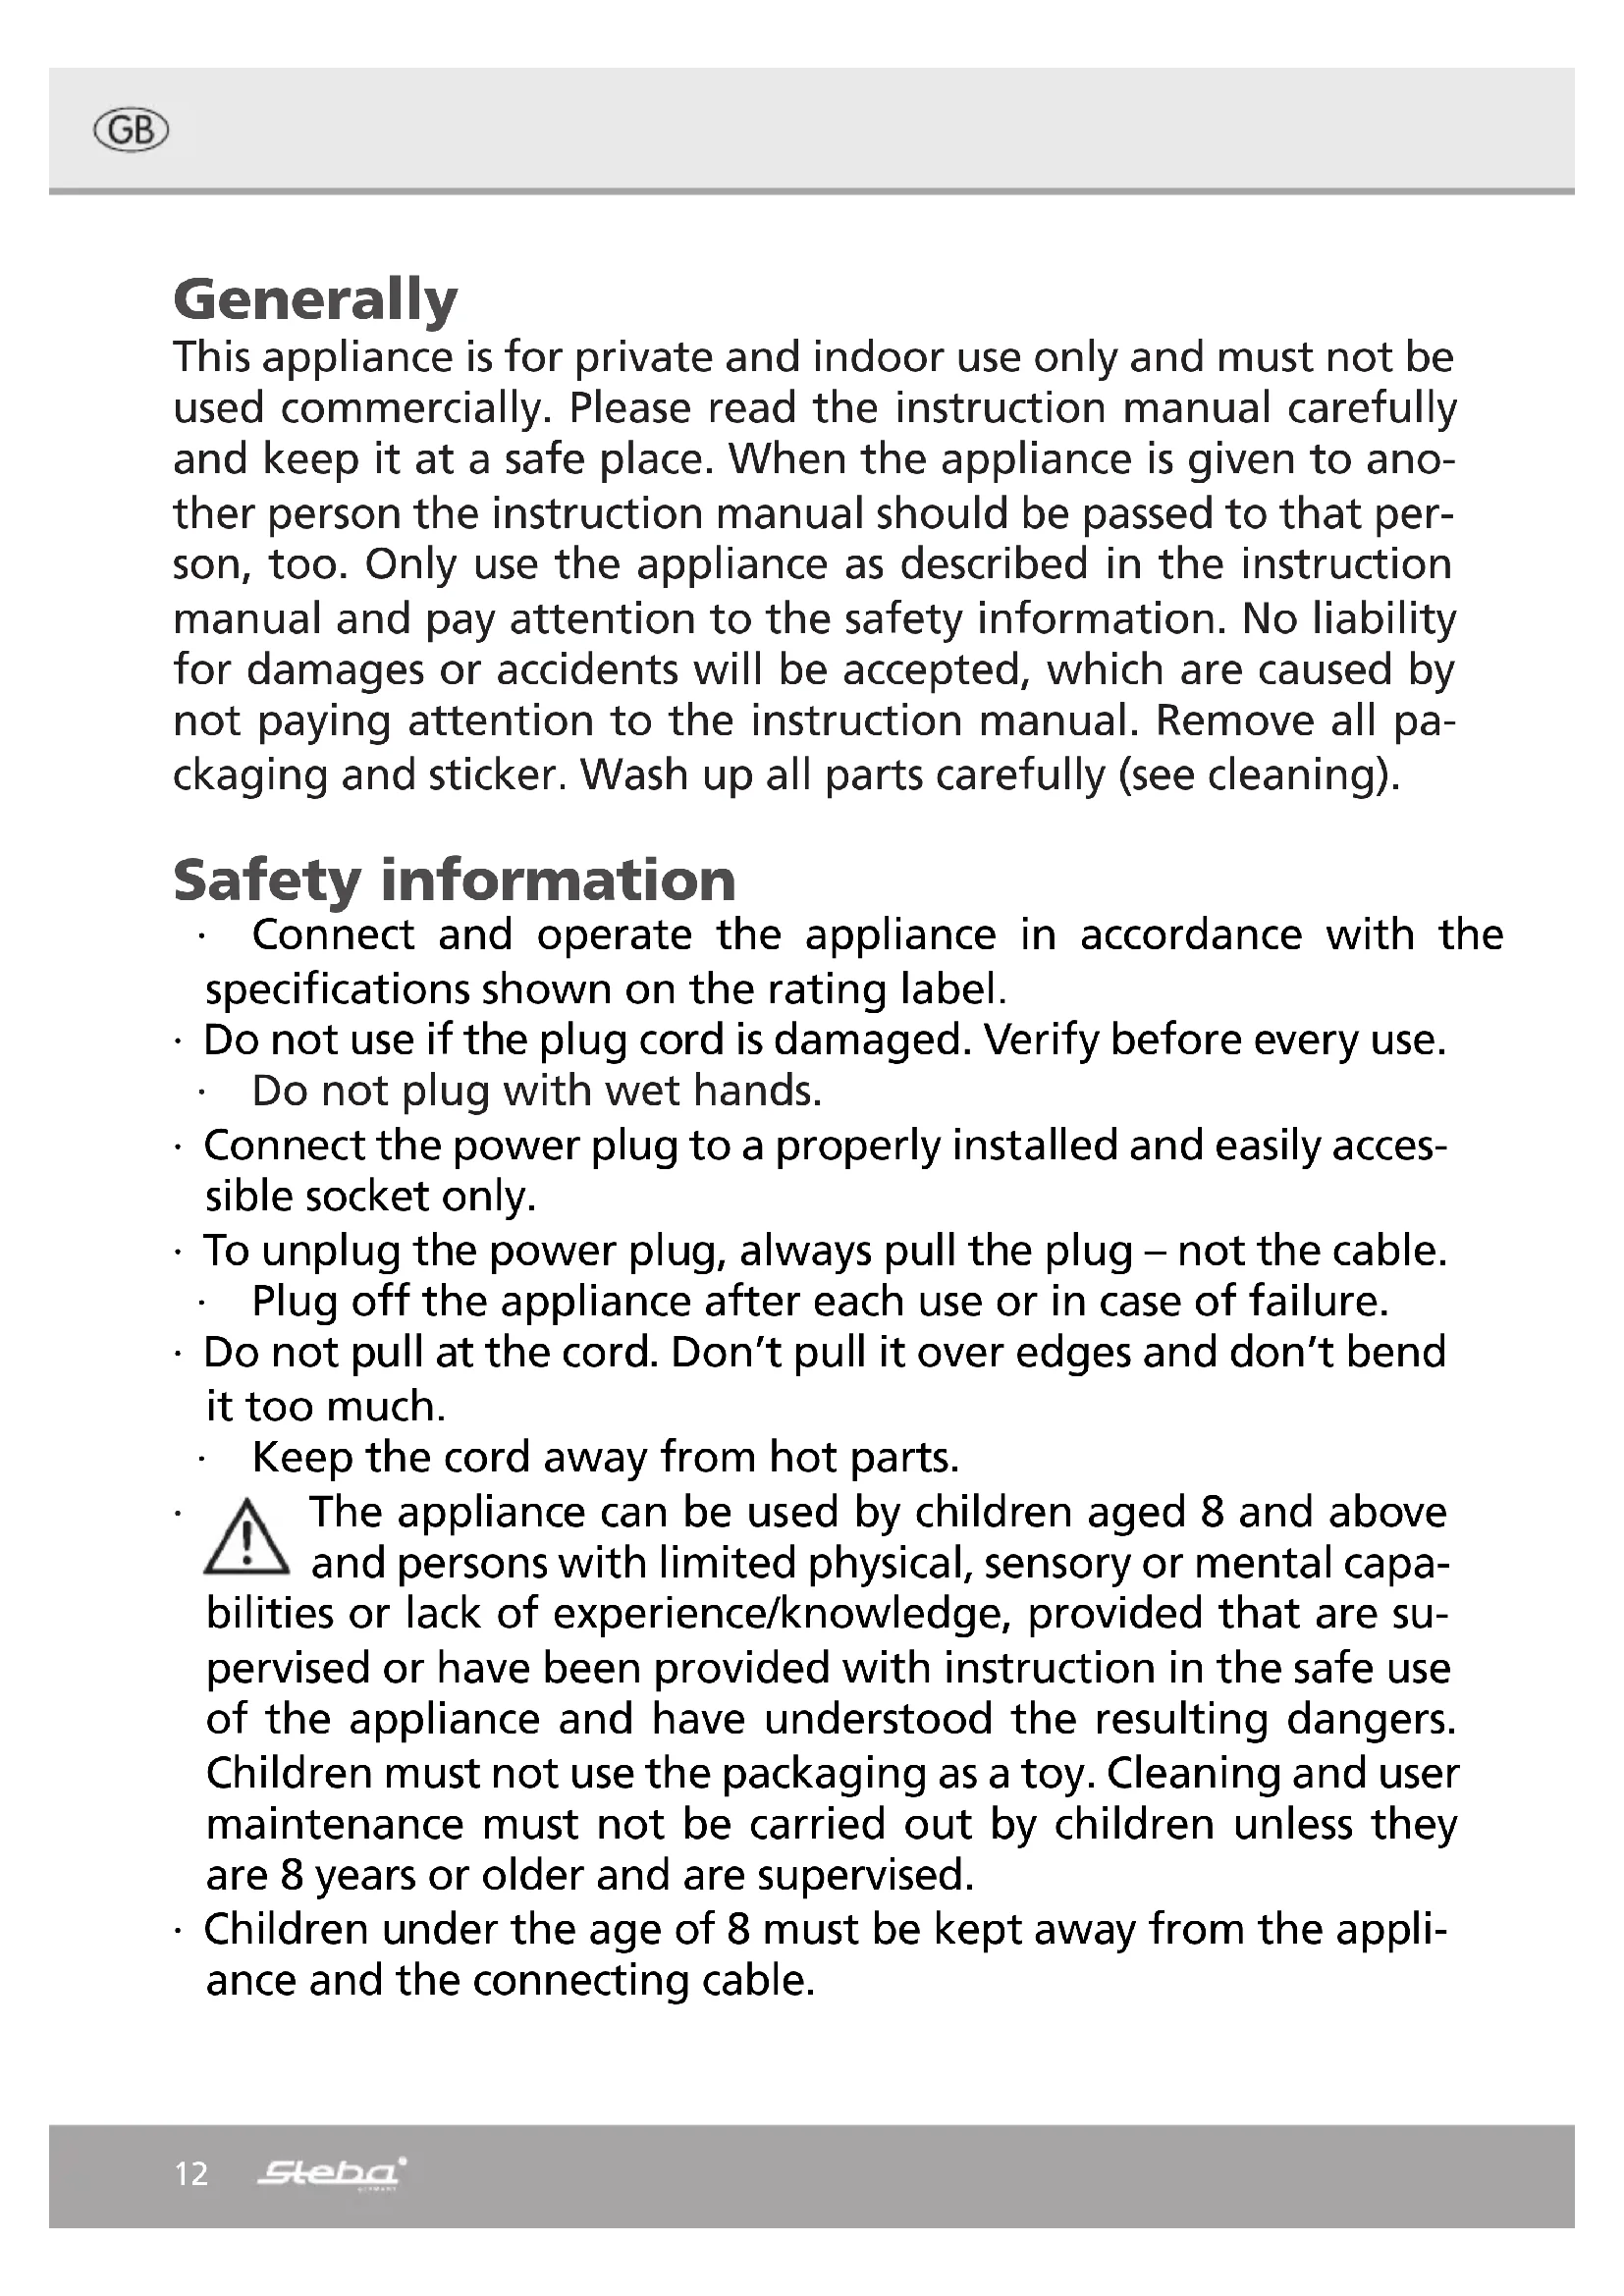
- Lid
- Mist block cover
- Water tank
- Handle of water tank
- Housing
- Humidity sensor
- Power cord
- Base
- Panel
- Ultrasonic nebuliser
- Aroma / air outlet
- Buoy
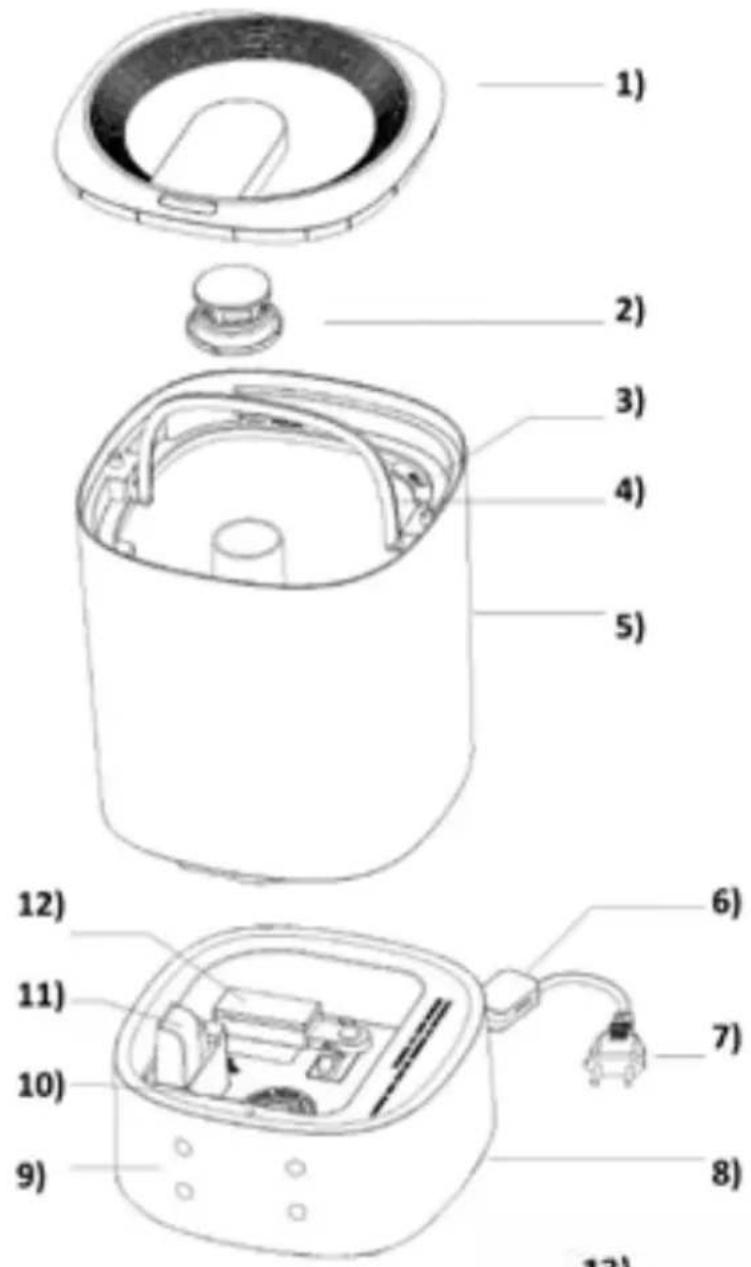
- ON/OFF
- Timer
- Nebulisation
- Humidity control
- Use the device from a room temperature of 20^ and a humidity less than 80% RH.
- Remove the lid and use the handle to take out the water tank. Fill the tank with cold tap water or distilled water.
- Place the water tank on the base and put the lid on.
- Connect the device. If there is no water in the tank, the device lights up red.
- The display lights up briefly and a signal sounds. The device is in stand-by mode.
- Touch the ON / OFF button 13). The device lights up blue and the display shows the current humidity. After 15 seconds it starts to nebulisation level 2.
- Nebulisation level 15):
o The nebulisation level can be selected by touching the button:
o Level 1 = low
o Level 2 = medium
o Level 3 = high
o The selected value is shown in the display.
o If the current humidity is displayed, touch button 15) to check the nebulisation level.
o Press again to change the level.
Timer 14):
o Touch the button. The display shows 01 hours.
o The timer can be selected from 01 to 12 hours by repeatedly touching the button. If “- -” appears in the display, the timer has been deleted.
o After selecting the time, the LED stops flashing after 5 seconds, the timer is set.
o The display changes back to the current humidity after 1 minute. Has the timer e.g. If programmed to 12 hours, the remaining time of 11 hours is shown in the display after 1 hour of running.
o Touch the button. The display shows the current humidity.
o By repeatedly touching the key, the humidity can be selected in steps of 5% RH between 30 and 90% RH.
o If "CO" is shown in the display, this means continuous operation.
o After selecting the humidity, the LED stops flashing after 5 seconds, the humidity is set.
o The display switches back to the current and selected humidity after 1 minute.
o If the selected humidity is 16% RH and more higher than the current one, the device works at level 3.
o If the selected humidity is 10 - 15% RH higher than the current one, the device works at level 2.
o If the selected humidity is 1 - 9% RH higher than the current one, the device works at level 1.
o If the selected humidity is lower than the current one, the device is in stand-by mode.
o The nebulisation level can still be changed.
- Night mode:
o Touch button 16) for 2 seconds to switch the device to night mode.
o The blue light and the display go out. To reactivate the display, touch any key.
o To exit night mode, touch button 16) for 2 seconds.
• Automatic shutdown:
o As soon as there is no more water in the tank, the device switches off and lights up red.
o Fill the tank and restart the device with ON / OFF.
o After use, touch the ON / OFF button.
Tipps:
- Fill in lukewarm water into the tank and not the basin.
- Please empty the device if the room temperature is below 0°C. The building of ice damages the membrane.
- Do not transport the device if too much water is in the basin. Unplug the device and empty some water.
- Do not put any chemicals, detergent, metal etc. into the basin.
Troubleshooting
Dear Client,
Thank you for buying this STEBA product. The following table will help you with problems that may occur when using your device. For many problems there is a simple solution, because not everything that appears like a malfunction must be serious.
Please check the following list before contacting our customer service.
| Problem Reason | Solution | |
| Light does not shine | ·Device not connected·Power cord or device defective | ·Do you have power?·Contact service |
| No nebulisation | ·Device not switched on·Selected humidity is reached | ·Touch ON / OFF·Increase the humidity |
| Abnormal smell | ·Water was too long in the tank·Residual odour of old aromatic oil | ·Change the water·Clean the aroma roll under warm water and let it dry |
| Unusual noises · | Uneven ground·Tank not inserted correctly·Device is faulty | ·Select even surface·Position the tank correctly·Contact service |
| Humidity efficiency is too low | ·Other sources of air in the room·Air intake is blocked·Limescale deposits | ·Keep windows and doors closed·Remove objects·Clean the ultrasonic membrane |
Correct Disposal of this product

This marking indicates that this product should not be disposed with other household wastes throughout the EU. To prevent possible harm to the environment or human health from uncontrolled waste disposal, recycle it responsibly to promote the sustainable reuse of material resources. To return your used device, please use the return and collection systems or contact the retailer where the product was purchased. They can take this product for environmental safe recycling.
Packaging disposal: Do not throw away the package materials. Please put it in the recycling bin.
Gift box: Paper, should be put to the old paper collection point. Plastic packaging material and foils should be collected in the special collection containers.
Service and Repair:
If the appliance must be repaired, please get in touch with your trader or with the manufacturer: