0243030030000 - Blender Starfrit - Free user manual and instructions
Find the device manual for free 0243030030000 Starfrit in PDF.
User questions about 0243030030000 Starfrit
0 question about this device. Answer the ones you know or ask your own.
Ask a new question about this device
Download the instructions for your Blender in PDF format for free! Find your manual 0243030030000 - Starfrit and take your electronic device back in hand. On this page are published all the documents necessary for the use of your device. 0243030030000 by Starfrit.
USER MANUAL 0243030030000 Starfrit
natural_image
Starfrit blender with orange and white smoothie, surrounded by fresh fruits including apple, banana, and grape clusters (no text or symbols on main objects)PERSONAL BLENDER MÉLANGEUR PERSONNEL LICUADORA PERSONAL
INSTRUCTIONS FOR USE AND CARE + RECIPES P.2 INSTRUCTIONS POUR L'USAGE ET L'ENTRETIEN + RECETTES P.11 INSTRUCCIONES DE USO Y MANTENIMIENTO + RECETAS P.20
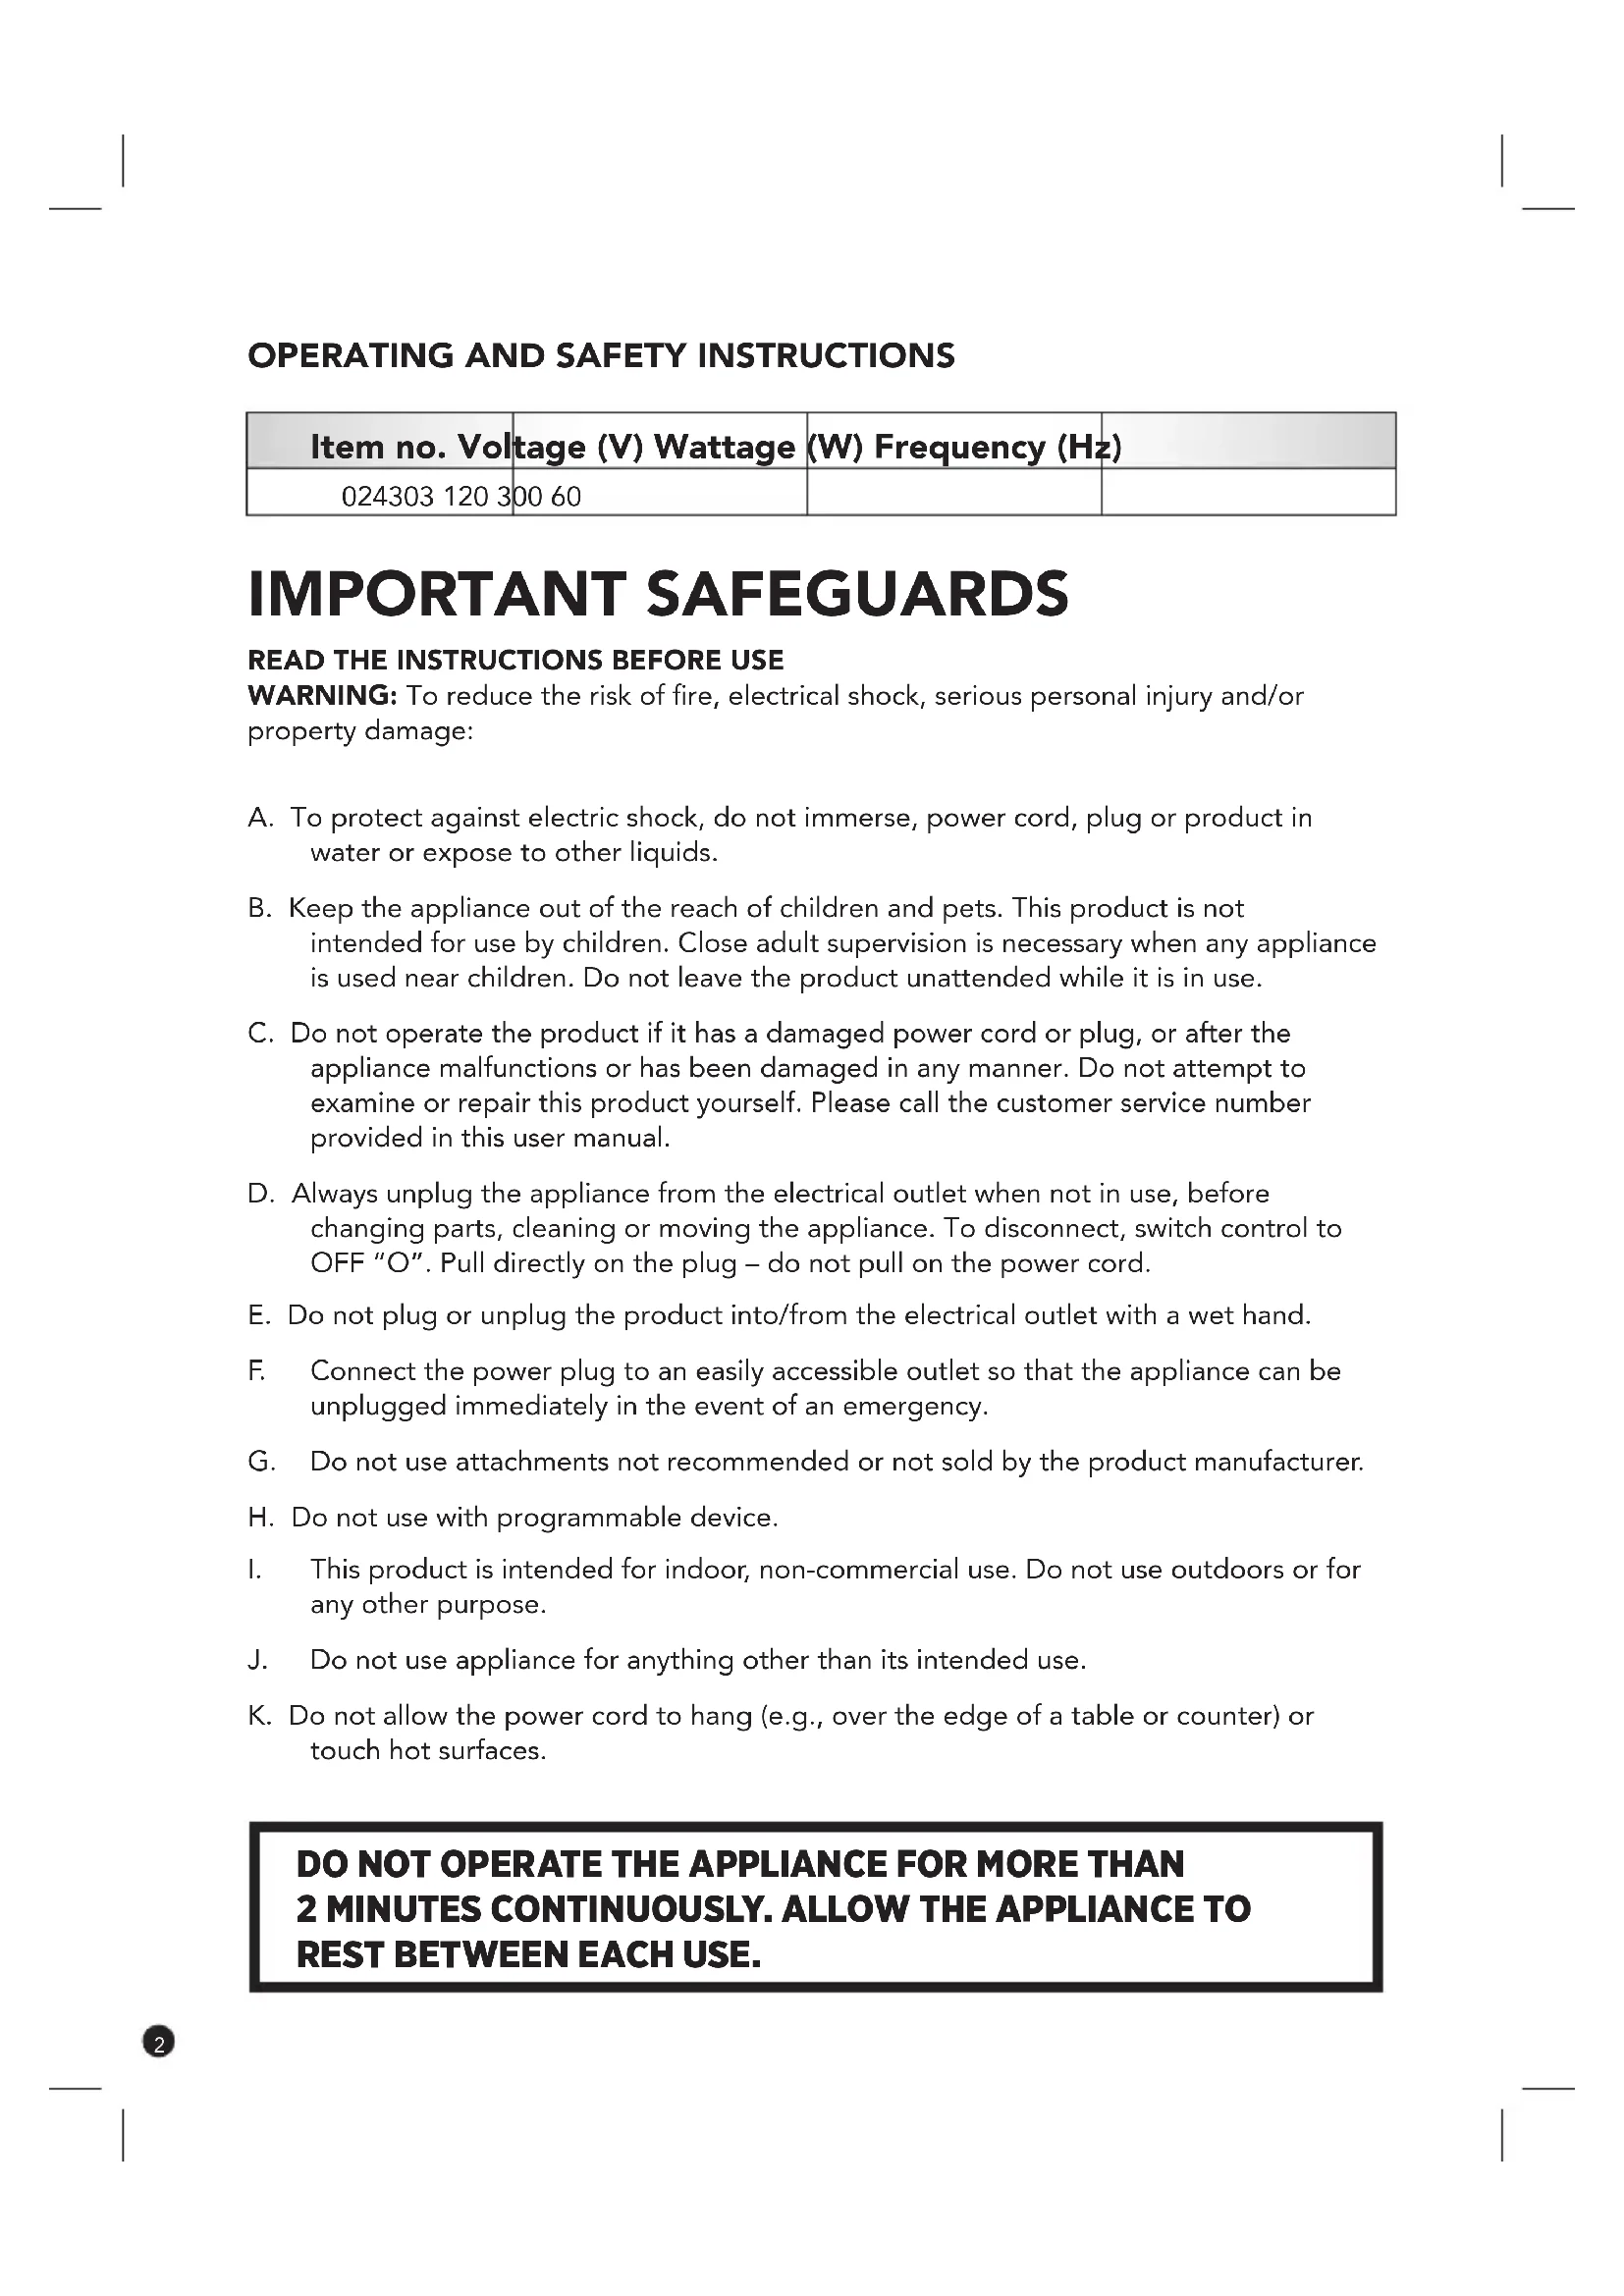
OPERATING AND SAFETY INSTRUCTIONS
| Item no. Voltage (V) Wattage (W) Frequency (Hz) | |||
| 024303 120 300 60 | |||
IMPORTANT SAFEGUARDS
READ THE INSTRUCTIONS BEFORE USE
WARNING: To reduce the risk of fire, electrical shock, serious personal injury and/or property damage:
A. To protect against electric shock, do not immerse, power cord, plug or product in water or expose to other liquids.
B. Keep the appliance out of the reach of children and pets. This product is not intended for use by children. Close adult supervision is necessary when any appliance is used near children. Do not leave the product unattended while it is in use.
C. Do not operate the product if it has a damaged power cord or plug, or after the appliance malfunctions or has been damaged in any manner. Do not attempt to examine or repair this product yourself. Please call the customer service number provided in this user manual.
D. Always unplug the appliance from the electrical outlet when not in use, before changing parts, cleaning or moving the appliance. To disconnect, switch control to OFF "O". Pull directly on the plug – do not pull on the power cord.
E. Do not plug or unplug the product into/from the electrical outlet with a wet hand.
F. Connect the power plug to an easily accessible outlet so that the appliance can be unplugged immediately in the event of an emergency.
G. Do not use attachments not recommended or not sold by the product manufacturer.
H. Do not use with programmable device.
I. This product is intended for indoor, non-commercial use. Do not use outdoors or for any other purpose.
J. Do not use appliance for anything other than its intended use.
K. Do not allow the power cord to hang (e.g., over the edge of a table or counter) or touch hot surfaces.
DO NOT OPERATE THE APPLIANCE FOR MORE THAN 2 MINUTES CONTINUOUSLY. ALLOW THE APPLIANCE TO REST BETWEEN EACH USE.
L. Do not place the product on or near a hot gas or electric burner, or in heated oven or microwave oven.
M. Always use the blender on a flat, level, stable surface. Do not move the blender while it is in use.
N. The blades are sharp, must handle with care.
O. Make sure the blade and the cup are securely attached together before locking the cup into the base.
P. Do not attempt to remove the cup from the blade base while attached to the motor base. Do not remove the cup from the appliance while in use.
Q. Do not operate the appliance for more than 2 minutes continuously. Allow the appliance to rest between each use.
R. Do not operate the blender if empty.
S. Do not blend hot liquids, use as a meat grinder or a food processor (blend thick mixture).
T. To avoid injuries, do not place the blade assembly directly on the motorized base. Always place the cup and blade assembly onto the motorized base.
SAVE THESE INSTRUCTIONS FOR FUTURE REFERENCE
POLARIZED PLUG: This appliance is equipped with a polarized plug (one blade is wider than the other). As a safety feature to reduce the risk of electrical shock, this plug is intended to fit in a polarized outlet only one way. If the plug does not fit fully in the outlet, reverse the plug. If it still does not fit, contact a qualified electrician. Do not attempt to defeat this feature or modify the plug in any way. If the plug fits loosely into the AC outlet or if the AC outlet feels warm, do not use that outlet.
SPECIAL INSTRUCTIONS: A short power supply cord is provided to reduce the risk of becoming entangled in or tripping over a longer cord.
AN EXTENSION CORD MAY BE USED IF CARE IS EXERCISED IN THEIR USE:
- Minimize the risk of overheating by using the shortest UL or ETL listed cord possible.
- The marked electrical rating must be at least as great as that of the product.
- Never use a single extension cord to operate more than one appliance.
- Arrange the longer cord so that it will not drape over a countertop or tabletop where it can be tripped over, snagged, or pulled on unintentionally (especially by children).
- DO NOT alter the plug. DO NOT attempt to defeat the safety purpose of the polarized plug.
BEFORE FIRST USE
READ THE INSTRUCTIONS BEFORE USE
WARNING: Blades are sharp, handle with care. Do not plug the appliance into an electrical outlet before it's ready to be used.
NOTE: Remove all parts & accessories and dispose of packaging.
A. Unscrew the blade base from the cup and carefully remove the silicone gasket.
B. Wash all removable parts & accessories in hot soapy water and dry thoroughly or place in the dishwasher.
NOTE: Do not immerse the motorized base or the power cord in water or any other liquids.
C. Wipe the motorized base with a damp cloth and dry thoroughly.
D. Insert the gasket back into the groove of the blade base. Ensure the gasket is securely in place by pressing all around.
TIPS AND RECOMMENDATIONS
NOTE: For best results read the following tips:
- Do not fill the cup passed the MAX line.
- Do not attempt to blend firm food such as potatoes, grind meat or mix dough.
- Do not process hot food or liquids.
- Cut fruits and vegetables into small pieces.
- Place ingredients in the following order: Liquids, frozen ingredients, fresh ingredients.
- Fill the cup half way with liquids.
- If the blade stops spinning, unplug the appliance immediately. Remove the cup and shake it to unblock the blade. If the blade is still obstructed add some liquid or reduce the solid food.
SPEED CONTROL
- Use the PULSE control to crush ice or frozen fruits into small pieces. Hold the speed control to PULSE for short bursts. Then use the LOW speed "I" or HIGH speed "II" to obtain the desired consistency.
- Use the PULSE control to grind coffee beans, nuts and whole spices.
- Use LOW "I" control to obtain a thick, chunky texture.
- Use HIGH "II" control for a creamy, smooth texture.
BLADES
- Use the blending blade for smoothies, icy beverages, dips and spreads.
- Use the grinding blade to grind coffee beans, nuts, grains and whole spices.
| BLADE TYPE | ||
| BLENDING BLADE GRINDING BLADE | ||
| COFFEE BEANS (MAX 250 ML) | X | |
| WHOLESPICES (MAX 250 ML) | X | |
| NUTS ( MAX 500 ML) X | ||
| ICE CUBES* X | ||
| FROZEN FRUITS* X | ||
| FRESH FRUITS* X | ||
| VEGETABLES (CUT INTO PIECES)* | X | |
| LEAFY VEGETABLES * X | ||
*Always add liquid to blend
| MODE | ||
| CONTINUOUS BLEND PULSE | ||
| COFFEE BEANS (MAX 250 ML) | X | |
| WHOLES SPICES (MAX 250 ML) | X | |
| NUTS (MAX 500 ML) X | ||
| ICE CUBES* X | ||
| FROZEN FRUITS* X | ||
| FRESH FRUITS* X | ||
| VEGETABLES (CUT INTO PIECES)* | X | |
| LEAFY VEGETABLES * X | ||
*Always add liquid to blend
TO USE
- Pour the desired ingredients in the cup until the MAX line is reached.
NOTE: Cut the fruits/vegetables into small pieces.
-
Attach the desired blade base to the cup. Ensure that the blade is securely tightened and the gasket is in place.
-
Place the cup assembly onto the motorized base and align the symbol marked on the blade base with the symbol marked on the base and turn clockwise to align with the symbol. Make sure the cup is securely locked before operating.
CAUTION: The appliance has a locking mechanism that prevents the appliance from operating or blade from turning if the cup is not securely attached to the blade base.
-
Plug the appliance into a standard 120-volt AC electrical outlet.
-
Select the desired speed control. Hold the speed control to PULSE for short bursts if processing ice or frozen fruits/vegetables. For continuous blending, select the LOW speed "I" or HIGH speed "II".
WARNING: Do not operate the appliance for more than two minutes continuously.
-
Turn OFF "O" the appliance and unplug from electrical outlet when done blending.
-
Remove the cup assembly from the motorized base.
-
For immediate consumption, replace the blade base with travel lid.
-
Clean parts and accessories immediately after each use.
text_image
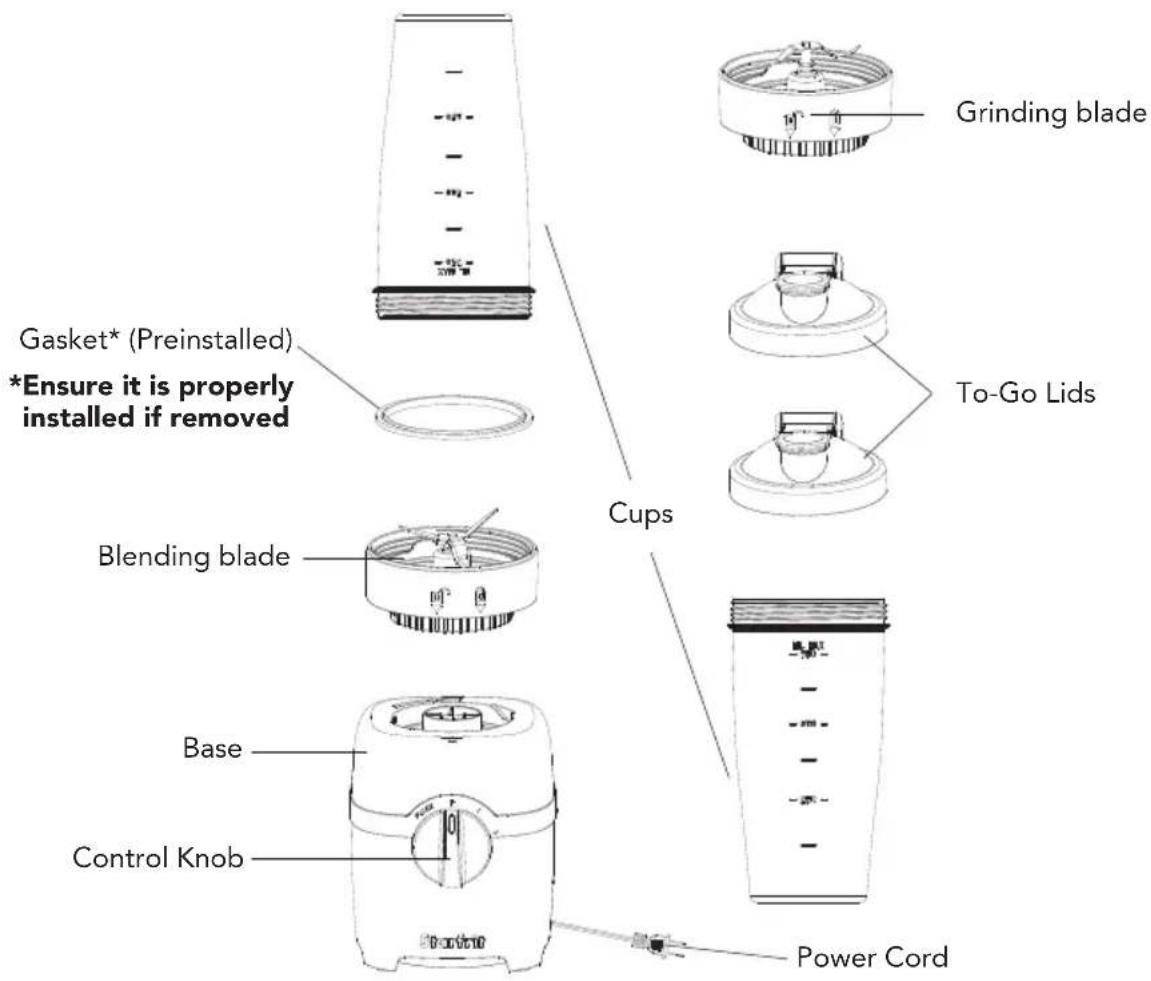
Gasket* (Preinstalled) *Ensure it is properly installed if removed Cups Grinding blade To-Go Lids Blending blade Base Control Knob Power CordCLEANING & CARE
WARNING: Ensure the appliance is unplugged from the electrical outlet and the blade has stopped turning before handling or cleaning the appliance.
- Disassemble all parts & accessories.
NOTE: Remove the silicone gasket only if necessary. - Wash in soapy, hot water or place in the dishwasher. Wash after each use.
NOTE: Do not place the motorized base or cord in a dishwasher - Dry all the parts & accessories thoroughly.
- Wipe the motorized base with a soft, damp cloth and dry thoroughly.
- Reassemble the blender for compact storage. Ensure the silicone gasket is properly in place.
- For safe storage, always store the blades with the cups.
WARNING: Blades are sharp handle with care while cleaning. Use a brush to clean the blades to avoid injuries. Do not touch blades with bare hands.
WARRANTY
1-YEAR LIMITED WARRANTY.
This warranty covers any defects in materials and workmanship for a period of one (1) year from the date of the original purchase. Please retain your original receipt as a proof of the purchase date. Any complaints must be registered within the warranty period. The product will be repaired, replaced (parts including blades or entire appliance) or refunded at our sole discretion. Shipping charges may apply.
This warranty does not cover normal wear of parts or damage resulting from any of the following:
Negligent use or misuse of the product including failure to clean the product regularly, use for commercial purposes, accident, use on improper voltage or current, and use contrary to the operating instructions, disassembly, repair or altercation by anyone other than a STARFRIT authorized service agent.
Decisions as to the cause of damage are the responsibility of Starfrit. All decisions will be final.
RECIPES
PINEAPPLE & BANANA SMOOTHIE
BLADE: Blending blade
INGREDIENTS:
• 1 cup (250 ml) frozen pineapple
• 1 banana, peeled
• 1 cup (250 ml) soy milk
• 1 tsp (5 ml) honey
• 1 tbsp. (15 ml) coconut flakes

natural_image
Glass of yellow smoothie garnished with green leaf, placed on a lace doily (no text or symbols visible)PREPARATION:
- Add all ingredients into the cup. Attach the blending blade to the cup. Place the cup assembly onto the motorized base.
- PULSE all ingredients a few times and blend on HIGH speed "II" for a smooth, creamy texture. Add water as needed.
KALE & KIWI SMOOTHIE
BLADE: Blending blade
INGREDIENTS:
• 1 ½ cup (375 ml) kale leaves
- 2 kiwis, peeled
- 1 banana, peeled
• 1 cup (250 ml) milk
• 1 tbsp. (15 ml) honey

natural_image
Glass of green kiwi smoothie with sliced kiwif background (no text or symbols)PREPARATION:
- Add all ingredients into the cup. Attach the blending blade to the cup. Place the cup assembly onto the motorized base.
- Blend on HIGH speed "II" for a smooth, creamy texture. Add water as needed.
CUCUMBER & APPLE SMOOTHIE
BLADE: Blending blade
INGREDIENTS:
• 1 cup (250 ml) spinach
• 1 cucumber, peeled
• 1 apple, peeled and cut into chunks
• 1 cup (250ml) plain yogurt
• 1 tbsp. (15 ml) honey
PREPARATION:
- Add all ingredients into the cup. Attach the blending blade to the cup. Place the cup assembly onto the motorized base.
- Blend on HIGH speed "II" for a smooth, creamy texture. Add water as needed.

natural_image
Three glasses of green smoothie with parsley, surrounded by fresh green vegetables and leaves on a woven mat (no text or symbols visible)OLIVE TAPENADE
BLADE: Blending blade
INGREDIENTS:
• 1 cup (250 ml) Kalamata olives, pitted
- 12 cup (125 ml) olive oil
• 2 garlic gloves, peeled
• 2 tbsp. (30 ml) lemon juice
• 1 tbsp. (15 ml) capers
• Salt and black pepper to taste
PREPARATION:
- Add all ingredients into the cup. Attach the blending blade to the cup. Place the cup assembly onto the motorized base.
- Blend on HIGH speed "II" for a smooth, creamy texture. Add olive oil as needed.

natural_image
Glass jar filled with chopped red fruit and a green leaf garnish, next to a cluster of red cherries (no text or symbols visible)SPINACH & ARTICHOKE DIP
BLADE: Blending blade
INGREDIENTS:
• 1 cup (250 ml) canned artichoke hearts, drained
• 1 cup (250 ml) frozen spinach, thawed and drained
• 1 cup (250 ml) cottage cheese
• 12 cup (125 ml) parmesan cheese
• 1 garlic glove, peeled
- Salt and black pepper to taste
PREPARATION:
- Add all ingredients into the cup. Attach the blending blade to the cup. Place the cup assembly onto the motorized base.
- Blend on HIGH speed "II" for a smooth, creamy texture.

natural_image
Close-up of a bowl of creamy green leafy vegetable salad with a rectangular编码 (no text or symbols visible)MODE D'EMPLOI ET CONSIGNES DE SÉCURITÉ
| Item no. Tension (V) Puissance | (W) Fréquence (Hz) | |
| 024303 120 300 60 |
DIRECTIVES IMPORTANTES
LIRE LES INSTRUCTIONS AVANT D'UTILISER L'APPAREIL
natural_image
Glass of yellow smoothie garnished with a green leaf, placed on a lace doily (no text or symbols visible)SMOOTHIE KIWI CHOU FRISÉ
natural_image
Glass of kiwi smoothie with green glaze, sliced kiwifins in background (no text or symbols)PRÉPARATION :
natural_image
Three glasses of green juice with leafy greens, placed on a wooden surface with burlap background (no text or symbols)TAPENADE AUX OLIVES
natural_image
Glass jar filled with dark granular substance and green rose garnish, next to a pair of red cherries (no text or symbols visible)TREMPETTE ARTICHAUT ÉPINARD
natural_image
Close-up of a bowl of creamy green leafy vegetable salad with a rectangular cookie chip, no text or symbols visible.natural_image
Glass of yellow smoothie garnished with a green leaf, placed on a lace doily (no text or symbols visible)SMOOTHIE DE COL RIZADA Y KIWI
natural_image
Glass of green kiwi smoothie with sliced kiwi on a wooden surface (no text or symbols visible)SMOOTHIE DE PEPINO Y MANZANA
natural_image
Three glasses of green smoothie with parsley, surrounded by fresh green vegetables and leaves on a woven mat (no text or symbols visible)natural_image
Glass jar filled with chopped red fruit and a green leaf garnish, next to a cluster of red cherries (no text or symbols visible)SALSA DE ALCACHOFAS Y ESPINACAS
natural_image
Close-up of a bowl of shredded green vegetable salad with a rectangular cookie chip, no text or symbols visible.SUBSCRIBE TO THE NEWSLETTER TO LEARN MORE ABOUT OUR PROMOTIONS!
www. Starfrit.com
INSCRIVEZ-VOUS À L'INFOLETTRE POUR CONNAÎTRE NOS PROMOTIONS !
SUSCRÍBASE AL BOLETÍN DE NOTICIAS PARA INFORMARTE ACERCA DE NUESTRAS PROMOCIONES

www.facebook.com/starfrit
FOR HOUSEHOLD USE ONLY POUR UN USAGE DOMESTIQUE SEULEMENT EXCLUSIVAMENTE PARA USO DOMÉSTICO