
Racer - Shaver PALSON - Free user manual and instructions
Find the device manual for free Racer PALSON in PDF.
| Brand | PALSON |
| Model | Racer |
| Product type | Electric shaver with integrated trimmer |
| Power supply | Rechargeable via mains adapter (full charge 1-2 h) |
| Display | Blue LCD screen indicating charging status and 'full' when fully charged |
| Shaving head | 3 rotary blades with inner and outer blades |
| Trimmer | Integrated, retractable, operated by dedicated button |
| Usage | Dry shaving only (do not use in bathtub or shower) |
| Cleaning | Washable head (remove support); brushing possible; weekly lubrication |
| Blade replacement | Outer blade: every year; inner blade: every two years |
| Included accessories | Cleaning brush, charging base, protective cover |
| Safety | Do not immerse; unplug before cleaning; do not use if damaged |
| Maintenance | Clean after each use; oil blades once a week |
| Environmental protection | Do not dispose with household waste; recycle at waste collection point |
Frequently Asked Questions - Racer PALSON
User questions about Racer PALSON
0 question about this device. Answer the ones you know or ask your own.
Ask a new question about this device
Download the instructions for your Shaver in PDF format for free! Find your manual Racer - PALSON and take your electronic device back in hand. On this page are published all the documents necessary for the use of your device. Racer by PALSON.
USER MANUAL Racer PALSON
text_image
Technical diagram showing mechanical assembly with force arrows and component labelsFig. 1
natural_image
Technical line drawing of a hairbrush and its internal components (no text or symbols)Fig. 2

natural_image
Technical illustration of a hairbrush with internal components and directional arrows indicating assembly (no text or symbols)Fig. 3
natural_image
Line drawing of a cleaning machine with a tool above it (no text or symbols)Fig. 4
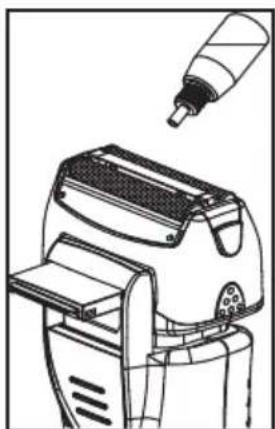
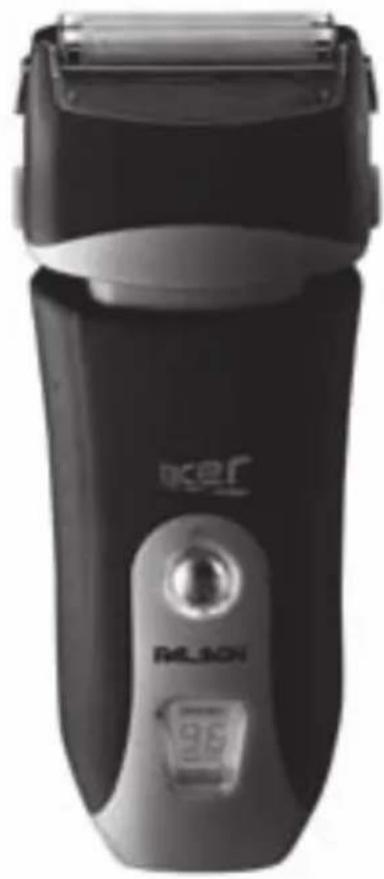
Racer
natural_image
Black and white photo of a black electric shaver with 'MLAD' branding and a digital display (no visible text or symbols on the device body)E ESPAÑOL.... 4
GB ENGLISH 8
F FRANÇAIS.... 12
ITALIANO.... 16
AR اللغة العربية 23
HU MAGYAR 24
6 Externalblade support
7 Internal blade
8 Support extraction button
9 Clipper
10 Clipper switch
11 I/O switch
12 LCD display
1 Adaptateur
2 Coque de protection
text_image
Exploded view diagram of a handwashing device with numbered parts for identificationE
Our products are designed to meet the highest standards of quality, functionality and design. We hope you will enjoy using your new PALSON RACER shaver.
DANGER
To reduce the risk of electrocution:
- Do not pick up an appliance that has been immersed in water. Disconnect it immediately. Some electrical parts inside the shaver continue to be supplied with electricity even though disconnected.
- Do not use the appliance in the bathtub or shower.
- Do not place or store the appliance in a place where it could fall into the bathtub or washbasin. Do not immerse it or put it in contact with water or any other liquid.
- Always disconnect the appliance from the mains after use, except when charging.
- Disconnect the appliance before cleaning it.
WARNING
To reduce the risk of burns, fire, electrocution or personal injuries:
- This appliance may be used children aged 8 and over, and people with reduced physical, sensory or mental capacities, or a lack of knowledge or experience as long as they are supervised or receive the correct instructions for the safe use of the appliance, and are aware of the risks it poses.
Children must not play with the appliance.
Cleaning and maintenance must not be carried out by children without proper supervision.
-
Use this appliance only for the purposes for which it was made, as described in the manual. Do not use accessories that are not recommended by the manufacturer.
-
Do not use the appliance if it is not functioning correctly, if it has fallen, if it is damaged or if it is immersed in water. Return it to a repair centre to be examined and repaired.
-
Keep the cable away from hot surfaces.
-
Do not use the appliance with the air vents covered or on a soft surface such as a bed or sofa, as the air vents could be blocked. Keep the air vents (if it has them) free from hair, fluff or similar elements.
- Do not insert any object into the appliance openings.
- Do not use the appliance with aerosol products, outdoor or in places where oxygen is administered.
- Always connect the plug to the appliance. To disconnect the appliance, put all the controls at “O” and unplug it from the mains.
- The battery may become discharged. Charge the shaver before using for the first time or if not used for a long period of time. To do this, turn it on. The internal blade may optionally not function or turn.
- Do not turn it on or charge it if it is near a heat source or exposed to direct sunlight.
- If the power cable is damaged, it must be replaced by the manufacturer, its authorised technical service or by a qualified technician, to prevent risks.
- While charging, press the switch, otherwise the appliance will not be charged.
Charging
-
Remove the power adapter, insert the plug of the end into the shaver end interface and insert the other end into the power socket. The display light will go on and the shaver will start to be charged.
-
Remove the power adapter when the shaver is fully charged. The charging process has been completed. While charging, the blue LCD display shows different numbers. The shaver is fully charged within a period of 1-2 hours. When fully charged, the word "Full" will appear on the LCD screen. Unplug the adapter.
Use
- Pick up the appliance and remove the protective shield.
- Press the switch to start up the electric shaver.
- Remove the switch from the shaver switch to take out the clipper from the body for trimming long moustaches and hair.
GB
- Use the clipper blade for the areas to be trimmed (sideboards, throat, etc.) and then slide it upwards and downwards, or from right to left to trim moustaches (hair).
- When you have finished, put the shaver switch to its initial setting, so that the clipper folds back inside the appliance.
- Adjust the angle between the shaver and the skin to 90^ for the external blade to enter in contract with the skin and then apply pressure to the face. Use the other hand to tauten the skin of the face and then slide the shaver downwards or from right to left to trim short moustaches.
- Press the switch to turn off the electric shaver.
- Clean the shaver.
- Cover the protective shield to prevent damage to the external blade.
Examples of erroneous operation
- The external blade is a very fine, precise element. Do not apply pressure to the internal blade, to avoid damaging it. To prevent risks, all damaged blades must be replaced immediately.
- Do not try to assembly or dismantle the internal blade when the appliance is operating.
- Do not charge the appliance while it is operating.
- Do not dismantle or use the electric shaver in a brusque fashion.
Method for replacing the internal and external blades
To conserve the excellent shaving capacity of the appliance, replace the external blade once a year and the internal one every two years.
Replacing the external blade
- Press the buttons at both sides of the external blade support on the appliance and then remove that support by pulling it upwards.
- Take a new external blade support, press the support buttons on both sides of the appliance and then insert the new support in the appliance.
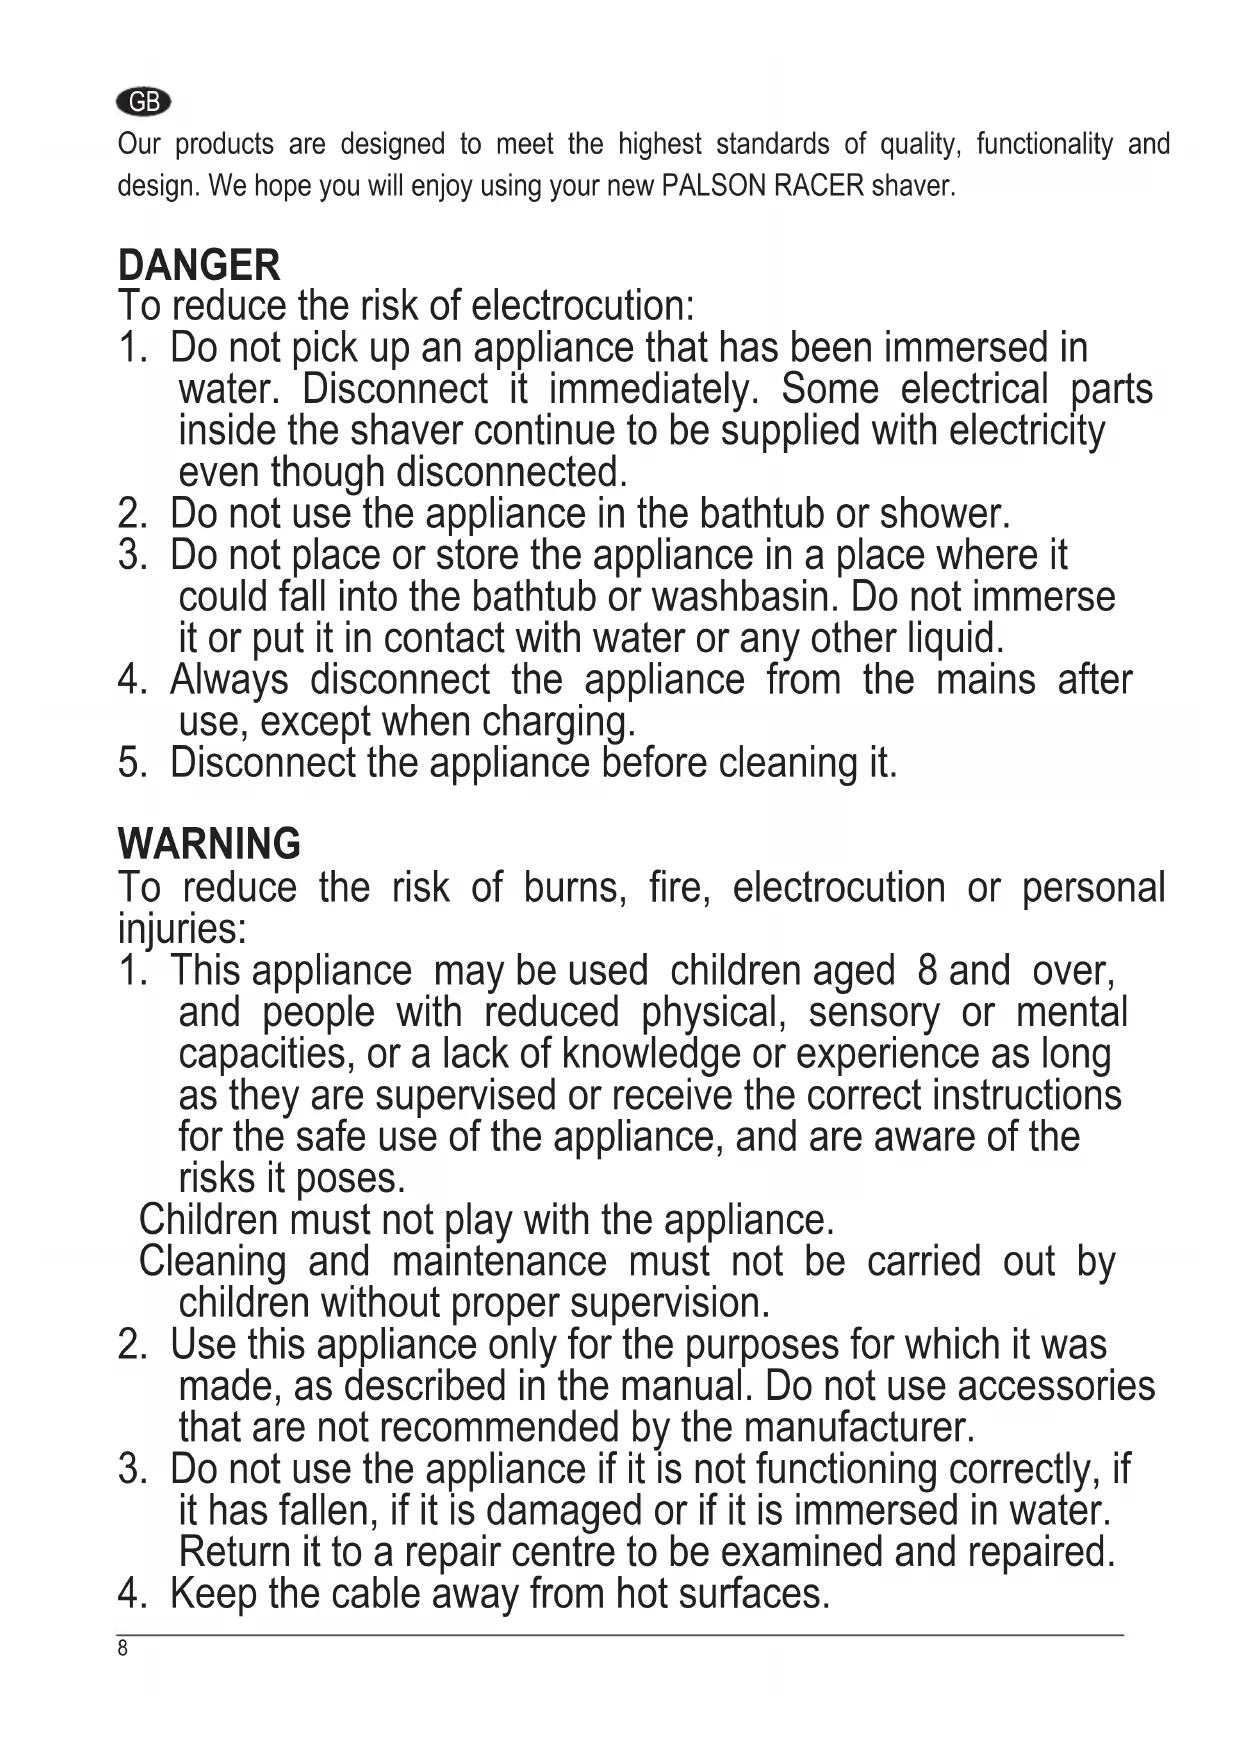
Replacing the external blade (Fig. 1)
- Remove the support of the external blade.
- Press both ends of the internal blade and then pull firmly upwards.
- Take a new internal blade, align it with the internal blade support and push firmly.
- Reinsert the external blade support in the appliance.
Cleaning and maintenance
Clean the electric shaver every time you use it, to ensure the blade remains sharp.
You can brush it or rinse it will water.
Rinsing with water (Fig. 2)
- Remove the external blade support and rinse with water for 1 or 2 minutes, as shown in the illustration.
- Dry the external blade support and the appliance.
- Reinsert the external blade support in the appliance.
Brushing (Fig. 3)
- Remove the external blade support and internal blade and brush the appliance body, external blade support and internal blade respectively.
- Do not brush the internal blade as shown in the illustration.
Wash the internal part and hair compartment with water. Dry the appliance with a cloth and leave it to dry completely.
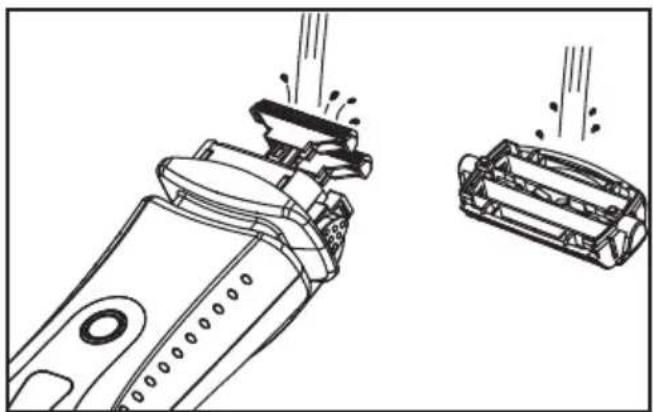
MAINTENANCE (Fig. 4)
Grease the external blade and clipper once a week after washing them.
- Apply 1 or 2 drops of lubricant to the central part of the three external blades and the serrated area of the clipper.
- Take the clipper and turn it on for 1 or 2 minutes, and then turn it off.
- Remove all traces of oil from the external blade surface and the serrated part of the clipper with a cloth.
ENVIRONMENTAL PROTECTION
Unwanted electrical products must not be disposed of with household waste. Take this appliance to your local recycling centre for safe disposal.
Thank you for confiding in us by choosing one of our products.
F
Disposal of old Electrical & Electronic Equipment (Applicable throughout the European Union and other European countries with separate collection programs)
This symbol, found on your product or on its packaging, indicates that this product should not be treated as household waste when you wish to dispose of it. Instead, it should be handed over to an applicable collection point for the recycling of electrical and electronic equipment. By ensuring this product is disposed of correctly, you will help prevent negative consequences to the environment and human health, which could otherwise be caused by inappropriate disposal of this product. The recycling of materials will help to conserve natural resources. For more detailed information about the recycling of this product, please contact your local city office, household waste disposal service or the retail store where you purchased this product.

