
Invictus F9 - Printer GENIUS - Free user manual and instructions
Find the device manual for free Invictus F9 GENIUS in PDF.
| Product Type | Steam cleaner with vacuum |
| Brand | Genius |
| Model | Invictus F9 (INVSC-F9) |
| Dimensions (L x W x H) | 350 x 325 x 225 mm |
| Weight | Approximately 5.5 kg |
| Power supply | 220-240 V, 50/60 Hz |
| Power | 2000 W |
| Clean water tank capacity | 1600 ml |
| Dirty water tank capacity | 1300 ml |
| Cleaning programs | Cold water, hot water, steam + vacuum, steam only |
| Included accessories | Universal nozzle, round brush, metal brush, angled nozzle, squeegee, crevice brush, window accessory, steam iron, microfiber cover |
| Cover material | 100% cotton |
| Usage | Cleaning cushions, carpets, steam-safe textiles |
| Safety | Automatic shut-off in case of overheating, splash protection |
| Maintenance | Regular cleaning of tanks, hose, and nozzles; washable filter |
| Spare parts | Available from local retailer |
| Warranty | 2 years (subject to legal conditions) |
Frequently Asked Questions - Invictus F9 GENIUS
User questions about Invictus F9 GENIUS
0 question about this device. Answer the ones you know or ask your own.
Ask a new question about this device
Download the instructions for your Printer in PDF format for free! Find your manual Invictus F9 - GENIUS and take your electronic device back in hand. On this page are published all the documents necessary for the use of your device. Invictus F9 by GENIUS.
USER MANUAL Invictus F9 GENIUS
Product components. 14
General 15
Explanation of symbols 15
Safety. 15
Intended use 15
Safety notices. 15
Before first use 18
Accessories overview. 18
Use 19
Storage 20
Cleaning and user maintenance 20
Troubleshooting 22
Disposal 22
Technical data 23
BEFORE USING THIS APPLIANCE, FIRST READ ALL THE INSTRUCTIONS AND SAFETY INFORMATION IN THIS USER MANUAL. KEEP THESE INSTRUCTIONS FOR USE IN A SAFE PLACE FOR FUTURE REFERENCE. ONLY PASS THE APPLIANCE ON TO THIRD PARTIES TOGETHER WITH THE INSTRUCTIONS FOR USE.
WHEN USING ELECTRICAL APPLIANCES, BASIC SAFETY PRECAUTIONS MUST ALWAYS BE OBSERVED, INCLUDING THE FOLLOWING:
THESE INSTRUCTIONS FOR USE APPLY TO THE INVICTUS F9.
THE ILLUSTRATIONS IN THESE INSTRUCTIONS FOR USE ARE INTENDED AS A SCHEMATIC REPRESENTATION OF CORRECT USE. THEY MAY DIFFER IN DETAIL FROM THE ORIGINAL PRODUCT.
These operating instructions cover all available accessories for the appliance. The content of the set that you have purchased is indicated on the packaging or a separate insert. You can also purchase additional accessories which are not included in your set.
Product components
1 Main unit with hose
Universal nozzle
3 Universal nozzle cover
4 Dirty water tank
5 Cover
Sponge filter
Fresh water tank
8 Adapter
9 Round brush
10 Wire brush
11 Angled nozzle
12 Cleaning scraper
13 Crevice brush
14 Window attachment
Steam smoothing attachment
16 Microfibre cover
General
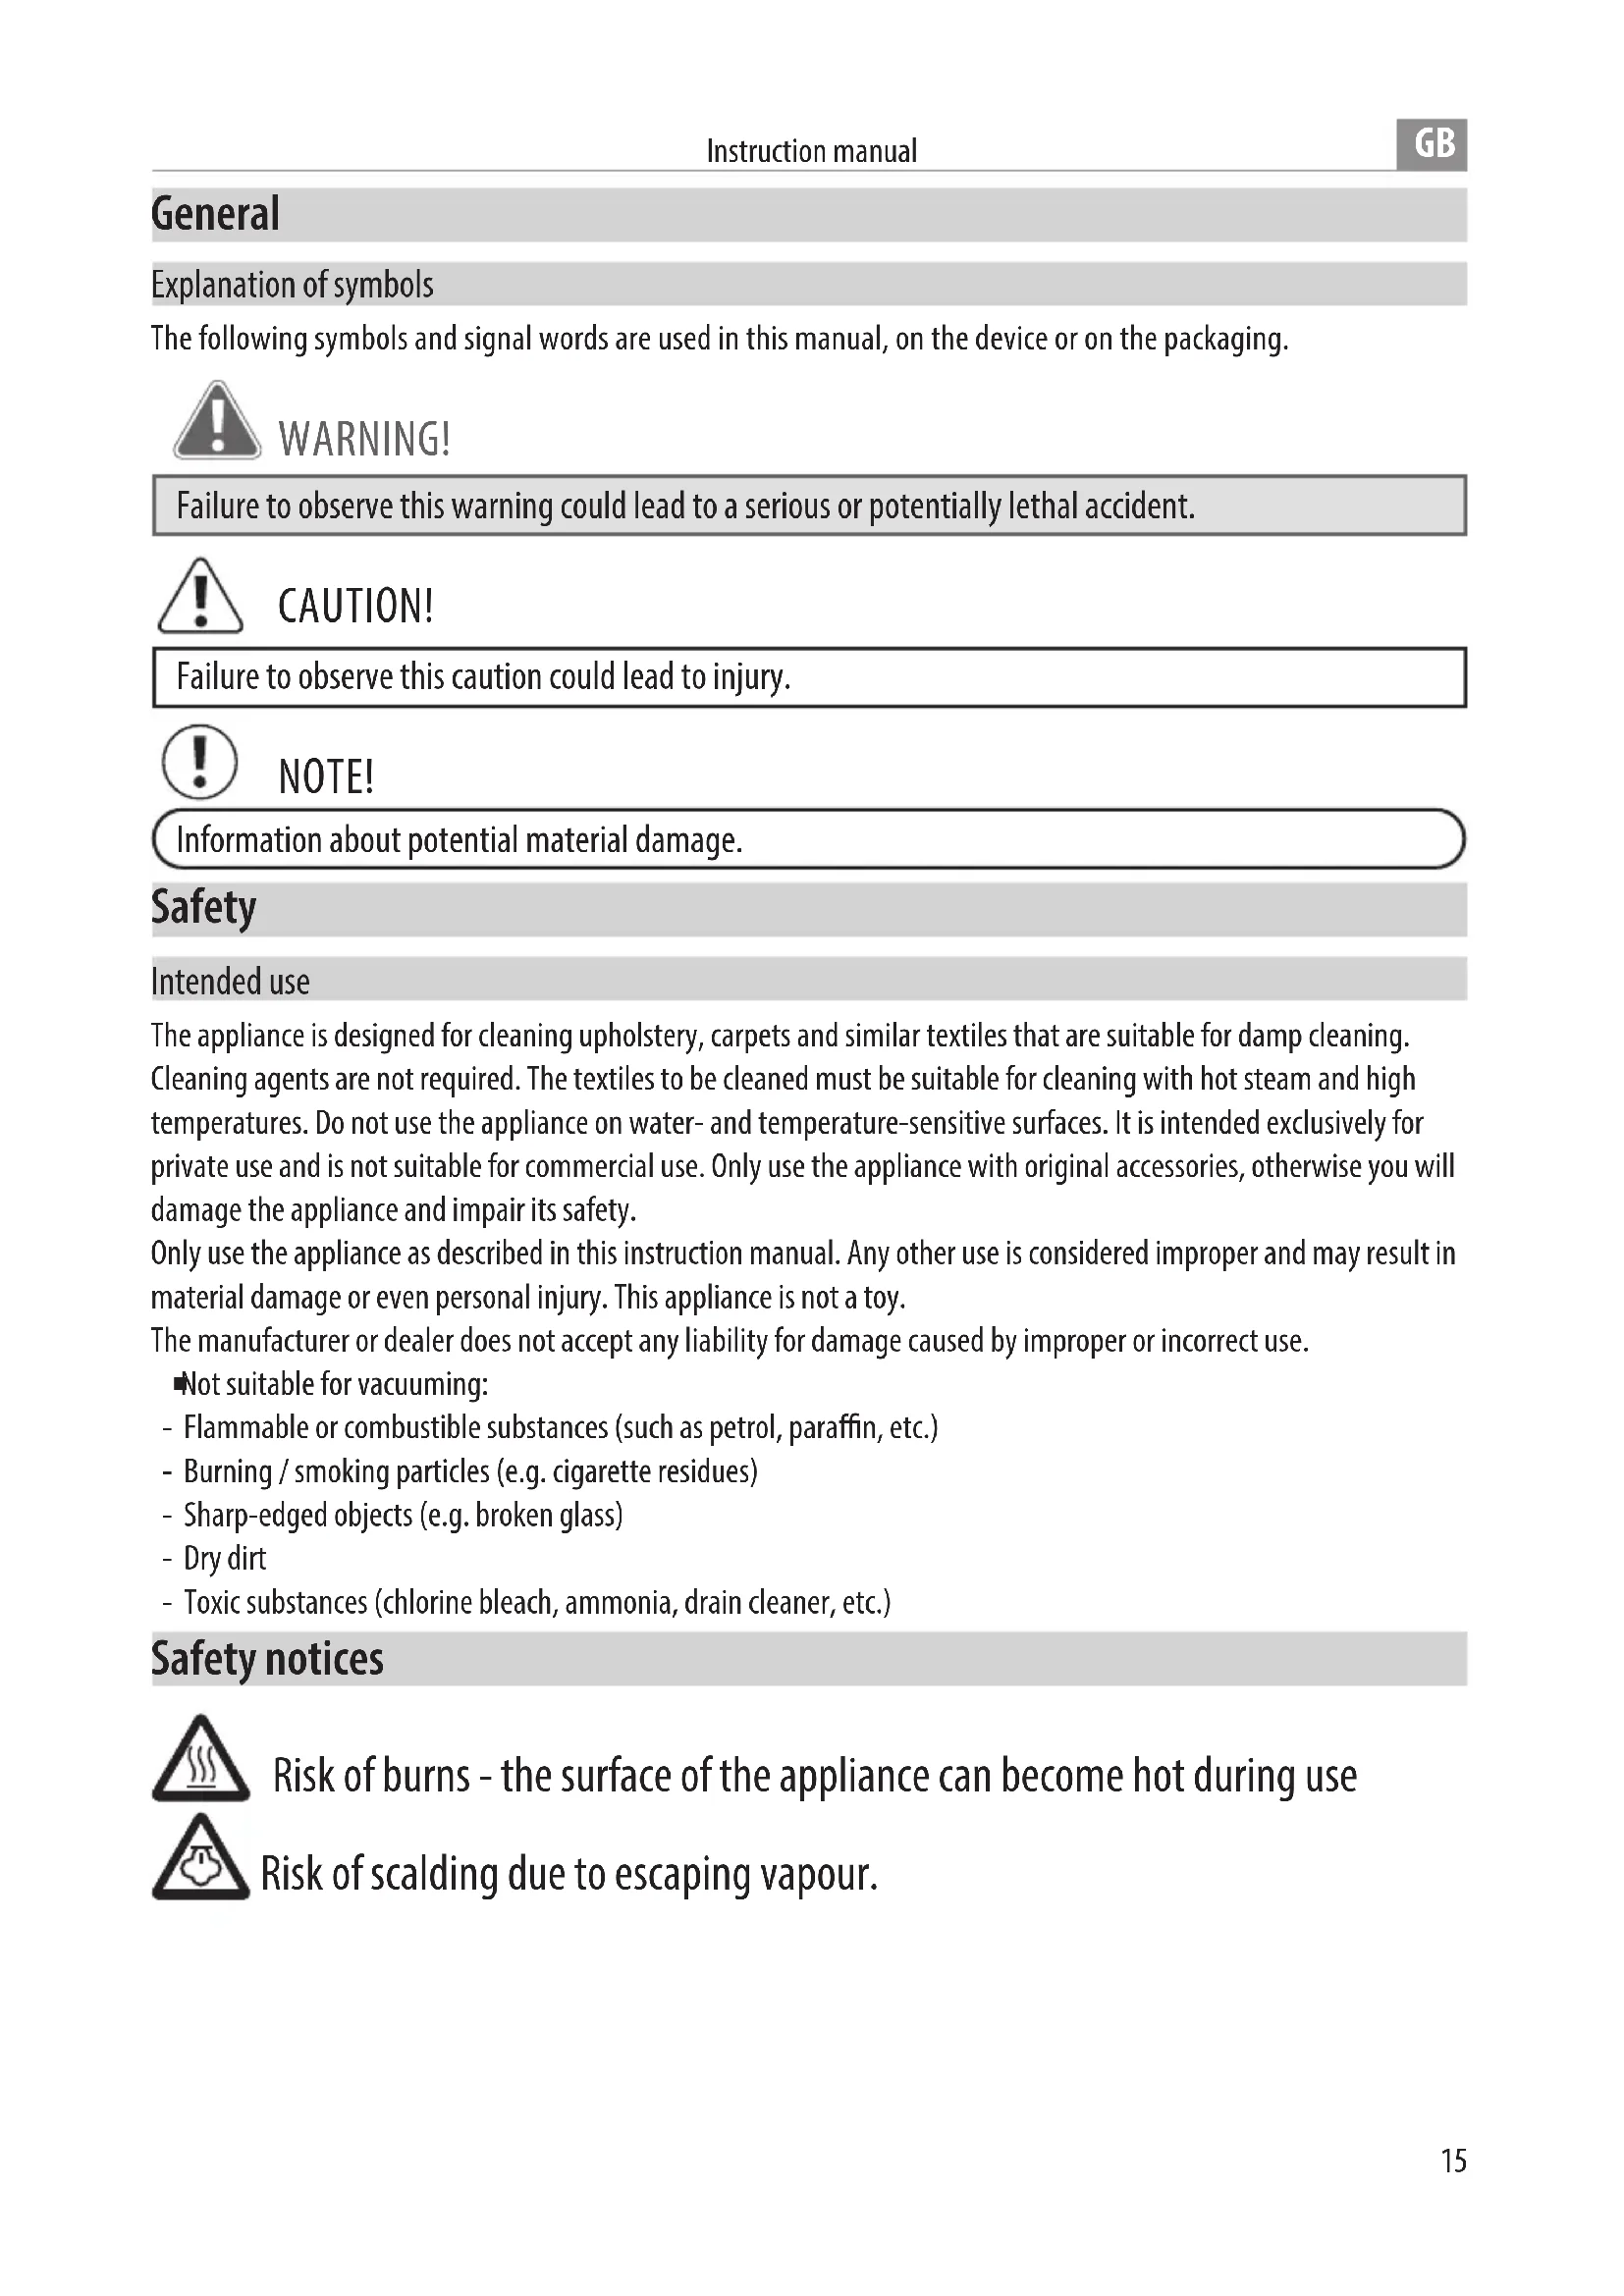
Explanation of symbols
The following symbols and signal words are used in this manual, on the device or on the packaging.

WARNING!
Failure to observe this warning could lead to a serious or potentially lethal accident.

CAUTION!
Failure to observe this caution could lead to injury.

NOTE!
Information about potential material damage.
Safety
Intended use
The appliance is designed for cleaning upholstery, carpets and similar textiles that are suitable for damp cleaning. Cleaning agents are not required. The textiles to be cleaned must be suitable for cleaning with hot steam and high temperatures. Do not use the appliance on water- and temperature-sensitive surfaces. It is intended exclusively for private use and is not suitable for commercial use. Only use the appliance with original accessories, otherwise you will damage the appliance and impair its safety.
Only use the appliance as described in this instruction manual. Any other use is considered improper and may result in material damage or even personal injury. This appliance is not a toy.
The manufacturer or dealer does not accept any liability for damage caused by improper or incorrect use.
Not suitable for vacuuming:
- Flammable or combustible substances (such as petrol, paraffin, etc.)
- Burning / smoking particles (e.g. cigarette residues)
- Sharp-edged objects (e.g. broken glass)
- Dry dirt
- Toxic substances (chlorine bleach, ammonia, drain cleaner, etc.)
Safety notices

Risk of burns - the surface of the appliance can become hot during use

Risk of scalding due to escaping vapour.
RISK OF ELECTRIC SHOCK
Faulty electrical installation or excessive mains voltage can lead to electric shocks.
Only connect the appliance if the mains voltage of the socket corresponds to the specifications on the rating plate of the power adapter.
Only connect the appliance to a properly earthed socket.
Do not use the appliance if it has visible damage or if the power adapter is defective.
Do not under any circumstances open the housing of the appliance, but leave the repair to specialists. Contact a specialist workshop for this. Liability and warranty claims are excluded in the event of repairs carried out independently, improper connection or incorrect operation.
Only parts that correspond to the original unit data may be used for repairs. There are electrical and mechanical parts in this appliance which are essential for protection against sources of danger.
the mains cable is damaged, it must be replaced by the manufacturer, its customer service or a similarly authorised person in order to avoid a hazard.
Never touch the mains plug with wet hands.
Do not bend the mains cable and do not lay it over sharp edges.
Only use the appliance indoors.
the appliance falls into water, disconnect the mains plug immediately. Never try to remove the appliance from water while it is connected to the mains.
Only use the appliance if it is completely and correctly assembled.
Ensure that children do not insert any objects into the appliance.
Do not leave the appliance unattended during operation.
If you are not using the appliance, cleaning it or if a fault occurs, always switch off the appliance and disconnect the mains plug from the socket.
Do not immerse the appliance or the power adapter in water or other liquids.

WARNING!
DANGER FOR CHILDREN AND PEOPLE WITH LIMITED PHYSICAL, SENSORY OR MENTAL CAPACITIES (FOR EXAMPLE PARTIALLY DISABLED PE-OPLE, OLDER PEOPLE WITH LIMITED PHYSICAL AND MENTAL CAPACITIES) OR THOSE LACKING IN EXPERIENCE AND KNOWLEDGE (E.G. OLDER CHILDREN).
This appliance must not be used by children. Children must not play with the appliance.
Keep the appliance and power cable out of the reach of children and animals.
The appliance can be used by persons with reduced physical, sensory or mental capabilities or lack of experience and knowledge if they have been given supervision or instruction concerning use of the appliance in a safe way and understand the hazards involved.
Do not let children play with the packaging film.
Children can get caught in it while playing and suffocate.

CAUTION!
RISK OF INJURY!
Failure to use the appliance correctly can result in injury to yourself or others.
Do not point the device at people or animals.
Never direct the steam or water jet at people or animals. Do not touch the steam jet. Risk of scalding!
After switching off / deselecting the functions with hot water or steam, hot liquid remains in the system. Although a mode with cold water is selected, some hot water still comes out of the nozzles. Risk of scalding.
Keep hair, loose clothing, fingers and all parts of the body away from openings and the appliance's moving parts.
Do not use the appliance on surfaces covered with cement or other extremely fine-pored substances or substances that are toxic by inhalation.

NOTE!
DANGER OF DAMAGE!
Improper handling of the appliance can result in it being damaged.
Only use the appliance if it is completely and correctly assembled.
Never expose the appliance to high temperatures (heating etc.) or weather conditions (rain etc.).
Do not use the appliance if the plastic parts are cracked or deformed. Replace damaged components only with suitable original spare parts.
Do not cover the device during use in order to avoid a device fire. Do not insert anything into the ventilation openings of the appliance and ensure that they are not blocked.
Keep the appliance protected from the weather, heat and moisture.
Stop use if dirt blocks the intake opening.
- dirt or small parts block one of the water tanks, clean them before continuing to use the appliance.
Do not sit on the appliance or allow children to sit on it.
Before first use

NOTE!
DANGER OF DAMAGE!
If you open the packaging carelessly with a sharp knife or other pointed objects, the appliance may be damaged.
Open the packaging carefully.
- Remove the appliance from the packaging.
- Check that everything has been included.
- Check whether there is any apparent damage to the appliance or its single components. If this is the case, do not use the appliance. Contact the customer service address given in the Customer Service section.
Accessories overview
| Accessories Image Use | ||
| Round brush Wire brush | Stubborn dirt on scratch-resistant surfaces. | |
| Angle nozzle | For cleaning hard-to-reach areas. | |
| Cleaning scraper | For stubborn dirt. | |
| Joint brush | For cleaning narrow joints, e.g. tile joints | |
| Window attachment In conjunction | with the steam smoothing | attachment for cleaning smaller surfaces such as windows. |
| Steam smoothing attachment with microfibre cover | For smoothing / refreshing non-sensitive textiles (e.g. curtains). |
Use

NOTE!
DANGER OF DAMAGE!
Improper handling of the appliance may result in it being damaged.
Make sure that the tanks are inserted correctly and the clean water tank is full before switching on the appliance.
To avoid blocking the air inlet, remove coarse dirt before using the appliance.
fill the water tank with clean water, do not add detergent or other additives to the water tank.
Prepare the appliance:
- Remove the clean water tank from the appliance.
- Open the cover and fill the tank with clean water. Observe the max. line, do not overfill the tank.
- Reinsert the clean water tank into the appliance.
- Attach the universal nozzle directly to the hose. Alternatively, you can attach other accessories (e.g. brush attachments, window attachment, etc.) to the hose using the adapter (see fig. A).
- Press the button in the centre of the cable winder to make it easier to reach the cable. Unwind the cable completely from the appliance.
Using the universal nozzle
- Connect the appliance to a functional, properly earthed socket.
- The display is illuminated and the device is in standby mode. The on/off button flashes.
- Select the desired cleaning programme „cold water“, „hot water“, „steam and vacuum“ or „steam sterilisation mode“ by touching the respective symbol. As soon as a programme has been selected, the corresponding symbol lights up white.
- Touch the on/off button to start the appliance. The On/Off button lights up continuously. If necessary, the heating process starts. The programme symbol flashes during the heating phase. As soon as the programme symbol lights up permanently, you can start cleaning.
- Press and hold the spray button on the underside of the handle to moisten the upholstery/soiling. As soon as you release the spray button, no more water will come out (see fig. B).
- Thoroughly vacuum the water from the upholstery. Then allow it to dry completely.
- Touch the on/off button again to switch the device to standby.
NOTE:
- Spray/moisten surfaces first and then vacuum. Do not use the appliance to vacuum up dry dirt.
- Test the fabric in an inconspicuous place to see whether it is suitable for damp cleaning or cleaning with hot steam.
- Do not over-moisten the fabric / upholstery. The more water penetrates the upholstery, the longer the drying process will take. There is a risk of mould growth if the upholstery is too wet.
Using the adapter with other attachments
- When using the adapter, you can only activate the „Steam only“ function.
- Push the various attachments onto the front end of the adapter and turn them clockwise until they click into place (see fig. C).
- Press the spray button on the back of the handle. Steam is emitted as long as the button is held and there is water in the fresh water tank (see fig. B).
- Move the attachments over the surface to be cleaned and clean with steam only.
Display information
| On/off button Standby: The LED flashes white. Working: The LED lights up white. | |
| Cleaning with cold water with simultaneous suction. Can be activated when using the universal nozzle. | |
| Cleaning with hot water and simultaneous suction. Can be activated when using the universal nozzle. | |
| Steam cleaning with simultaneous extraction. Can be activated when using the universal nozzle. | |
| Cleaning with steam only. Can be activated when used with all accessories. | |
| Warning The LED lights up red: Fresh water tank / dirty water tank missing. |
NOTE:
- For technical reasons, the water/vapour discharge does not stop immediately after the spray button is released, but only 1-2 seconds later.
- If the programme is changed during cleaning, there may still be water in the hose and water may escape briefly before steam is produced.
Storage
- After cleaning / drying, disconnect the appliance from the power supply.
- Wrap the mains cable around the cable storage and press the cable winder onto the appliance.
- Wrap the hose around the bracket and secure the end in the side bracket.
- Store the product in a protected, dry place out of the reach of children.
Cleaning and user maintenance

WARNING!
RISK OF ELECTRIC SHOCK
Switch the appliance off and disconnect it from the mains before cleaning or user maintenance.
Never hold the appliance under running water or immerse it in water or other liquids.

NOTE!
DANGER OF DAMAGE!
Improper handling of the appliance may result in it being damaged.
Make sure that all parts, especially the hose and the water tanks, are completely dry before reassembling the appliance after cleaning.
- Clean the appliance by wiping it with a dry or slightly damp cloth. Do not use aggressive cleaning agents, brushes with metal or nylon bristles or sharp or metallic cleaning objects such as knives, hard spatulas and the like. These may damage the surfaces.
- Empty and clean both tanks, the hose and the nozzles used after each use (see the following points for more details).
Cleaning the hose
- Place the cover on the universal nozzle, switch on the appliance and press the spray button to rinse the hose (see fig. D).
- Allow the hose and the universal nozzle to dry.
Cleaning the fresh water tank
- Remove the tank from the appliance.
- Remove the cover.
- Clean the tank and cover.
- Allow the tank and cover to dry completely before reattaching them to the appliance.
Cleaning the dirty water tank and filter
- Remove the dirty water tank by pulling out the dirty water tank by the handle.
- Remove the filter by pulling it upwards out of the tank.
- Remove the dirty water from the tank.
- Clean the dirty water tank and filter thoroughly with clean water.
- Allow all parts to dry completely after cleaning, put the filter back in its original position and refit the dirty water tank in the main appliance.
Cleaning the universal nozzle
- Remove the universal nozzle from the hose (see fig. E).
- Remove any dirt residue and rinse the nozzle with clean water.
- The transparent cover can be removed for easier cleaning (see fig. F).
- Allow the universal nozzle to dry completely before storing it away.
Cleaning the other nozzles
- Remove the nozzle from the adapter.
- Clean the nozzle with clean water.
- The microfibre cloth is washable at 60^ . Do not use bleach or fabric softener.
- Allow the nozzles to dry before the next use/storage.
Troubleshooting
| Problem Possible causes Problem solving | ||
| The appliance isn't working. The plug is not correctly connected to the socket. | Ensure that the plug is correctly inserted into the socket. | |
| Dirty water tank full. Empty / clean the dirty water tank. | ||
| Non-steam mode with steam nozzle. Change the nozzle or switch to steam mode. | ||
| The on/off button is not responding. | The main switch is still switched off. Switch the main switch on the back of the appliance to "l". | |
| No water/vapour comes out of the nozzle. | The spray nozzle is blocked. Clean the nozzle carefully with a needle. | |
| The clean water tank is empty. Fill the clean water tank with water. | ||
| Internal water supply is blocked. Contact customer service. | ||
| Strange motor noises. The suction opening is blocked. Clean the suction opening. | ||
| Reduced suction power or water is not being sucked in. | Dirty water tank is full. Empty/clean the dirty water tank. | |
| The suction opening is blocked. Clean the suction opening. | ||
| Hose is defective. Replace the hose with a new one. | ||
| Water is not getting hot. | Heating element is slow or defective. | Contact customer service. |
Disposal
(Applicable in the European Union and other European countries with separate collection systems for recyclable materials)
Old appliances must not be disposed of with household waste!
If the appliance can no longer be used, every consumer is legally obliged to dispose of old appliances separately from household waste, e.g. at a collection point in their municipality/neighbourhood. This ensures that old appliances are recycled properly and negative effects on the environment are avoided. This is why electrical appliances are labelled with the symbol shown here.
By disposing of your appliance properly, you too can help protect the environment and the health of your fellow human beings. Material recycling helps to reduce the consumption of raw materials. For more information on the disposal and recycling of this appliance, please contact your local waste disposal service, the shop where you purchased the product or the manufacturer.
Technical data
| Appliance INVICTUS F9 | |
| Model INVSC-F9 | |
| Dimensions 350 x 325 x 225 mm | |
| Power supply 220-240V | |
| Power 2000 W | |
| Fresh water tank volume 1600 ml | |
| Dirty water tank volume 1300 ml |
Microfiber cover: 100% Cotton

Customer service
If you have any questions about the device or spare parts/accessories, please contact your local retailer.
Table des matieres
- Product components
- General
- WARNING!
- CAUTION!
- NOTE!
- Safety
- Safety notices
- RISK OF ELECTRIC SHOCK
- RISK OF INJURY!
- DANGER OF DAMAGE!
- Before first use
- Accessories overview
- Use
- Prepare the appliance:
- Using the universal nozzle
- NOTE:
- Using the adapter with other attachments
- Storage
- Cleaning and user maintenance
- Cleaning the hose
- Cleaning the fresh water tank
- Cleaning the dirty water tank and filter
- Cleaning the universal nozzle
- Cleaning the other nozzles
- Disposal
- Old appliances must not be disposed of with household waste!
- Technical data
- Customer service
- Table des matieres
Brand : GENIUS
Model : Invictus F9
Category : Printer