Alarm Station - Alarm system IMOU - Free user manual and instructions
Find the device manual for free Alarm Station IMOU in PDF.



| Product Type | Alarm Control Center |
| Brand | Imou |
| Model | Alarm Station |
| Power Supply | Power adapter (included) |
| Connectivity | Wi-Fi 2.4 GHz |
| Indicator Light | Multicolor LED (red/blue) for operating status and alarm |
| Pairing Button | Yes, hold for >5s for AP mode |
| Reset Button | Yes, hold for 6s to restore factory settings |
| Wall Mounting | Wall bracket with screws and expansion plugs included |
| Mobile App | Imou (iOS and Android) |
| Main Functions | Alarm, pairing of detectors and sirens, push notifications |
| Accessory Compatibility | Imou wireless detectors and sirens |
| Maximum Accessories | Not specified, but several can be added |
| Dimensions (Wall Bracket) | Hole spacing: 50 mm |
| Weight | Approximately 100 g (estimated) |
| Package Contents | Alarm control center, power adapter, wall bracket, mounting kit, quick start guide |
| Firmware Upgrade | Via Imou app |
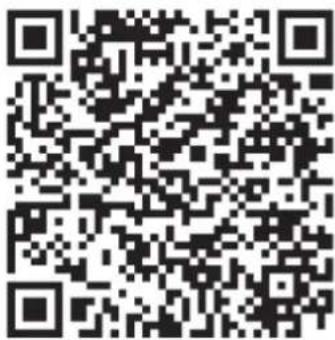
| QR Code | Scan to add the device in the app |
| Operating Temperature | Not specified |
| Maintenance | Clean with a dry cloth, avoid moisture |
Frequently Asked Questions - Alarm Station IMOU
User questions about Alarm Station IMOU
0 question about this device. Answer the ones you know or ask your own.
Ask a new question about this device
Download the instructions for your Alarm system in PDF format for free! Find your manual Alarm Station - IMOU and take your electronic device back in hand. On this page are published all the documents necessary for the use of your device. Alarm Station by IMOU.
USER MANUAL Alarm Station IMOU
natural_image
Illustration of a person sitting on a sofa using a tablet, with a coffee table and coffee cup nearby (no text or symbols)lmou
Contents
Quick Start Guide....1
1 Packing List .... 1
2 Product Introducon....1
3 Operaon with Imou App ....2
4 Installing Device....4
Kurzanleitung ....5
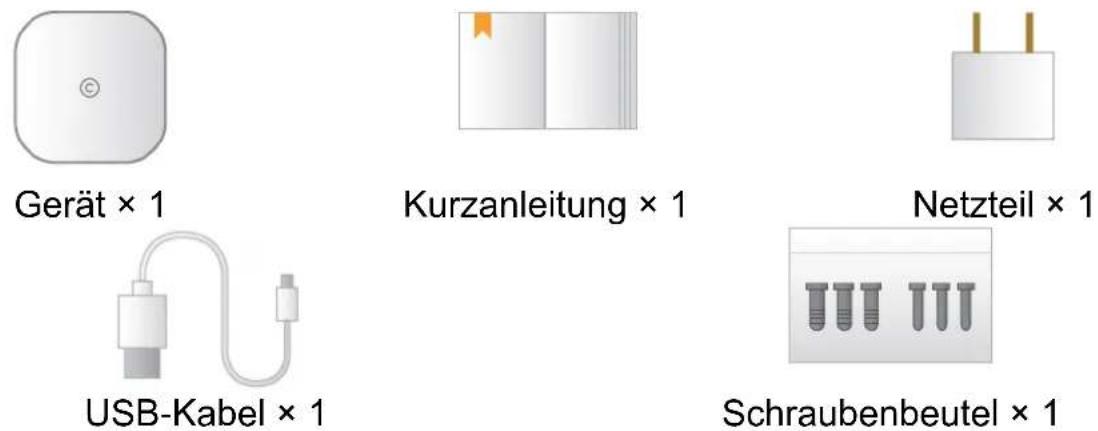
Packing List 1
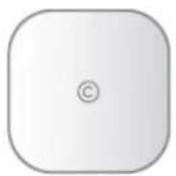
Device ×1
QSG ×1
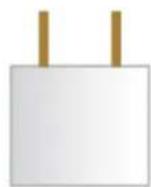
Power Adapter ×1
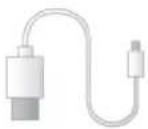
USB×1
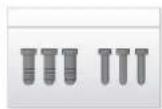
Screw Package*1
Product Introduction 2
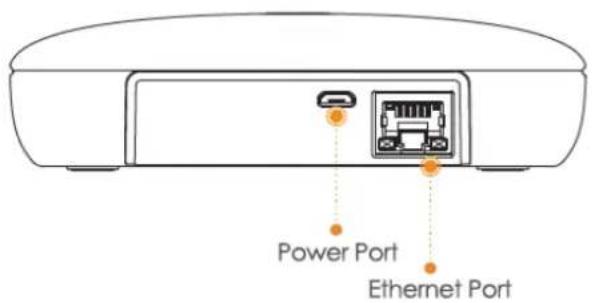
lmou
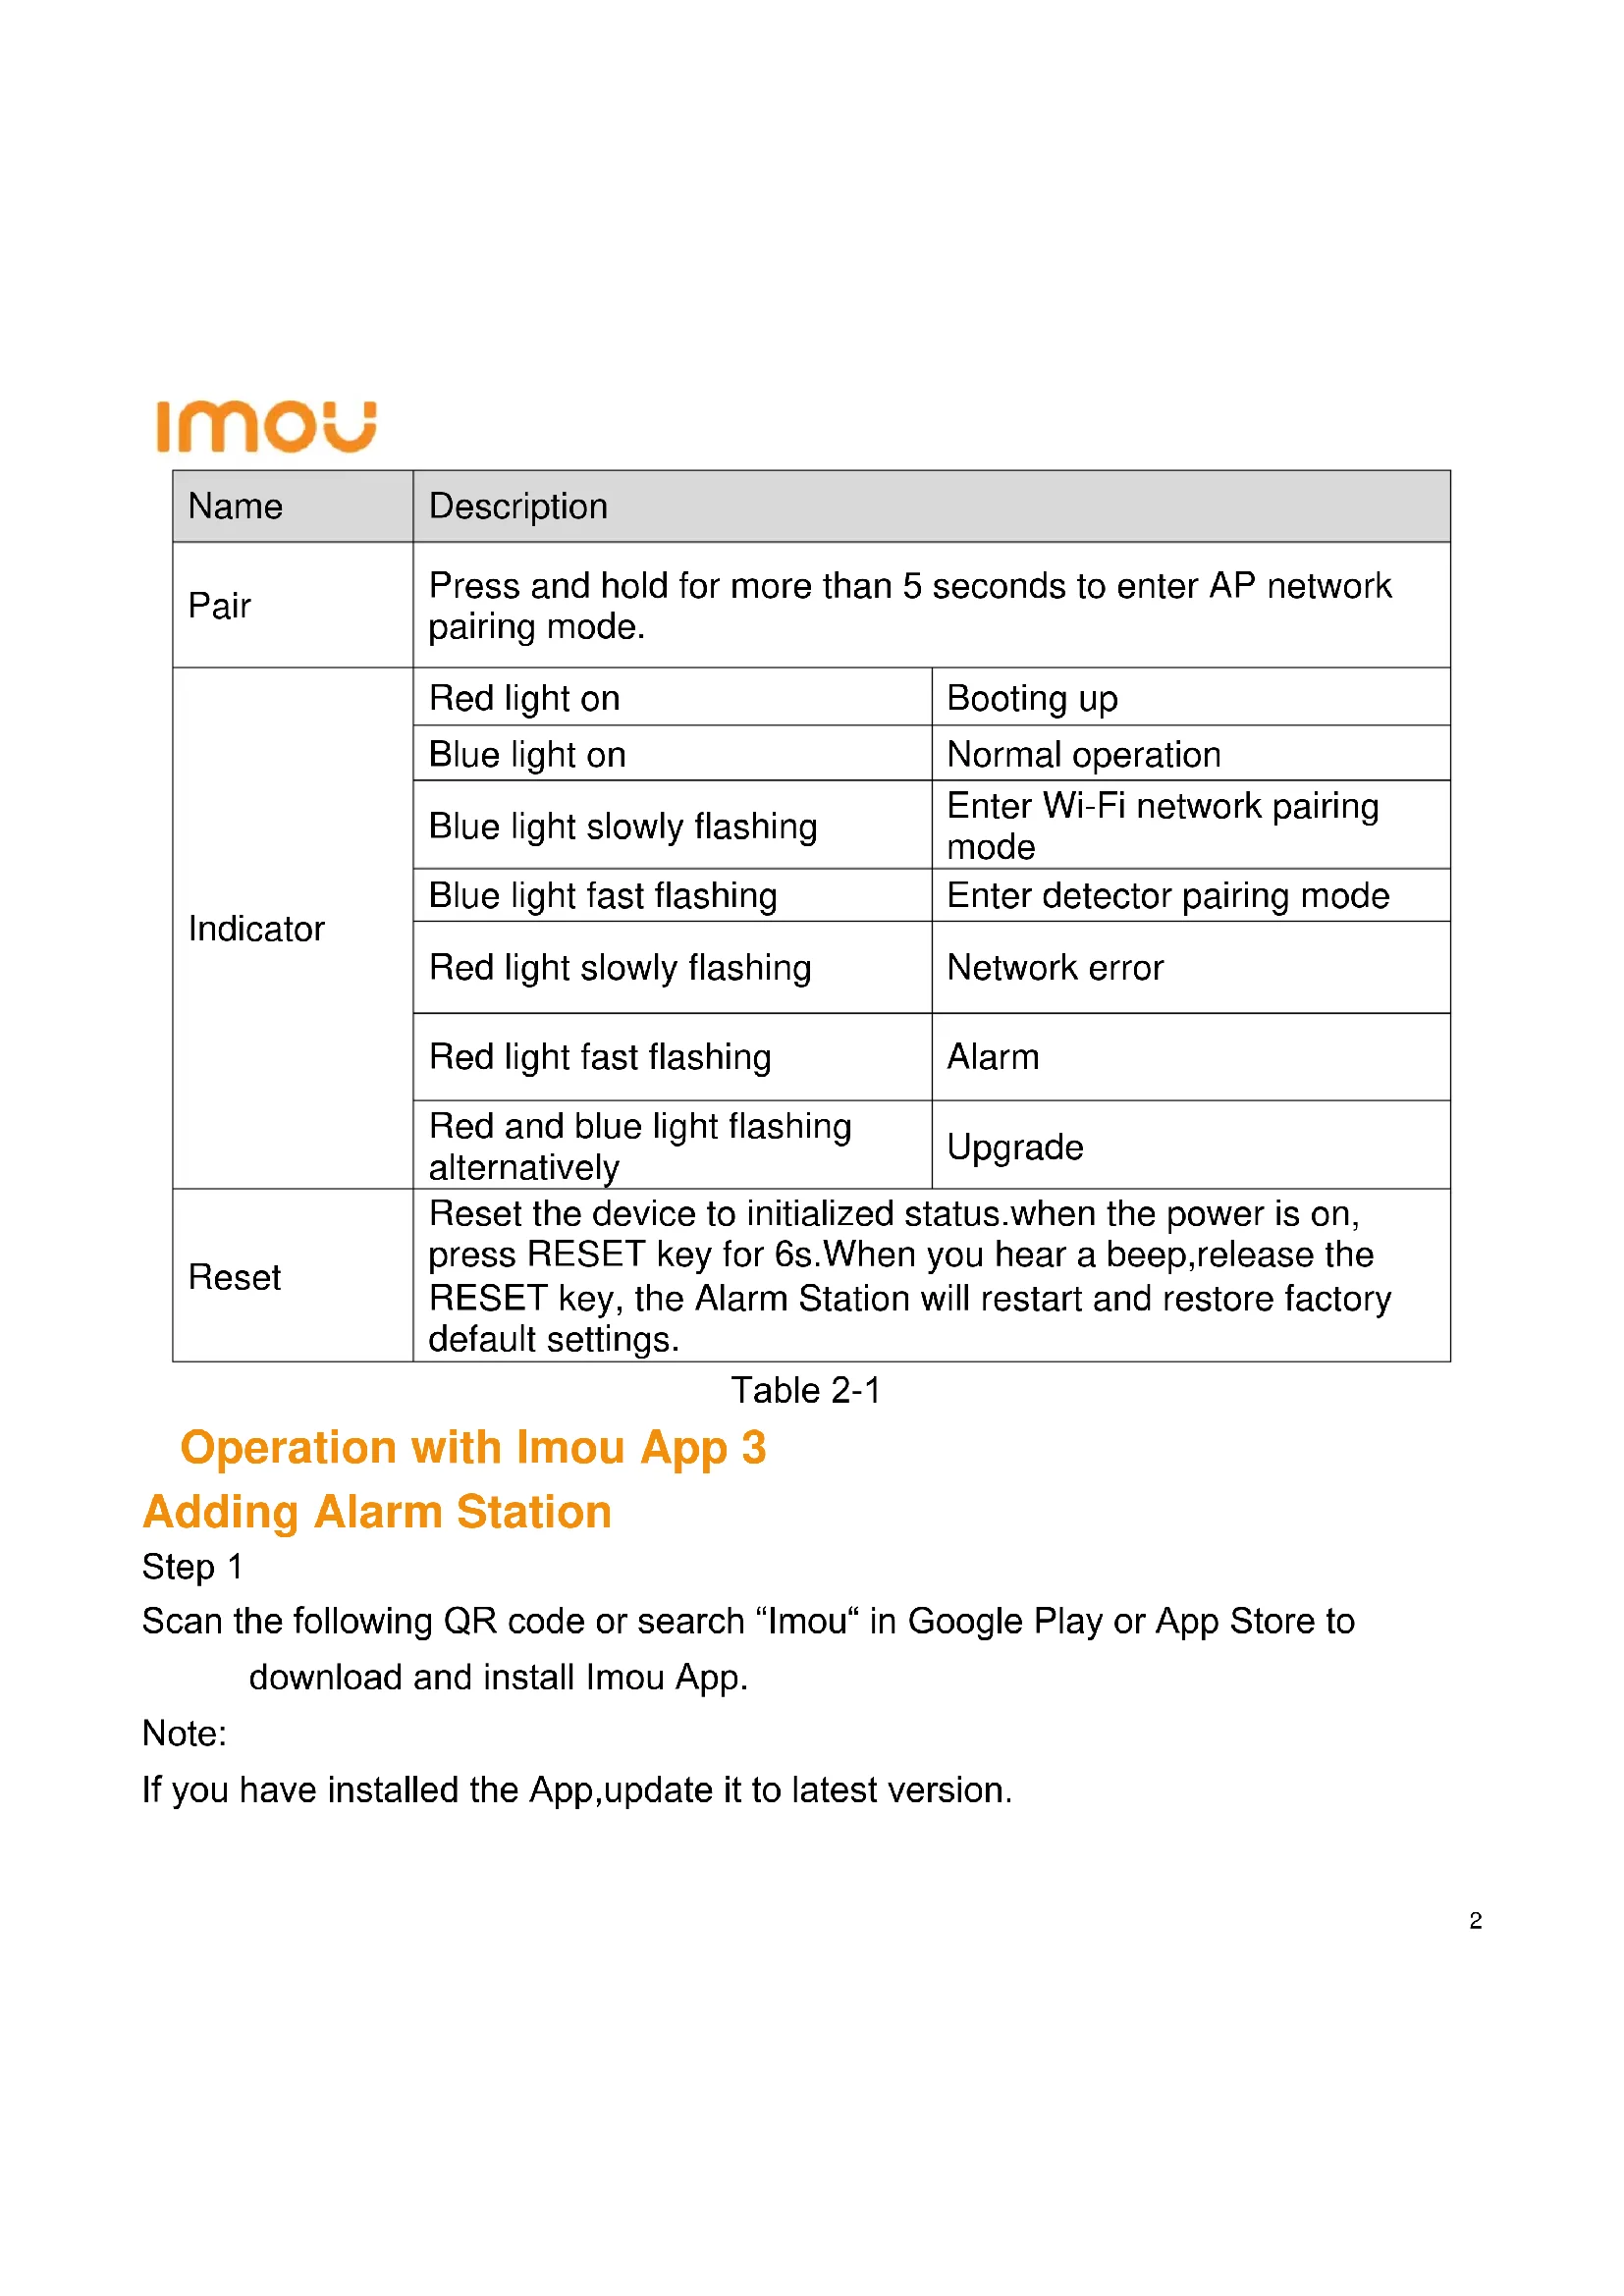
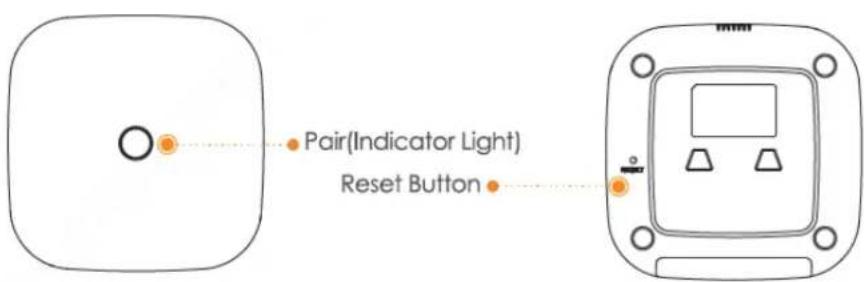
| Name | Description | |
| Pair | Press and hold for more than 5 seconds to enter AP network pairing mode. | |
| Indicator | Red light on | Booting up |
| Blue light on | Normal operation | |
| Blue light slowly flashing | Enter Wi-Fi network pairing mode | |
| Blue light fast flashing | Enter detector pairing mode | |
| Red light slowly flashing | Network error | |
| Red light fast flashing | Alarm | |
| Red and blue light flashing alternatively | Upgrade | |
| Reset | Reset the device to initialized status.when the power is on, press RESET key for 6s.When you hear a beep,release the RESET key, the Alarm Station will restart and restore factory default settings. | |
Table 2-1
Operation with Imou App 3
Adding Alarm Station
Step 1
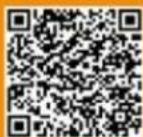
Scan the following QR code or search "Imou" in Google Play or App Store to download and install Imou App.
Note:
If you have installed the App, update it to latest version.
Step 2
Run Imou App, and then register an account for the first use.
Step 3
Connect the Alarm Station to power source with the power adaptor. Waiting for booting up to be finished, and then the Alarm Station indicator flashes with blue light.
Step 4
Follow operations to finish adding the Alarm Station.
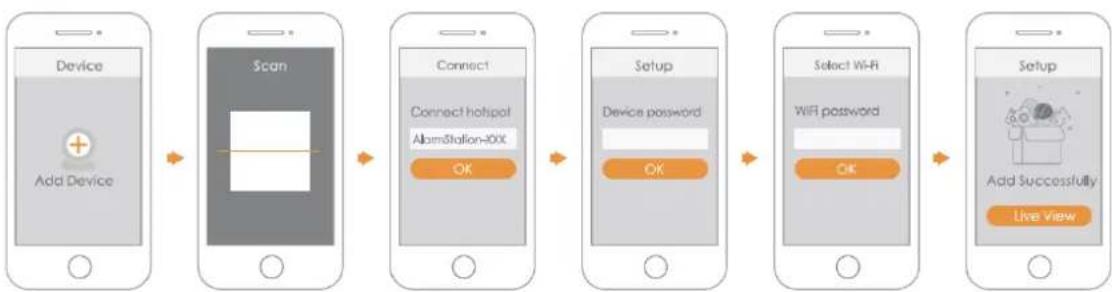
flowchart
graph LR
    A["Device Add Device"] --> B["Scan"]
    B --> C["Connect"]
    C --> D["Setup"]
    D --> E["Select Wi-Fi"]
    E --> F["Add Successfully Live view"]
Figure 3-1
Pairing with Accessories
You can add multiple detectors, sirens and other wireless devices. Scan the QR code on the accessory with lmou App, and then follow the app guide to operate.
lmou
Installing Device 4
Installation dimension (unit: mm [inch])
![RESET slide down 50.0[1.97]](/content/2026/03/519924/images/a9beda9ffcee7249712b30cc85c317fd79ec37de01ebd890865db9107b5143b5.jpg)
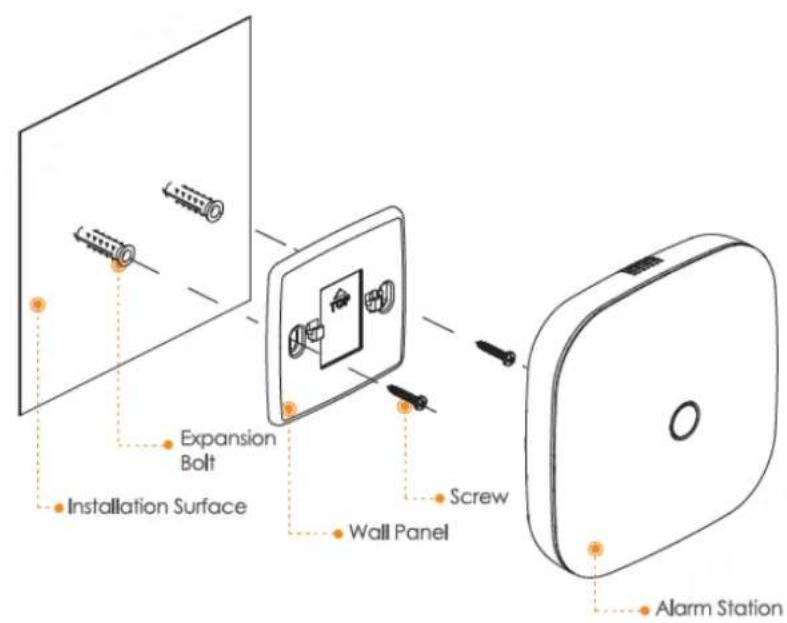
You can install this device with expansion screw.
Step 1 Drill holes in the wall according to hole positions of the bracket.
Step 2 Put expansion tubes into the holes.
Step 3 Fix the bracket with self-tapping screws.
Step 4 Put the Alarm Station into the bracket from top to bottom.
lmou
Kurzanleitung
Lieferumfang 1
Schritt 2
Paso 2
Étape 2
Stap 2
Fase 2
Passo 2
- This quick start guide is for reference only. Minor difference might be found in user interface.
- All the designs and software here are subject to change without prior written notice.
- All trademarks and registered trademarks mentioned are the properties of their respective owners.
- Please visit our website or contact your local service engineer for more information.
- If there is any uncertainty or controversy, please refer to our final explanation.
lmou
Enjoy Smart Life

E service.global@imoulife.com
www.imoulife.com
Brand : IMOU
Model : Alarm Station
Category : Alarm system