RE550 - Wifi repeater TP-LINK - Free user manual and instructions
Find the device manual for free RE550 TP-LINK in PDF.
| Product Type | WiFi Range Extender |
| Brand | TP-Link |
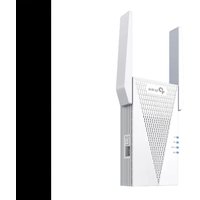
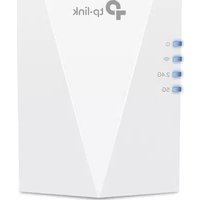
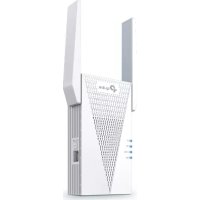
| Model | RE550 |
| WiFi Standard | IEEE 802.11ac (backward compatible with 802.11a/b/g/n) |
| Frequency Bands | 2.4 GHz and 5 GHz |
| Maximum Data Rate | Up to 1200 Mbps |
| Ethernet Port | 1 Gigabit Ethernet Port (10/100/1000 Mbps) |
| Buttons | WPS, Reset |
| Power Supply | 100-240 V AC, 50/60 Hz |
| Power Consumption | 8.5 W (typical) |
| Dimensions (L x W x H) | 110 x 66 x 40 mm |
| Weight | 200 g (approx.) |
| Operating Temperature | 0 °C to 40 °C |
| Operating Humidity | 10% to 90% (non-condensing) |
| Main Functions | WiFi Range Extender, Access Point Mode, Ethernet Client |
| Wireless Security | WPA/WPA2-PSK, WPA2-AES |
| Configuration | Via TP-Link Tether app or web browser |
| Warranty | 3-year limited |
| Care and Cleaning | Clean with a soft, dry cloth |
| Safety Instructions | Keep away from water, fire, and humidity; do not disassemble |
Frequently Asked Questions - RE550 TP-LINK
User questions about RE550 TP-LINK
0 question about this device. Answer the ones you know or ask your own.
Ask a new question about this device
Download the instructions for your Wifi repeater in PDF format for free! Find your manual RE550 - TP-LINK and take your electronic device back in hand. On this page are published all the documents necessary for the use of your device. RE550 by TP-LINK.
USER MANUAL RE550 TP-LINK
Quick Installation Guide
Wi-Fi Range Extender

For technical support, replacement services, user guides, and other information, please visit https://www.tp-link.com/support, or simply scan the QR code.
© 2021 TP-Link 7106509184 REV3.1.1
*Images may differ from actual products.
Contents
Deutsch----1
English 4
Español ----7
Ελληνικά----10
Français----13
Italiano 16
Português 19
Suomi 22
Nederlands 25
Svenska----28
Norsk----31
Dansk 34
1 Konfigurieren
oder

→

natural_image
Icon of a house with Wi-Fi signal inside, no text or symbols presentMethode 2: Per Webbrowser
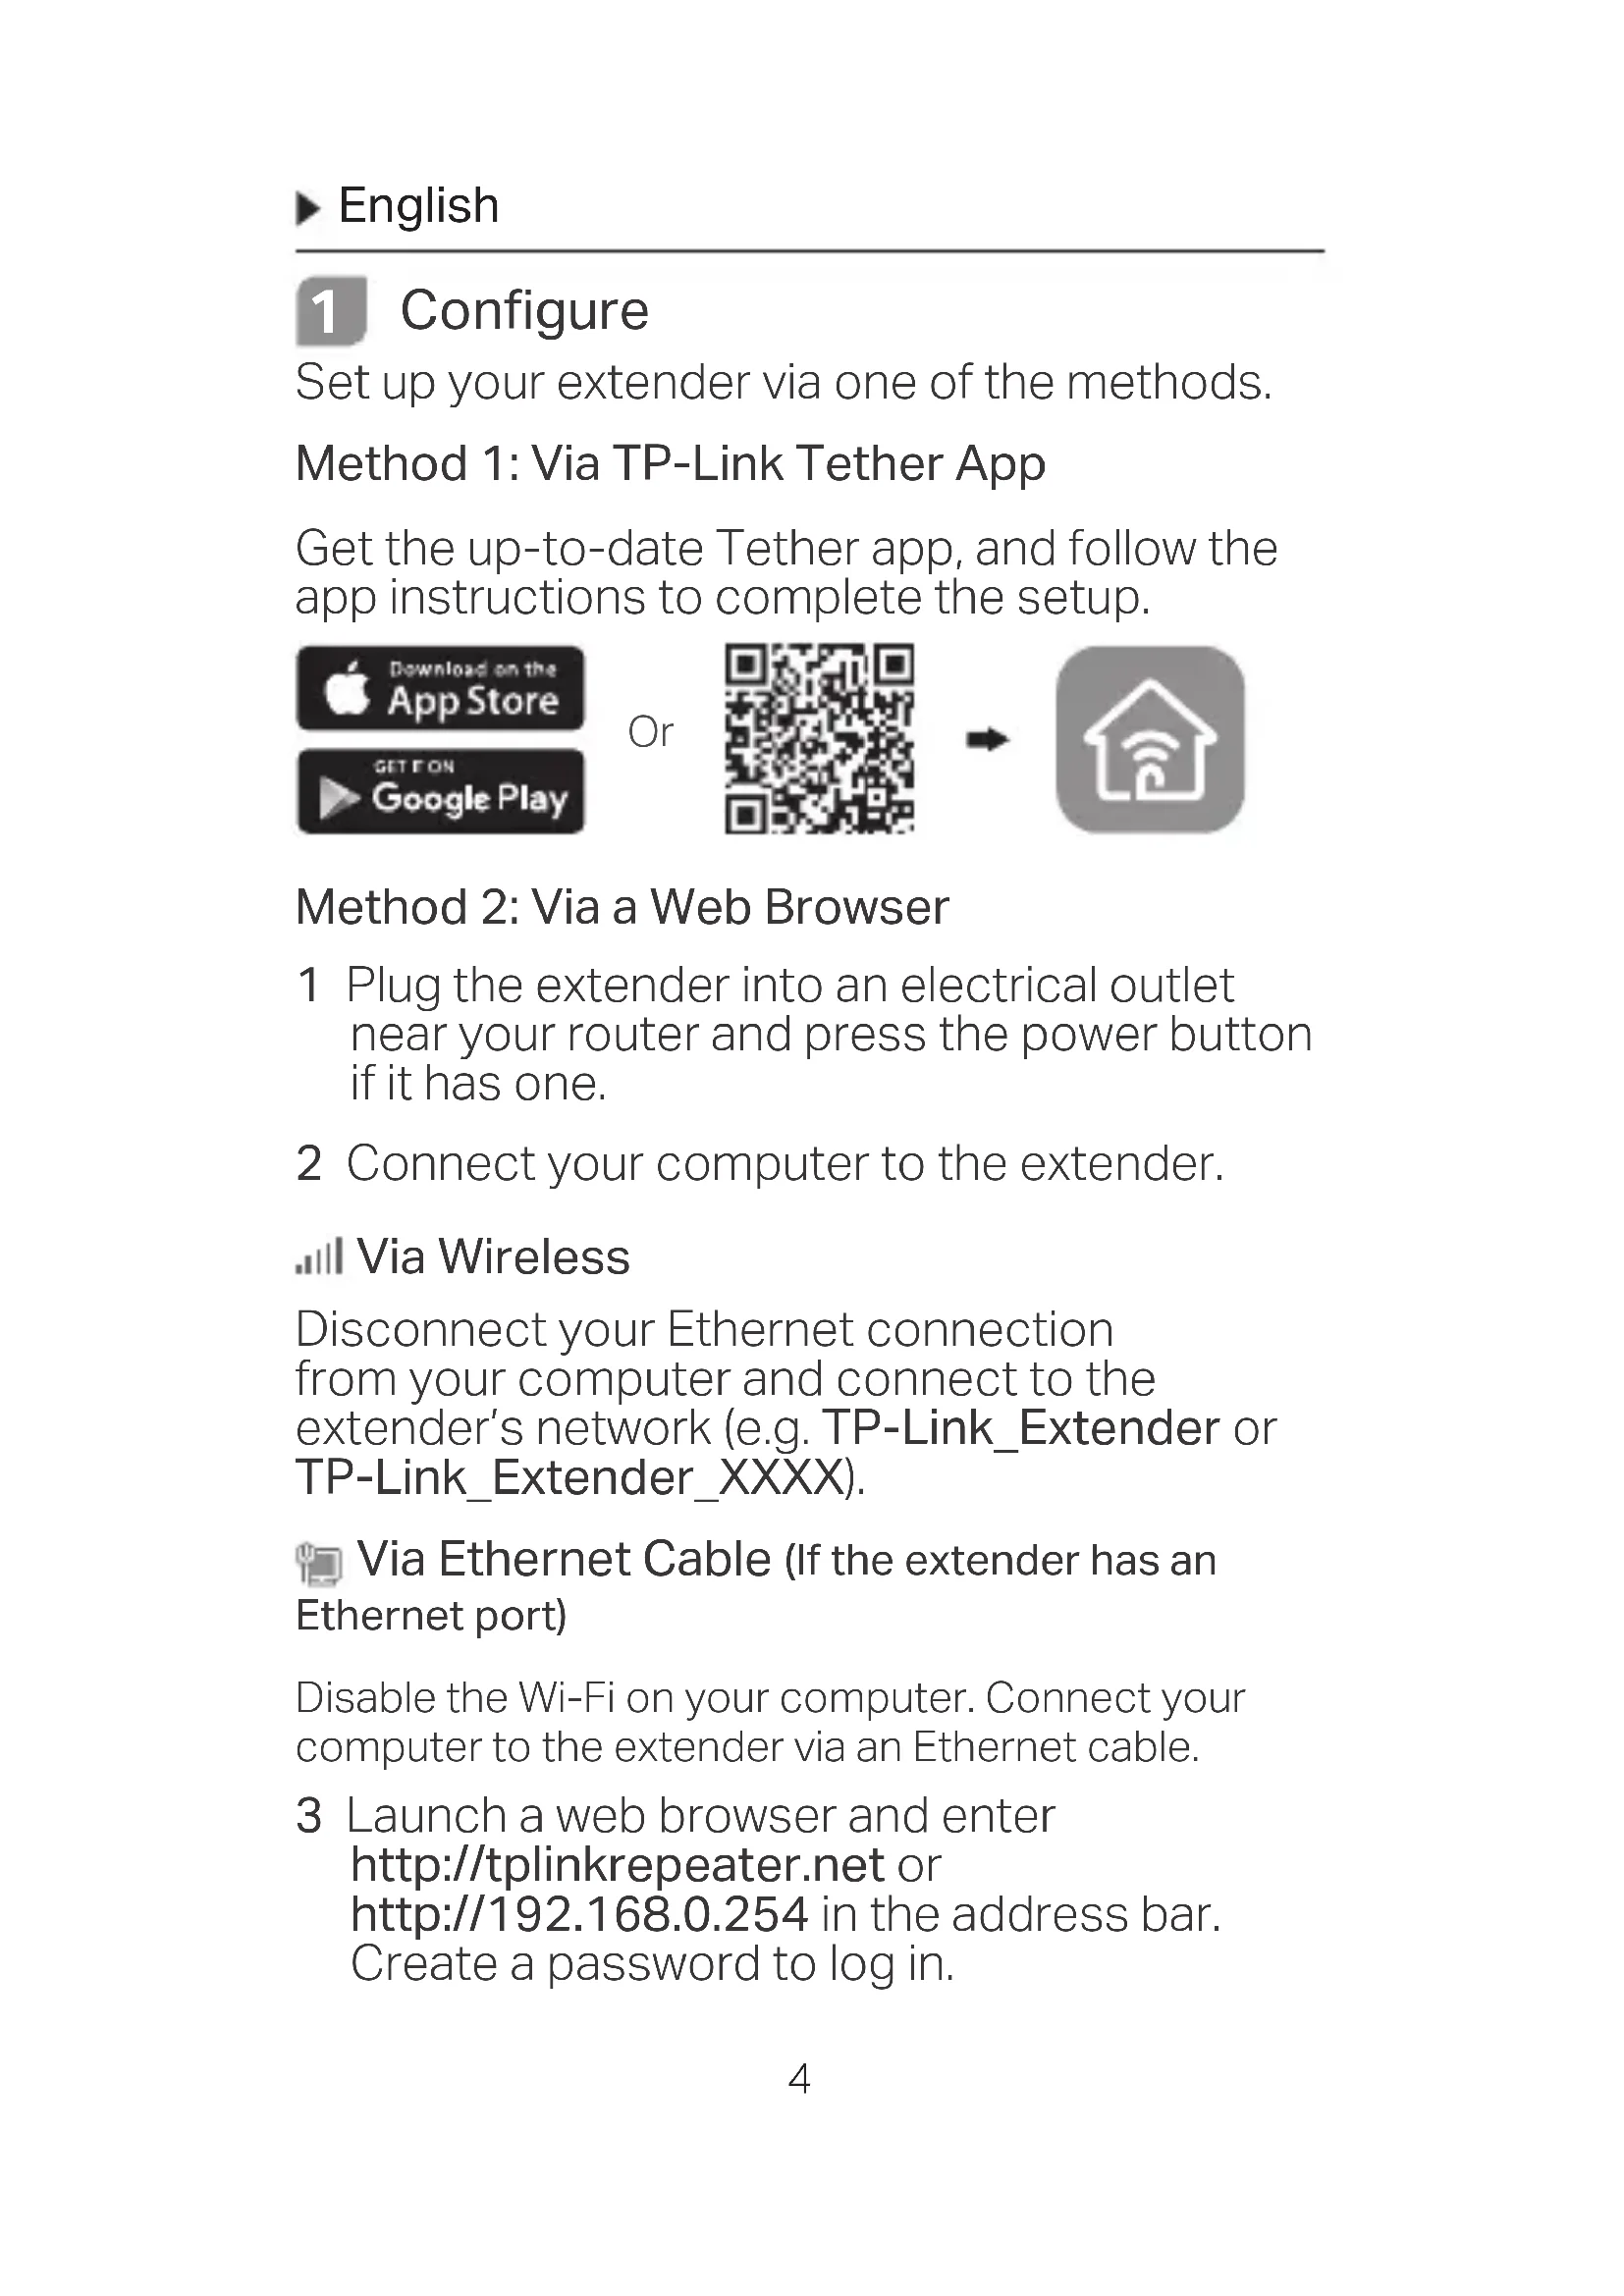
Set up your extender via one of the methods.
Method 1: Via TP-Link Tether App
Get the up-to-date Tether app, and follow the app instructions to complete the setup.

Method 2: Via a Web Browser
1 Plug the extender into an electrical outlet near your router and press the power button if it has one.
2 Connect your computer to the extender.
Via Wireless
Disconnect your Ethernet connection from your computer and connect to the extender's network (e.g. TP-Link_Extender or TP-Link_Extender_XXXX).
Via Ethernet Cable (If the extender has an Ethernet port)
Disable the Wi-Fi on your computer. Connect your computer to the extender via an Ethernet cable.
3 Launch a web browser and enter http://tplinkrepeater.net or http://192.168.0.254 in the address bar. Create a password to log in.
4 Follow the instructions on the web page to complete the initial configuration.
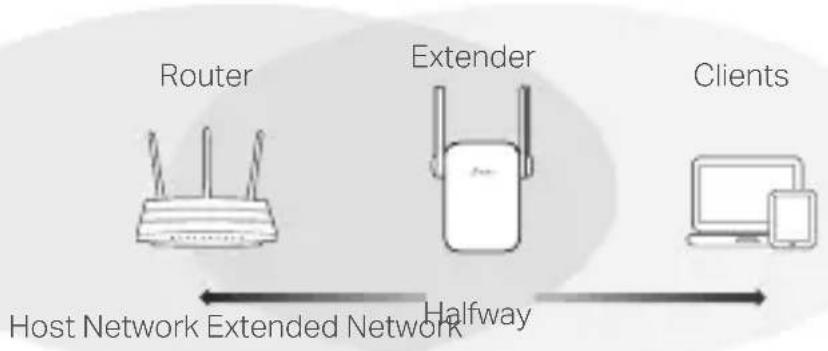
2 Relocate
To achieve better signal quality, plug in the extender halfway between your router and the Wi-Fi dead zone.
flowchart
graph LR
    A["Host Network Extended Network"] --> B["Router"]
    B --> C["Extender"]
    C --> D["Clients"]
    style A fill:#f9f,stroke:#333
    style B fill:#ccf,stroke:#333
    style C fill:#cfc,stroke:#333
    style D fill:#fcc,stroke:#333

Enjoy!
Connect your device to the extender using the extended SSID and Wi-Fi password that you've set during the configuration. The default Wi-Fi password is the same as your host network.
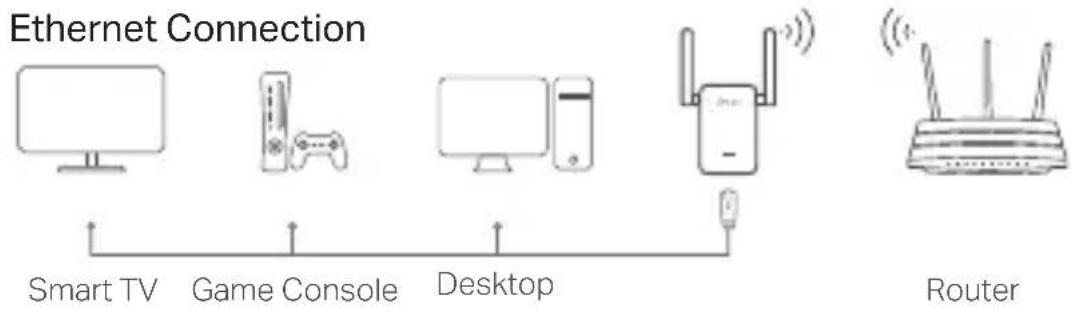
Entertainment Adapter
If your extender has an Ethernet port, it can be used as a wireless adapter to connect any Ethernet-only device such as a Blu-ray player, game console, DVR, or smart TV to your Wi-Fi network.
First, connect the extender to your router, then connect your Ethernet-only device to the extender via an Ethernet cable.
flowchart
graph LR
    A["Smart TV"] --> B["Game Console"]
    B --> C["Desktop"]
    C --> D["Router"]
    style A fill:#f9f,stroke:#333
    style B fill:#ccf,stroke:#333
    style C fill:#cfc,stroke:#333
    style D fill:#fcc,stroke:#333
FAQ (Frequently Asked Questions)
Q1 Why can't I see the login page after entering http://tplinkrepeater.net in the browser?
A1: Make sure your computer is connected to the extender either via the extended SSID or via an Ethernet cable (if the extender has an Ethernet port).
A2: Make sure your computer is set to obtain an IP address automatically.
A3: Use the IP address to access the extender. The default IP is 192.168.0.254. If the extender is connected to the router, you should go to your router's DHCP client list to obtain the extender's current IP address.
A4: Reset the extender and connect to its wireless network, enter http://tplinkrepeater.net or http://192.168.0.254 in a web browser and press Enter.
Q2 How do I reset the extender?
A: With the extender powered on, press the RESET button until the LEDs turn on momentarily, then release the button.
1 Configuración
natural_image
Line drawing of five electronic devices connected by a cable, including monitor, controller, tower, router, and network (no text or symbols)natural_image
Line drawing of various electronic devices including monitor, controller, tower, router, and network device (no text or symbols)Metodo 2: tramite Browser Web
→

natural_image
Icon of a house with Wi-Fi signal inside, enclosed in a rounded square (no text or symbols)natural_image
Line drawing of five electronic devices: monitor, controller, desktop, router, and network switch (no text or symbols)Eller

→

natural_image
Icon of a house with Wi-Fi signal inside, no text or symbols presentEller

Metode 2: Via a nettleser
natural_image
Line drawing of five electronic devices: monitor, controller, tower, router, and network switch (no text or symbols)Smart-TV Spillekonsol Computer
Router
- Keep the device away from water, fire, humidity or hot environments.
- Do not attempt to disassemble, repair, or modify the device.
- Do not use the device where wireless devices are not allowed.
- The socket-outlet shall be installed near the equipment and shall be easily accessible.
- For passthrough devices, plug the power strips into the integrated electrical sockets of the devices, but devices of the same or another type not be stacked in normal use.

Please read and follow the above safety information when operating the device. We cannot guarantee that no accidents or damage will occur due to improper use of the device. Please use this product with care and operate at your own risk.
TP-Link Three Years Limited Product Warranty
For TP-Link Branded Products Only.
THIS WARRANTY GIVES YOU SPECIFIC LEGAL RIGHTS, AND YOU MAY HAVE OTHER RIGHTS THAT VARY FROM STATE TO STATE (OR BY COUNTRY OR PROVINCE).
TO THE EXTENT ALLOWED BY LOCAL LAW, THIS WARRANTY AND THE REMEDIES SET FORTH ARE EXCLUSIVE AND IN LIEU OF ALL OTHER WARRANTIES. REMEDIES AND CONDITIONS.
TP-Link warrants the TP-Link branded hardware product contained in the original packaging against defects in materials and workmanship when used normally in according with TP-Link's guidelines for a period of THREE YEARS form the date of original retail purchase by the end-user purchaser.
Español
TP-Link hereby declares that the device is in compliance with the essential requirements and other relevant provisions of directives (EU)2015/863, 2014/53/EU, 2009/125/EC and 2011/65/EU.
The original EU declaration of conformity may be found at
https://www.tp-link.com/en/ce.
Español
https://www.tp-link.com/en/ce.
Português
https://www.tp-link.com/en/ce.
Nederlands
https://www.tp-link.com/en/ce.