Grill'N Pack Contact CB7038 - Electric grill TEFAL - Free user manual and instructions
Find the device manual for free Grill'N Pack Contact CB7038 TEFAL in PDF.
| Brand | TEFAL |
| Model | Grill'N Pack Contact CB7038 |
| Product type | Contact electric grill |
| Power supply | 220-240 V ~ 50/60 Hz, 2000 W |
| Usage | Domestic, indoor and outdoor |
| Water capacity | 4 litres in the base |
| Plates | Removable grill plate and grid with locking handles |
| Heating element | Removable, do not clean, wipe dry |
| Reflector | Removable, clean with soapy water |
| Protective cover | With locking clips, safety lock when opening |
| Support feet | Removable, for mounting on shelf |
| Shelf | Foldable, with supports for the appliance |
| Thermostat | Adjustable from Min to Max |
| Safety | Safety device preventing start-up if cover is closed or heating element incorrectly positioned; mandatory earth connection; 30 mA RCD recommended |
| Cleaning | Plates, reflector, base and cover: sponge, hot water, dishwashing liquid; heating element: dry cloth; do not immerse |
| Maintenance | Do not use metallic sponge or scouring powder; use plastic or wooden spatula to preserve coating |
| Storage | Vertical possible, after cooling and cleaning; do not expose to sun or frost |
| Outdoor use | Appliance suitable for outdoor use |
| Warranty | Covered according to Tefal conditions; modifications reserved |
| Repairability | Plates, heating element, reflector, power cord replaceable by authorized service center |
Frequently Asked Questions - Grill'N Pack Contact CB7038 TEFAL
User questions about Grill'N Pack Contact CB7038 TEFAL
0 question about this device. Answer the ones you know or ask your own.
Ask a new question about this device
Download the instructions for your Electric grill in PDF format for free! Find your manual Grill'N Pack Contact CB7038 - TEFAL and take your electronic device back in hand. On this page are published all the documents necessary for the use of your device. Grill'N Pack Contact CB7038 by TEFAL.
USER MANUAL Grill'N Pack Contact CB7038 TEFAL
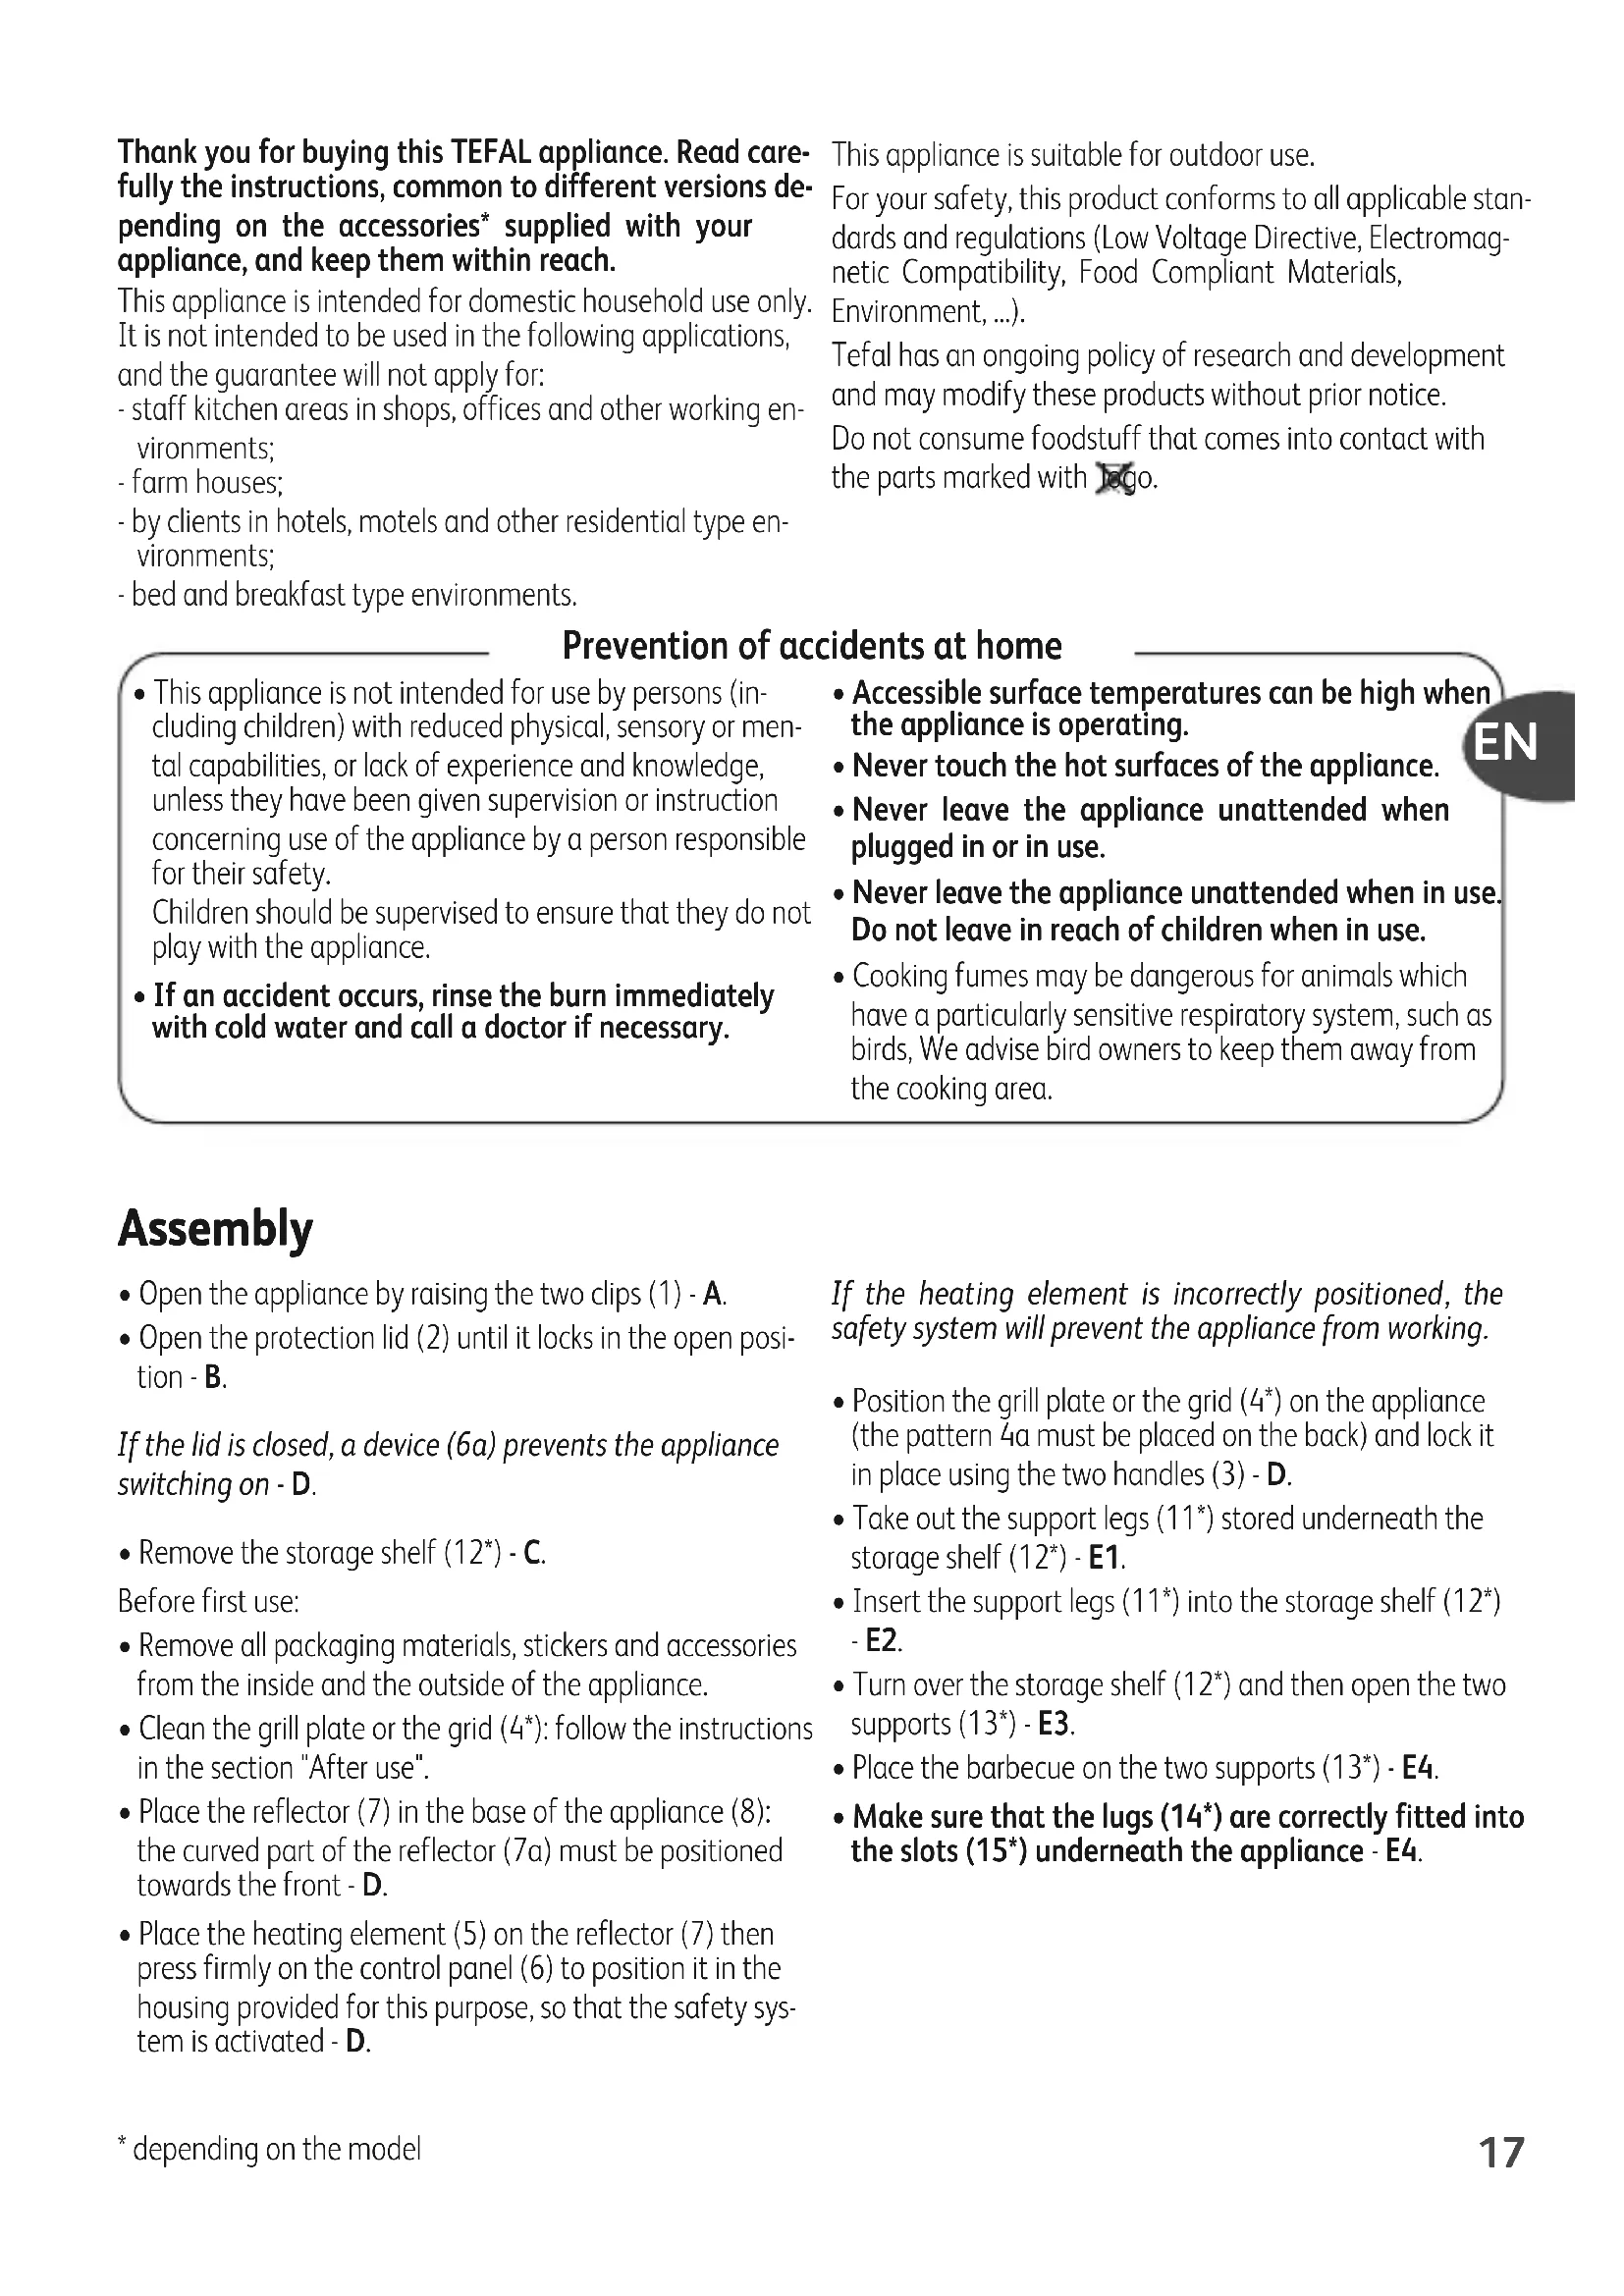
Thank you for buying this TEFAL appliance. Read carefully the instructions, common to different versions depending on the accessories* supplied with your appliance, and keep them within reach.
This appliance is intended for domestic household use only. It is not intended to be used in the following applications, and the guarantee will not apply for:
- staff kitchen areas in shops, offices and other working environments;
-farm houses; - by clients in hotels, motels and other residential type environments;
- bed and breakfast type environments.
This appliance is suitable for outdoor use.
For your safety, this product conforms to all applicable standards and regulations (Low Voltage Directive, Electromagnetic Compatibility, Food Compliant Materials, Environment, ...).
Tefal has an ongoing policy of research and development and may modify these products without prior notice.
Do not consume foodstuff that comes into contact with the parts marked with lego.
Prevention of accidents at home
- This appliance is not intended for use by persons (including children) with reduced physical, sensory or mental capabilities, or lack of experience and knowledge, unless they have been given supervision or instruction concerning use of the appliance by a person responsible for their safety.
Children should be supervised to ensure that they do not play with the appliance. -
If an accident occurs, rinse the burn immediately with cold water and call a doctor if necessary.
-
Accessible surface temperatures can be high when the appliance is operating.
- Never touch the hot surfaces of the appliance.
- Never leave the appliance unattended when plugged in or in use.
- Never leave the appliance unattended when in use. Do not leave in reach of children when in use.
- Cooking fumes may be dangerous for animals which have a particularly sensitive respiratory system, such as birds. We advise bird owners to keep them away from the cooking area.
EN
Assembly
- Open the appliance by raising the two clips (1) - A.
- Open the protection lid (2) until it locks in the open position - B.
If the lid is closed, a device (6a) prevents the appliance switching on - D.
- Remove the storage shelf (12^*) - C .
Before first use: - Remove all packaging materials, stickers and accessories from the inside and the outside of the appliance.
- Clean the grill plate or the grid (4^*) : follow the instructions in the section "After use".
- Place the reflector (7) in the base of the appliance (8): the curved part of the reflector (7a) must be positioned towards the front - D.
- Place the heating element (5) on the reflector (7) then press firmly on the control panel (6) to position it in the housing provided for this purpose, so that the safety system is activated - D.
If the heating element is incorrectly positioned, the safety system will prevent the appliance from working.
- Position the grill plate or the grid (4^*) on the appliance (the pattern 4a must be placed on the back) and lock it in place using the two handles (3) - D.
- Take out the support legs (11) stored underneath the storage shelf (12^) - E1.
- Insert the support legs (11^) into the storage shelf (12^) - E2.
- Turn over the storage shelf (12^) and then open the two supports (13^) - E3 .
- Place the barbecue on the two supports (13^*) - E4 .
- Make sure that the lugs (14^) are correctly fitted into the slots (15^) underneath the appliance - E4.
Connection and pre-heating
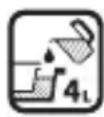
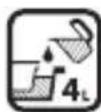
- It is essential to pour 4 litres of water into the base of the appliance (8) to ensure that the barbecue works properly. - D.

-
Pour the water into the opening (8a) provided for this purpose at the rear of the base of the appliance (8) - D.
-
If your appliance is not equipped with support legs - E (11^ - 12^ - 13^*) , place it on a stable heat resistant surface.
Never place the appliance directly on a fragile surface (glass table, tablecloth, varnished furniture, etc.) or on a soft surface such as a tea-towel.

To prevent the appliance from overheating, do not place it in a corner or against a wall.
- Fully unwind the power cord.
Make sure that the electric power supply is compatible with the power rating and voltage indicated on the bottom of the appliance.
If the power supply cord is damaged, it must be replaced by the manufacturer or its service agent or a similarly qualified person in order to avoid a hazard.
If need be, make sure to choose an extension lead of equivalent diameter with an earthed socket; take all necessary precautions to prevent anyone tripping over an extension cord.
This appliance is not intended to be operated by means of an external timer or separate remote-control system.
Cooking
After pre-heating, the appliance is ready for use.
- Set the thermostat to the position of your choice.
- Leave to cook depending on your taste.
- Ensure that there is always water in the base during the use of the appliance.

-
If water needs to be added during cooking, pour it into the opening (8a) provided for this purpose at the rear of the base of the appliance (8) - D.
-
Connect the cord to the mains.
- Before using for the first time, wipe over the plate* using kitchen paper towel dipped in a little cooking oil. Remove any surplus oil using clean kitchen paper towel.
Always plug the appliance into an earthed socket.
Never run the appliance empty.
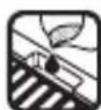
Never use the appliance with the protection lid (2) closed - D.
Do not move the appliance when in use.
- Set the thermostat to the Maxi position.
- Leave to pre-heat the appliance for 10-15 minutes.
On first use, there may be a slight odour and a little smoke during the first few minutes.
WARNING: Charcoal or similar combustible fuels must not be used with this appliance.
The appliance should be supplied through a residual current device (RCD) having a rated residual operating current not exceeding 30mA
The appliance is to be connected to a socket-outlet having an earthing contact (for class I appliances)
The supply cord should be regularly examined for signs of damage and the appliance is not to be used if the cord is damaged."
Do not touch the metal parts of the appliance when it is heating or operating, as they are very hot.
Do not cook food in aluminium foil.
Do not use aluminium foil or other objects between the plate* and the food being cooked.
Never put aluminium foil in the reflector.
Do not put any cooking utensils on the appliance to heat up.
Never cut food directly on the plate*.
Always use a wooden or plastic spatula to avoid damaging the cooking plate*.
After use
Never leave the reflector in the water between each use.
- Place the thermostat in the min. position before unplug.
- Unplug the appliance and let it cool down before removing the grill plate or the grid (4^*) , the heating element (5) and the reflector (7) - D.
- Never close over the protection lid (2) if the appliance is still hot - D.
- The grill plate or the grid (4^*) , the reflector (7), the base of the appliance (8) and the protection lid (2) can be cleaned with a sponge, hot water and washing up liquid - D.
-
To remove the grill plate or the grid (4^*) , unlock it from the appliance using the handles (3) - D.
-
To remove the protection lid (2):
-
Take hold of the handle, lift the protection lid (2) and then incline it towards you - F.
- When the identical shapes in the hinge axis and the hole in the lid (9) are opposite one another, the lid may be removed by slightly extending the lid towards the outside - G.
Do not use a metal scouring pad or scouring powder.
To clean the grill plate or the grid (4^*) , the sponge can be replaced by a brush.
The heating (5) coil is not to be cleaned. If it is really dirty, wait until it has cooled down and wipe with a dry cloth - D.
Do not immerse the appliance or power cord in water. Do not place the hot plate* under water or on a fragile surface.

Storing
- Check that the appliance is cooled and disconnected before stowing away.
- Place the heating element (5) on the reflector (7) then insert the control panel (6) properly in its place - D.
- Put the power supply cord (10) in the compartment provided for this purpose behind the control panel (6), and then store it in the reflector - H.
- Place the grill plate or the grid (4^*) on the appliance and lock it in place using the two handles (3) - D.
-
Put the protection lid (2) back in place by extending it slightly, taking care to match up the identical shapes in the hinge axis and the hole in the lid (9) - G.
-
Remove the appliance from the two supports (13^) and fold up the storage shelf (12^) as shown in the drawings -E4-E3-E2-E1.
- Place the storage shelf (12^*) upside down on top of the appliance (opposite of C).
- Close the protection lid (2): take hold of the handle, lift the protection lid (2) and then pull towards you. - F.
- Lock the protection lid in place (2) by closing the two clips (1) (opposite of - A1).
- The appliance may be stored vertically - J.
Do not leave the appliance in direct sunlight or outside in winter.
For U.K. users only:
If you have any problems or queries, please contact our Customer Relations team on :
HELPLINE 0845 602 1454 - UK, (01) 677 4003 - ROI - www.tefal.co.uk
This product has been designed for domestic use only. Any commercial use, inappropriate use or failure to comply with the instructions, the manufacturer accepts no responsibility and the guarantee will not apply.
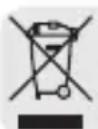
Environment protection first!
Your appliance contains valuable materials which can be recovered or recycled.
Leave it at a local civic waste collection point.
BaalTe To kaalwoIo Otny npicia.
- Before using for the first time, wipe over the plate* using kitchen paper towel dipped in a little cooking oil. Remove any surplus oil using clean kitchen paper towel.
Na ouvEeTE mV ouokun oac navta o e npia u yewon. Note mV leitoupyeTE mV ouokun adla.
Mny xpoaiomoiie tne Tn ouokun KkioTo To Kanaki npoostaoiac (2)-D.
Mny uetakivite Tnv ouokun otav elvai oE λeitoupyia.
Cihazi her zaman toprakli prize takin.
a a a a a a a a a a a a a a a a a a a a a a
J 1
1234567890
D-1olio(2)laolllbocjckLooic 1y
Jaaai 1
(Maxi)
10-1. 1sol s yqall jaiill
Jg 1 Jg 1 1 1 1 1 1 1 1 1 1 1
iill 1
(R.C.D.)
( x - 1) ( x + 3) = 0
(-)
151515 151515
Jlll jll lll
J 8)
D. 12
(8a)(L)
.D-(8)
(*13-12-11)E-JJJ
.
Jaaai jalal jaiil jaiil
(8a)
.D-(8)

AR
j 1 j 1 j 1 j 1 j 1 j 1 j 1 j 1 j 1 j 1 j 1 j 1 j 1 j 1 j 1 j 1 j 1 j 1 j 1 j 1 j 1 j 1 j 1 j 1 j 1 j 1 j 1 j 1 j 1 j 1 j 1 j 1 j 1 j 1 j
JLc Lac aal oia jaiall 1a Js
jaiall gao aafgall aal lal ydugall
bajlall jaii jaii i jaiil 1a
biw, alni jaiy jaii jaii jaii jaii jaii jaii jaii jaii jaii jaii jaii jaii jaii jaii jaii jaii jaii jaii jaii jaii jaii jaii jaii jaii jaii jaii jaii jaii jaii jaii jaii jaii jaii jaii JALI JAI JAI JAI JAI JAI JAI JAI JAI JAI JAI JAI JAI JAI JAI JAI JAI JAI JAI JAI JAI JAI JAI JAI JAI JAI JAI JAI JAI JAI JAI JAI JAI JAI JAI JAI JAI JAI JAI JAI JAI JAI JAI JAI JAI JAI JAI JAI JAI JAI JAI JAHJU
i
1 1 1 1 1 1 1 1 1 1 1 1 1 1 1 1 1 1 1 1 1 1 1 1 1 1 1 1 1 1 1 1 1 1 1 1 1 1 1 1 1 1 1 1 1 1 1 1
()

100 100
A-(1)jckblll 2(2)laal. 13c 1
D-ll (6a) aJg 100 100 100
C- (*12) Jz jz jz jz jz jz jz jz jz jz jz jz jz jz jz jz jz jz jz jz jz jz jz jz jz jz jz jz jz jz jz jz jz jz jz jz jz jz jz jz jz jz jz jz jz jz jz jz jz jz jz
(2)
1 2 1 2 1 2 1 2
(9) 1000000000000000000000000000000000000000000000000000000000
2g 1
()
(5)
D- 15
1
1 1 1 1 1 1 1 1 1 1 1 1 1 1 1 1 1 1 1 1 1 1 1
1
1
(4)
D-
12(2)
(8)(7)(4)
1 2
(3)LaLw(*4)y
D-1jks
( 5) 1 : 45 < 3 < 85
(*12)gjds
.E4-E3-E2-E1- 5
J (R.C.D) 1 J 1 J 1 J 1 J 1
()
y 1
j 4 4
15 8a) 8 (8)

*13) E-ssjg; 8a y jy Jauo Laiu oui jil
()00 ()00 0000000000000000000000000000000000000000000
iai pia i 10g 10g 10g 10g
jS jai Jala jalolokwJoulaWlKs
1 1 1 1 1 1 1 1 1 1 1 1 1 1 1 1 1 1 1 1 1 1 1 1 1 1 1 1 1 1 1 1 1 1
.D-
j 1
Lg
i 1
daii
1
J5 1
4c
gSsglksoJLwJioJoo
a
L
J 1
J 1
...
LSA
S AOB = S COD + S_ BOC
glaiaa aai j yj yj yj yj yj yj yj
15
i
1
1j j k j j j j j j j j j j j j j j j j j
iLgj
Lai Jn jnnn n nn nnnn nnnn nnnn nnnn nnnn nnnn nnnn nnnn nnnn nnnn nnnn nnnn nnnn nnnn nnnn nnnn nnnn nnnn nnnn nnnn nnnn nnnn nnnn nnnn nnnn nnnn nnnn nnnn nnnn nnnn nnnn nnnn nnnn nnnn
1
45
145i j 120j 1
≤glaIg(jLgSlo)
J 1
i 1000000000000000000000000000000000000000000
i j k l
Jiu jiabo dawg