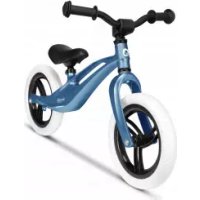
Bart - Bike Lionelo - Free user manual and instructions
Find the device manual for free Bart Lionelo in PDF.



| Product type | Balance bike without brakes |
| Brand | Lionelo |
| Model | Bart |
| Category | Bike |
| Recommended age | From 2 years |
| Maximum user weight | 30 kg |
| Usage | For single person |
| Materials | Steel frame, plastic wheels, adjustable handlebar and saddle |
| Assembly | Requires assembly by an adult (handlebar, saddle, wheels) |
| Adjustments | Adjustable handlebar and saddle height |
| Brakes | No brakes |
| Safety | Use with helmet and knee pads; check before each use |
| Maintenance | Clean with a damp cloth, wipe dry; do not use abrasive cleaners |
| Standards | EN 71-1:2014+A1:2018, EN 71-2:2020, EN 71-3:2019+A1:2021 |
| Included accessories | Allen key for assembly |
| Customer service | Email: help@lionelo.com |
| Manufacturer | BrandLine Group Sp. z o. o. |
Frequently Asked Questions - Bart Lionelo
User questions about Bart Lionelo
0 question about this device. Answer the ones you know or ask your own.
Ask a new question about this device
Download the instructions for your Bike in PDF format for free! Find your manual Bart - Lionelo and take your electronic device back in hand. On this page are published all the documents necessary for the use of your device. Bart by Lionelo.
USER MANUAL Bart Lionelo
Dear customer!
Should you have any remarks or questions concerning the product, please do not hesitate to contact us: help@lionelo.com
Important
Please read this manual before you use the product to see its functions and use it in accordance with intended use. Keep this manual for future reference.
Producer:
BrandLine Group Sp. z o. o.
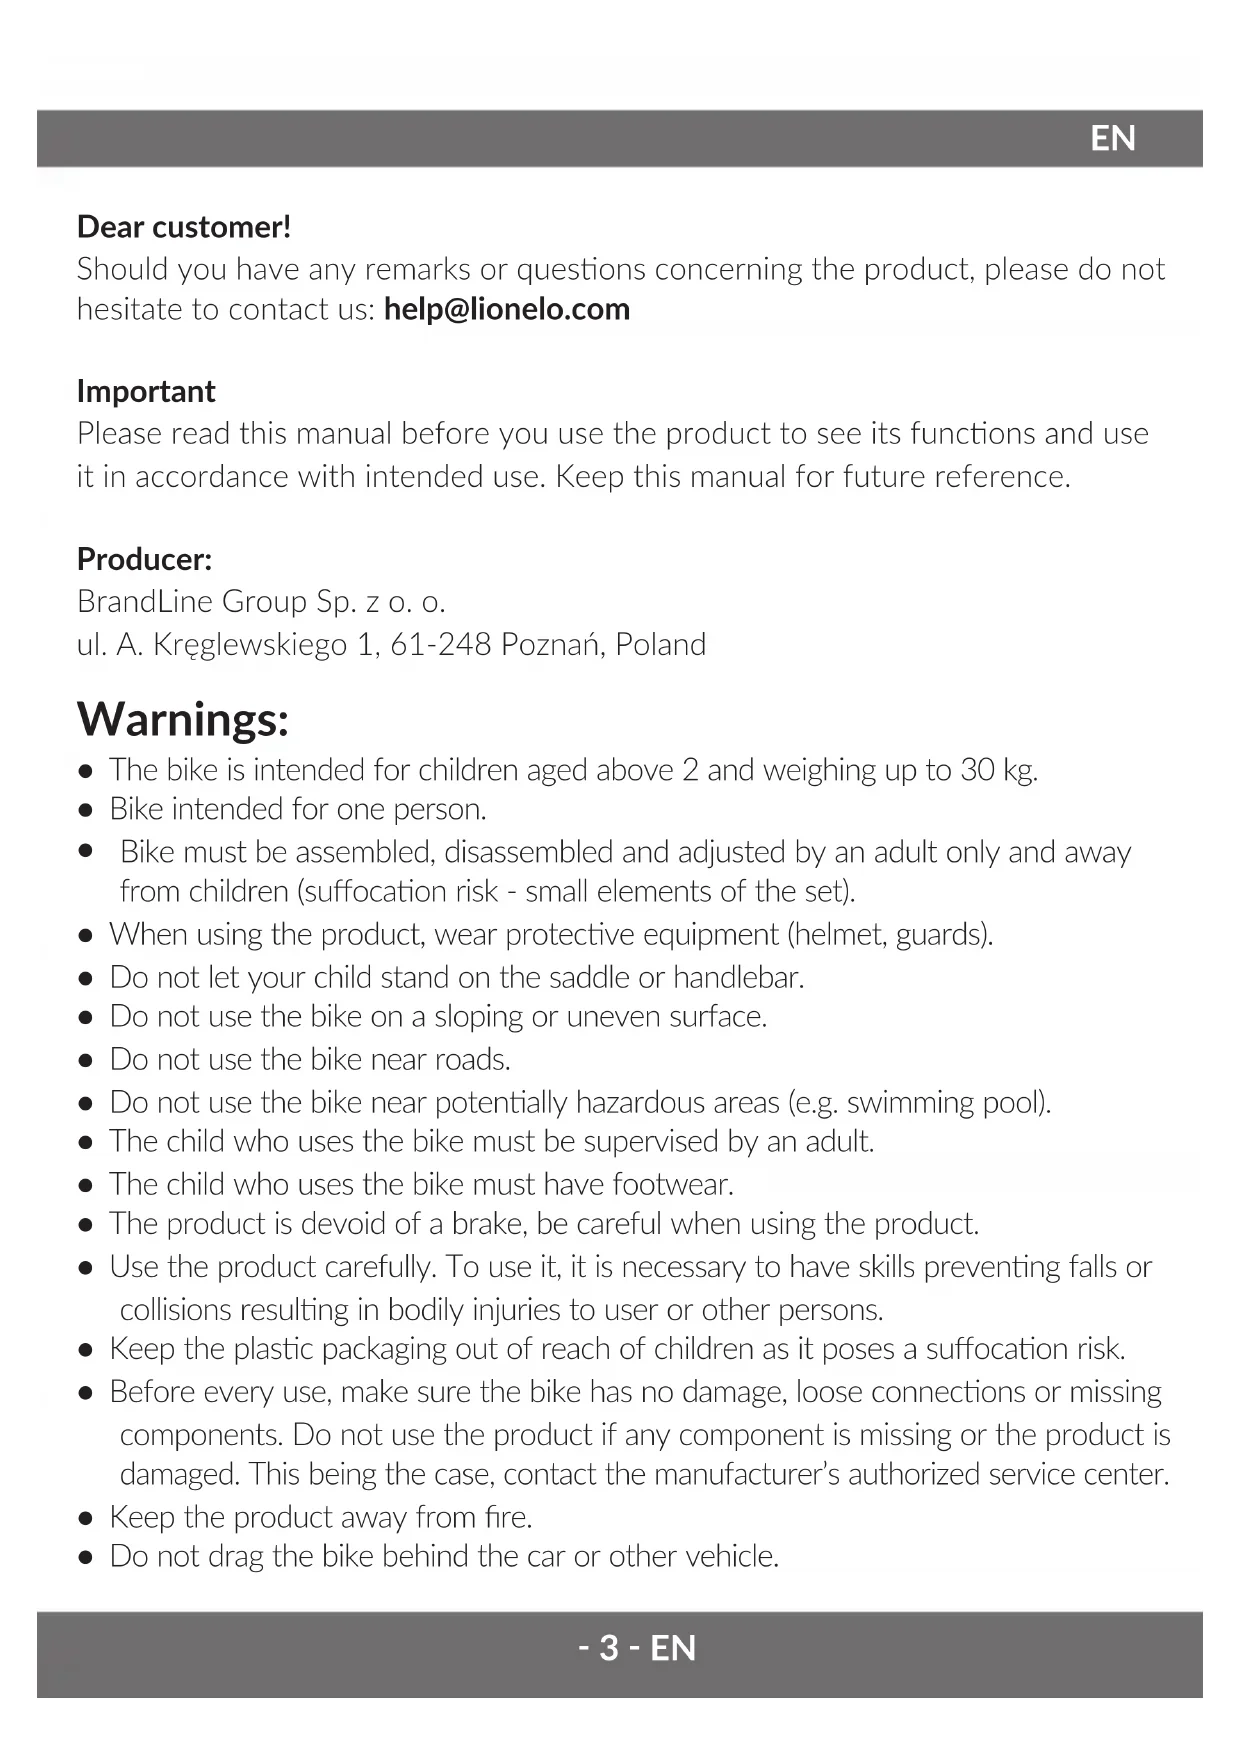
- The bike is intended for children aged above 2 and weighing up to 30 kg.
- Bike intended for one person.
- Bike must be assembled, disassembled and adjusted by an adult only and away from children (suffocation risk - small elements of the set).
- When using the product, wear protective equipment (helmet, guards).
- Do not let your child stand on the saddle or handlebar.
- Do not use the bike on a sloping or uneven surface.
- Do not use the bike near roads.
- Do not use the bike near potentially hazardous areas (e.g. swimming pool).
- The child who uses the bike must be supervised by an adult.
- The child who uses the bike must have footwear.
- The product is devoid of a brake, be careful when using the product.
- Use the product carefully. To use it, it is necessary to have skills preventing falls or collisions resulting in bodily injuries to user or other persons.
- Keep the plastic packaging out of reach of children as it poses a suffocation risk.
- Before every use, make sure the bike has no damage, loose connections or missing components. Do not use the product if any component is missing or the product is damaged. This being the case, contact the manufacturer's authorized service center.
- Keep the product away from fire.
-
Do not drag the bike behind the car or other vehicle.
-
Keep the product away from sources of heat, high temperatures, hot surfaces, sources of ignition, naked flame, oil and sharp edges.
- Store the bike in a dry place.
- Do not use the product in unfavorable weather (e.g. frost, rain, snow, black ice).
Product description (fig. 1)
- Handlebars grips
- Saddle
- Front fork
- Crossbar
- Rear wheel
- Front wheel
- Wheel clamping ring
-
Saddle clamping ring
-
Handlebars with shank hole
How to assemble
The bike must be assembled, disassembled and adjusted by an adult only.
1. Handlebars (fig. 2)
Insert the shank with a cap (marked as B in fig. 2) into the handlebars hole. Next insert the handlebars into the front fork of the bike. Make sure the handlebars have been fixed properly and the wheels are in a forward position (see: fig. 2) Adjust the handlebars height to your child's height - the handlebars depth marker (marked as C in fig. 2) must not be visible, it must be inside the bike crossbar. Use an Allen wrench (included in the set) to screw the shank in the handlebars until it resists. When the procedure is done, make sure the handlebars have been mounted securely. If not, tighten up the shank so that the handlebars get stable.
2. Saddle (fig. 3)
Release the nut on the saddle clamping ring (9). Insert the saddle tube into the saddle hole in the crossbar. Adjust the saddle height to your child's height - the saddle depth marker (marked as A in fig. 3) must not be visible, it must be inside the crossbar. Tighten up the nut on the saddle clamping ring (9) properly. When the procedure is done, make sure the saddle has been fixed securely. If not, tighten
up the nut on the ring so that the required stability is guaranteed.
3. Wheels (fig. 4)
Insert the shank (A) through the hole in the bike fork and then through sleeve (B), wheel (C), second sleeve (B) and second hole in the fork. Tighten up the axis nut (D) with an Allen wrench. The assembly of bike wheels is exactly the same.
Before you use the product, make sure all fixing elements have been screwed in properly.
How to use
Sit on the saddle, grab both handlebars grips firmly and push your feet against the ground alternately. When you get some speed, lift your feet to ride freely. This is how your child should learn how to keep its balance. To turn, it is necessary to turn the handlebars in a relevant direction and keep your balance. To brake, feet must touch the ground.
How to maintain and clean
Clean the bike with a wet cloth and wipe it dry. Do not use caustic or abrasive agents to clean the product.
The product has been tested and complies with the following standards: EN 71-1:2014+A1:2018, EN 71-2:2020, EN 71-3:2019+A1:2021
The pictures are for reference only. The real design of the products may differ from the pictures presented.
PL
Drogi Kliencie!
Detailed warranty conditions are available on the website:
Thank you for purchasing our product
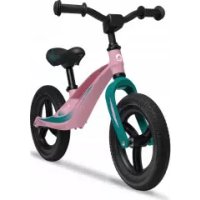
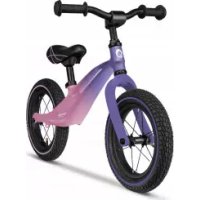
- Dear customer!
- Important
- Producer:
- Product description (fig. 1)
- How to assemble
- Handlebars (fig. 2)
- Saddle (fig. 3)
- Wheels (fig. 4)
- Before you use the product, make sure all fixing elements have been screwed in properly.
- How to use
- How to maintain and clean
- The product has been tested and complies with the following standards: EN 71-1:2014+A1:2018, EN 71-2:2020, EN 71-3:2019+A1:2021
- Drogi Kliencie!
Brand : Lionelo
Model : Bart
Category : Bike