40060660 - Telescope TASCO - Free user manual and instructions
Find the device manual for free 40060660 TASCO in PDF.



User questions about 40060660 TASCO
0 question about this device. Answer the ones you know or ask your own.
Ask a new question about this device
Download the instructions for your Telescope in PDF format for free! Find your manual 40060660 - TASCO and take your electronic device back in hand. On this page are published all the documents necessary for the use of your device. 40060660 by TASCO.
USER MANUAL 40060660 TASCO
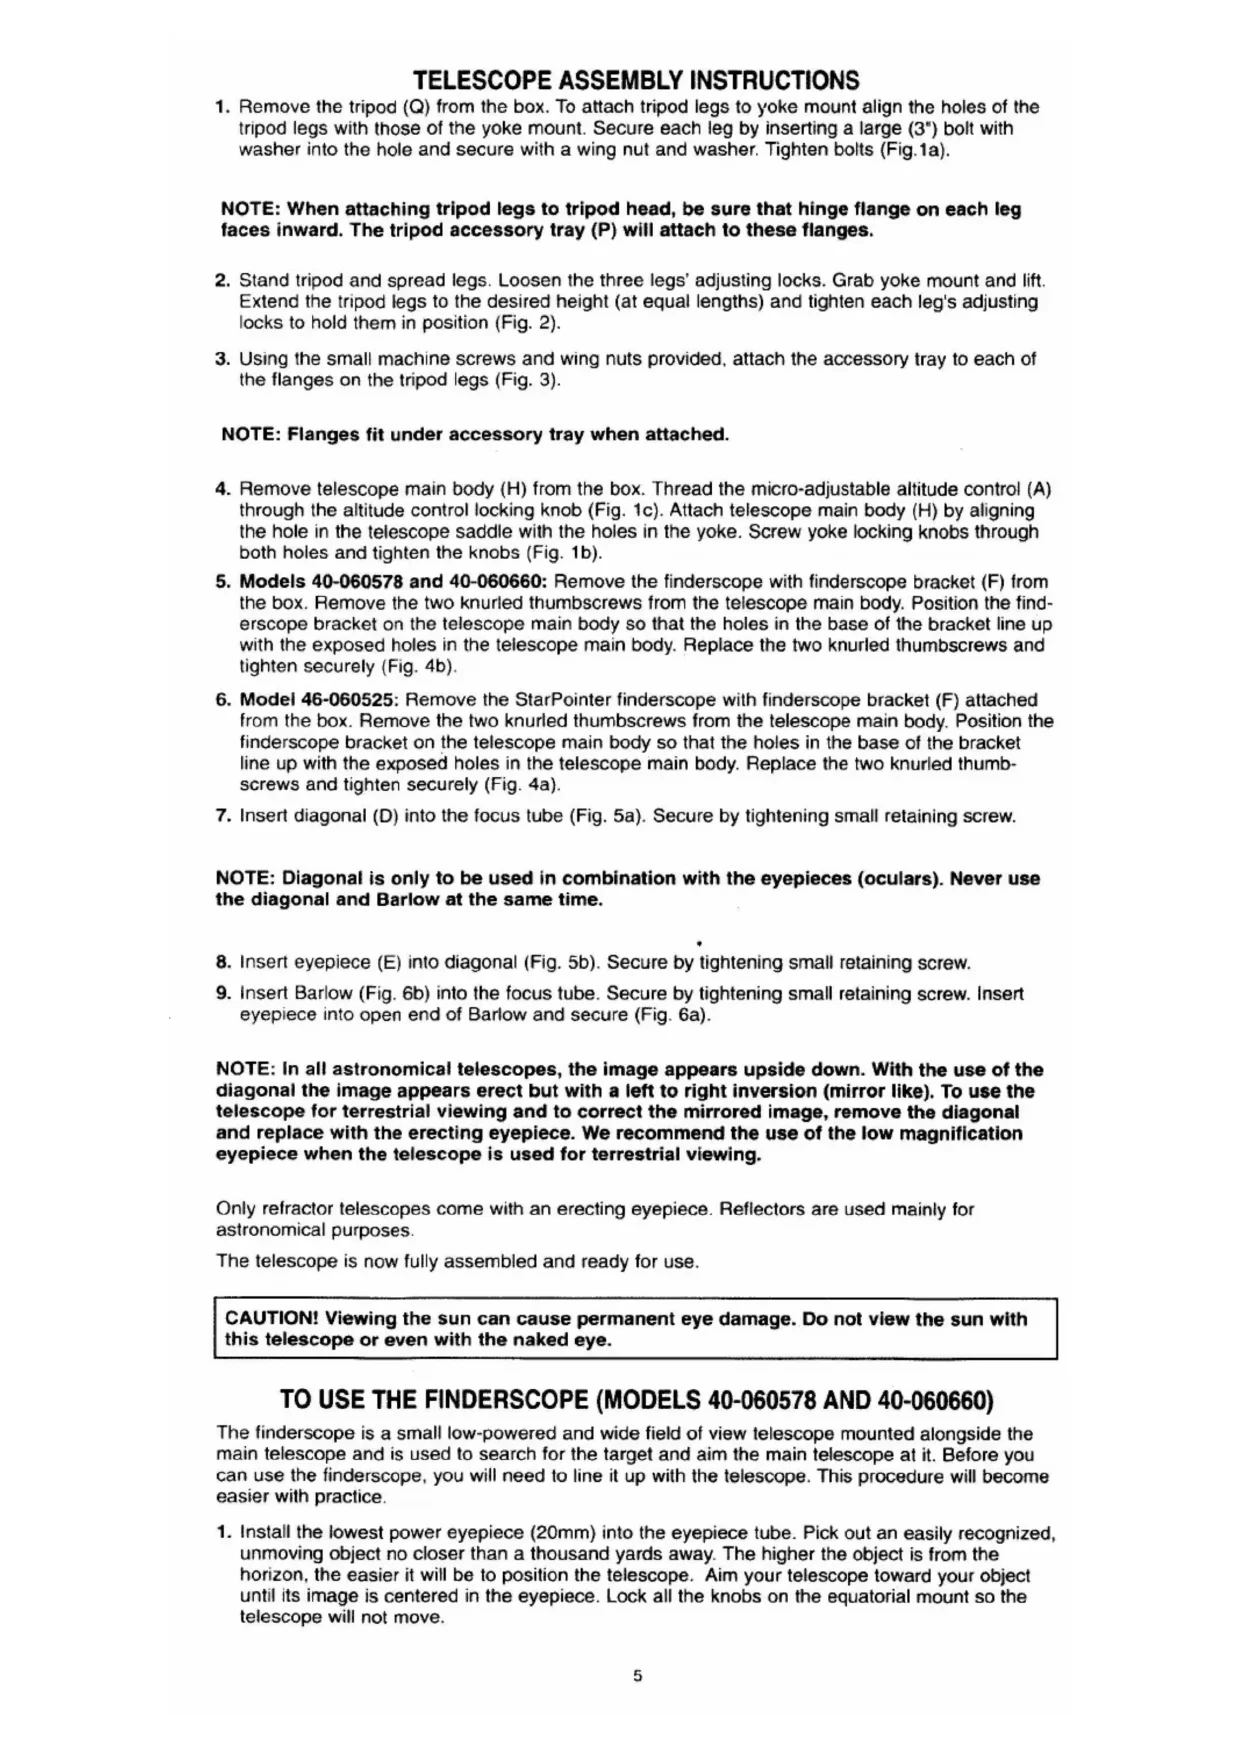
TELESCOPE ASSEMBLY INSTRUCTIONS
- Remove the tripod (Q) from the box. To attach tripod legs to yoke mount align the holes of the tripod legs with those of the yoke mount. Secure each leg by inserting a large (3^ ) bolt with washer into the hole and secure with a wing nut and washer. Tighten bolts (Fig.1a).
NOTE: When attaching tripod legs to tripod head, be sure that hinge flange on each leg faces inward. The tripod accessory tray (P) will attach to these flanges.
- Stand tripod and spread legs. Loosen the three legs' adjusting locks. Grab yoke mount and lift. Extend the tripod legs to the desired height (at equal lengths) and tighten each leg's adjusting locks to hold them in position (Fig. 2).
- Using the small machine screws and wing nuts provided, attach the accessory tray to each of the flanges on the tripod legs (Fig. 3).
NOTE: Flanges fit under accessory tray when attached.
- Remove telescope main body (H) from the box. Thread the micro-adjustable altitude control (A) through the altitude control locking knob (Fig. 1c). Attach telescope main body (H) by aligning the hole in the telescope saddle with the holes in the yoke. Screw yoke locking knobs through both holes and tighten the knobs (Fig. 1b).
- Models 40-060578 and 40-060660: Remove the finderscope with finderscope bracket (F) from the box. Remove the two knurled thumbscrews from the telescope main body. Position the finderscope bracket on the telescope main body so that the holes in the base of the bracket line up with the exposed holes in the telescope main body. Replace the two knurled thumbscrews and tighten securely (Fig. 4b).
- Model 46-060525: Remove the StarPointer finderscope with finderscope bracket (F) attached from the box. Remove the two knurled thumbscrews from the telescope main body. Position the finderscope bracket on the telescope main body so that the holes in the base of the bracket line up with the exposed holes in the telescope main body. Replace the two knurled thumbscrews and tighten securely (Fig. 4a).
- Insert diagonal (D) into the focus tube (Fig. 5a). Secure by tightening small retaining screw.
NOTE: Diagonal is only to be used in combination with the eyepieces (oculars). Never use the diagonal and Barlow at the same time.
- Insert eyepiece (E) into diagonal (Fig. 5b). Secure by tightening small retaining screw.
- Insert Barlow (Fig. 6b) into the focus tube. Secure by tightening small retaining screw. Insert eyepiece into open end of Barlow and secure (Fig. 6a).
NOTE: In all astronomical telescopes, the image appears upside down. With the use of the diagonal the image appears erect but with a left to right inversion (mirror like). To use the telescope for terrestrial viewing and to correct the mirrored image, remove the diagonal and replace with the erecting eyepiece. We recommend the use of the low magnification eyepiece when the telescope is used for terrestrial viewing.
Only refractor telescopes come with an erecting eyepiece. Reflectors are used mainly for astronomical purposes.
The telescope is now fully assembled and ready for use.
CAUTION! Viewing the sun can cause permanent eye damage. Do not view the sun with this telescope or even with the naked eye.
TO USE THE FINDERSCOPE (MODELS 40-060578 AND 40-060660)
The finderscope is a small low-powered and wide field of view telescope mounted alongside the main telescope and is used to search for the target and aim the main telescope at it. Before you can use the finderscope, you will need to line it up with the telescope. This procedure will become easier with practice.
-
Install the lowest power eyepiece (20mm) into the eyepiece tube. Pick out an easily recognized, unmoving object no closer than a thousand yards away. The higher the object is from the horizon, the easier it will be to position the telescope. Aim your telescope toward your object until its image is centered in the eyepiece. Lock all the knobs on the equatorial mount so the telescope will not move.
-
Look through the finderscope. If the object you lined up in the telescope is not visible, loosen the adjustment screws and move the finderscope around until you see it. Once it gets within range, tighten the adjustment screws while centering the object in the scope. You will note that the image will shift toward the screw you are tightening (Fig. 7).
- Adjust screws to center object on the finderscope cross hairs. Recheck your telescope to make certain it is still on target. If it moved, realign it and adjust your finderscope. If it hasn't, you're all set. Your finderscope is now operational.
TO USE THE STARPOINTER (MODEL 46-060525)
- The StarPointer is the quickest and easiest way to point your telescope exactly at a desired object in the sky (Fig. 1e). It's like having a laser pointer that you can shine directly into the night sky. The StarPointer is a zero magnification pointing tool that uses a coated glass window to superimpose the image of a small red dot onto the night sky. Like all finderscopes, the StarPointer must be properly aligned with the main telescope before it can be used.
- To turn on the StarPointer, rotate the variable brightness control clockwise until you hear a "click." To increase the brightness level of the red dot, continue rotating the control knob about 180^ until it stops.
- Locate a bright star or planet and center it in a low power eyepiece in the main telescope.
If the StarPointer is perfectly aligned, you will see the red LED dot overlap the alignment star. If the StarPointer is not aligned, take notice of where the red dot is relative to the bright star.
Without moving the main telescope, turn the StarPointer's azimuth and altitude alignment controls until the red dot is directly over the alignment star.
If the LED dot is brighter than the alignment star, it may make it difficult to see the star. Turn the variable brightness control counterclockwise, until the red dot is the same brightness as the alignment star. This will make it easier to get an accurate alignment. The StarPointer is now ready to be used. Remember to always turn the power off after you have found an object. This will extend the life of both the battery and the LED.
FINDING OBJECTS
- Loosen the altitude locks on the sides of the telescope tube and the silver azimuth lock on the base of the altazimuth mount, then move the telescope in the desired direction.
- Look through the StarPointer finderscope and pan the telescope until the object appears in the field of view. Once it's in the field, tighten the altitude and azimuth locks.
- To center the object with the red dot in the StarPointer, use the fine adjustment ring on the altitude slow motion rod assembly.
FOCUSING
- Once you have found an object in the telescope, turn the focus knob until the image is sharp.
- To focus on an object that is nearer than your current target, turn the focusing knob toward the eyepiece (i.e., so that the focus tube moves away from the front of the telescope). For more distant objects, turn the focus knob in the opposite direction.
- To achieve a truly sharp focus, never look through glass windows or across objects that produce heat waves, such as asphalt parking lots.
IMAGE ORIENTATION
- When observing with a diagonal, the image will be right side up but reversed from left to right.
- When observing straight through, with the eyepiece inserted directly into the telescope, the image will be inverted. Also, the image in the finderscope will be inverted.
MAGNIFICATION
The magnification (or power) of a telescope varies depending upon the focal length of the eyepiece being used and the focal length of the telescope.
To calculate magnification, use the following formula, in which FL = focal length:
Magnification = (telescope) in mmFL(eyepiece) in mm
SOLAR OBSERVATION
CAUTION! Viewing the sun can cause permanent eye damage. Do not view the sun with this product or even with the naked eye. Never leave a telescope unattended during the daytime; a child could look at the sun with it and suffer permanent damage to vision.
PREPARING THE TELESCOPE FOR PROJECTING THE SUN ON A SCREEN (S)
CAUTION! Cover the objective lens of the finderscope so no one can look through it.
- Insert the projection screen rod by sliding it through the opening in the finderscope bracket with the washer end of rod toward the objective. (The washer acts as a stop, preventing the sun screen assembly from slipping completely through the finderscope bracket.)
- If the diagonal is in place, remove it. It will not be used for solar observation.
- Select the lowest power eyepiece (the one with the highest numerical designation in millimeters) and insert it, without the diagonal, into the focus tube.
- Select the black plate of the sun projection assembly. Slip it onto the rod, position it near the eyepiece so that the hole is centered with the lens of the eyepiece and lock it in place. This plate shades the white projection screen which will be put in place in a later step. The telescope is now ready to observe the sun.
OBSERVING THE SUN
- Point the telescope in the general direction of the sun without looking through it or the finderscope. Looking at the shadow of the telescope on the ground will help in aiming it.
- Hold the white plate a few inches behind the finderscope eyepiece and move the telescope gently until you see the sun projected on the white plate. You will see a round "picture" of the sky with the sun somewhere in the "picture." Move the telescope, using the flexible control cables until the sun is centered in this projected image of the sky.
- Next, slip the white plate into place on the sun projection assembly rod. Position it directly in line with the telescope's eyepiece and lock it in place.
- Use the flexible control cables to make any small corrections necessary to center the sun's image on the white screen.
- Focus the sun's image on the white screen using the focus knob.
- The projected image will show sunspots, the "rice-grain" structure of the solar disk, and that the sun is brighter at the center of the disk than at the edge.
THE MOON FILTER
A moon filter has been included with your telescope for removing glare and increasing contrast when viewing the moon. To attach it to the telescope eyepiece, screw the filter onto the threaded end of the eyepiece.
CAUTION! The moon filter should only be used to view the moon. It is not intended for viewing the sun. Viewing the sun through this telescope (with or without the filter), or even with the naked eye, can cause permanent eye damage.
| TECHNICAL SPECIFICATIONS | |||
| 40-060578 | 40-060660 | 46-060525 | |
| Objective Diameter: | 60mm (2.36") | 60mm (2.36") | 60mm (2.36") |
| Focal Length: | 700mm | 800mm | 700mm |
| Eye Lenses: | H25mm (Low Power) | H25mm (Low Power) | K25mm (Low Power) |
| H12.5mm (Medium Power) | H12.5mm (Medium Power) | K10mm (Medium Power) | |
| SR4mm (High Power) | SR4mm (High Power) | SR4mm (High Power) | |
| Barlow: | 2X and 3.3X | 2X and 3.3X | 3X |
| Erecting Eyepiece: | 1.5X | 1.5X | 1.5X |
| Maximum Magnification: | 578X | 660X | 525X |
| Accessories: | Diagonal mirror. | Diagonal mirror. | Diagonal mirror. |
| Moonfilter | Moonfilter | Moonfilter | |
| EYE LENS CHART & THEORETICAL POWER LIMITS | |||
| 40-060578 | 40-060660 | 46-060525 | |
| SR4mm Eye Lens Power: | 175X | 200X | 175X |
| H12.5mm Eye Lens Power: | 56X | 64X | N/A |
| H25mm Eye Lens Power: | 28X | 32X | N/A |
| K10mm Eye Lens Power: | N/A | N/A | 70X |
| K25mm Eye Lens Power: | N/A | N/A | 28X |
INSTRUCTIONS POUR L'ASSEMBLAGE DU TELESCOPE
VergroBering = FL (Teleskop) in mm FL (Okular) in mm