DKP 3668 E - Cooker CLATRONIC - Free user manual and instructions
Find the device manual for free DKP 3668 E CLATRONIC in PDF.



Frequently Asked Questions - DKP 3668 E CLATRONIC
User questions about DKP 3668 E CLATRONIC
0 question about this device. Answer the ones you know or ask your own.
Ask a new question about this device
Download the instructions for your Cooker in PDF format for free! Find your manual DKP 3668 E - CLATRONIC and take your electronic device back in hand. On this page are published all the documents necessary for the use of your device. DKP 3668 E by CLATRONIC.
USER MANUAL DKP 3668 E CLATRONIC
natural_image
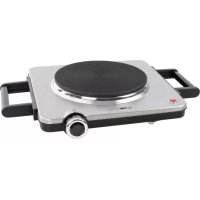
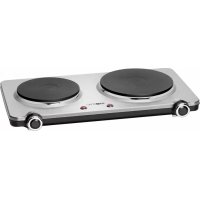
Exterior view of a modern flat-screen electrical stove with two circular burners and three red buttons (no text or symbols visible)DEUTSCH
Inhalt
Overview of the Components ......Page 3
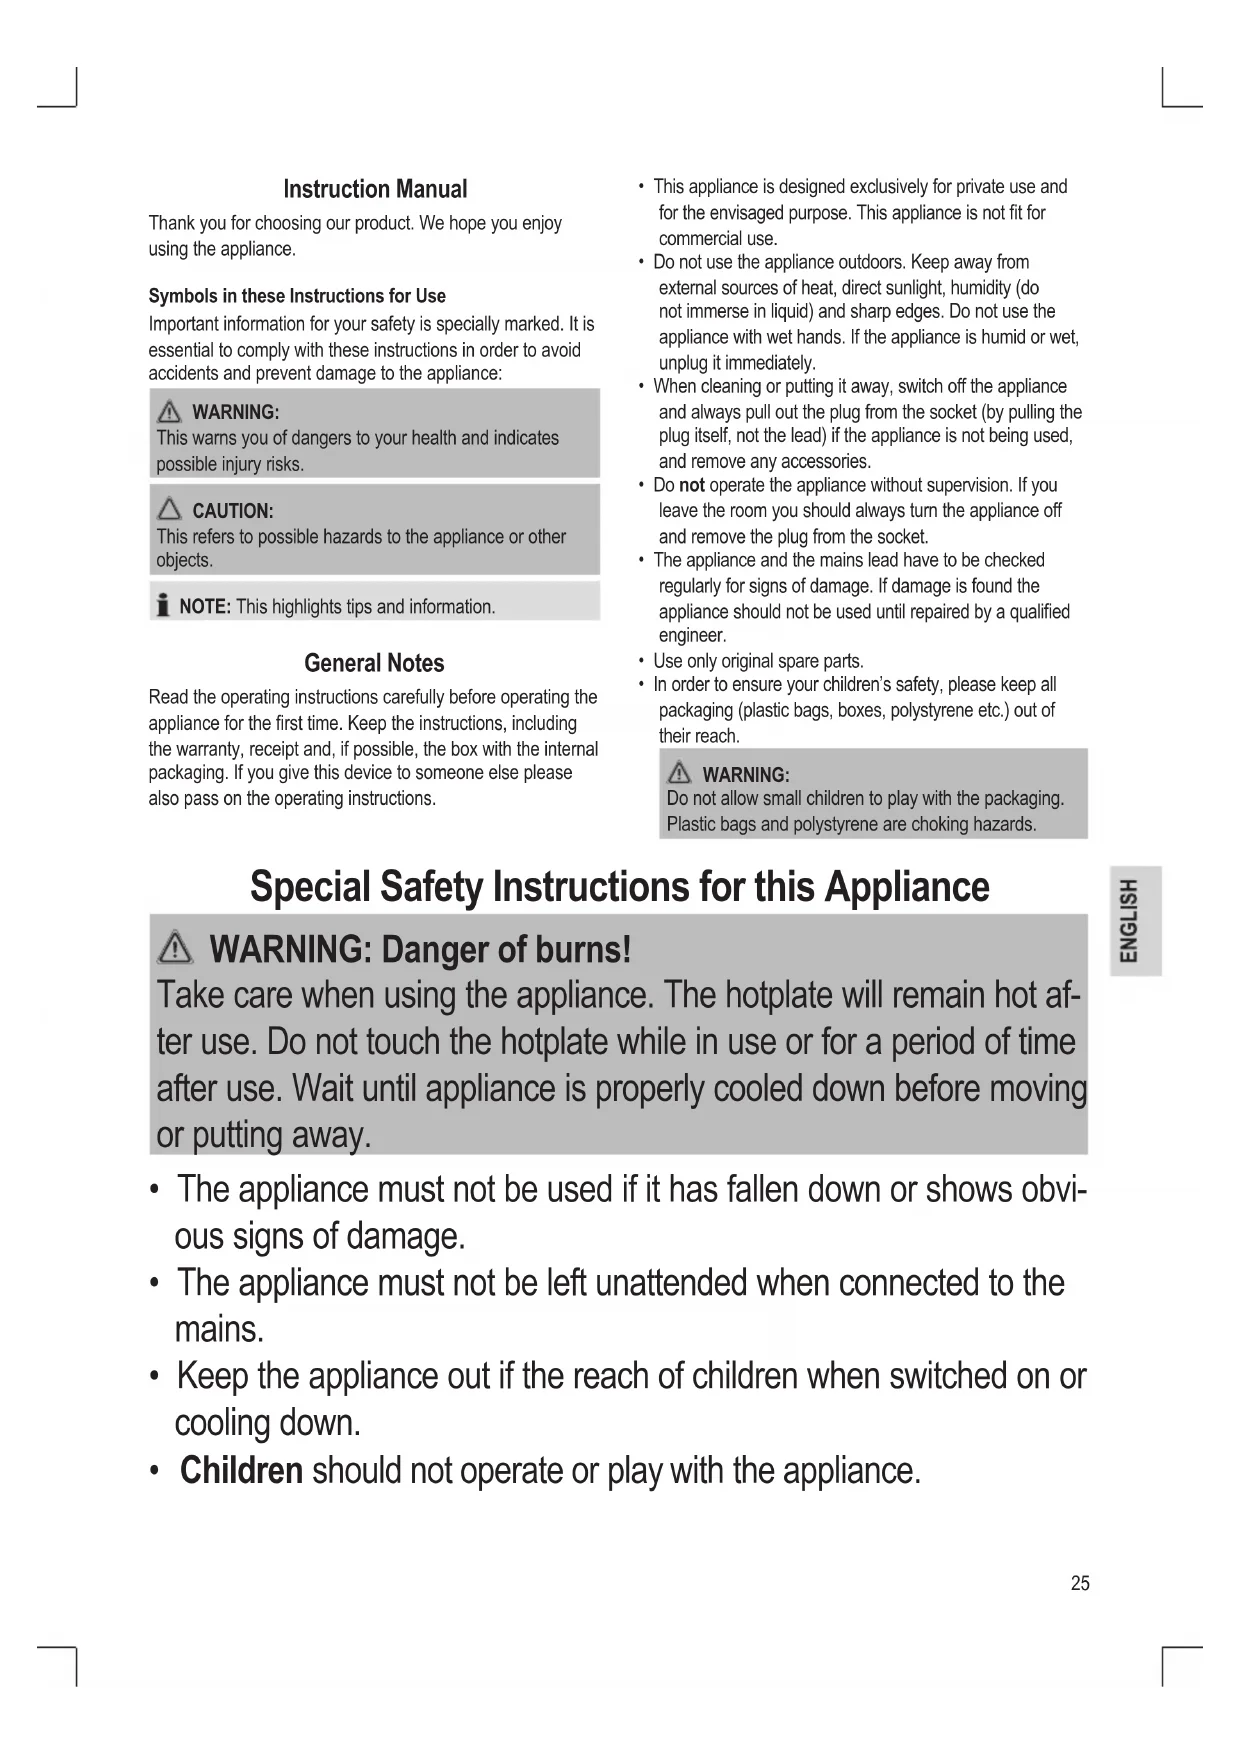
Instruction Manual Page 25
Technical Data......Page 27
text_image
Technical diagram of a portable electric stove with numbered components labeled 1 through 7Bedienungsanleitung
WAARSCHUWING: Verbrandingsgevaar!
⚠ WAARSCHUWING: Verbrandingsgevaar!
Thank you for choosing our product. We hope you enjoy using the appliance.
Symbols in these Instructions for Use
Important information for your safety is specially marked. It is essential to comply with these instructions in order to avoid accidents and prevent damage to the appliance:

WARNING:
This warns you of dangers to your health and indicates possible injury risks.

CAUTION:
This refers to possible hazards to the appliance or other objects.

NOTE: This highlights tips and information.
General Notes
Read the operating instructions carefully before operating the appliance for the first time. Keep the instructions, including the warranty, receipt and, if possible, the box with the internal packaging. If you give this device to someone else please also pass on the operating instructions.
- This appliance is designed exclusively for private use and for the envisaged purpose. This appliance is not fit for commercial use.
- Do not use the appliance outdoors. Keep away from external sources of heat, direct sunlight, humidity (do not immerse in liquid) and sharp edges. Do not use the appliance with wet hands. If the appliance is humid or wet, unplug it immediately.
- When cleaning or putting it away, switch off the appliance and always pull out the plug from the socket (by pulling the plug itself, not the lead) if the appliance is not being used, and remove any accessories.
- Do not operate the appliance without supervision. If you leave the room you should always turn the appliance off and remove the plug from the socket.
- The appliance and the mains lead have to be checked regularly for signs of damage. If damage is found the appliance should not be used until repaired by a qualified engineer.
- Use only original spare parts.
- In order to ensure your children's safety, please keep all packaging (plastic bags, boxes, polystyrene etc.) out of their reach.

WARNING:
Do not allow small children to play with the packaging.
Plastic bags and polystyrene are choking hazards.
Special Safety Instructions for this Appliance

WARNING: Danger of burns!
Take care when using the appliance. The hotplate will remain hot after use. Do not touch the hotplate while in use or for a period of time after use. Wait until appliance is properly cooled down before moving or putting away.
- The appliance must not be used if it has fallen down or shows obvious signs of damage.
- The appliance must not be left unattended when connected to the mains.
- Keep the appliance out if the reach of children when switched on or cooling down.
-
Children should not operate or play with the appliance.
-
This appliance can be used by persons with reduced physical, sensory or mental capabilities or lack of experience and knowledge if they have been given the correct supervision or instruction concerning the use of the appliance in a safe way and they understand the hazards involved.
- Always disconnect the mains plug when not in use and when cooling down.
- Ensure the appliance is used on a sturdy, level and flat surface.
- Do not try to repair the appliance on your own. Always contact an authorised technician or engineer. If the supply cord is damaged it must be replaced by the manufacturer, its service agent or a similarly qualified person in order to avoid a hazard.
- This appliance is not designed to be immersed in water during cleaning. Please follow the instructions that we have included for you in the chapter on “Cleaning”.
- Use proper pan size - select pans that have flat bottoms large enough to cover the surface of appliance's heating area.
- Do not use the surface as a cutting board.
- In the interests of hygiene and safety the appliance should be kept clean at all times as a buildup in fats and other food stuff could result in a fire.
- Always keep combustible materials such as wall coverings or curtains etc. a safe distance away from the appliance.
Unpacking the Appliance
- Remove the appliance, handles, screws, and trim pieces from the box.
- Also remove any packaging materials that may be present.
- Ensure all pieces are present and correct.
1 x stainless steel double hotplate
2 x cool touch handles
2 x handle trim pieces
8 x screws
4 x screw covers
Overview of the Components
1 Variable power knobs
2 Power indicator lights
3 Hot plates
4 Cool touch handle
5 Handle trim piece
6 Screw cover
7 Power cord with plug
Assembly Instructions
i NOTE:
The handle trim must be placed so that it is flush / level with the top of the handle.
Before first use the appliance must be assembled.
- Place trim piece in the handle.
- Locate handle guide pins in guide holes on the side of the appliance.
- Insert screws into the 4 screw holes and tighten to hand-tight. Do not overtighten as this may cause damage to the appliance.
- Repeat for the other side.
Initial Operation and Using the Appliance

WARNING: Risk of burns!
The appliance can get very hot. Avoid touching the hotplate when in use and for some time after use.
CAUTION:
Before inserting the plug into the socket – Make sure that the mains voltage to be used matches the voltage of the appliance. You can find this information on the nameplate on the underside of the appliance.
- Place appliance on a flat, level, sturdy surface.
- Insert plug into mains outlet / wall socket.
- Select the appropriate hotplate for the size of cooking utensil / pot / pan being used. The larger hotplate (185 mm diameter) is rated at 1500 W max and the smaller hotplate (155 mm diameter) is rated at 1000 W max.
- Turn power knob clockwise to desired level (between "MIN" and "MAX"). The Power Indicator Light will illuminate.
- Put pan(s) / pot(s) on the hotplate(s).
- When finished turn power knob anti-clockwise to "MIN" and remove plug from socket. The power light will turn off. Caution - the hotplate will remain hot for some time after switching off.
- Allow appliance to cool down before moving, cleaning or putting away.
Cleaning

WARNING:
• Always remove the mains plug before cleaning.
- Wait until the appliance has cooled down before attempting to clean.
- Under no circumstances should you immerse the appliance in water for cleaning purposes. Immersion in water can potentially result in electric shock or fire.

CAUTION:
- Do not use a wire brush or abrasive materials to clean the appliance.
-
Do not use harsh, abrasive or acidic chemicals to clean the appliance.
-
Before the appliance is cleaned or put away it must have completely cooled down.
- Clean the appliance with a damp cloth and appropriate detergent (such as washing-up liquid or cream cleaner).
- Dry the appliance with a dry cloth and store in a cool, dry place.
Technical Data
Model: DKP 3668 E
Power supply: 230 V\~, 50 Hz
Power consumption: ....2500 W max (1500 W + 1000 W)
Protection class: ...... II
Net weight: .... approx. 3.7 kg
Dimensions (including handles): ...approx. 590 x 70 x 280 mm
The right to make technical and design modifications in the course of continuous product development remains reserved.
This device has been tested according to all relevant current CE guidelines, such as electromagnetic compatibility and low voltage directives, and has been constructed in accordance with the latest safety regulations.
Disposal
Meaning of the "Dustbin" Symbol
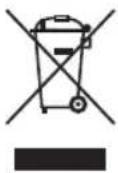
Protect our environment: do not dispose of electrical equipment in the domestic waste.
Please return any electrical equipment that you will no longer use to the collection points provided for their disposal.
This helps avoid the potential effects of incorrect disposal on the environment and human health.
This will contribute to the recycling and other forms of re-utilisation of electrical and electronic equipment.
Information concerning where the equipment can be disposed of can be obtained from your local authority.
Instrukcja obsługi
CTC Clatronic Sp. z o.o
natural_image
Simple geometric line drawing with no text, numbers, or symbols
natural_image
Simple geometric line drawing with no text, numbers, or symbols
natural_image
Simple geometric line drawing with no text, numbers, or symbols
natural_image
Simple geometric line drawing with no text, numbers, or symbols
natural_image
Simple geometric lines forming a right angle, no text or symbols present
natural_image
Simple geometric lines forming a right angle, no text or symbols present
natural_image
Simple geometric lines forming a right angle, no text or symbols present
natural_image
Simple geometric lines forming a right angle, no text or symbols present
natural_image
Simple geometric lines forming a right angle, no text or symbols present



natural_image
Simple geometric line drawing with no text, numbers, or symbols
natural_image
Simple geometric line drawing with no text, numbers, or symbols
natural_image
Simple geometric line drawing with no text, numbers, or symbols
natural_image
Simple geometric line drawing with no text, numbers, or symbols
natural_image
Simple geometric lines forming a right angle, no text or symbols present
natural_image
Simple geometric lines forming a right angle, no text or symbols present
natural_image
Simple geometric lines forming a right angle, no text or symbols present
natural_image
Simple geometric lines forming a right angle, no text or symbols present
natural_image
Simple geometric lines forming a right angle, no text or symbols present


GARANTIEKARTE
warranty card · garantiekaart · carte de garantie · scheda di garanzia · tarjeta de garantía · cartão de garantia · garantikort · karta gwarancyjna · záruční list · kartica jamstva · carte de garanție · Γαρανησιονηα καρτα · záručný list · garancijski list · garanciajegy · гарантійнийформуляр · Γαραντιйный талон · بلاقة ضمان
DKP 3668 E
24 Monate Garantie gemäß Garantieerklärung · 24 months warranty according to warranty declaration · 24 maanden garantie volgens garantieverklaring · 24 mois de garantie selon la déclaration de garantie · 24 mesi de garanzia secondo la dichiarazione di garanzia · 24 meses de garantia de acuerdo con la declaración de garantia · 24 meses de garantia, de acordo com a declaração de garantia · 24 mäneders garanti i henhold til garantibetingelsene · 24 miesiące gwarancji na podstawie oświadczenia gwarancyjnego · záruka 24 měsiců podle prohlásení o záruce · 24 mjesečno jamstvo u skladu s jamstvenom deklaracijom · 24 luni garanție conform declarației de garantie · 24 месеца гаранция в съответствие с гаранционната декларация · 24-mesačná záruka podla vyhlásenia o záruke · 24-mesečna garancija, skladno z garancijsko izjavo · 24 hónap garancia a garanciafelételekben leírtak szerint · гарантия на 24 місяці відповідно заяві про гарантію · Гарантия 24 месяца согласно заявленным гарантийным правилам · صман المа 24 شواز ر语法ّابن Consан
Kaufdatum, Händlerstempel, Unterschrift : date of purchase, dealer stamp, signature - aankoopdatum, dealerstempel, handtekening : date d'achat, tampon du concessionnaire, signature - data de acquisto, timbre del rivenditore, firma : fecha de compra, sello del distribuidor, firma : data de compra, canimbo do distribuidor, assinatura , kjepsdato, forhandlerstempel, signatur - data zakupu, pieczęf sprzedawcy, podpis - datum zakuoperi, nazitko prodeje, podpis : datum kupovine, zig trigovca, podpis : data de achizije, tampila furnizorului, semnatura : Data на покупката, Пичат на Продавача, Подпис - datum nákupu, pečitatka obchodnika/predajcu, podpis : datum nakupa, zig trigovca, podpis - vásárás dátuma, kereskedő belyegözje, aláírás : data придбання, печатка продавця, підпис - Data приобретення, Штамп продавца. Подпись - артиг – артиг-дироги-дироги-дироги-дироги-дироги-дироги-дироги-дироги-дироги-дироги-дироги-дироги-дироги-дироги-дироги-дироги-дироги-дироги-дироги-дироги-дирогн

CATRONIC® INTERNATIONAL GMBH
www.clatronic.com