PCTA 1122 - Toaster PROFICOOK - Free user manual and instructions
Find the device manual for free PCTA 1122 PROFICOOK in PDF.
| Product type | Toaster |
| Brand | ProfiCook |
| Model | PCTA 1122 |
| Power supply | 220-240 V~, 50/60 Hz |
| Power consumption | 550 W |
| Protection class | I |
| Net weight | Approximately 0.95 kg |
| Capacity | 2 slices of bread |
| Functions | Toasting, defrosting, reheating, stop |
| Browning control | 7 levels (MIN to MAX) |
| Automatic shut-off | Yes |
| Crumb tray | Yes, removable |
| Roll warmer rack | For rolls, removable |
| Cable length | Approximately 0.8 m (estimated) |
| Housing material | Plastic and metal |
| Cleaning | Exterior with damp cloth, removable tray |
| Safety | Overheat protection, automatic shut-off |
Frequently Asked Questions - PCTA 1122 PROFICOOK
User questions about PCTA 1122 PROFICOOK
0 question about this device. Answer the ones you know or ask your own.
Ask a new question about this device
Download the instructions for your Toaster in PDF format for free! Find your manual PCTA 1122 - PROFICOOK and take your electronic device back in hand. On this page are published all the documents necessary for the use of your device. PCTA 1122 by PROFICOOK.
USER MANUAL PCTA 1122 PROFICOOK
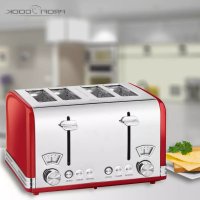
natural_image
Exterior view of a modern stainless steel FRONTCOOK toaster with control buttons and a handle (no text or symbols on the device itself)Toaster PC-TA 1122
Automatische broodrooster • Grille-pain • Tostador
Tostapane • Toaster • Toster
Automata kenyérpirító • Тостер • محصة
CE
Bedienungsanleitung ...... Seite 4
Gebruiksaanwijzing....Seite 10
Mode d'emploi....Page 15
Instrucciones de servicio....Página 20
Istruzioni per l'uso....Pagina 25
Instruction Manual......Page 29
Instrukcja obsługi......Strona 33
Használati utasítás.... Oldal 38
Руководство по эксплуатации .... стр. 42
50 صفحة ____ دليل التعليمات
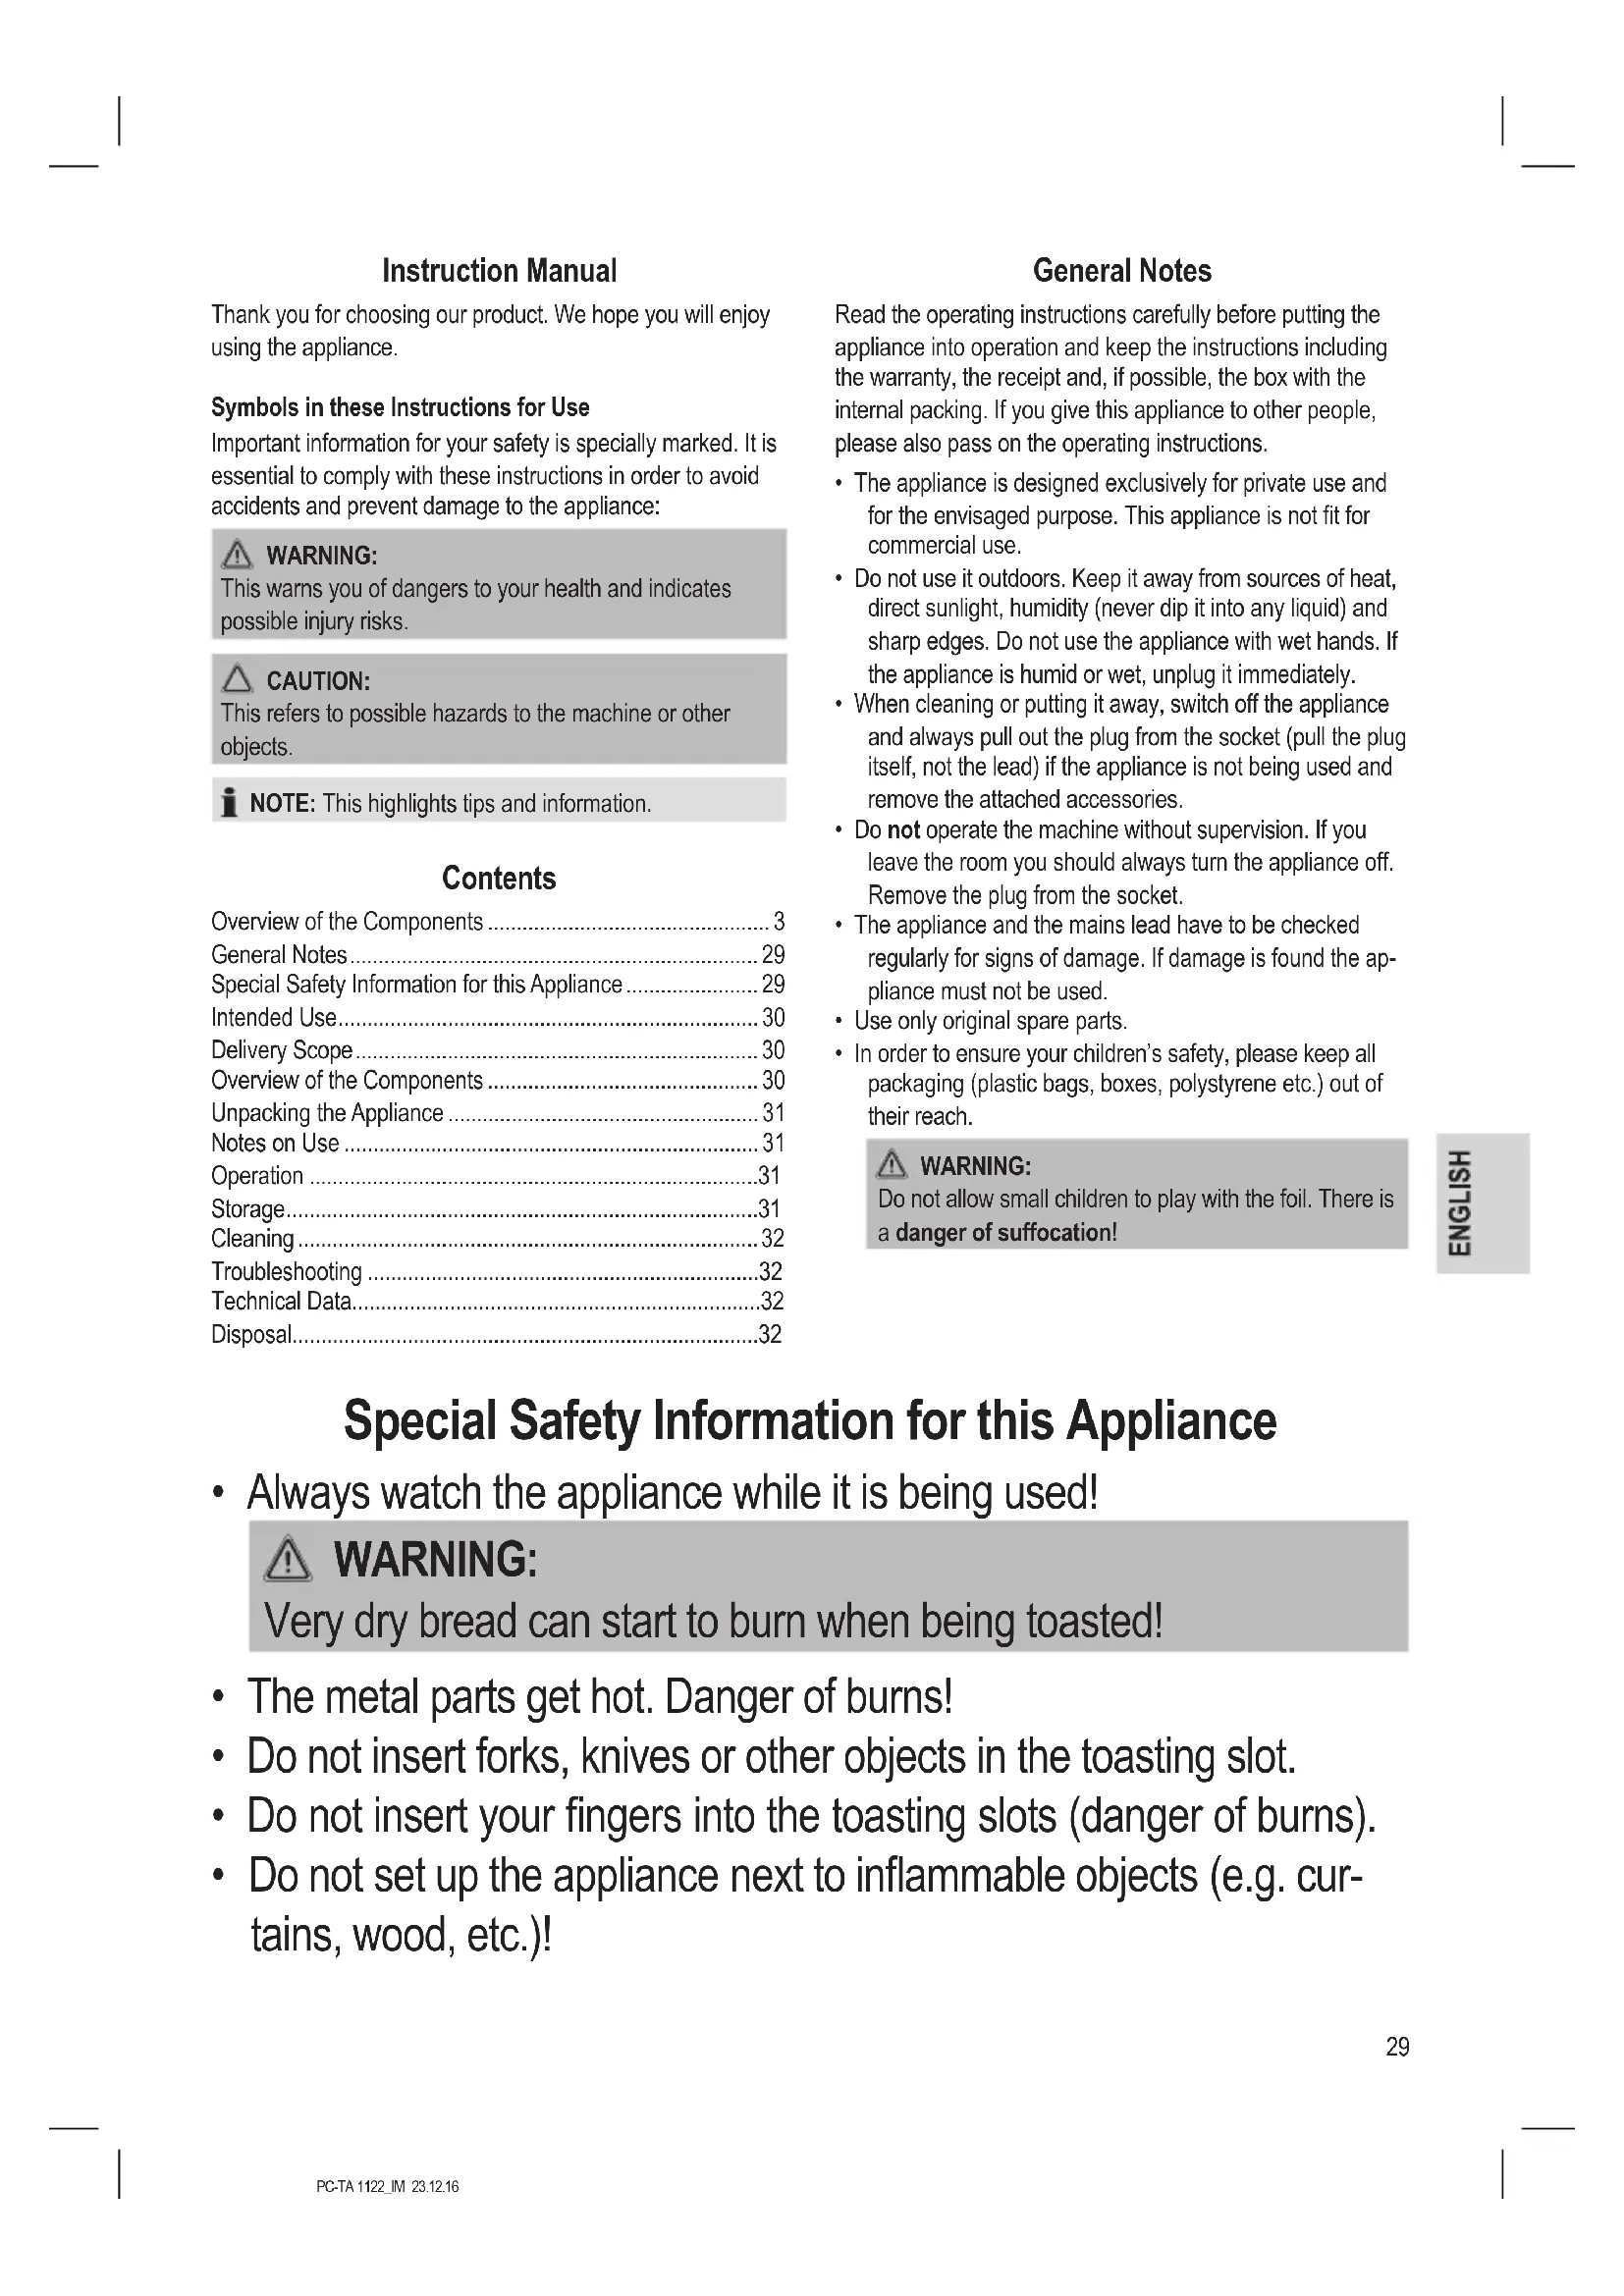
Thank you for choosing our product. We hope you will enjoy using the appliance.
Symbols in these Instructions for Use
Important information for your safety is specially marked. It is essential to comply with these instructions in order to avoid accidents and prevent damage to the appliance:

WARNING:
This warns you of dangers to your health and indicates possible injury risks.

CAUTION:
This refers to possible hazards to the machine or other objects.

NOTE: This highlights tips and information.
Contents
Overview of the Components 3
General Notes 29
Special Safety Information for this Appliance 29
Intended Use....30
Delivery Scope....30
Overview of the Components 30
Unpacking the Appliance 31
Notes on Use 31
Operation 31
Storage....31
Cleaning 32
Troubleshooting 32
Technical Data....32
Disposal....32
General Notes
Read the operating instructions carefully before putting the appliance into operation and keep the instructions including the warranty, the receipt and, if possible, the box with the internal packing. If you give this appliance to other people, please also pass on the operating instructions.
- The appliance is designed exclusively for private use and for the envisaged purpose. This appliance is not fit for commercial use.
- Do not use it outdoors. Keep it away from sources of heat, direct sunlight, humidity (never dip it into any liquid) and sharp edges. Do not use the appliance with wet hands. If the appliance is humid or wet, unplug it immediately.
- When cleaning or putting it away, switch off the appliance and always pull out the plug from the socket (pull the plug itself, not the lead) if the appliance is not being used and remove the attached accessories.
- Do not operate the machine without supervision. If you leave the room you should always turn the appliance off. Remove the plug from the socket.
- The appliance and the mains lead have to be checked regularly for signs of damage. If damage is found the appliance must not be used.
- Use only original spare parts.
- In order to ensure your children's safety, please keep all packaging (plastic bags, boxes, polystyrene etc.) out of their reach.

WARNING:
Do not allow small children to play with the foil. There is a danger of suffocation!
Special Safety Information for this Appliance
• Always watch the appliance while it is being used!

WARNING:
Very dry bread can start to burn when being toasted!
• The metal parts get hot. Danger of burns!
- Do not insert forks, knives or other objects in the toasting slot.
- Do not insert your fingers into the toasting slots (danger of burns).
- Do not set up the appliance next to inflammable objects (e.g. curtains, wood, etc.)!
- Do not operate the appliance with an external timer or separate remote control system.
- Do not try to repair the appliance on your own. Always contact an authorized technician. If the supply cord is damaged, it must be replaced by the manufacturer, its service agent or similarly qualified persons in order to avoid a hazard.
- This appliance can be used by children aged from 8 years and above and persons with reduced physical, sensory or mental capabilities or lack of experience and knowledge if they have been given supervision or instruction concerning use of the appliance in a safe way and understand the hazards involved.
• Children shall not play with the appliance. - Cleaning and user maintenance shall not be made by children unless they are older 8 years and supervised.
- Keep the appliance and its cord out of reach of children less than 8 years.
CAUTION:
This appliance is not intended to be immersed in water during cleaning. Please observe the instructions that we have included for you in the chapter “Cleaning”.
Intended Use
This appliance is designed to toast slices of bread and rolls by using the toasting attachment.
It is intended for domestic use and use of similar areas. It may only be used in the manner described in this instruction manual. The appliance may not be used for commercial purposes.
Any other use is considered as not intended and may lead to damage of property or even to personal injury.
The manufacturer assumes no liability for damage which may occur through incorrect use.
Delivery Scope
1 Toaster with crumb tray
1 Removable roll rack
Overview of the Components
1 Toasting well
2 Carriage lever
3 "Warming" button
4 "Defrosting" button
5 "Stop" button
6 Controller "Degree of browning"
7 Crumb tray
8 Enclosure
Unpacking the Appliance
- Remove the packaging of the appliance.
- Remove all packaging material such as plastic film, filler material, cable ties and box packaging.
- Check that all the parts are in the box.
i NOTE:
There may still be dust or production residues on the appliance. We recommend that you clean the appliance as described under “Cleaning”.
Notes on Use
Before Initial Use
CAUTION:
In order to remove the protective layer on the heating coil you should operate the machine approximately three times when it is empty. Please select the maximum level of browning (MAX).
i NOTE:
Any smoke or smells produced during this procedure are normal. Please ensure sufficient ventilation.
Mains Lead
Unwind the required mains lead from the base.
Electrical Connection
Check whether the mains voltage that you want to use, corresponds with that of the appliance. You will find the information about it on the rating plate.
Operation
- Only connect the appliance to a properly installed and earthed power socket.
- Adjust the degree of browning on the stepless controller as desired.
MIN: lightest toasting
MAX: darkest toasting
If you are not sure start with a lower setting. - Place the slice of bread in the toasting slit. Push the carriage down with the lever. It latches into place.
- The appliance starts the toasting. When the set level of browning is reached, the appliance switches off automatically. The slide pops up automatically.
WARNING:
There is a danger of burns when removing small slices of bread!
Special Functions
To use the desired special function, press the relevant key, after pressing down the lever.
i NOTE:
Heating or thawing:
The relevant LED indicates the function.

Thawing To thaw and toast deep-frozen bread.

Warming To warm bread already toasted.

Stop To stop toasting in advance.
Roll Rack (Removable)
Want to warm up or toast some rolls?
- Unfold the metal hooks from the roll rack.
- Then place the roll rack onto the toasting slot.
CAUTION:
- Do not overload the roll rack! Place a maximum of one roll on the roll rack!
- Set the switch for the degree of browning at the maximum in the middle.
- Wait for one minute between two toasting cycles.
- Never coat the roll with fat or butter. Fat could drip down and ignite!
3. ⚠️ WARNING: Danger of burns!
Let the roll rack cool before storring it again.
Therefor press the metal hooks together and lower them.
Storage
WARNING:
As the housing and the metal parts become hot during operation, please allow the appliance to cool down before putting it away.
- Clean the device as described and allow to dry completely. We recommend that you keep the appliance in the original packaging if the appliance will be not used for long periods.
• Always keep the appliance out of the reach of children in a dry, well ventilated place.
Mains Cable Take-Up Appliance
The mains cable can be wound up on the base.
Cleaning

WARNING:
- Pull the mains plug out of the mains socket before you clean the appliance and allow the appliance to cool down.
- Do not immerse the appliance in water! Doing so may result in an electric shock or fire.

CAUTION:
- Do not use any wire brush or other abrasive objects.
- Do not use abrasive or aggressive cleaners.
Housing
Only use a slightly damp cloth to clean the outside of the appliance.
Crumb Tray
The crumb tray is located on the opposite side to the carriage lever.
- Pull the crumb tray out by the handle, remove the small pieces of bread and push the tray back in place.
Technical Data
Model: PC-TA 1122
Power supply: 220 - 240 V\~, 50 / 60 Hz
Power consumption: 550 W
Protection class:....I
Net weight: .... approx. 0.95 kg
The right to make technical and design modifications in the course of continuous product development remains reserved.
This appliance has been tested according to all relevant current CE guidelines, such as electromagnetic compatibility and low voltage directives, and has been constructed in accordance with the latest safety regulations.
Troubleshooting
| Problem Possible cause Solution | ||
| The appliance does not function. | The appliance has no power supply. | Test the socket with another appliance. |
| Plug in the mains plug correctly. | ||
| Check the main circuit breaker. | ||
| The appliance is faulty. | Contact our service center or a specialist. | |
| The bread is too dark. | The toaster setting was too high. | Select a lower toaster setting. |
| The bread is too light. | The toaster setting was too low. | Select a higher toaster setting. |
| The toasting slots no longer rise. | The slice of bread is stuck in the device. | Disconnect the plug from the socket!Allow the appliance to cool! |
| Free the slice of bread with an insulated object, e.g. a wooden stick. If necessary turn the toaster over so that the slice of bread falls out. | ||
Disposal
Meaning of the "Dustbin" Symbol
Protect our environment: do not dispose of electrical equipment in the domestic waste.
Please return any electrical equipment that you will no longer use to the collection points provided for their disposal.
This helps avoid the potential effects of incorrect disposal on the environment and human health.
This will contribute to the recycling and other forms of reutilisation of electrical and electronic equipment.
Information concerning where the equipment can be disposed of can be obtained from your local authority.
Instrukcja obsługi
CTC Clatronic Sp. zo.o.
Ul. Brzeska 1
45 - 960 Opole