GEL5261 - Switch LEVELONE - Free user manual and instructions
Find the device manual for free GEL5261 LEVELONE in PDF.



User questions about GEL5261 LEVELONE
0 question about this device. Answer the ones you know or ask your own.
Ask a new question about this device
Download the instructions for your Switch in PDF format for free! Find your manual GEL5261 - LEVELONE and take your electronic device back in hand. On this page are published all the documents necessary for the use of your device. GEL5261 by LEVELONE.
USER MANUAL GEL5261 LEVELONE
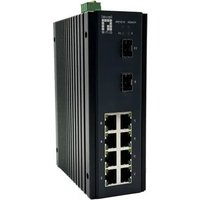
10-Port L2 Managed Gigabit Switch, 2 x SFP
GEL-5261
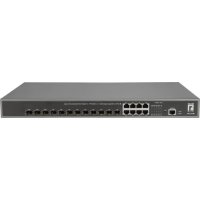
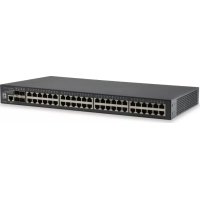
52-Port L2 Managed Gigabit Switch, 4 x SFP
GEP-1061
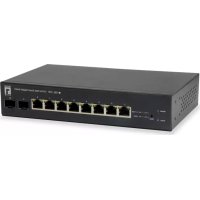
10-Port L2 Managed Gigabit PoE Switch, 2 x SFP, 802.3at PoE+, 125W
Quick Installation Guide
English
Deutsch
Français
Espanol
Italiano
Pycckn
Portugues
简体中文
Table of Content
English 2-
Deutsch - 6 -
Francais 10
Espanol 14
Italiano. 18
Pycckn 22
Portugues. 26 -
简体中文 30-
This Quick Installation Guide only describes the most basic situations and settings. All detailed information is described in the user manual.
English
Package Contents
This product is provided with the following accessories in the box; please check them carefully. If any of the accessories is missing or damaged, please contact with your local dealer timely.
| Serial number | Name | Quantity | Note |
| 1 | Master unit | 1 | Required |
| 2 | Power cord | 1 | Required |
| 3 | Quick Installation Guide | 1 | Required |
| 4 | L-shaped bracket and other | 1 | Required |
| 5 | CD-ROM with Manual and QIG | 1 | Required |
1. Preparing for installation
For smooth installation, please prepare the following items:
- Installation tools, including: Phillips screwdriver, anti static wrist strap, etc.
- Connecting cables, such as network cable, optical fiber, optical fiber module, etc.
- Related devices, such as electrical outlets, HUB, switch, router, etc.

The installation environment for the switch must meet the following requirements:
- The switch must avoid direct sunlight, away from heat and sources of strong electromagnetic interference.
- The switch must be placed in a cool, dry place, and there should be enough gap for heat dissipation all around for the purpose of ventilation and heat dissipation.
- The switch must work in the indoor environment with a temperature of 0^ 40^ and humidity of 10% 90% without condensation.
2. Equipment Installation
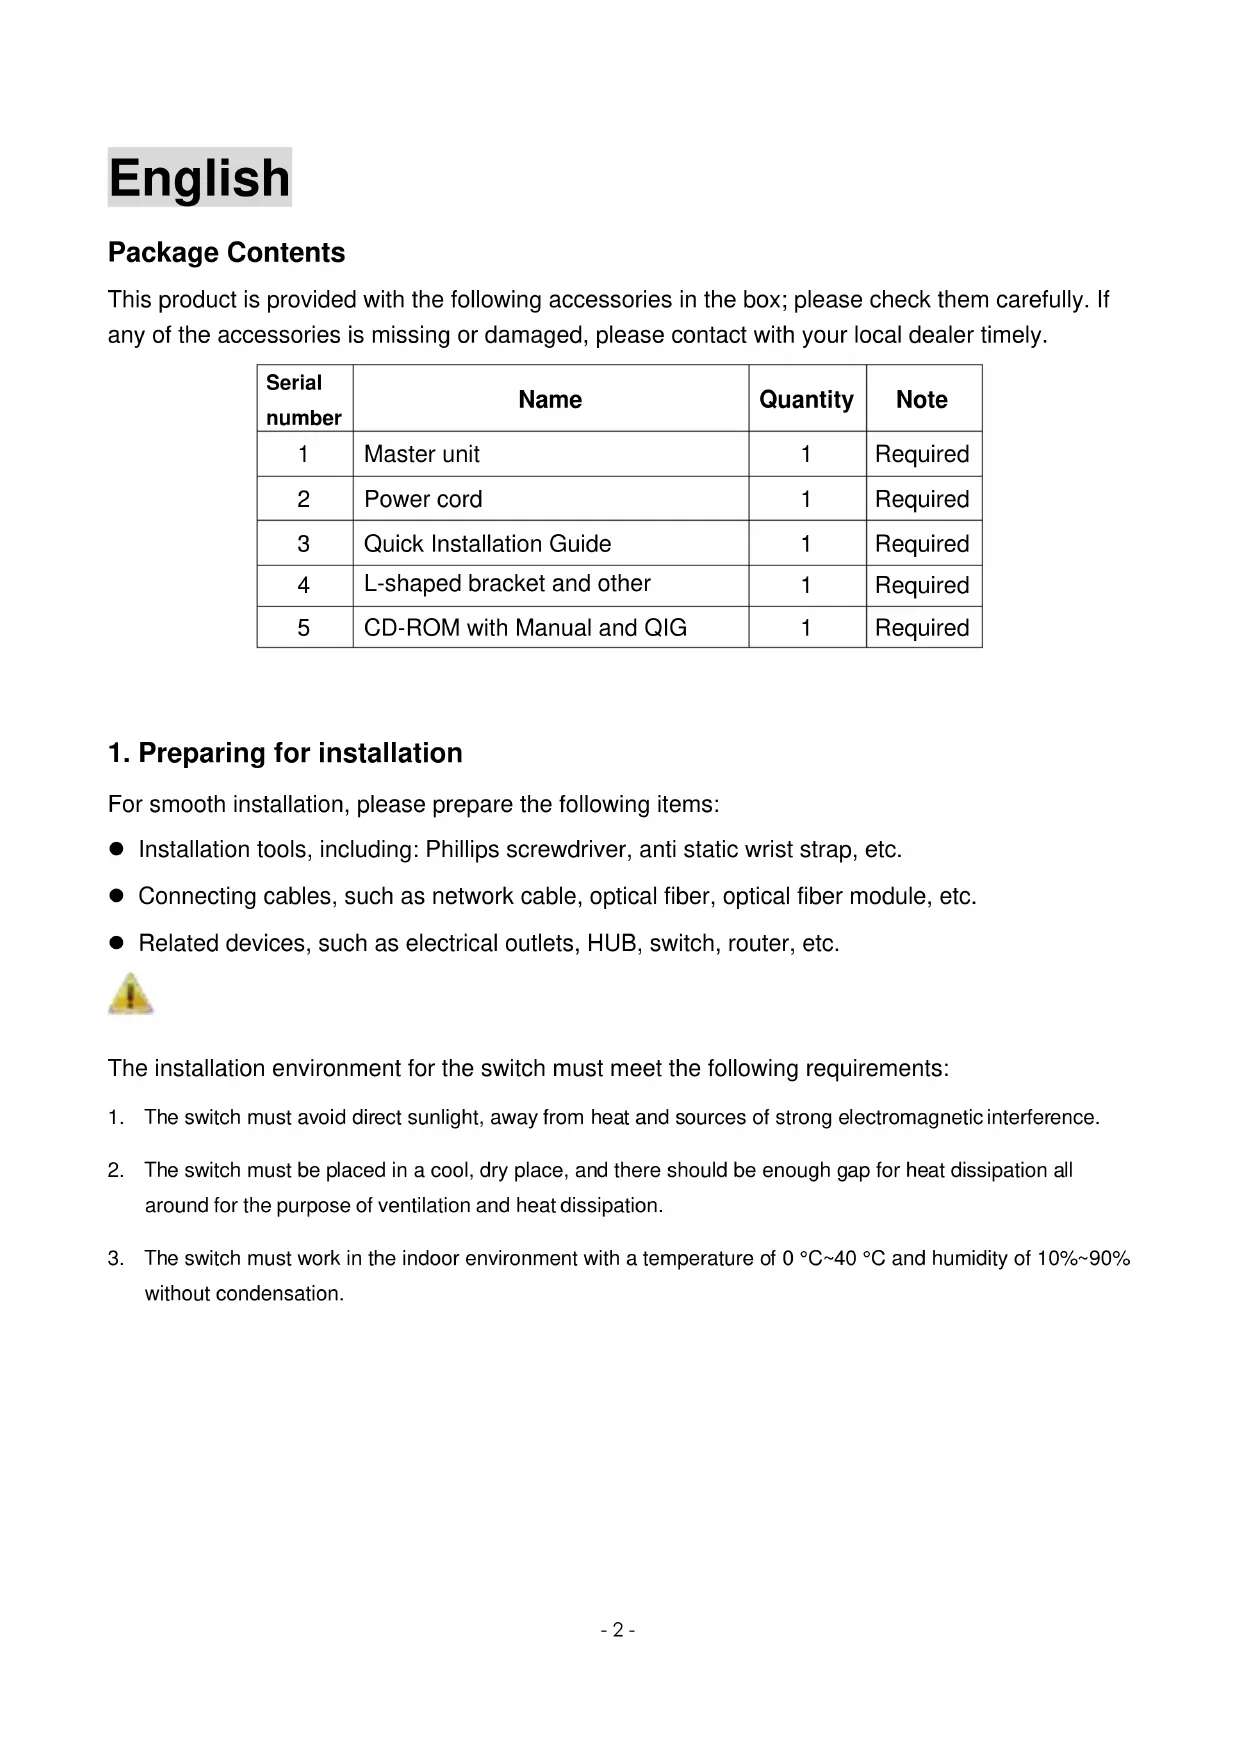
It is installed in the rack
Install the switch on a 19-inch standard rack, and the installation steps are as follows:
- Check the grounding and stability of the rack;
- Install the two L-shaped brackets in the accessories on both sides of the switch panel, and fix them with the screws in the accessories:
- Place the switch in the appropriate location of the rack, and support it using a tray;
- Secure the L-shaped brackets on the guide slots fixed at both ends of the rack, to ensure that the switch can be mounted on the rack in a stable, horizontal manner:
- Use a power cord to connect the switch power connector with the power socket.
Installed on the working table
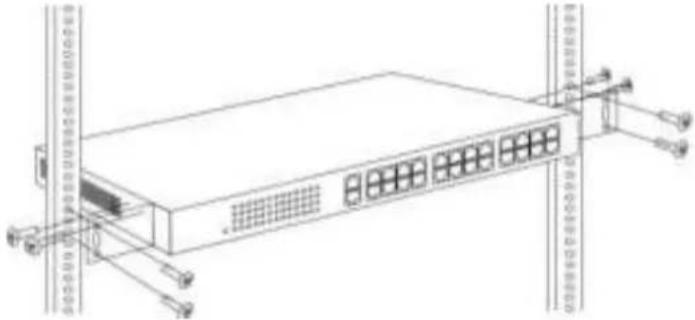
Install the switch on a working table, and the installation steps are as follows:
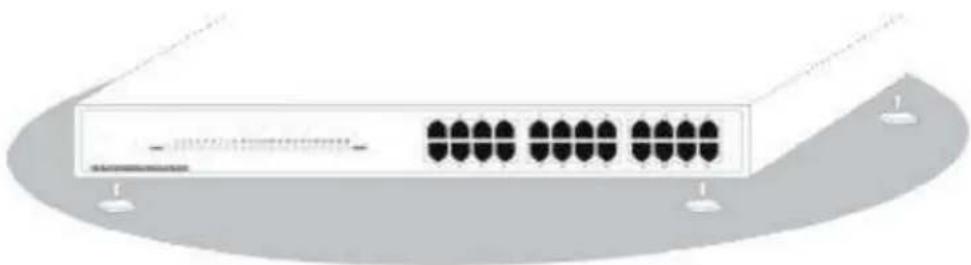
- Place the switch with its bottom up on a sufficiently large, stable and properly-grounded working table:
- Remove the adhesive protective paper from the foot pad, and stick the 4 pads in the 4 round slots at the bottom of the casing respectively:
- Flip over the switch, and place it on the working table stably;
- Use a power cord to connect the switch power connector with the power socket.

- The switch uses 100-240V, 50/60Hz AC, and make sure that both power supply and grounding are normal before power on.
- After power on, please check the switch's power indicator (Power) is on, and if so, it indicates that
the power supply is connected properly.
- Do not place heavy objects on the top of the switch.
3. Logging on to the equipment
- Connect the RJ-45 interface cable of a switch with a computer using a network cable.
- Set the TCP/IP properties of the computer, see the Appendix: Setting up yourcomputer.
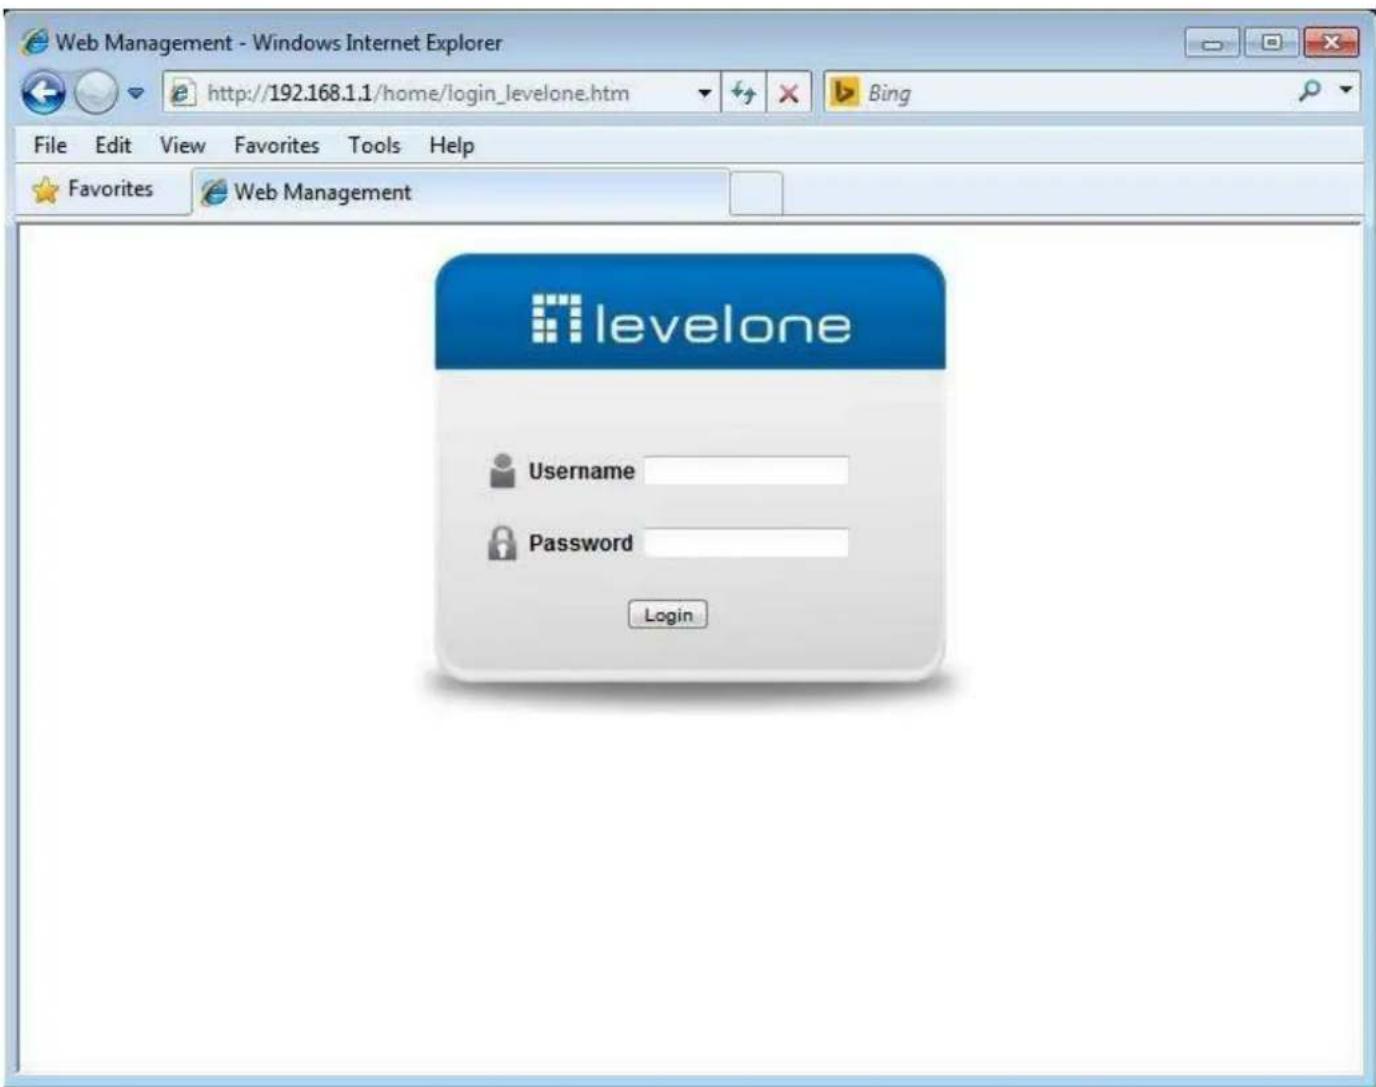
- Logging on to the equipment: Open a browser and type 192.168.1.1 in the address bar, and then press Enter; in the pop-up login interface, enter the factory logon username "admin", password "admin" and click OK.
Appendix: Setting up your computer
Windows 7
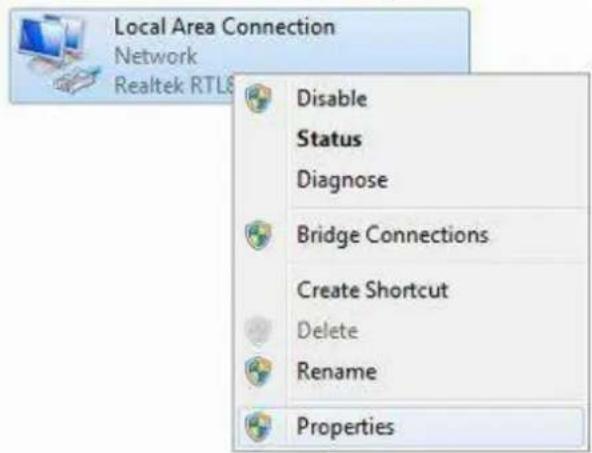
- Click Start Control Panel Network and Internet Network and Sharing Center Change adapter settings, right click Local connection and select Properties;
- Double-click Internet Protocol 4 (TCP/IPv4);

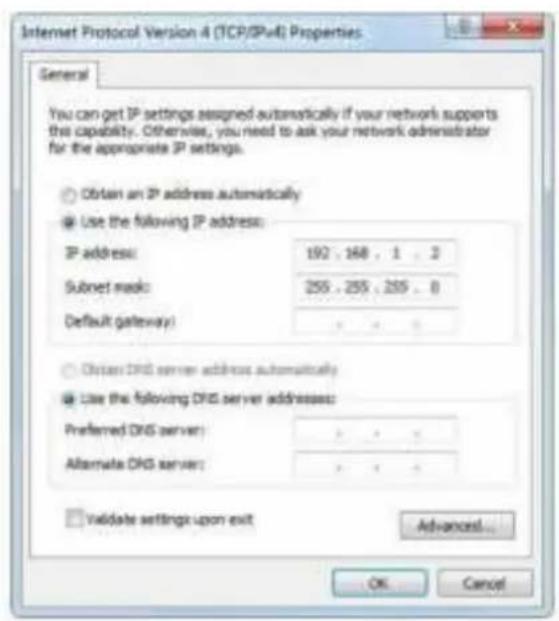
- Set the computer's IP address: The computer's IP address should be any one of the following free IP addresses 192.168.1.2 ~ 192.168.1.254, and then click OK, to return to the previous page, click OK.