Nespresso CitiZ & Milk M195 - Coffee machine MAGIMIX - Free user manual and instructions
Find the device manual for free Nespresso CitiZ & Milk M195 MAGIMIX in PDF.
User questions about Nespresso CitiZ & Milk M195 MAGIMIX
0 question about this device. Answer the ones you know or ask your own.
Ask a new question about this device
Download the instructions for your Coffee machine in PDF format for free! Find your manual Nespresso CitiZ & Milk M195 - MAGIMIX and take your electronic device back in hand. On this page are published all the documents necessary for the use of your device. Nespresso CitiZ & Milk M195 by MAGIMIX.
USER MANUAL Nespresso CitiZ & Milk M195 MAGIMIX
Nespresso, an exclusive system creating the perfect Espresso, time after time.
All machines are equipped with a unique extraction system that guarantees up to 19 Bar pressure. Each parameter has been calculated with great precision to ensure that all the aromas from each Grand Cru can be extracted, to give the coffee body and create an exceptionally thick and smooth crema.
MAGIMIX M190 Milk_10.2014
CONTENT

These instructions are part of the appliance. Read all instructions and all safety instructions before operating the appliance.
sAFety prEcaUtions 03
ovErviEW 05
spEciFications 05
EnErgy saving moDE 06
First UsE or aFtEr long pErioD of non-UsE 07
coFFEE prEparation 08
programming the WatEr volUmE 09
milK Froth prEparation 10
Emptying thE systEm bEForE a pErioD of non-UsE anD For Frost
protEction, or bEForE a rEpair 11
rEsEt to Factory sEttings 12
DEscaling 13
cEaning 15
troUblEshooting 16
contact the NESPRESSO clUb 17
Disposal and Environmental Protection 17
Ecolaboration: Ecolaboration.com 18
limitED Warranty 19
CAUTION: the safety precautions are part of the appliance. Read them carefully before using your new appliance for the first time. Keep them in a place where you can find and refer to them later on.
CAUTION: when you see this sign, please refer to the safety precautions to avoid possible harm and damage.
i INFORMATION: when you see this sign, please take note of the advice for the correct and safe usage of your appliance.
- The appliance is intended to prepare beverages according to these instructions.
- Do not use the appliance for other than its intended use.
• This appliance has been designed for indoor and non-extreme temperature
conditions use only.
- Protect the appliance from direct sunlight effect, prolonged water splash and humidity.
- This is a household appliance only. It is not intended to be used in: staff kitchen areas in shops, offices and other working environments; farm houses; by clients in hotels, motels and other residential type environments; bed and breakfast type environments.
- This appliance may be used by children of at least 8 years of age, as long as they are supervised and have been given instructions about using the appliance safely and are fully aware of the dangers involved. Cleaning and user maintenance shall not be made by children unless they are older than 8 and they are supervised by an adult.
- Keep the appliance and its cord out of reach of children under 8 years of age.
- This appliance may be used by persons with reduced physical, sensory or mental capabilities, or
whose experience or knowledge is not sufficient, provided they are supervised or have received instruction to use the device safely and understand the dangers.
• Children shall not use the device as a toy.
- The manufacturer accepts no responsibility and the warranty will not apply for any commercial use, inappropriate handling or use of the appliance, any damage resulting from use for other purposes, faulty operation, non-professionals' repair or failure to comply with the instructions.
Avoid risk of fatal electric shock and fire.
- In case of an emergency: immediately remove the plug from the power socket.
- Only plug the appliance into suitable, easily accessible, earthed mains connections. Make sure that the voltage of the power source is the same as that specified on the
rating plate. The use of an incorrect connection voids the warranty.
The appliance must only be connected after installation.
- Do not pull the cord over sharp edges, clamp it or allow it to hang down.
- Keep the cord away from heat and damp.
- If the supply cord is damaged, it must be replaced by the manufacturer, its service agent or similarly qualified persons, in order to avoid all risks.
- If the cord is damaged, do not operate the appliance.
- Return the appliance to the Nespresso Club or to a Nespresso authorized representative.
- If an extension cord is required, use only an earthed cord with a conductor cross-section of at least 1.5 ~mm^2 or matching input power.
- To avoid hazardous damage, never place the appliance on or beside hot surfaces such as radiators, stoves, ovens, gas burners, open flame, or similar.
• Always place it on a horizontal, stable

SAFETY PRECAUTIONS
and even surface. The surface must be resistant to heat and fluids, like water, coffee, descaler or similar.
- Disconnect the appliance from the mains when not in use for a long period. Disconnect by pulling out the plug and not by pulling the cord itself or the cord may become damaged.
- Before cleaning and servicing, remove the plug from the mains socket and let the appliance cool down.
- Never touch the cord with wet hands.
- Never immerse the appliance or part of it in water or other liquid.
- Never put the appliance or part of it in a dishwasher.
• Electricity and water together is dangerous and can lead to fatal electrical shocks. - Do not open the appliance. Hazardous voltage inside!
- Do not put anything into any openings. Doing so may cause fire or electrical shock!
- To avoid hazardous damage, never place the appliance on or beside hot surfaces such as radiators, stoves, ovens, gas burners, open flame, or similar.
- Always place it on a horizontal, stable and even surface. The surface must be resistant to heat and fluids, like water, coffee, descaler or similar.
Avoid possible harm when operating the appliance.
- Never leave the appliance unattended during operation.
- Do not use the appliance if it is damaged or not operating perfectly. Immediately remove the plug from the power socket. Contact the Nespresso Club or Nespresso authorized representative for examination, repair or adjustment.
- A damaged appliance can cause electrical shocks, burns and fire.
• Always completely close the lever and never lift it during operation. Scalding may occur. - Do not put fingers under coffee outlet, risk of scalding.
- Do not put fingers into capsule compartment or the capsule shaft. Danger of injury!
• Water could flow around a capsule when not perforated by the blades and
damage the appliance.
- Never use a damaged or deformed capsule. If a capsule is blocked in the capsule compartment, turn the machine off and unplug it before any operation. Call the Nespresso Club or Nespresso authorized representative.
- Fill the water tank only with fresh and potable water.
- Empty water tank if the appliance will not be used for an extended time (holidays, etc.).
- Replace water in water tank when the appliance is not operated for a weekend or a similar period of time.
- Do not use the appliance without the drip tray and drip grid to avoid spilling any liquid on surrounding surfaces.
- Do not use any strong cleaning agent or solvent cleaner. Use a damp cloth and mild cleaning agent to clean the surface of the appliance.
• To clean machine, use only clean cleaning tools. - When unpacking the machine, remove the plastic film and dispose.
• This appliance is designed for Nespresso
coffee capsules available exclusively through the Nespresso Club or your Nespresso authorized representative.
- All Nespresso appliances pass stringent controls. Reliability tests under practical conditions are performed randomly on selected units. This can show traces of any previous use.
- Nespresso reserves the right to change instructions without prior notice.
Descaling
- Nespresso descaling agent, when used correctly, helps ensure the proper functioning of your machine over its lifetime and that your coffee experience is as perfect as the first day. For the correct amount and procedure to follow, consult the user manual included in the Nespresso descaling kit.
SAVE THESE INSTRUCTIONS Pass them on to any sub- sequent user.
This instruction manual is also available as a PDF at nespresso.com
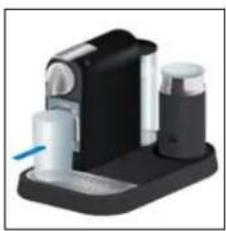
OVERVIEW
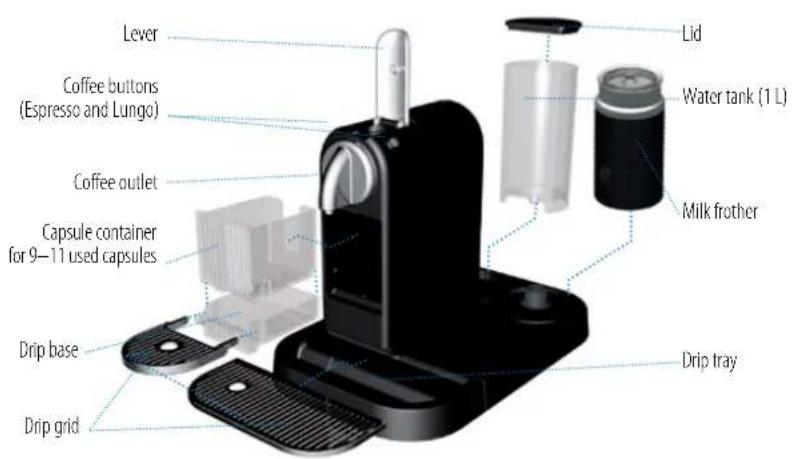
text_image
Lever Coffee buttons (Espresso and Lungo) Coffee outlet Capsule container for 9–11 used capsules Drip base Drip grid Lid Water tank (1 L) Milk frother Drip tray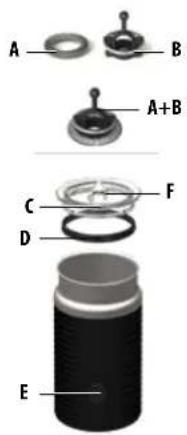
text_image
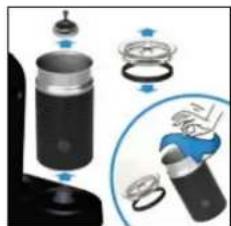
A B A+B C D F EA Frothing spring (for milk froth)
B Mixer (for hot milk)
C Lid
D Seal
E Start/stop button
F Storage area for frothing spring
PACKAGING CONTENT

Coffee Machine

Nespresso Grands Crus capsule tasting gift
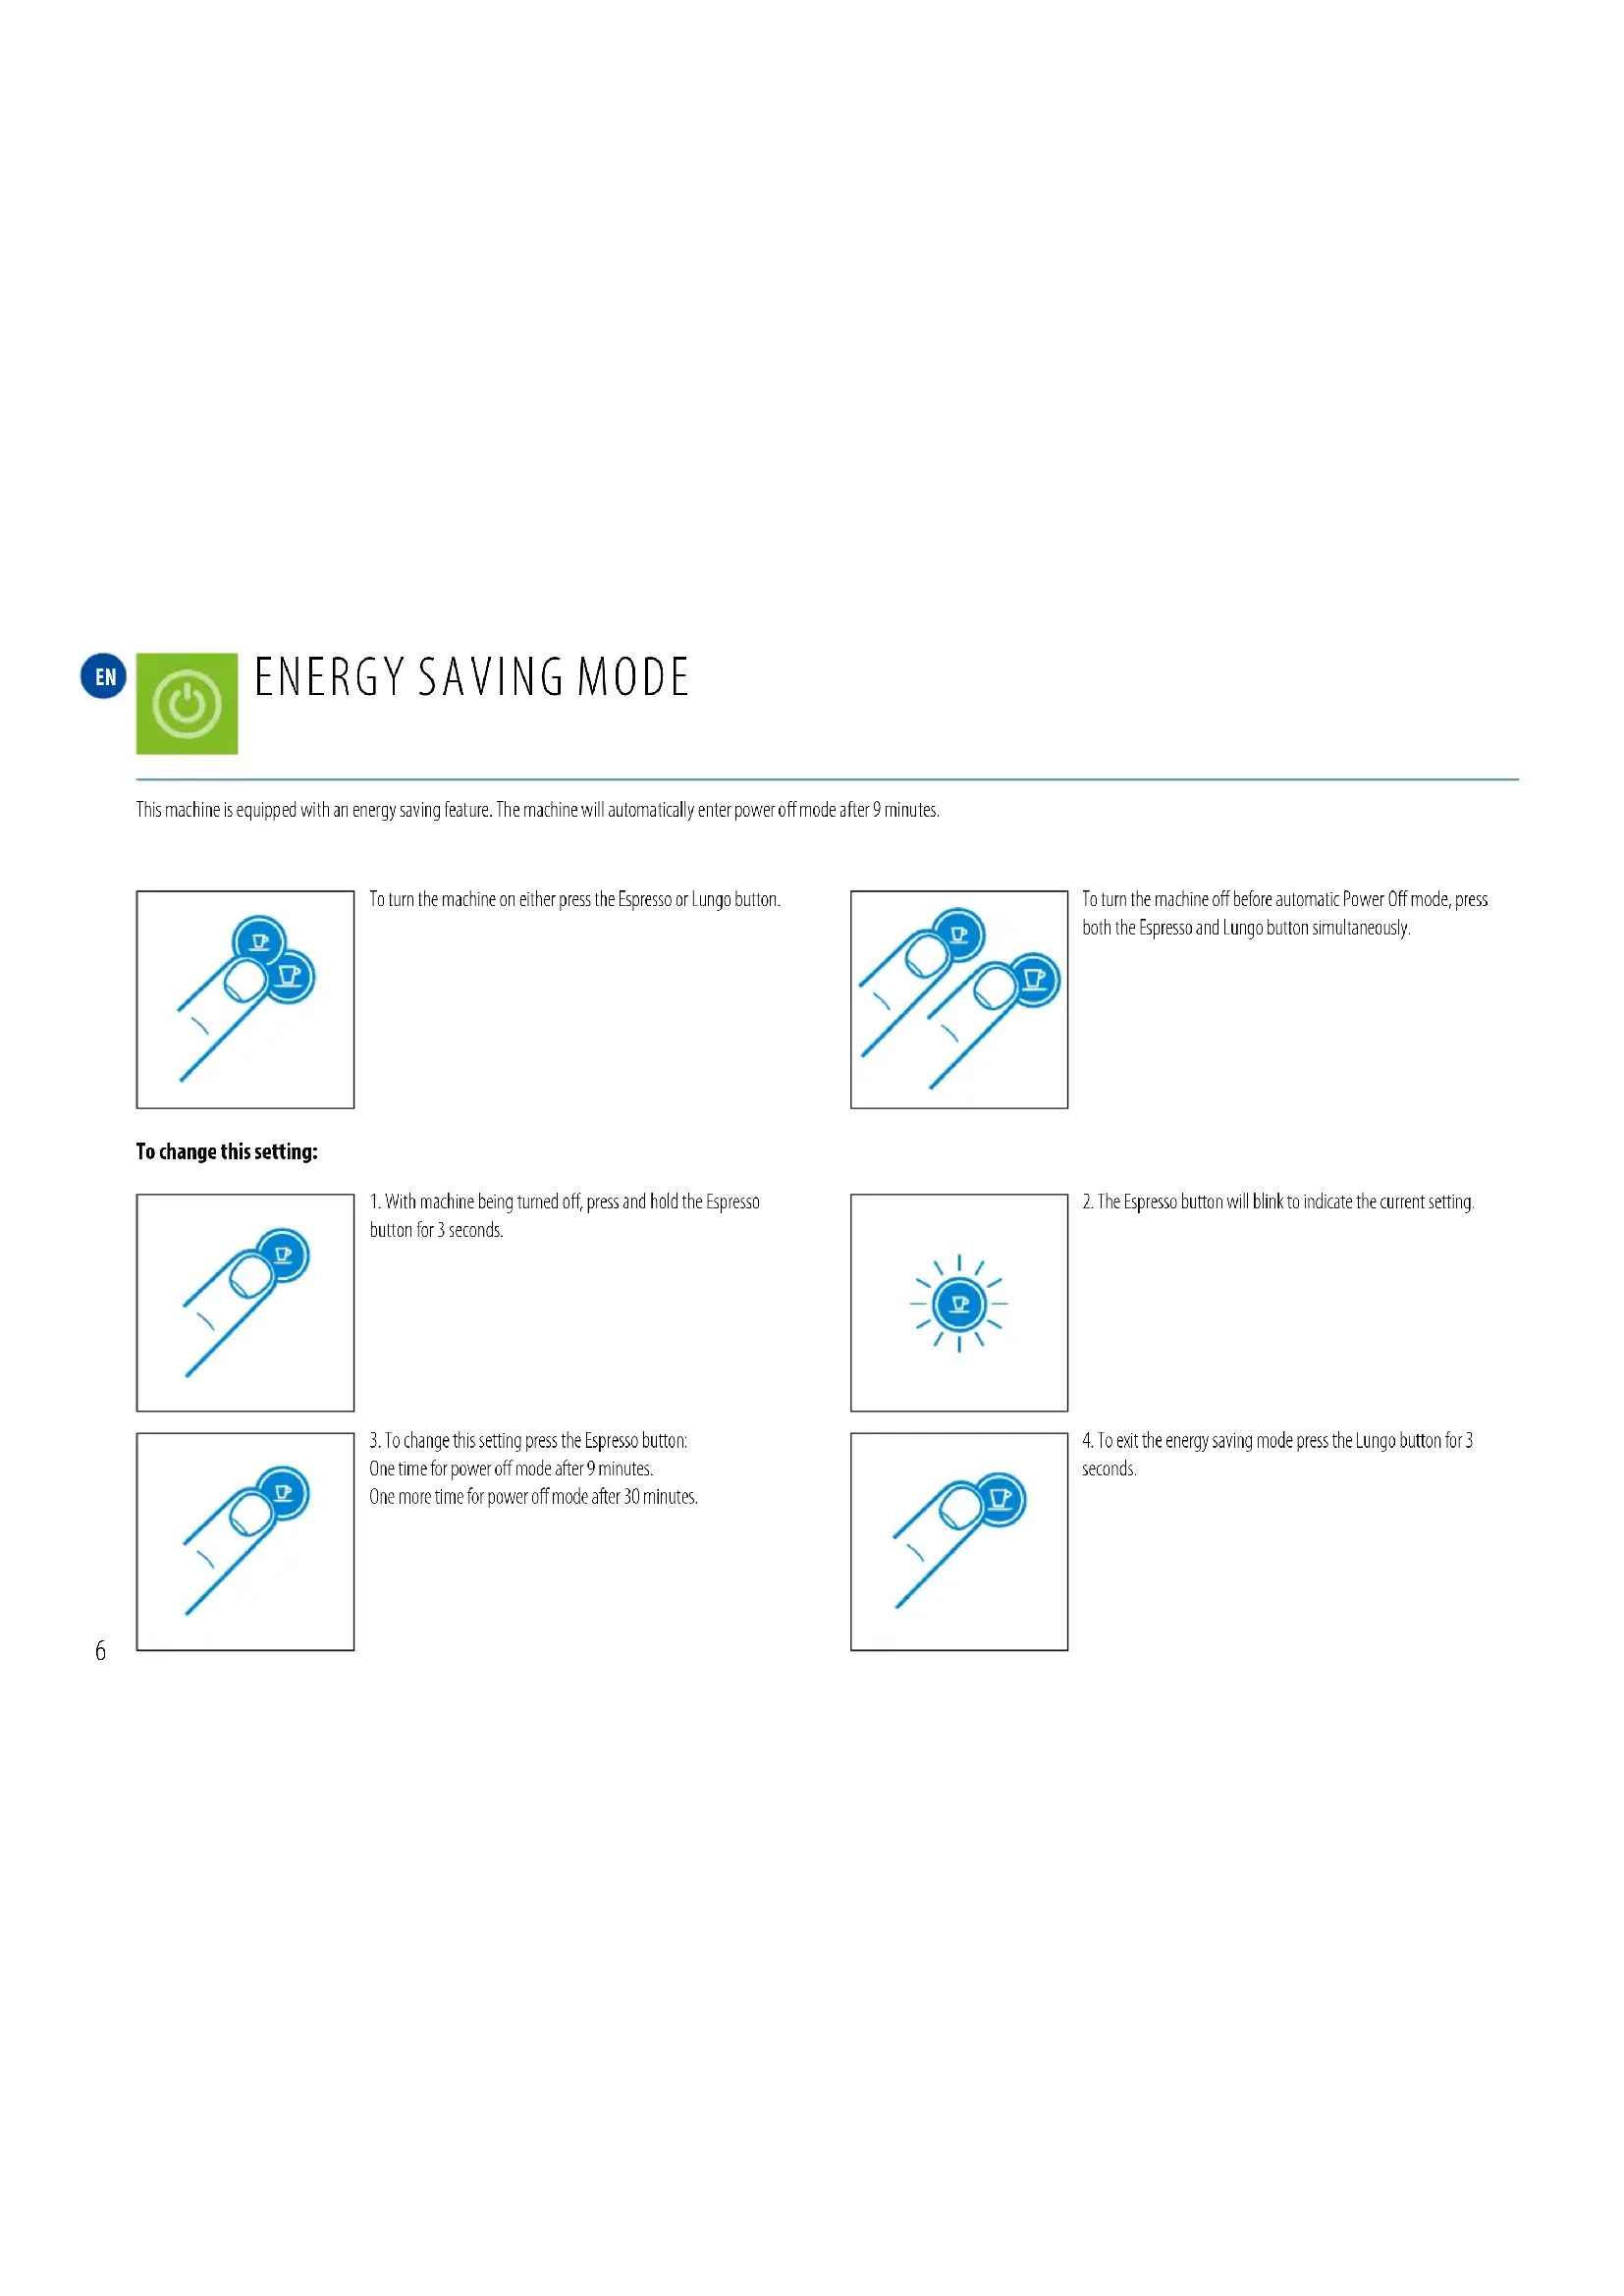
This machine is equipped with an energy saving feature. The machine will automatically enter power off mode after 9 minutes.

natural_image
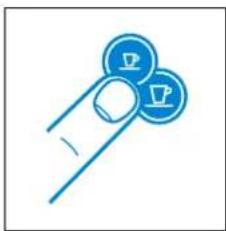
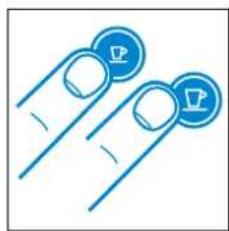
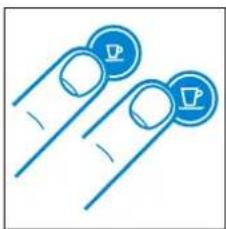
Simple line drawing of a finger holding two circular icons with 'P' symbols (no text or numbers present)To turn the machine on either press the Espresso or Lungo button.
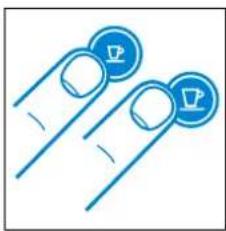
natural_image
Two blue circular icons with checkmarks on finger tips, no text or symbols presentTo turn the machine off before automatic Power Off mode, press both the Espresso and Lungo button simultaneously.
To change this setting:
natural_image
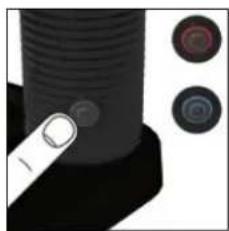
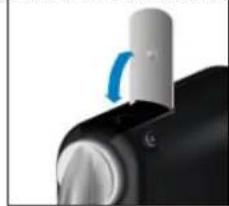
Simple line drawing of a finger pressing a button with a crown (no text or symbols)- With machine being turned off, press and hold the Espresso button for 3 seconds.

natural_image
Blue icon of a lightbulb with a lightning bolt inside, radiating from a sun (no text or symbols)- The Espresso button will blink to indicate the current setting.
natural_image
Simple line drawing of a finger pressing a button with a small triangular icon (no text or symbols)- To change this setting press the Espresso button: One time for power off mode after 9 minutes. One more time for power off mode after 30 minutes.

natural_image
Simple blue line icon of a finger pressing a button with a circular button (no text or symbols)- To exit the energy saving mode press the Lungo button for 3 seconds.
FIRST USE OR AFTER A LONG PERIOD OF NON-USE
EN
CAUTION: first read the safety precautions to avoid risks of fatal electrical shocks and fire.
natural_image
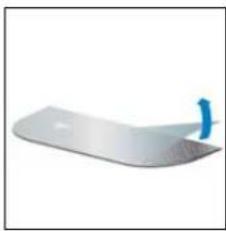
White plastic tray with a blue handle, isolated on white background (no text or symbols)- Remove the plastic film from the drip grid.
natural_image
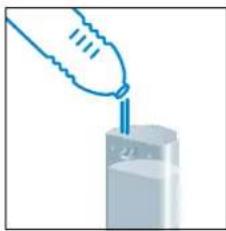
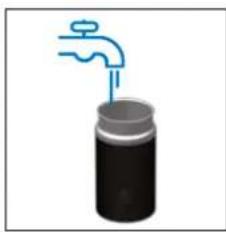
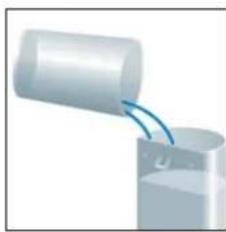
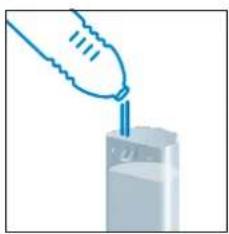
Illustration of a hand pouring liquid into a container (no text or symbols)- Rinse the water tank before filling with potable water.
natural_image
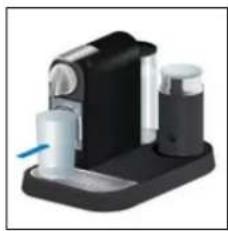
Close-up of a black and white electronic device with a blue indicator light (no visible text or symbols)- Place a container (min. 1 L) under coffee outlet.
natural_image
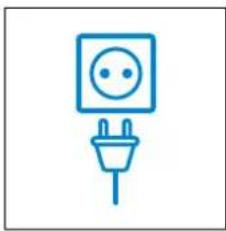
Simple line icon of a power plug with a square socket and two pins (no text or symbols)- Plug into mains.

natural_image
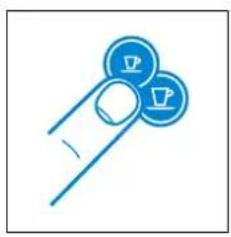
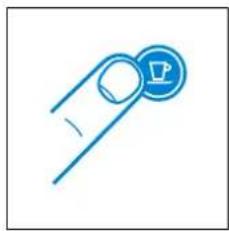
Blue icon of a finger pressing down on two circular buttons with 'P' symbols (no text or numbers present)- Press the Espresso or Lungo button to activate the machine.
natural_image
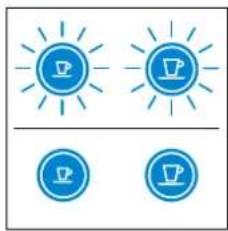
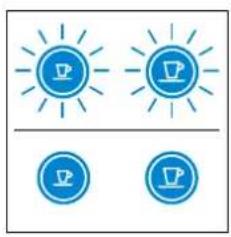
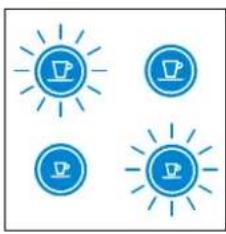
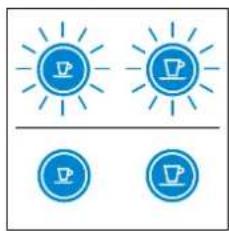
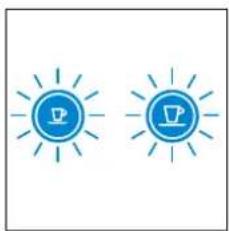
Two identical blue circular icons with sunburst patterns, each containing a coffee cup icon (no text or symbols)Blinking Lights: heating up (25 sec)
natural_image
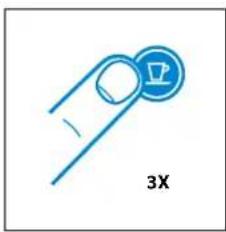
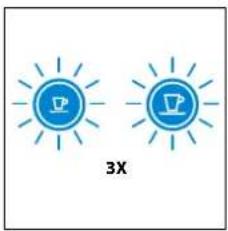
Blue paperclip icon with a circular button labeled '3X' (no text or symbols beyond the label)- Press the Lungo button to rinse the machine. Repeat 3 times.
natural_image
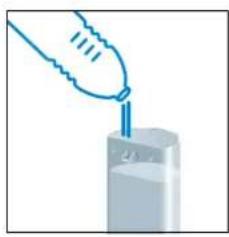
Illustration of a hand faucet above a cylindrical container (no text or symbols)- Rinse Aeroccino.
En COFFEE PREPARATION
natural_image
Illustration of a hand pouring liquid into a container (no text or symbols)- Rinse then fill the water tank with potable water.
natural_image
Simple line drawing of a finger holding two circular icons with a crown (no text or symbols)- Press the Espresso or Lungo button to activate the machine.
natural_image
Two identical blue circular icons with sun rays, each containing a coffee cup symbol (no text or labels)Blinking Lights: heating up (25 sec)
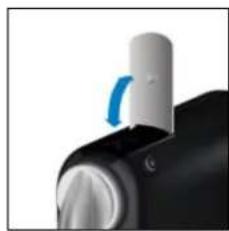
natural_image
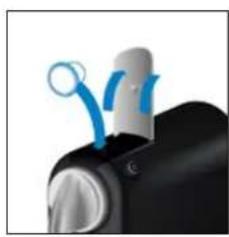
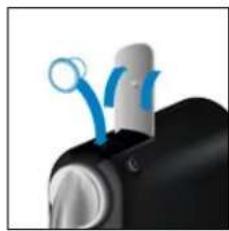
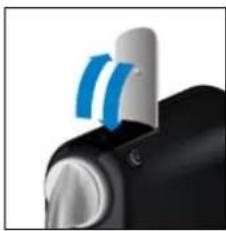
Close-up of a black mechanical component with blue circular elements and a metallic handle (no visible text or symbols)- Lift the lever completely and insert the capsule.
Caution: never lift lever during operation and refer to the safety precautions to avoid possible harm when operating the appliance.
i notE: during heat up, you can press either coffee button while blinking. The coffee will then flow automatically when the machine is ready.
natural_image
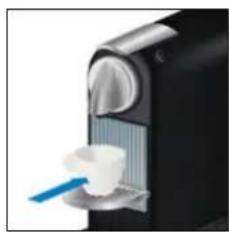
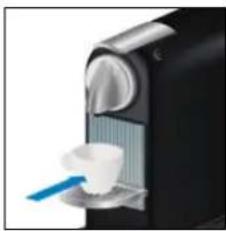
Close-up of a black and white industrial machine with a blue brush applying a white cup (no visible text or symbols)- Close the lever and place a cup under the coffee outlet.

natural_image
Simple line drawing of a finger holding two circular icons with a coffee cup (no text or symbols)- Press the Espresso (40 ml) or the Lungo (110 ml) button to start. Preparation will stop automatically. To stop the coffee flow or top up your coffee, press again.

natural_image
Close-up of a black and silver device knob with blue curved arrows indicating motion or signal (no text or symbols)- Remove the cup. Lift and close the lever to eject the capsule into the used capsule container.
PROGRAMMING THE WATER VOLUME
En

natural_image
Simple line drawing of a finger holding two circular icons with 'P' symbols (no text or numbers present)- Turn the machine on and wait for it to be in ready mode (steady lights).
natural_image
Close-up of a black mechanical device with blue circular components and a white top (no visible text or symbols)- Fill the water tank with potable water and insert the capsule.
natural_image
Close-up of a black industrial machine with a white cup and blue brush (no visible text or symbols)- Place a cup under the coffee outlet.
natural_image
Blue line icon of two circular icons with 'P' symbols, no text or numbers present-
Press and hold the Espresso or Lungo button.
-
Release button once the desired volume is served.
-
Water volume level is now stored.
En MILK FROTH PREPARATION
⚠ Warning: only use the Aeroccino with the connector provided. Risk of electrical shock and fire! Make sure the under side of the milk frother is dry.
flowchart
graph TD
    A["Container 1"] --> B["Component 1"]
    C["Component 2"] --> D["Component 2"]
    E["Component 3"] --> F["Component 3"]
- Attach the relevant whisk.

text_image
Diagram illustrating the addition of MAX to 1x volume using a glass and a cup, with 2x volume added.- Fill milk frother up to one of the two «max» level.
natural_image
Close-up of a black cylindrical object with two circular buttons on the right side (no visible text or symbols)- Place the lid on the Aeroccino. For a hot preparation, briefly press button to start. Button lights up Red. Takes approx. 70-80 sec. For cold milk froth, keep button pressed for approx. 2 seconds. Button lights up Blue. Takes approx. 60 sec.
natural_image
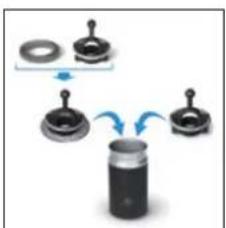
Illustration of a mechanical device with exploded view and close-up of internal components (no text or symbols)- Clean after each preparation. Only use non abrasive cloth, never use a brush. Jug is water proof. Do not put in dishwasher.
tip: for optimal milk froth, use whole or semi skimmed milk at refrigerated temperature (about 4-6°C).
EMPTYING THE SYSTEM BEFORE A PERIOD OF NON-USE AND FOR FROST PROTECTION, OR BEFORE A REPAIR

NOTE: your machine will be blocked for 10 minutes after emptying mode.

natural_image
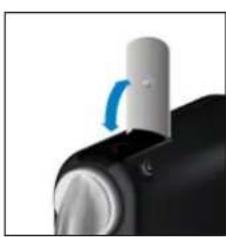
Two blue circular icons with leaf symbols, resembling stylized fingers or buttons (no text or numbers present)- To enter the emptying mode, press both the Espresso and Lungo button to turn the machine off.
natural_image
Close-up of a mechanical knob with a blue circular arrow indicating rotation (no text or symbols visible)- Remove the water tank and open the lever.
natural_image
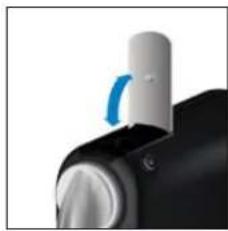
Two finger icons with circular symbols, no text or numbers present- Press both the Espresso and Lungo button for 3 seconds.
natural_image
Four blue circular icons with sunburst and coffee cup symbols, no text or labels presentBoth LEDs blink alternatively. 4. Close the lever. 5. Machine switches off
natural_image
Close-up of a mechanical component with a blue curved arrow indicating rotation (no text or symbols visible)automatically.
- Empty and clean the used capsule container and drip tray.
EN RESET TO FACTORY SETTINGS
natural_image
Simple line drawing of a finger holding a circular button with a triangular icon (no text or symbols)- With machine being turned off, press and hold down the Lungo button for 5 seconds.
natural_image
Two blue circular icons with sunburst patterns, one with a 'P' and the other with a megaphone and lightbulb, labeled '3X' below (no text or symbols on icons)- LEDs will blink fast 3 times to confirm machine has been reset to factory settings.
natural_image
Two blue circular icons with sun-like shapes and a coffee cup, no text or symbols present.- LEDs will then continue to blink normally, as heating up, until ready.
Steady lights: machine ready
Factory settings:
Espresso Cup: 40 ml
Lungo Cup: 110 ml
Power Off mode: 9 min
NOTE: duration approximately 15 minutes.
natural_image
Close-up of a black and white handheld device with blue curved arrows indicating motion or signal flow (no text or symbols visible)- Remove the capsule and close the lever.
natural_image
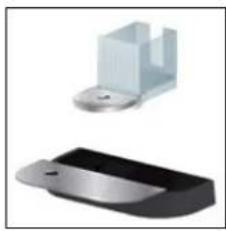
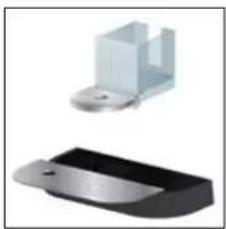
Two 3D-rendered mechanical components: a metallic bracket and a black plastic housing (no text or symbols visible)- Empty the drip tray and used capsule container.
natural_image
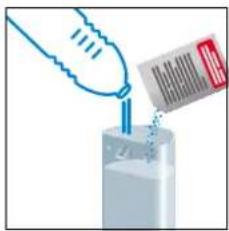
Illustration of a hand pouring liquid into a container with a barcode tag (no text or symbols)- Fill the water tank with 0.5 L of potable water and add 1 Nespresso descaling liquid.
natural_image
3D rendered image of a handheld electronic device with black and white casing (no text or symbols visible)- Place a container (min. volume 1 L) under the coffee outlet.
natural_image
Two blue finger icons with circular symbols, no text or numbers present- To enter the descaling mode, while the machine is turned on, press both the Espresso and Lungo button for 3 seconds.
natural_image
Two blue circular icons with sunburst lines, resembling stylized lights or icons (no text or symbols)Both LEDs blink.

natural_image
Simple blue line icon of a finger pressing a button (no text or symbols)- Press the Lungo button and wait until the water tank is empty.
natural_image
Diagram of a cylindrical object pouring liquid into a container (no text or symbols visible)- Refill the water tank with the used descaling solution collected in the container and repeat step 4 and 6.

natural_image
Illustration of a hand pouring liquid into a container (no text or symbols)- Empty and rinse the water tank. Fill with potable water.

- When ready, repeat step 4 and 6 to now rinse the machine.
natural_image
Two blue finger icons with circular symbols, no text or numbers present-
To exit the descaling mode, press both the Epresso and Lungo button for 3 seconds.
-
The machine is now ready for use.
Caution: the descaling solution can be harmful. Avoid contact with eyes, skin and surfaces. Never use any product other than the Nespresso descaling kit available at the Nespresso Club to avoid damage to your machine. The following table will indicate the descaling frequency required for the optimum performance of your machine, based on water hardness. For any additional questions you may have regarding descaling, please contact your Nespresso Club.
| Water hardness: Descale after: | fH | French grade | |||
| fH | dH | CaCO3 | Cups (40 ml) | dH | German grade |
| 36 | 20 | 360 mg/l | 300 | CaCO3 | Calcium carbonate |
| 18 | 10 | 180 mg/l | 600 | ||
| 0 | 0 | 0 mg/l | 1200 | ||

WARNING
Risk of fatal elec trical shock and fire.
Never immerse the appliance or part of it in water.
Be sure to unplug the machine before cleaning.
Do not use any strong cleaning agent or solvent cleaner.
Do not use sharp objects, brushes or sharp abrasives.
Do not place in a dishwasher.

natural_image
Blue line drawing of a hand gesture with index finger (no text or symbols)Clean the coffee outlet regularly with a soft damp cloth.
natural_image
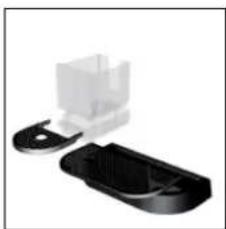
Close-up of a black plastic mechanical component with a white housing and clamped parts (no text or symbols visible)Maintenance unit can be removed in separate pieces for easy cleaning.
EN TROUBLESHOOTING
| No light indicator. | →Check the mains, plug, voltage, and fuse. In case of problems, call the Nespresso Club. |
| No coffee, no water. | →First use: fill water tank with warm water (max. 55°C) and run through machine according to instructions on page 7.→Water tank is empty. Fill water tank.→Descale if necessary; see Descaling section. |
| Coffee comes out very slowly. | →Flow speed depends on the coffee variety.→Descale if necessary; see Descaling section. |
| Coffee is not hot enough. | →Preheat cup.→Descale if necessary. |
| Capsule area is leaking (water in capsule container). | →Position capsule correctly. If leakages occur, call the Nespresso Club. |
| Irregular blinking. | →Send appliance to repair or call the Nespresso Club. |
| No coffee, just water runs out (despite inserted capsule). | →In case of problems, call the Nespresso Club. |
| Aeroccino does not start. | →Be sure to position the jug correctly on a clean base. Be sure to attach the whisk to the jug correctly. |
| Quality of milk froth not up to standard. | →Be sure to use whole or semi-skimmed milk at refrigerated temperature (about 4-6°C). Be sure to use the appropriate whisk and the jug is clean. |
| Red Burton blinking. | →a) The appliance is too hot. Rinse it under cool water b) Whisk is missing c) Not enough milk. Fill milk frother up to one of the two «max» level. |
| Milk Overflows. | →Be sure to use the appropriate whisk and check the corresponding indicator level. |
CONTACT THE NESPRESSO CLUB

As we may not have foreseen all uses of your appliance, should you need any additional information, in case of problems or simply to seek advice, call the Nespresso Club or your Nespresso authorized representative. Contact details for your nearest Nespresso Club or your Nespresso authorized representative can be found in the «Welcome to Nespresso» folder in your machine box or at nespresso.com
DISPOSAL AND ENVIRONMENTAL PROTECTION
This appliance complies with the EU Directive 2002/96/EC. Packaging materials and appliance contain recyclable materials.
Your appliance contains valuable materials that can be recovered or can be recyclable. Separation of the remaining waste materials into different types facilitates the recycling of valuable raw materials. Leave the appliance at a collection point. You can obtain information on disposal from your local authorities.
En ECOLABORATION: ECOLABORATION.COM
We have committed to buy coffee of the very highest quality grown in a way that is respectful of the environment and farming communities. Since 2003 we have been working together with the Rainforest Alliance developing our Nespresso AAA Sustainable Quality™ Coffee Program.
We chose aluminium as the material for our capsules because it protects the coffee and aromas of the Nespresso Grand Cru. Aluminium is also infinitely recyclable, without losing any of its qualities.
Nespresso is committed to designing and making appliances that are innovative, high-performing and user friendly. Now we are engineering environmental benefits into the design of our new and future machine ranges.
LIMITED WARRANTY

UK & ROI. Should your machine have a genuine manufacturing fault, you must return it to the retailer within 28 days of purchase. Outside of 28 days, please contact Nespresso on 0800 442 442.
Your machine is guaranteed for 3 years for parts and labour from the date of purchase. To take advantage of this guarantee, you must present your proof of purchase.
This guarantee excludes damage resulting from: a fall or impact, incorrect handling not in compliance with the instructions for use, insufficient aftercare or cleaning, external events (fire, flood, etc.), commercial use (including small offices). Under no circumstances shall the application of this guarantee give rise to the complete replacement of the machine or entitle the consumer to damages. The guarantee period commences from the date of purchase and will not be extended due to any claims made during this period. This guarantee only applies to products purchased and located in the U.K. and R.O.I.
Fr CITIZ&MILK

30 Ecolaboration: Ecolaboration.com/
31 Ecolaboration: Ecolaboration.com 41
32 garantiE limitEE/garantiE 42
natural_image
Simple line drawing of a hand holding two circular icons with 'P' symbols (no text or numbers present)natural_image
Two blue finger icons with circular buttons, no text or symbols presentnatural_image
Simple line drawing of a finger pressing a button with a circular icon (no text or symbols)natural_image
Blue icon of a lightbulb with a download symbol inside, radiating from a center (no text or numbers)natural_image
Simple line drawing of a finger pressing a button with a blue circular icon (no text or symbols)natural_image
Simple line drawing of a finger holding a circular button with a small symbol (no text or labels)natural_image
Black and white photo of a mechanical device with three ports and a blue cable (no visible text or symbols)natural_image
White rectangular object with a blue arrow pointing downward on its side (no text or symbols visible)natural_image
Simple line icon of a power outlet with a smiley face and plug (no text or symbols)- Branchez la machine au secteur.
- Sluit de machine op de netspanning aan.
natural_image
Illustration of a hand pouring liquid into a container (no text or symbols)natural_image
Simple line drawing of a finger holding two circular icons with coffee cups (no text or symbols)natural_image
Three blue circular icons with sunburst and coffee cup symbols, no text or labels presentVoyants clignotants: préchauffage (25 sec) Indicatieleds knipperen: opwarmen (25 sec)
Voyant allumé en
continu: prêt
natural_image
Simple line drawing of a finger holding a circular object with a triangular symbol, labeled '3X' (no text or symbols on the diagram itself)natural_image
Illustration of a faucet dispensing liquid into a cylindrical container (no text or symbols)- Rincez l'Aeroccino.
- Spoel de Aeroccino om.
Fr PREPARATION DU CAFE/ nl KOFFIEZETTEN VOORBEREIDEN

natural_image
Illustration of a hand pouring liquid into a container (no text or symbols)natural_image
Simple line drawing of two circular icons with a hand holding them, no text or symbols present.natural_image
Two blue circular icons with sun-like patterns above and below, no text or symbols present.natural_image
Close-up of a black electronic device with blue circular components and a white connector (no visible text or symbols)natural_image
Close-up of a black and white industrial machine with a hand mixer and a blue tool inserted (no visible text or symbols)natural_image
Simple line drawing of a finger holding two circular icons with a crown (no text or symbols)natural_image
Close-up of a black and white device with two blue curved arrows pointing to top (no text or symbols visible)natural_image
Simple line drawing of two circular icons with 'P' symbols, no text or labels present- Mettez la machine sous tension et attendez qu'elle soit en mode prêt (Voyant allumé en continu).
- Schakel de machine in en wacht tot deze klaar is voor gebruik (indicatielampje blijft branden).

natural_image
Close-up of a black mechanical component with blue motion indicators (no text or symbols visible)natural_image
Close-up of a black and white object with a blue tool inserted, possibly a brush or tool, against a dark background (no visible text or symbols)natural_image
Simple line drawing of a finger holding two circular icons with 'P' symbols (no text or numbers present)text_image
Diagram illustrating two-step cooking process with water displacement and 1x/2x ratio labelsnatural_image
Close-up of a black threaded bolt with two circular buttons on the side (no text or symbols visible)natural_image
Illustration of a hand holding a small object with a magnified inset showing the process (no text or symbols)natural_image
Two blue finger icons with crown symbols, no text or numbers present- Pour entrer dans le mode de vidange, appuyez simultanément sur les boutons Espresso et Lungo pour éteindre la machine.
- U schakelt de leegmodus in door de knoppen Espresso en Lungo tegelijk in te drukken, zodat de machine wordt uitgeschakeld.
natural_image
Close-up of a mechanical knob with a blue curved arrow indicating rotation (no text or symbols visible)natural_image
Two blue circular icons with 'P' symbols on fingers, no text or numbers presentnatural_image
Four blue circular icons with radiating lines and sunburst shapes, no text or symbols present.Les deux voyants clignotent alternativement. Beide indicatielampjes branden beurtelings.
natural_image
Close-up of a mechanical knob with a blue curved arrow indicating rotation (no text or symbols visible)natural_image
Close-up of a black and white handheld device with blue curved arrows indicating motion or signal flow (no text or symbols visible)- Retirer la capsule et fermez le levier.
- Verwijder de capsule en sluit de capsuleklem.
natural_image
Two metallic mechanical components with no visible text or symbolsnatural_image
Illustration of a hand pouring liquid into a container with a barcode tag (no text or symbols)natural_image
Close-up of a blue-handled hand tool interacting with a transparent cylindrical container (no text or symbols visible)- Placez un récipient (min.
natural_image
Two blue circular icons with cross symbols, resembling stylized fingers or buttons (no text or numbers present)natural_image
Two blue lightbulb icons with radiating lines, no text or symbols presentnatural_image
Blue line icon of a finger pressing a button with a circular button (no text or symbols)natural_image
Illustration of a cylindrical object pouring liquid into a container (no text or symbols)natural_image
Illustration of a hand pouring liquid into a container (no text or symbols)natural_image
Two blue circular icons with white symbols, resembling stylized fingers or buttons (no text or numbers present)natural_image
Blue line drawing of a hand holding a triangular object (no text or symbols)natural_image
Two plastic mechanical components, one white and one black, with no visible text or symbols.ECOLABORATION: ECOLABORATION.COM/
ECOLABORATION: ECOLABORATION.COM