USER MANUAL Benvenuto Classic TCA5202 BOSCH
Please read these instructions carefully and keep for future reference.
This appliance is designed for domestic and not commercial use.

Risk of electric shock
Connect and operate the appliance only in accordance with the specifications on the rating label.
Do not use if either the power cord or the appliance is damaged.
Use indoors at room temperature only.
This appliance is not intended for use by persons (including children) with reduced physical, sensory or mental capabilities, or lack of experience and knowledge,
unless they have been given supervision or instruction concerning use of the appliance by a person responsible for their safety.
Children should be supervised to ensure that they do not play with the appliance.
In the event of malfunction, unplug the appliance immediately.
To avoid potential hazards, repairs such as replacing a damaged cord should only be performed by our service personnel.
Never immerse the appliance or power cord in water.
Do not reach into the grinding unit.

Risk of scalding
The nozzle for hot water and steam 8 gets very hot. Hold the nozzle 8 by the plastic part only, not by the metal parts. When steam or hot water is released, the nozzle 8 may initially sputter.
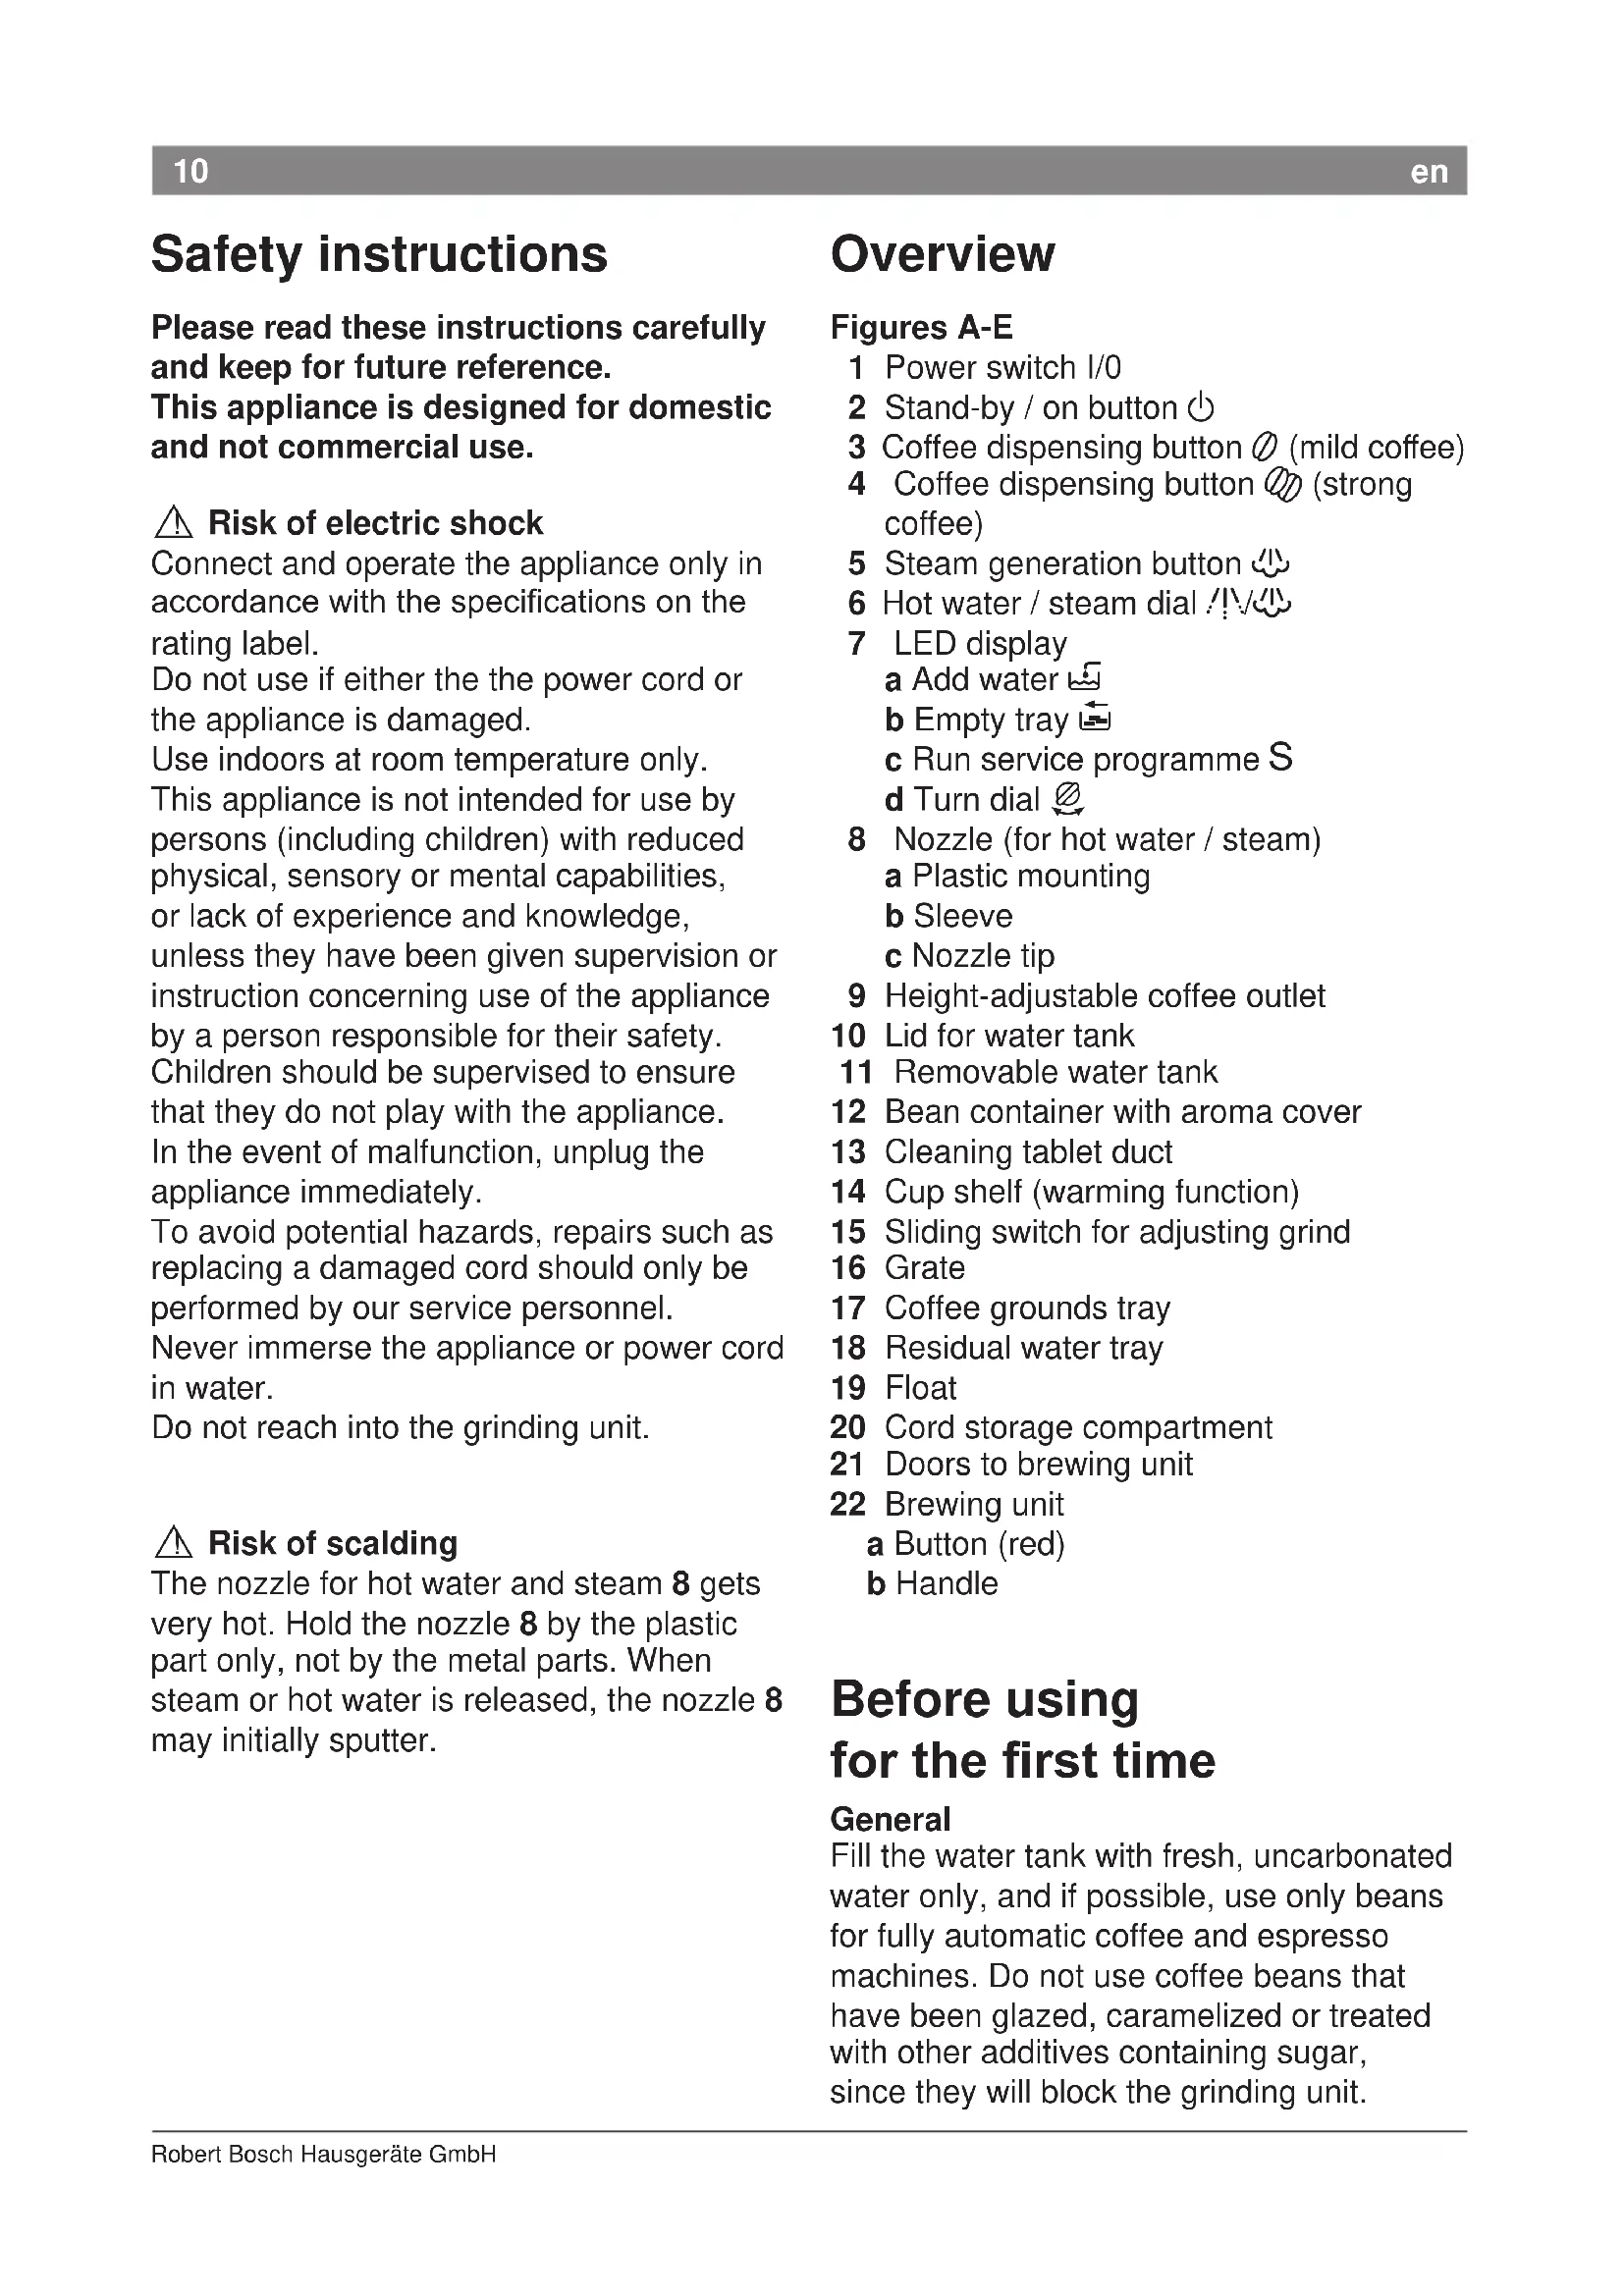
Overview
1 Power switch I/0
2 Stand-by / on button
3 Coffee dispensing button (mild coffee)
4 Coffee dispensing button (strong coffee)
5 Steam generation button
6 Hot water / steam dial
7 LED display
a Add water
b Empty tray
c Run service programme S
d Turn dial
8 Nozzle (for hot water / steam)
a Plastic mounting
b Sleeve
c Nozzle tip
9 Height-adjustable coffee outlet
10 Lid for water tank
11 Removable water tank
12 Bean container with aroma cover
13 Cleaning tablet duct
14 Cup shelf (warming function)
15 Sliding switch for adjusting grind
16 Grate
17 Coffee grounds tray
18 Residual water tray
19 Float
20 Cord storage compartment
21 Doors to brewing unit
22 Brewing unit
a Button (red)
b Handle
Before using for the first time
General
Fill the water tank with fresh, uncarbonated water only, and if possible, use only beans for fully automatic coffee and espresso machines. Do not use coffee beans that have been glazed, caramelized or treated with other additives containing sugar, since they will block the grinding unit.
This appliance can be adjusted for use with different water hardness values (see "Setting the water hardness").
Switching on the appliance
- Pull enough of the power cord out of the storage compartment and plug it into the electrical socket.
- Remove and rinse the water tank 11 and fill it with fresh cold water. Do not fill above the "max" mark.
- Replace the water tank 11 and push it firmly down into place.
- Fill the bean container with coffee beans.
- Set the power switch 1 to I. The stand-by LED lights red.
- Make sure that the hot water/steam dial 6 is at O.
- Press the stand-by button. The LED flashes.
Filling the system
When switched on for the first time, the water pipes in the appliance must be filled.
- Place a cup under the nozzle 8.
- Turn the dial 6 to /ɪv/. Water runs into the cup.
As soon as lights up, turn the dial 6 back to 0.
- The stand-by button will now flash. The appliance rinses and heats up.
The appliance is ready for use when the stand-by LED lights green.
The appliance's factory settings are programmed for optimal performance.
Controls
1 Power switch
The power switch 1 on the rear of the appliance switches the power supply on and off.
When the power is switched on, the standby LED lights red.
The appliance is now in stand-by mode.
Warning
Do not press the power switch while the appliance is operating. The appliance should only be switched off when it is in stand-by mode.
The stand-by button 日 switches the appliance from stand-by mode to on.
When the stand-by button is pressed, the appliance heats up. The stand-by button flashes while the appliance heats up and is rinsed. When the stand-by button lights green, the appliance is ready for operation.
The appliance will not be rinsed if:
- it is still warm when switched on, or
- coffee was not dispensed before it was switched to stand-by mode.
Note: After 3 hours, the appliance automatically switches to stand-by mode.
This button is used to dispense mild coffee. When the button is pressed, the coffee is ground, brewed and dispensed into the cup.
This button is used to dispense strong coffee.
When the button is pressed, the coffee is ground, brewed and dispensed into the cup.
The steam button generates steam for foaming or warming.
6 Steam dispensing dial
Hot water or steam can be dispensed by turning the dial to /or. To dispense steam, the steam generation button must be pressed first (see "Steam for frothing milk").
7 LED display
The various LEDs indicate the following:
on The water tank is empty and needs to be filled.
on Trays full:
Empty and replace them.
flashing Trays missing: Reinsert them.
S on Run the service programme (see "Service programme")
S flashing Service programme in operation
flashing Turn dial to /V心
on Turn dial to O.
Settings and displays
Setting the water hardness
It is important that the water hardness be set correctly, so that the appliance indicates accurately when the descending programme should be run. The factory setting is a water hardness of 4.
You can check the water hardness by asking your local water supplier.
Degree Water hardness
| German (°dH) | French (°fH) |
| 1 | 1-7 | 1-13 |
| 2 | 8-15 | 14-27 |
| 3 | 16-23 | 28-42 |
| 4 | 24-30 | 43-54 |
- Switch the appliance to stand-by.
- Hold down the steam button for at least 5 seconds. The number of LEDs 7a, b, c, S, d that light up indicates the selected water hardness.
- Press the steam button repeatedly until the correct number of LEDs is lit; e.g. for a hardness of 3, the LEDs 7a, b and c (S), S) light up.
- Press the stand-by button once. The selected number of LEDs should light up briefly; this indicates that the desired setting has been saved successfully.
If a water filter (optional extra Order No. 461732) is used, the water hardness should be set to 1.
Note: If no button is pressed within 90 seconds, the appliance switches to stand-by mode without saving the new settings. In this case, the previous water hardness setting is retained.
The appliance must be rinsed when a filter is first used and after changing the filter.
- Fill the tank with water up to the 0.5 l mark.
- Place a suitable container (approx. 0.5 l) under the nozzle 8.
- Set the dial 6 to /ʌv/
- When water stops coming out of the nozzle 8, set the dial back to 0.
- Fill the water tank and the water pipes (see "Switching on the appliance / Filling the system").
Adjusting the grinding unit
Sliding switch 15 adjusts the degree of grinding, from coarse to fine.
Warning
Adjust the grinding unit only while it is running! Otherwise the appliance may be damaged.
- Press the strong coffee button.
- While the grinding unit is running, move the sliding switch 15 to the desired position: the smaller the dots, the finer the grind.
i The new setting will not become apparent until the second or third cup is brewed.
Tip: For dark roast coffee beans, choose a coarser grind; for light roast beans, select a finer grind.
Float
The float 19 in the water tray 18 shows when the tray needs emptying.
- If the float 19 is clearly visible, empty the water tray 18.
Using coffee beans
This fully automatic espresso/coffee machine grinds beans freshly for each brew. If possible, use only beans for fully automatic coffee and espresso machines. Deep-freeze or store in a cool place in sealed, airtight containers. Coffee beans can be ground while frozen.
Important: Fill the water tank with fresh water every day. The tank must always contain sufficient water for operating the appliance. Do not allow it to become empty.
Tip: Pre-warm cups, especially small, thick espresso cups, by placing on the cup shelf 14 or rinsing with hot water.
The appliance must be ready for use.
- Place the prewarmed cup(s) under the coffee outlet 9.
- Press or to select the desired coffee strength. The coffee is brewed and dispensed into the cup(s).
- Coffee delivery stops automatically when the selected quantity has been dispensed (factory setting approx. 125ml ).
The brewing process can be terminated at any time by pressing the coffee dispensing button or.
It is possible to dispense the same amount of coffee a second time.
- Just press the coffee dispensing button or within 3 seconds after brewing is complete.
Note: The second cup is brewed using the previously ground coffee.
Changing volume dispensed
It is possible to change the factory setting (approx. 125ml for the volume of mild or strong coffee to be dispensed.
- Press and hold the coffee dispensing button or 空 until the desired volume of coffee has been delivered (range approx. 30 - 220ml ).
The volume can be changed again at any time. To restore the factory setting of approximately 125ml , simply reset the appliance.
Reset: Switch the appliance to stand-by and remove the trays 17 and 18. Press and hold the dispensing buttons and 空 simultaneously for at least 5 seconds. The LEDs 7a, b, c and d (L, S, ) light up briefly. Replace the trays 17 and 18 and press the stand-by button to switch the appliance on again.
Preparing hot water
The appliance must be ready for use. This function allows water to be heated for a cup of tea, for example.
Risk of burns
The nozzle gets very hot. Do not touch the metal parts!.
- Place an appropriate cup under the nozzle 8.
- Push the sleeve on the nozzle 8 all the way down.
- Turn the dial 6 to /ɪv/
Risk of scalding
When the dial is set to 山 ,the nozzle may sputter a little.Do not touch the nozzle 8 or point it at anyone.
- End the process by turning the dial 6 back to O.
Steam for foaming milk
The appliance must be ready for use. You can foam the milk first and add the coffee on top, or foam the milk separately and pour it into the coffee.
Risk of burns
The nozzle gets very hot. Do not touch the metal parts!
- Push the sleeve on the nozzle 8 all the way down.
- Fill the cup approximately 1/3 full of milk.
- Press the steam button. The LED will start to flash.
The appliance will heat up for approx. 20 seconds.
- Immerse the nozzle 8 deep into the milk, but do not let it touch the bottom of the cup.
- As soon as the LED flashes, turn the dial 6 to [4]1
Risk of scalding
When the dial 6 is set to 心 ,the nozzle 8 may sputter. Escaping steam is very hot and may cause liquids to sputter. Do not touch the nozzle 8 or point it at anyone.
- Rotate the cup slowly until the milk is fully foamed.
- End the process by turning the dial 6 back to O.
To foam more milk, press the steam button again and repeat the whole process.
Note: When the nozzle 8 has cooled down, clean it immediately. Dried residue is difficult to remove.
Tip: If possible, use cold low-fat (1.5% fat) milk.
Steam for heating drinks
Risk of burns
The nozzle gets very hot. Do not touch the metal parts!
The appliance must be ready for use.
- Push the sleeve on the nozzle 8 all the way up.
- Press the steam button. The LED will start to flash.
The appliance will now heat up for approx. 20 seconds.
- Immerse the nozzle 8 deep into the liquid you want to heat.
- As soon as the LED flashes, turn the dial 6 to /11/1.
Risk of scalding
When the dial 6 is set to /1/√, the nozzle 8 may sputter a little. Escaping steam is very hot and may cause liquid to sputter. Do not touch the nozzle 8 or point it at anyone.
- End the process by turning the dial 6 back to O.
To generate more steam, press the steam button again and repeat the whole process.
Note: When the nozzle 8 has cooled down, clean immediately. Dried residue is difficult to remove.
Maintenance and daily cleaning
Risk of electric shock
Unplug the appliance before cleaning it. Never immerse the appliance in water. Do not use a steam cleaner.
- Wipe the outside of the appliance with a damp cloth. Do not use scouring agents.
- Wash all removable parts by hand only.
- Rinse out the water tank 11 with water only.
-
Remove, empty and clean the trays for coffee grounds 17 and residual water 18.
-
Wipe out or vacuum the inside of the appliance (tray holders).
- Open the doors to the brewing unit 21 and remove any coffee residues. Close the doors.
Note: If the appliance is cold when switched on with the stand-by button or if it is set to stand-by after brewing coffee, it is automatically rinsed, i.e. the system cleans itself.
Nozzle 8 for hot water/steam
- Unscrew the nozzle 8 from the steam pipe.
- Dismantle all parts (Fig. D).
- Clean with a caustic cleaning solution and a soft brush. Clean the tip of the nozzle 8/c with a blunt needle.
- Thoroughly rinse and dry all parts.
Brewing unit
The brewing unit can be removed for cleaning (Fig. E).
- Turn off the appliance with button
- Turn the power on/off switch 1 to 0.
- Open the door 21 to the brewing unit 22.
- Hold the red button 22a down and push the handle 22b up until you hear it engage.
- Grasp the brewing unit 22 by the handle, remove carefully, and rinse under running water. Do not use cleaning agents. Do not place in the dishwasher.
- Vacuum the inside of the appliance, or clean it with a damp cloth.
- Reinsert the brewing unit 22 all the way into the appliance.
- Hold the red button 22a down and push the handle 22b down as far as it goes, until you hear it engage. The brewing unit is now secure.
- Close the doors of the brewing unit.
Service programme: Combined cleaning and descaling process
If the "S" LED lights up while the appliance is on, the service programme must be run immediately to clean and descale the appliance. If the service programme is not run as instructed, the appliance may be damaged. Specially developed descaling (Order No. 310451) and cleaning agents (Order No. 310575) can be obtained from our customer service department.
Warning
Each time you run the service programme, follow the instructions for using the cleaning and descending agents.
Never interrupt the service programme.
Do not drink the liquids.
Never use vinegar or vinegar-based products.
Never put descending tablets or other descending materials into the duct for cleaning tablets.
The "LED flashes while the service programme is running (approx. 40 minutes).
Important: If there is a filter in the water tank, it must be removed before the service programme is run.
Starting the service programme
- Switch the appliance to stand-by mode using the stand-by button .
- Empty and replace the trays 17 and 18.
- Hold down the mild coffee button for at least 5 seconds.
The S LED starts to flash and the appliance rinses the coffee dispenser through twice.
- Empty and reinsert the grounds tray 17.
The steam button LED flashes and the LED lights up.
- Place one cleaning tablet in the duct 13.
- Fill the water tank with lukewarm water, add descaling agent and dissolve completely (total liquid: 0.5 litres).
or pour prepared descaling mixture into the water tank (total liquid: 0.5 litres).
- Press the steam button. The descending process begins. Duration approx. 10 minutes. The descending solution flows into the water tray 18.
The LED flashes.
- Place a suitable container (approx. 0.5 litres) under the nozzle 8.
- Set the dial 6 to /1/.
- The descending process begins. Duration approx. 5 minutes. The descending solution flows into the container.
The LED lights up.
- Empty and reinsert the grounds tray 17.
The steam LED flashes.
- Empty and clean the water tank 11, fill with fresh water up to the "max" mark and reinsert.
- Place a suitable container (approx. 0.5 litres) under the nozzle 8.
- Press the steam button. The cleaning process begins. Water flows into the container.
The LED lights up.
- Turn the dial 6 to O. The cleaning process begins. Duration approx. 10 minutes. Liquid flows into the coffee grounds tray 17 inside the appliance, then out through the coffee outlet.
The LED lights up.
- Empty, clean and reinsert the trays 17 and 18.
The appliance heats up and is ready for use again when the stand-by LED lights green.
Important: If the service programme is interrupted, e.g. due to a power cut, it is vital that the appliance be rinsed before it is used again.
- Press the stand-by button.
The stand-by and steam LEDs flash.
- Rinse the water tank 11 thoroughly and fill with fresh water.
- Press the steam button. The appliance is rinsed and liquid flows into the tray.
The LED flashes.
- Hold a cup under the nozzle 8 and turn the dial 6 to [4]11 . Water runs into the cup.
The LED lights up.
- Turn the dial 6 back to O.
The appliance rinses and is ready for use again.
Anti-freeze
In order to avoid damage through cold during transportation and storage, the appliance must be emptied completely first.
The appliance must be ready for use.
- Remove, empty, and replace water tank.
- Place a large, narrow container under nozzle 8.
- Press button.
- As soon as lights up on display, turn dial 6 to [4]1 .
The appliance will release steam for a while.
- When nozzle 8 stops releasing steam, turn dial back to 'O'.
- Turn off the appliance.
Disposal

This appliance is labelled in accordance with the European Directive 2002/96/EG relating to waste electrical and electronic equipment - WEEE. The directive provides the framework for the EU-wide take-back and disposal of end-of-life appliances. Please ask your specialist retailer about current disposal facilities.
Troubleshooting
| Problem Possible cause Solution | |
| No hot water or steam discharge. | Nozzle 8 is blocked. Clean nozzle 8. |
| Foam insufficient or too runny. | Sleeve b on nozzle 8 not in correct position. | Push down sleeve b on nozzle 8. |
| Milk not suitable for foaming. | Use cold low-fat (1.5% fat) milk. |
| Coffee dispensing slows to a trickle. | Coffee is ground too fine. Adjust the grinding unit to a coarser setting. |
| Coffee not dispensed. Water tank not filled or not correctly positioned. | Fill water tank and make sure it is in the right position. If necessary, fill water pipes (see “Switching on the appliance”). |
| Coffee has no “crema” (creamy foam). | Unsuitable type of coffee. Beans no longer fresh. | Change type of coffee used. Use fresh beans. |
| Degree of grinding inappropriate for beans. | Optimize degree of grinding. |
| Grinding unit does not grind the beans. | Beans are not falling into the grinding unit (beans too oily). | Gently tap the bean container. |
| Grinding unit makes a loud noise. | Foreign objects in the grinding unit (e.g. grit, which can be found even in superior types of coffee). | Call the hotline. |
| Button Ⓞ and button S flash alternately. | The brewing unit 22 is missing, or is not properly inserted or secured. | Insert and secure the brewing unit 22. |
| If problems cannot be eliminated, always call the hotline. |
Guarantee
The guarantee conditions for this appliance are as defined by our representative in the country in which it is sold. Details regarding these conditions can be obtained from the dealer from whom the appliance was pur
chased. The bill of sale or receipt must be produced when making any claim under the terms of this guarantee.
Right of modification reserved.
Pnp6op roTOB Kpa6oTe, KOrda CBeToOnOHyI INHdkaTOp KnaBnI 3aropaetc3eHebIM CBeTom.
Ha 3aBoJe-n3rOToBtTeNe np6op 3aNporpaMMnPoBaH Ha cTaHdapTHbIe HacTpoKn, oBeCpeuBaIOUne ONTMaJIbHbI peXIM pa60Tbl.
Злем entblуypablenna
1 CeTeBOB BbIKJIOuTaTeJIb
HaxoJusnca Ha 3aDne CTOPOHe np6opacTeBOB BbIKIOUaTeIb 1 cnyKNT dNBAKNIOeHn IIN OTKIOUeHn IOdauN3NeKTPOaHEprnn.
Iocne BkHoueHnCeTeBOrO BbIKHouaTeJIaCBeTOAnODhBm HnDnKaTOp KJaBnU 3aropaeTcKpaChbIM CBeTOM.
Pnp6op npOn3BOAnT npOMbIKy n CHOba roTOB K pa6Ote.
3auntataOT3amep3aHnra
Bo n36exaHne Bbl3BaHHbIX 3aMeP3aHnEm NOBpeXdHn np6opa npn erO TpaHCnOpTnpOBke n XpaHeHn Heo6xOdmo npedBapnteIbHO pONHOCTbIO ONOPOXHTb np6op.
Pnp6opdoJxeh 6bItb roTOB K pa6oTe.
- CHaTb eMKoCTb DnA BODbl, ONOpOxHnTb ee n yctaHOBnTB Ha npexKHee MeCTO.
- ПОДСТАВИТБ NOД HACаКу 8 6Оьшую y3KуO EMKOCTb.
-
HaxkaTb KnaBnuy
KordaHaDnCnlee HaUHeT MeIbKaTb CnMBOJ ,yCTaHOBHTb NOBOPOTbI pyrJyTop 6 B NoJoxeHne /V. B TeueHne HEnpOdoJnxTeJIbHoro BpeMeHn np6Op npOn3BOdnt o6pa3OBaHne napa.
-
После Того Кам Из Насадки 8
пессану Влгься nap, устови
nobopoTHы рergyлгор орразно в
ножжени O.
- BbIKIIOHHTB npH6Op.
yTNJIIN3aunr

Данньй пибор Имeel Маркировky corласноEbponeckой директubes 2002/96/EC no ytNiI3aunn cTapbIX эл ektrпческxИлakETPOHHbIX npi6opOB (waste electrical and electronic equipmentWEEE).3ToiДиректBoIOnpeIeJIeHbI DeicTBByUOuNe Ha BceI TeppITOpN EC npaBnIa npiema n ytNiI3aunn cTapbIX npi6opOB.ИнфOPMaUIO o6 aKtuaJIbHbIX BO3MOxHocTEx ytNiI3aunN Bbl moKeTe NOJyHTB Mara3InHe, B KOTOpOM Bbl npino6peJI npi6op.
YcnoBna rapaHTnHoro 06cnyxNbHa
IOnyUHTb NcYeepNbIBaHOu HnΦOpMaUIO 06 yCNoBnJx rapaHTnHOrO o6CnyKbAHnB Bbl MoKeTe B Baem 6nJaMse mABTOpN3OBaHHOM cepBnCHOM ueHTpe nIN B cepBnCHOM ueHTpe OT npOn3BOIDTeJI OOO «BCX BbIToBaTexnKa», a TaKKe HaNTB CnPmeHHOM rapaHTnHOM TaJOHe, BbIdaBaEMom npn npOdaKe.
Mbl ocTabnem 3a c6oB npaboHa BHeceHne N3MeHeHn.
CamocToTeIbHoe yCTpaHeHne MeJKNX HeNCpabHOCTeI
AE United Arab Emirates,
1 2
BSH Home Appliances FZE
Round About 13,
Plot Nr MO-0532A
Jebel Ali Free Zone - Dubai
Tel.: 04 881 4401
Fax: 04 881 4805
www.bosch-household.ae
BSH Home Appliances Pty Ltd
57-63 McNaughton Roads
CLAYTON, Victoria 3168
Tel.: 1300 368 339
Fax: 1300 306 818
valid only in AUS
BA Bosnia-Herzegovina Bosna i Hercegovina
"HIGH" d.o.o.
Odobasina 57
7100 Sarajewo
Info-Line: 061 10 09 05
Tel./Fax: 033 21 35 13
mailto:delicnanda@hotmail.com
BE Belgique, Belgie, Belgium
BSH Home Appliances S.A.
Bosch Hvidevareservice
BSH Hvidevarer A/S
Telegrafvej 4
2750 Ballerup
Tel.: 44 89 89 85
Fax:44898986
mailto:BSH-Service.dk@
BSHG.com
www.bosch-hvidevarer.com
EE Eesti, Estonia
AS Serwest
Raua 55
10152 Tallinn
Tel.: 0627 8733
Fax: 0627 8739
www.bshappliancecare.co.uk/ bosch
Service Requests (nationwide)
Tel.: 08702 413381
mailto:mks-servicerequest@ bshg.com
Spare, Accessories and Central Warehouse
Tel.: 08705 543210
mailto:mks-spares@bshg.com
Customer Liaison
Fax: 01908 328660
mailto:mks-customerliaison@ bshg.com
Head office
Tel.: 08705 222777
Fax: 01908 328670
GR Greece, EAAac
BSH Ikiakes Siskeves A. B. E.
Kentriko Ipokastima Service
17 km E.O. Athinon-Lamias &
Potamou 20
14564Kifisia
Griichenland - Athen
Tel.: 2104 277 701
Fax:2104277669
Nord-Griechenland - Thessaloniki
Tel.: 2310 479 298
Fax: 2310475574
Sued-Griechenland - Heraklion/Kreta
Tel.: 2810 325 403
Fax: 2810 324 585
Unit 1&2B, 7th Floor
North Block, Skyway House
3 Sham Mong Road
Tai Kok Tsui, Kowloon
Hongkong
Tel.: 2565 6151
Fax: 2565 6252
HR Hrvatska, Croatia
Andabaka d.o.o.
Gunduliceva 10
21000 Split
Info-Line: 021 481 403
Info-Fax: 021 481 402
mailto:servis@andabaka.hr
IE Republic of Ireland
BSH Home Appliances Ltd.
BSH Appliance Care,
Service Division
Unit F4, Ballymount Drive
Ballymount Industrial Estate
Walkinstown
Dublin 12
www.bshappliancecare.ie/Bosch
Service Requests
Tel.: 01450 2655
Fax: 01450 2520
Spares and Accessories
Tel.: 01450 2655
Fax: 01450 2520
IL Israel,
C/S/B Home Appliance Ltd.
Uiel Building
2, Hamelacha St.
Industrial Park North
71293 Lod
Tel.: 089777222
Fax: 089777245
mailto:csb-serv@zahav.net.il
IS Iceland
Smith & Norland hf.
Noatuni 4
105 Reykjavik
Tel.: 0520 3000
Fax: 0520 3011
www.sminor.is
IT Italia, Italy
KZ Kazakhstan, Ka3aKCTAH
Kombitechnozentr Ltd.
Shewchenko 147B
480096 Almaty
Tel.: 03272 689898
Fax: 03272 682652
LB Lebanon,
Teheni, Hana & Co.
Dora Beyrouth
Jdeideh 114043
Tel.: 01 255 211
Fax:01257359
mailto:Info@Teheni-Hana.com
LT Lietuva, Lithuania
Senuku Prekybos Centras LTD.
Pramones 6
3031 Kaunas
Tel.: 037 362 767
Fax:037 304 640
www.senukai.lt
LU Luxembourg
72 Buluju street, house 2
1067 Riga
Tel.: 07 74 42 274
Fax: 07 74 73 300
mailto:latinter@latinter.lv
ME Crna Gora, Montenegro
Elektronika komerc
Ulica Slobode 17
84000 Bijelo polje
Tel.: 084 432 575
Fax:084432575
mailto:elektronikabsh@cg.yu
MK Macedonia, Makeonna
Vudelgo
Pero Nakov b.b.
1000 Skopje
Tel.: 02 2580 064
Tel.: 02 2551 099
mailto:goran@vudelgo.com.mk
MT Malta
Oxford House Ltd.
Notabile Road
Mriehel BKR 14
Tel.: 021 442 334
Fax: 021 488 656
www.oxfordhouse.com.mt
NL Nederlande, Netherlands
Building C, 39-43 Apollo Drive
Mairangi Bay, Auckland 1310
Tel.: 094786158
Fax: 094782914
www.bosch.co.nz
PL Polska, Poland
BSH Home Appliances (SEA)
Pte. Ltd.
Chung Hsiao E. Road, Sec. 1
Taipei
Tel.: 02 5556 2556
Fax: 02 5556 1235
www.boschappliance.com.tw
UA Ukraine, YkpauHa
KneB
CП "TpacH-CepBnc"
Ten.: 044 568 51 50
OOO "DOnu3JIeKtpocepBnC"
ten.: 044 467 80 46
OOO "TpN O CepBnC"
Tei.: 044 565 93 99
www.bosch-pt.com.ua
XK Kosovo
NTP GAMA
Rruga Mag Prishtine-Ferizaj
70000 Ferizaj
Tel.: 038 502 448
Fax:029 021434
mailto:gama_mm@yahoo.com
XS Srbija, Serbia
15 th Rd., Randjespark
Private Bag X36, Randjespark
1685 Midrand-Johannesburg
Tel.: 011 265 7800
Fax:0112657867
mailto:service@bsh.co.za
www.boschappliances.co.za