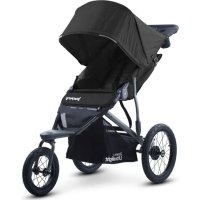
Zoom 360 Ultralight - Stroller Joovy - Free user manual and instructions
Find the device manual for free Zoom 360 Ultralight Joovy in PDF.


User questions about Zoom 360 Ultralight Joovy
0 question about this device. Answer the ones you know or ask your own.
Ask a new question about this device
Download the instructions for your Stroller in PDF format for free! Find your manual Zoom 360 Ultralight - Joovy and take your electronic device back in hand. On this page are published all the documents necessary for the use of your device. Zoom 360 Ultralight by Joovy.
USER MANUAL Zoom 360 Ultralight Joovy
natural_image
Line drawing of a stroller with wheels and seat, no text or symbols presentWARNING
Please read these instructions carefully before use and keep them for future reference.
- Failure to follow these instructions could result in serious injury or death.
- Never leave child unattended.
- Avoid serious injury from falling or sliding out.
• Always use restraint system and ensure that all children are positioned according to these instructions.
- Be certain that the stroller is fully opened, locked securely into position, and the wheel brakes are on before allowing children near the stroller.
- Avoid serious injury from the front wheel falling off. Ensure the wheel is properly installed and secure before any use of the stroller.
- The parking device should always be engaged during the loading and unloading of children.
- The maximum weight of a child the product is designed to carry is 75 lbs. (34 kg).
- The maximum height of a child the product is designed to carry is 44 in (111.76 cm).
- The seat is not suitable for a child under 3 months.
- Use of the stroller with a child weighing more than 75 lbs. (34 kg), may cause a hazardous unstable condition.
- Never use this stroller to carry more than one child at the same time.
- Never allow a child to step on the footrest to get into or out of the stroller.
- Do not use the stroller on stairways or escalators.
- Do not add any attachment not specifically recommended by Joovy.
- Keep children away from the stroller when folding or unfolding.
- Any load attached to the handle affects the stability of the stroller. Hanging purses, shopping bags, parcels, diaper bags or other accessory items from the handlebar or any other parts of the stroller may change the balance of the stroller and cause a hazardous unstable condition.
- The included parent organizer is for use ONLY on the Joovy Zoom 360 Ultralight stroller. DO NOT use it on other stroller models.
- Never carry hot beverages or open containers in the parent organizer. Maximum weight allowed is 3 lbs. (1.36 kg).
- The maximum weight that can be carried in the storage basket is 5 lbs. (2.27 kg). Excessive weight may result in a hazardous unstable condition.
- The total weight that can be placed in the seat back pockets should be less than 2 lbs. (0.9 kg).
- The total weight that can be placed in the in-seat pockets should be less than 2 lbs. (0.9 kg).
- Never allow your stroller to be used as a toy.
- Discard all packaging materials properly. Do not allow children to play with them.
- Check your stroller for loose rivets, snaps, worn parts, and torn material or stitching on a regular basis.
- Discontinue use of the stroller should it malfunction or become damaged.
- Keep wheels at a recommended tire pressure of 35 psi or as specified on any replacement tire.
- Also check the front wheel attachment and the tether strap attachment regularly for proper function and security.
CAUTION: While unfolding the stroller, be careful to keep your fingers from being pinched by moving parts.
Please do not return this product to the store
If you experience any difficulty with the assembly or use of this product, or if you have a question regarding these instructions, please contact our Customer Service Department:
UNITED STATES - Joovy: (877) 456-5049, Hours 8:30 am – 5:00 pm Central Time.
CANADA - ISSI Inc.: (800) 667-4111, Hours 8:30 am – 5:00 pm Eastern Time.
Please note: Styles and colors may vary.
Assembling and Using Your Stroller
1 Unpacking the Product
- Remove everything from the box and identify the parts using Figure 1.1 (not to scale).
A: stroller, B: front wheel, C: 2 rear wheels, D: parent organizer, E: tire pump, and documents (not shown).
- Discard all packaging materials properly including plastic coverings.
- DO NOT allow children to play with any packaging materials.
WARNING
Adult assembly is required for this product. No Tools Required.
2 Unfolding the Stroller
- Keep children away from stroller while unfolding.
- Orient the stroller with the seat facing up and the handle bars closest to you.
- If necessary, release the locking latch located on the lower right side by lifting the latch off of the catch. See Figure 2.1.
- Pull up on the handlebar so that the stroller unfolds to its upright and locked position.
- Ensure that the stroller is completely opened and the latching mechanism is secured before ANY further assembly or use of the stroller.
CAUTION: While unfolding the stroller, be careful to keep your fingers from being pinched by moving parts.
WARNING
ALWAYS keep children away from the stroller when unfolding.
Possible pinching hazard – Be careful when unfolding the stroller.
3 Installing/Removing Rear Wheels
• Take one rear wheel and insert it into one of the rear wheel hubs until an audible click is heard.
NOTE: You may need to push the wheel with some force to get it past the locking mechanism. See Figure 3.1.
- Pull outward on the wheel to ensure the wheel is installed properly.
- To remove a wheel, push down on the plastic tab on the rear axle and then pull outward on the wheel. See Figure 3.2.
4 Installing the Front Wheel
- With the stroller still tilted backwards on the handle bar, remove the plastic protector from the front forks and discard properly.
NOTE: first need to lock the forks into place. See section on "Front Wheel Lock" for this procedure. - Loosen the round nut on one end of the front wheel axle just enough so that the wheel will slide onto the frame forks. BE CAREFUL that you do not take this nut off completely. If this occurs, be sure to reassemble the metal washer and spring onto the axle before reassembling the nut onto the axle.
NOTE: The metal washer must be assembled to the axle with the small metal tab facing IN toward the wheel and the SMALL end of the spring also facing IN toward the wheel. - Make sure the safety lock on the opposite end of the axle is in the UNLOCKED (straight out) position.
NOTE: You can assemble the front wheel with the safety lock on either side of the stroller. - Slide the wheel onto the frame forks being sure that the metal washer is on the OUTSIDE of each fork. See Figure 4.1.
- Make sure the small metal tab on the washers on BOTH sides of the wheel are placed into the small hole in the fork. This is a secondary retaining method to help prevent the wheel from sliding off the forks in case the safety lock accidentally opens.
- While holding the safety lock in the open position, tighten the round nut BY HAND in a clockwise direction until it is as tight as you can get it.
- Push the safety lock DOWN to the closed position and ensure it is tight. See Figure 4.2. You may need to loosen the round nut slightly to fully close the safety lock.
- Pull outward on the wheel to ensure the wheel is installed properly.
- If the wheel is loose or able to be pulled off the forks, loosen the safety lock to the unlocked position and tighten the round nut further. Repeat until the wheel is secure.
- To remove the wheel, rotate the safety lock to the unlocked position and loosen the round nut counter clockwise until loose enough to slide the wheel off of the frame forks.
5 Front Wheel Swivel Lock
The stroller can be operated with the front wheel in either swivel mode or locked mode.
- To put the front wheel into locked mode, locate the plastic locking lever just above the front wheel.
- Push this lever to the right (clockwise) and rotate the wheel until it locks automatically in the straight position and an audible click is heard. See Figure 5.1.
• To unlock the front wheel and use it in swivel mode, push the lever to the left (counter clockwise) until an audible click is heard.
6 Rear Wheel Brakes
This stroller is equipped with a linked parking brake for the rear wheels.
• Before placing your child into the stroller or removing them from the stroller, be certain that the rear parking brake is engaged.
- To engage the rear parking brake, push down on the brake lever on the rear axle of the stroller until you hear an audible click. See Figure 6.1.
- Check that the brake is properly applied by attempting to push the stroller backwards and forwards.
• To release the brake, lift up on the brake lever until it locks into the UP position and you hear an audible click. See Figure 6.2.
WARNING
Always engage the parking brake when the stroller is not being pushed so that it will not roll away.
Never leave stroller unattended, especially on a hill or incline, as the stroller may tip over or slide.
7 Operating the Canopy
- To open the canopy, pull forward on the front edge of the canopy until it is fully extended.
- The canopy and visor can be adjusted into several positions ranging from fully closed to full extended, or any position in between.
See Figure 7.1.
NOTE: The top rear portion of the canopy has a roll back window. To open, pull the front edge up, roll the flap backward and secure using the "T" and elastic attachment.
- To close the canopy, push the front edge of the canopy toward the rear of the stroller.
TIP: Push the seat back forward and tuck the canopy behind it.
WARNING
Possible pinching hazard – Be careful of the side hinges when opening and closing the canopy.
8 Seat Recline Positioning
The seat can be adjusted to any position from upright to reclining. Fully reclined seat for children 3 months and above. All other seat positions for children 6 months and above ONLY.
- To recline the seat, loosen the adjustment straps on both sides of the seat and recline the seat until the desired position is reached. See Figure 8.1.
• To adjust the seat back to a more upright position, simply tighten both adjustment straps until the seat back is in the desired position.
9 Using and Adjusting the Seat Restraint System
- There are three height adjustment positions for the shoulder harness. Adjust the height to the closest height above your child's shoulders.
- To remove the shoulder harness, turn the plastic ends sideways and push them through the slots in the seatback. Reattach the harness at the proper height by reinserting the plastic ends through the slots. See Figure 9.1. Ensure both straps are the same height.
- To unlatch the buckle press the center button and remove the male ends of each buckle. See Figure 9.2.
- Carefully place the child in the seat with the shoulder straps over their shoulders and chest. Then place the crotch strap between the child's legs.
- Push the shoulder/waist latch posts into the crotch buckle until all parts snap into place. See Figure 9.3.
- Tighten the waist belt to be snug around the child's waist.
- The shoulder, waist, and crotch straps may be adjusted using the sliding plastic rings on these straps.
WARNING
Always use the crotch strap in combination with the waist belt. Avoid serious injury from falling or sliding out. Always use the restraint system. The seat is not suitable for children under 3 months.
10 Storage Basket
The maximum weight that can be carried in the storage basket is 5 lbs. (2.27 kg).
11 Folding the Stroller
- Keep children away from stroller while folding.
- Place the canopy into its closed position and pull it all the way toward the rear of the stroller.
- From the front of the stroller, lift the pull tab (Labeled “FOLD”) above legrest, to expose the fold release lever (on the right) and cable located under the seat. See Figure 11.1.
- While pushing inward on the fold release lever (See Figure 11.2), grasp the handle in the middle of the release cable and pull it up quickly to allow the stroller to fold. See Figure 11.3.
- Continue pulling up until the stroller is fully folded.
CAUTION: While folding the stroller, be careful to keep your fingers from being pinched by moving parts.
- Be sure that the locking latch on the right side of the stroller is secure. See Figure 11.4.
WARNING
ALWAYS keep children away from the stroller when folding.
Possible pinching hazard – Be careful when folding the stroller.
12 Tire Pump
The tire pump is located inside the storage basket.
• To use the tire pump, pull out the air tube from one end of the air pump and screw it snugly into the opposite end of the pump body.
- Remove protective cap from the tire tube air valve. Attach air tube to the air valve on the tire.
- Pump air into the tube until the tires are filled to 35 psi or as specified on the tire wall.
- When finished, unscrew the air tube from the tire valve and then from the pump. Replace the tube in the end of the pump and return the pump to its storage location in the basket.
WARNING
DO NOT over inflate the tires, as this may cause a potentially hazardous condition. The pump may become warm to the touch, but this is not an abnormal condition.
13 Parent Organizer
• To install, place the organizer between the frame just below the handle bar. Wrap the parent organizer ends around the frame and attach a buttonhole to each peg. See Figure 13.1.
• To remove it, detach the buttonholes from the pegs.
14 Wrist Tether Strap
There is a tether strap located on the rear frame of the stroller to keep your stroller close by if you lose your grip.
• Always loop the wrist tether around your wrist before using your stroller.
Maintenance
All of the fittings, snaps, locks, rivets, and other hardware and plastic parts on the stroller should be inspected periodically to ensure that they are secured properly and not damaged or malfunctioning. The restraint system, as well as all other straps and fabric items and their stitching should also be inspected periodically to ensure that they are secured properly and not loose, torn or otherwise damaged. Please inspect the front fork and ensure that it swivels freely. All moving parts, such as wheels, brakes, and hinges should also be checked periodically to ensure they are operating properly.
Any missing, broken, or worn components should be replaced immediately, and the stroller should not be used until they are replaced. Only original manufacturer's components should be used. If needed, please contact Joovy at our toll-free phone number.
Cleaning
The fabric material on this stroller can be cleaned using mild household soap or detergent and warm water on a sponge or clean cloth. Always allow the fabric to completely air dry before using the stroller.
The frame and wheels should always be kept clean and free of dirt and foreign matter, especially after operating the stroller in rain, snow, or other harsh environments. Use a sponge or cloth dampened with warm water and a mild detergent cleaner to clean the wheels after such use.
SATISFACTION GUARANTEED
We want you to be completely satisfied with your purchase of this product. Should you experience any difficulty in assembling or using this product, or if you have any questions, please contact our Customer Service Department: UNITED STATES - Joovy: (877) 456-5049, Hours 8:30 am – 5:00 pm Central Time. CANADA - ISSI Inc.: (800) 667-4111, Hours 8:30 am – 5:00 pm Eastern Time.
Please log onto www.joovy.com to register your new Joovy product.
MISE EN GARDE
SATISFACTION GARANTIE
natural_image
Black bicycle tricycle with visible branding and wheels, no text or symbols on the vehicle itselfBicycoo™
foocot™
natural_image
Open camping table with orange canopy and brown Jioovy bag (no text or symbols visible)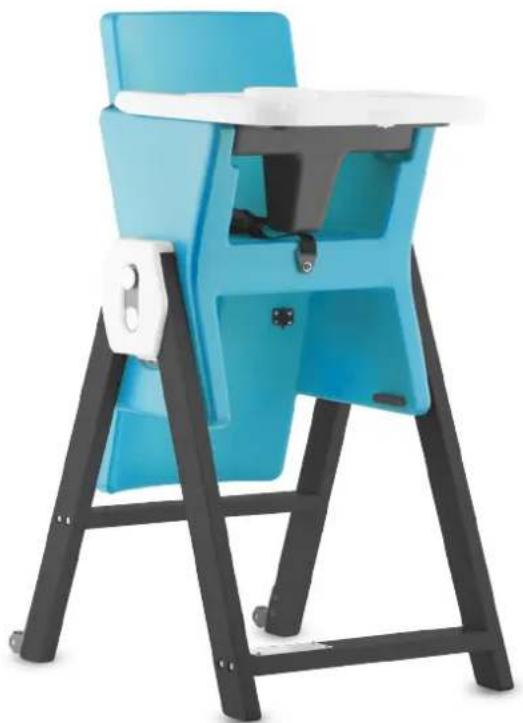
natural_image
Blue and black baby boom chair with white seat, no visible text or symbolsHiLo™
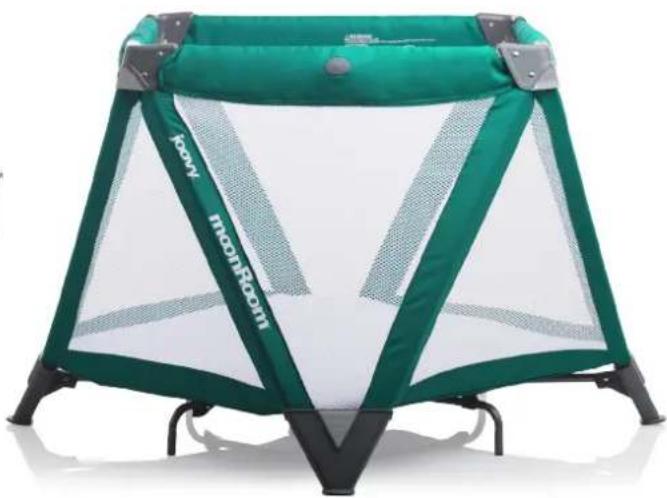
moonRoom™
natural_image
Green and white camping tent with 'Kony' and 'MORIGINI' branding, no visible text or symbols on the tent itself.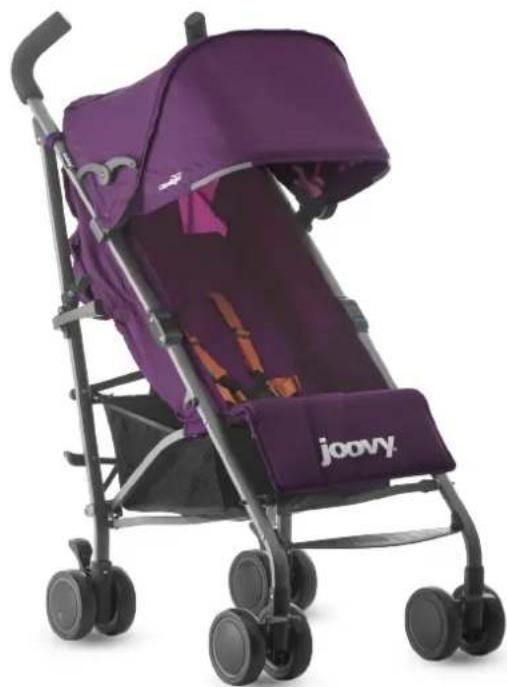
natural_image
Purple Joavvy baby stroller with black frame and wheels, no visible text or symbols on bodyGroove Ultralight

text_image
L∞™