Hang Up - Massage device Sissel - Free user manual and instructions
Find the device manual for free Hang Up Sissel in PDF.
Document temporarily unavailable
The manual is currently being transferred to our new server. It will be accessible again in a few hours. Thank you for your patience.
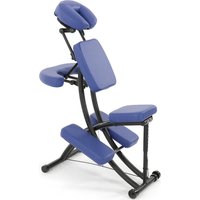
| Product Type | Inversion Table |
| Brand | Sissel |
| Model | Hang Up |
| Maximum user weight | 110 kg |
| User height (min/max) | 140 cm / 198 cm |
| Safety standard | DIN 957-2 class H (domestic use) |
| Main materials | Steel, foam, nylon |
| Functions | Inversion, stretching, abdominal strengthening |
| Safety devices | Adjustable safety straps, carabiners, handles |
| Adjustments | Tilt via levers (4 holes), graduated central bar |
| Assembly | Required, parts and tool included |
| Maintenance | Clean with a damp cloth, regularly check fastenings |
| Warranty | Manufacturing defects (conditions in manual) |
| Included accessories | Handles, straps, carabiners, key |
| Recommended use | Domestic, non-professional |
Frequently Asked Questions - Hang Up Sissel
User questions about Hang Up Sissel
0 question about this device. Answer the ones you know or ask your own.
Ask a new question about this device
Download the instructions for your Massage device in PDF format for free! Find your manual Hang Up - Sissel and take your electronic device back in hand. On this page are published all the documents necessary for the use of your device. Hang Up by Sissel.