859425 - Scale CAS - Free user manual and instructions
Find the device manual for free 859425 CAS in PDF.
| Product type | Counting and weighing scale |
| Available models | DB-II-150, DB-II-300, DB-II-600 |
| Maximum capacity | Up to 300 kg depending on model |
| Internal resolution | 1/120,000 to 1/150,000 |
| External resolution | 1/3,000 |
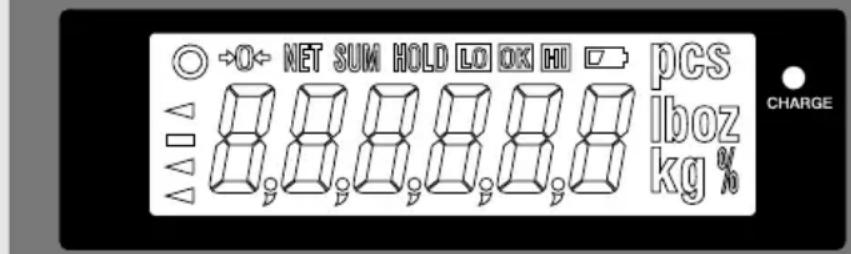
| Display | 6-digit LCD with indicators |
| Serial interface | RS-232C (printer) |
| Power supply | 9V, 12V or 24V AC adapter; rechargeable battery |
| Battery life | Approx. 100 h (alkaline, backlight off) |
| Temperature range | -10°C to 40°C |
| Platform dimensions (DB-II-150) | 420 × 510 × 110 mm |
| Product dimensions (DB-II-150) | 420 × 635 × 765 mm |
| Main functions | Weighing, tare, counting, percentage, hold, accumulation, comparison, printing, unit change |
| Safety | Do not disassemble, do not exceed max load, avoid water, stable surface |
| Maintenance | Clean with dry cloth, periodic verification, remove battery if unused |
| Repairability | Authorized CAS after-sales service |
| Included accessories | AC adapter, battery (depending on model), platform, user manual |
Frequently Asked Questions - 859425 CAS
User questions about 859425 CAS
0 question about this device. Answer the ones you know or ask your own.
Ask a new question about this device
Download the instructions for your Scale in PDF format for free! Find your manual 859425 - CAS and take your electronic device back in hand. On this page are published all the documents necessary for the use of your device. 859425 by CAS.
USER MANUAL 859425 CAS
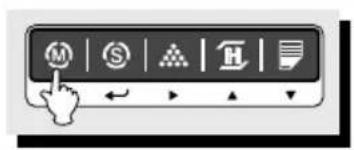
(M) Overschakelen van mode: kg => pcs => % => Weeglimiet on/off => Tellimiet On/off => kg
| Model DB-II 60kg DB-II 150kg DB-II 300kg | ||
| Range of Lack 10g ≤ Lack ≤ 5g 20g ≤ Lack ≤ 10g | 50g ≤ Lack ≤ 25g | |
| Range of Low 5 g ≤ Low 10g ≤ Low 25g ≤ Low |
859.415
859.425
*859.435
CONTENTS
PRECAUTIONS 4
6 ECAFERP
NAMES AND FUNCTIONS 6
8 SNOITAREPO
- General Weighing 8
- Weighing with Tare 8
- Counting Mode 9
- Percent Weighing Mode 10
5.Hold Function 11
6.Cumulative Weight Sum 11 - Weight Comparison Function(HI/OK/LOW) 13
8.Print Out 15 - Battery Charge 16
SETUP MODE 17
1.How to Go to Setup Mode 17
2. Setup Mode Table 17
3.How to Enter Date 18
4.How to Enter Time 19
5.How to Enter Label Caption 20
ERROR MESSAGES 21
SERIAL INTERFACE 21
SNOITAGEPS 22
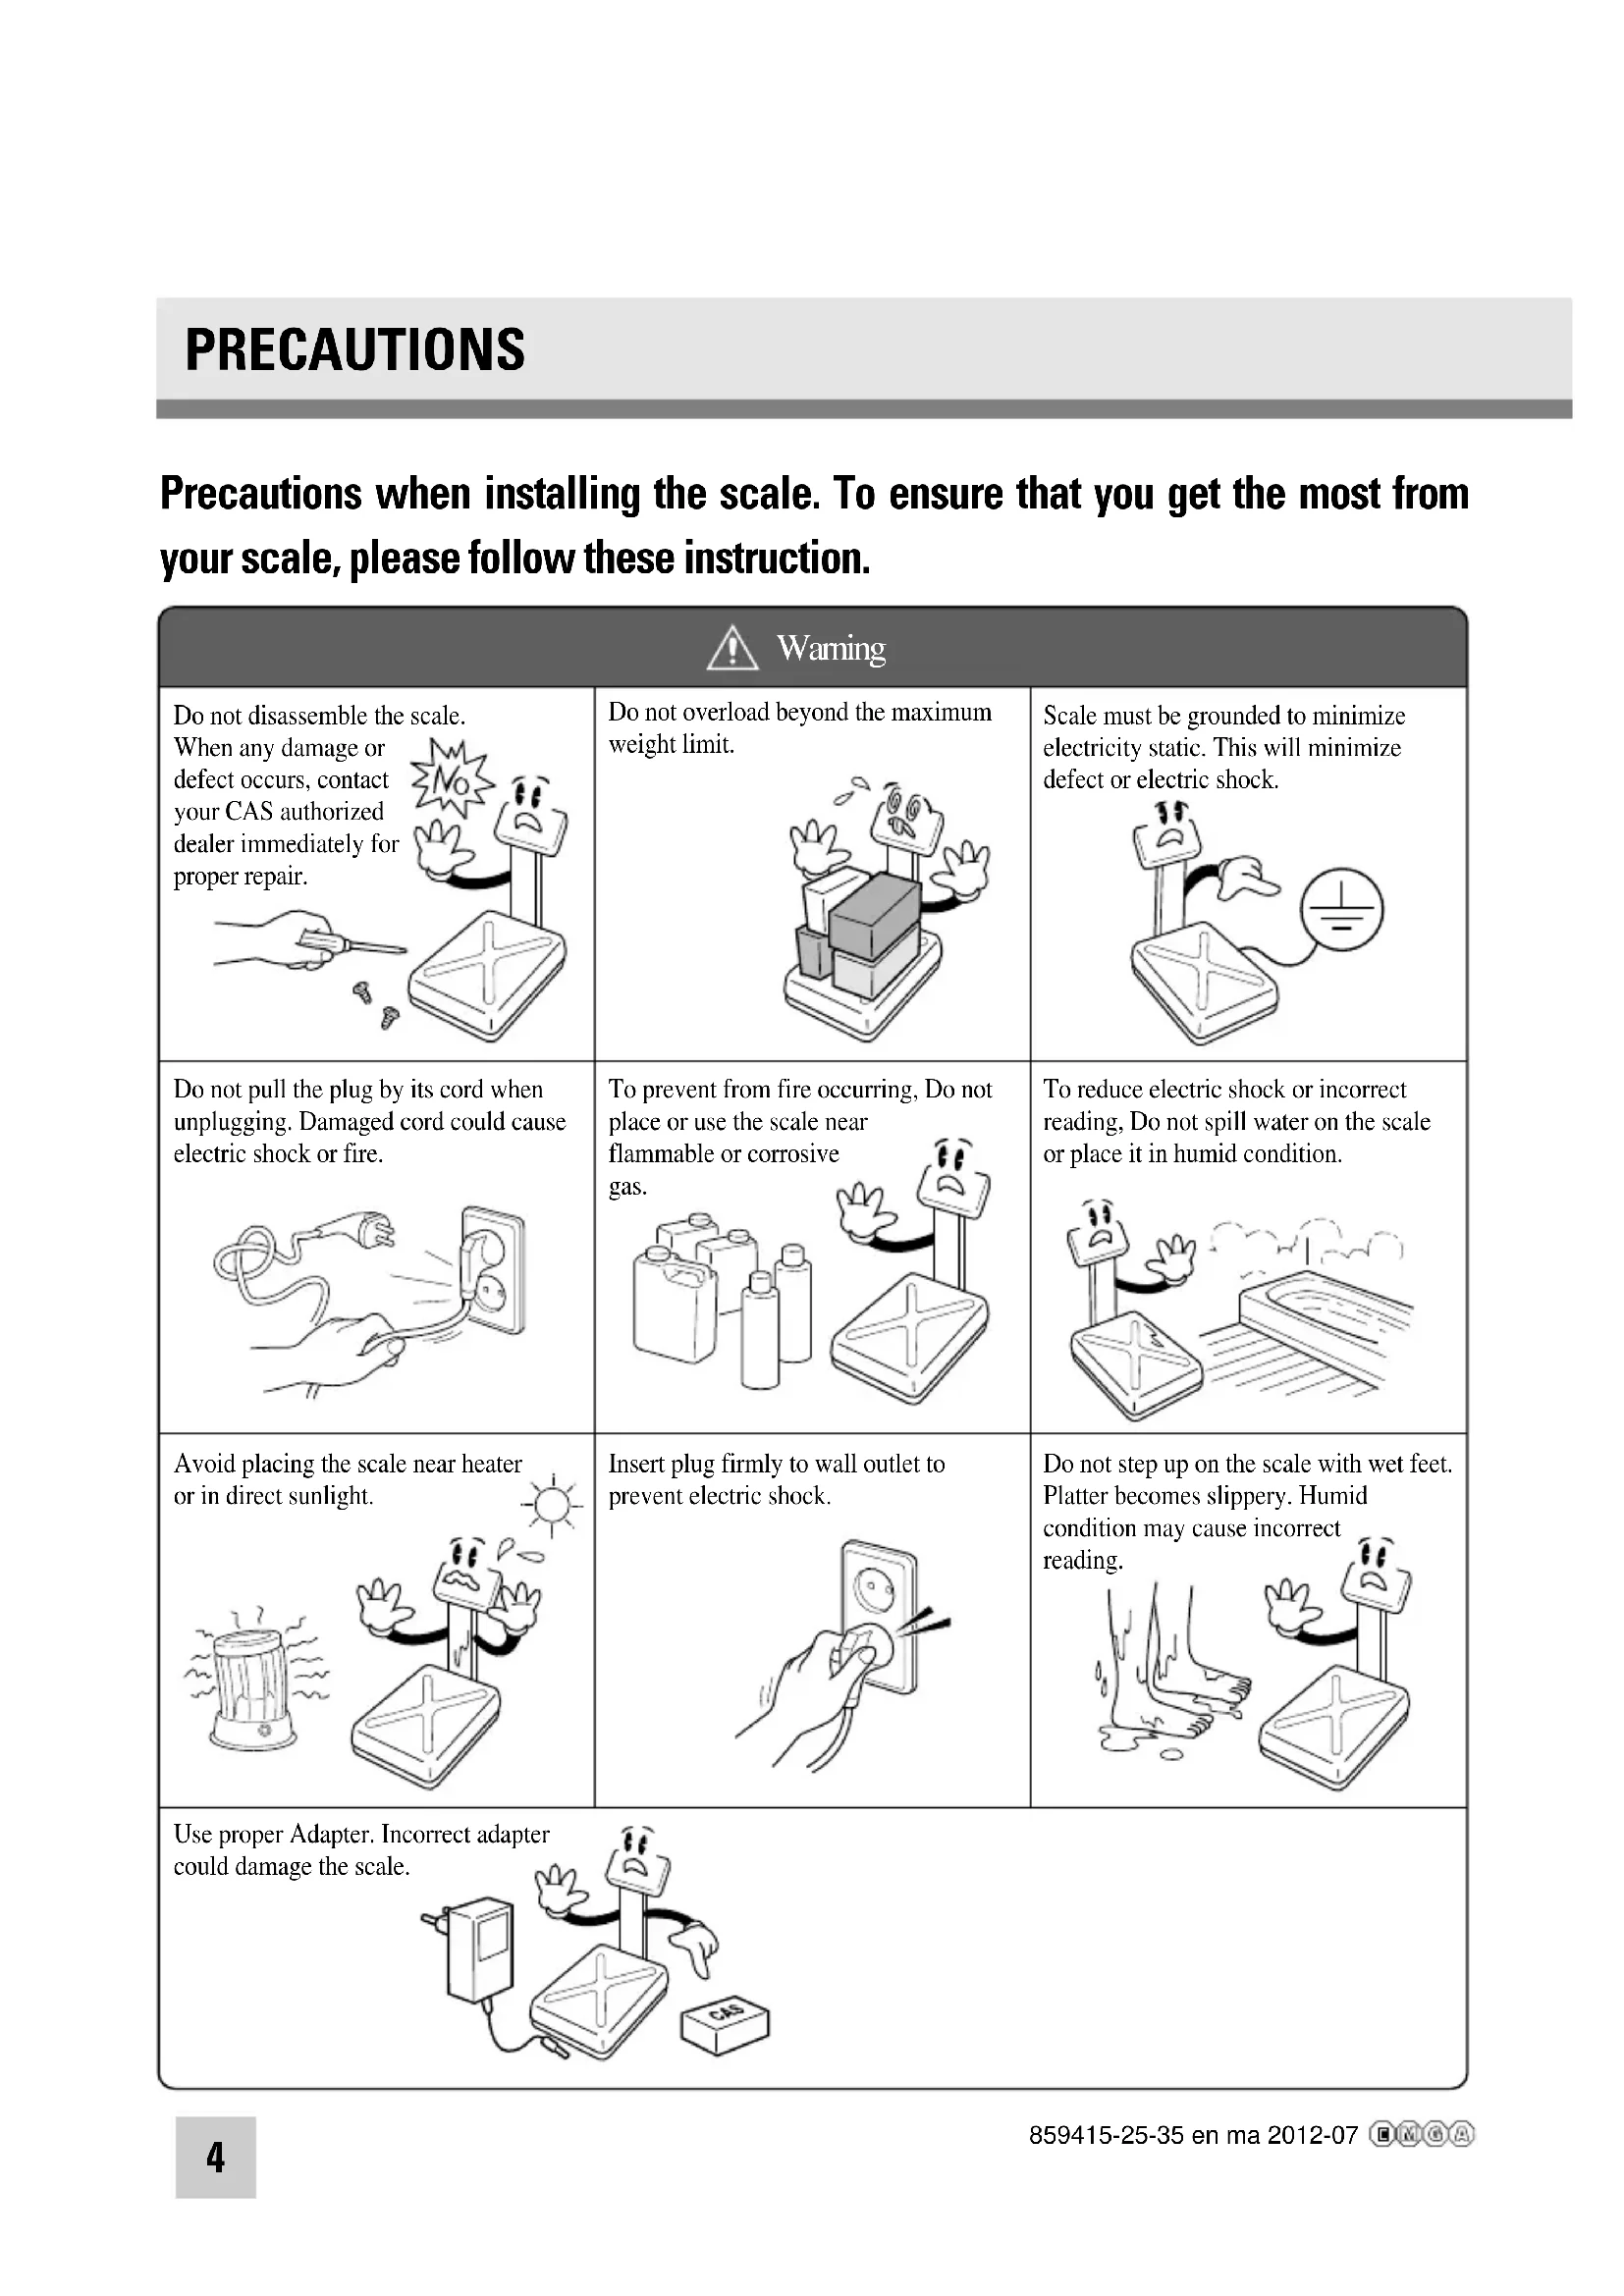
Precautions when installing the scale. To ensure that you get the most from your scale, please follow these instruction.
| Warming | ||
| Do not disassemble the scale. When any damage or defect occurs, contact your CAS authorized dealer immediately for proper repair. | Do not overload beyond the maximum weight limit. | Scale must be grounded to minimize electricity static. This will minimize defect or electric shock. |
| Do not pull the plug by its cord when unplugging. Damaged cord could cause electric shock or fire. | To prevent from fire occurring, Do not place or use the scale near flammable or corrosive gas. | To reduce electric shock or incorrect reading, Do not spill water on the scale or place it in humid condition. |
| Avoid placing the scale near heater or in direct sunlight. | Insert plug firmly to wall outlet to prevent electric shock. | Do not step up on the scale with wet feet. Platter becomes slippery. Humid condition may cause incorrect reading. |
| Use proper Adapter. Incorrect adapter could damage the scale. | ||
Make sure to plug your scale into the proper power outlet. For maximum performance, plug into a power outlet 30 minutes before the usage for warm up.
| Attention | ||
| For consistent and accurate reading, maintain periodical check by your CAS authorized dealer. | Avoid sudden shock to the scale. Internal mechanism could be damaged. | Grab on the bottom of the scale when moving. Do not hold by the platter. |
| Take the battery out when scale is not in use for long time. Leakage from the batteries is hazardous. | Place the scale on firm and temperature consistent environment. | By adjusting 4 corners of the scale, set the scale even using the built in scale leveling indicator. |
| Keep the scale away from other electromagnetic generating devices. This may interfere with accurate reading. | ||
PREFACE
Thank you for purchasing our CAS DB- series.
These series have been designed with CAS reliability, under rigid quality control and with outstanding performance. Your specialty departments can enjoy these high quality reliable CAS products.
We believe that your needs will be satisfied and you will have reliability.
This manual will help you with proper operation and care of the DB-Ⅱ series. Please keep this handy for future reference.
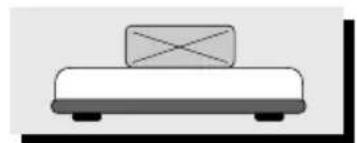
NAMES AND FUNCTIONS
OVERALL VIEW
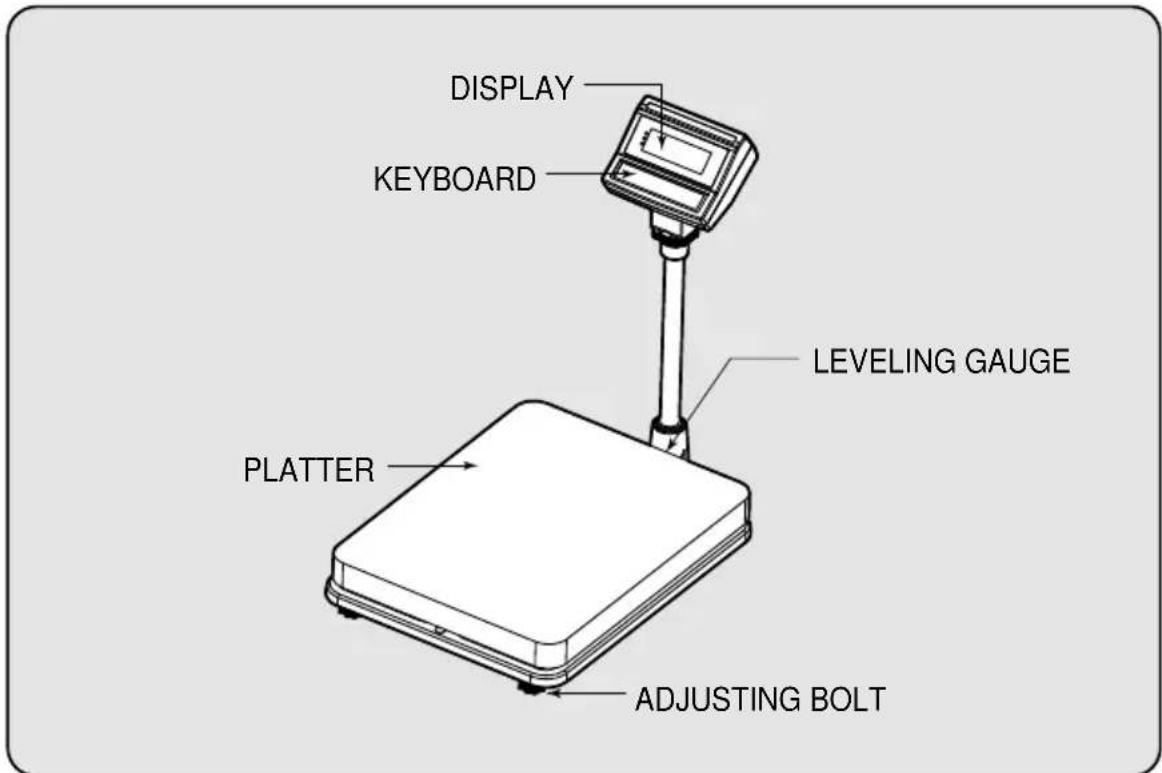
DISPLAY AND KEYBOARD
CAS
DB-II
Max 60/150kg
Min 400g
e = d = 20 / 50g

Esc


POWER
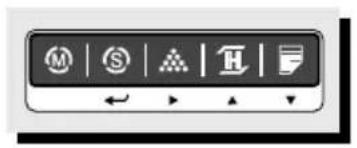
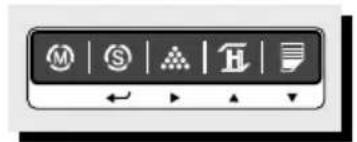
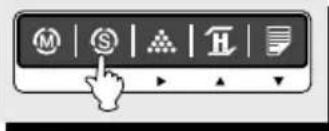
KEY FUNCTIONS
| DESCRIPTIONSKEYS | |
| Esc | Used to set the zero point to 0.00. Used as an ESC key in Setup Mode. |
| T | Used to enter a tare weight and used to cancel a tare weight. |
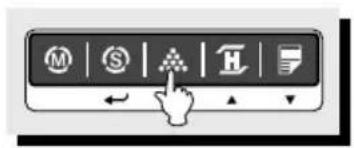
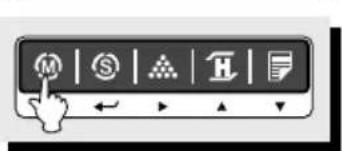
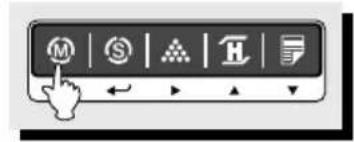
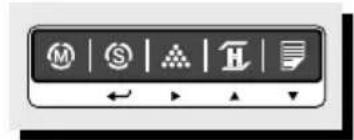
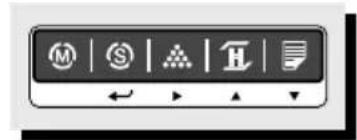
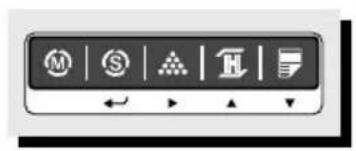
| M | Used to convert the mode as below. [kg] → [pcs] [%] [WEIGHT LIMIT ON/OFF] → [COUNT LIMIT ON/OFF] [kg] |
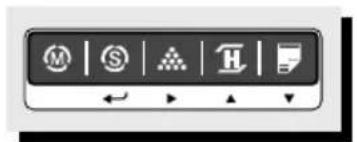
| ← | Used as an ENTER key. |
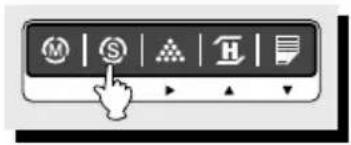
| Used to calculate a unit weight of a sample. [Used to enter next digit. | |
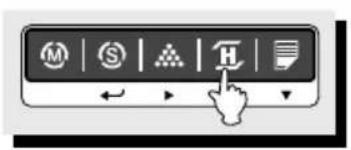
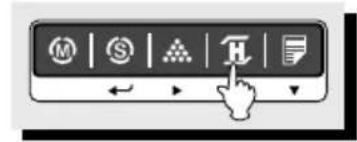
| H | Used to display average weight. [Used to have number up. |
| PRINT key. Back light is turned On or Off by pressing PRINT key for 3 seconds. [▼] Used to have number down. | |
| Used to turn ON or OFF the power. |
OPERATIONS
1. General Weighing
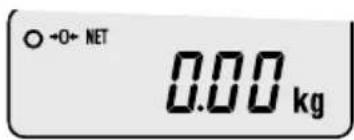
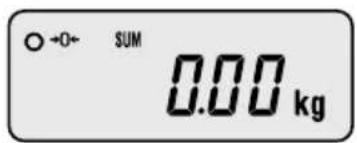
- The display indicates if the scale is at zero or if there is a tare entered into the scale by way of a ZERO and NET.
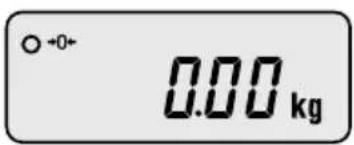


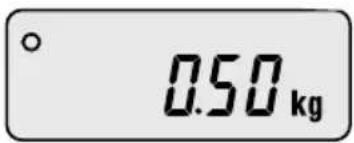
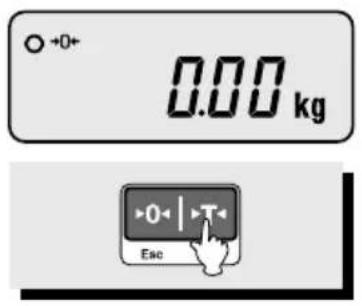
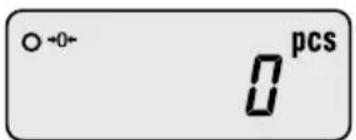
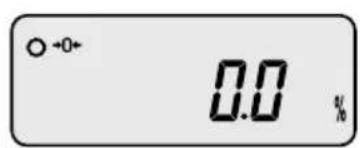
①Turn on the power. The display shows 0.00. Make sure that STABLE and ZERO lamps are on.
When the display is not zero though there is nothing on the platter, press the ZERO key.
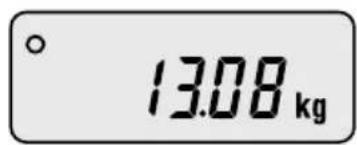
③ Place an item on the platter. When the STABLE lamp is on, read the weight.
2. Weighing with Tare
Tare is the weight of container being used for a commodity. The TARE key subtracts the weight of the container.

① Place the container on the platter.
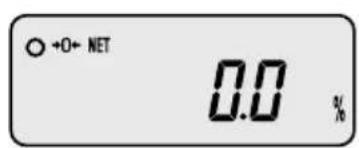
② Press the TARE key, NET lamp is on.
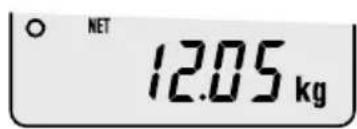
③ Place an item in the container.
To release the TARE function, remove an item and container from the platter and press the TARE key.
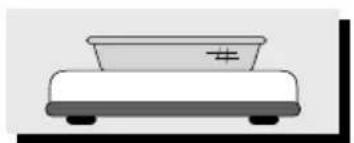
3. Counting Mode
If you want to count parts, first you have to set sample size.
or

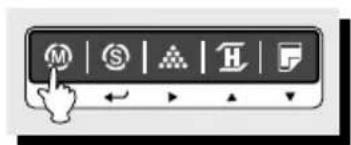

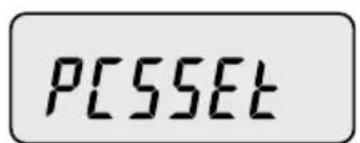
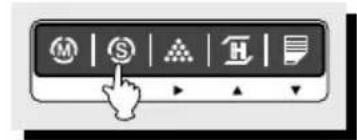
① Press the MODE key until the display shows "PCSSET". Make sure that PCS lamp is on. If you have set sample size before, the display shows "0".
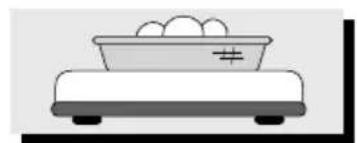
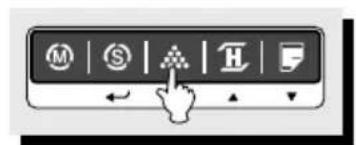
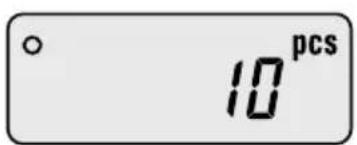
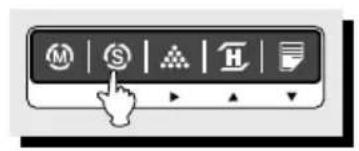
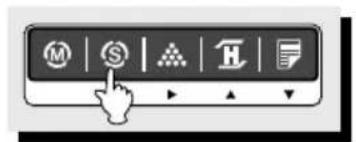
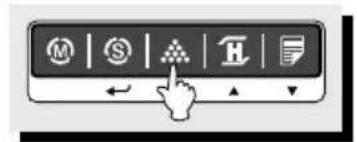
②Press the SAMPLE key, then the display shows "10".
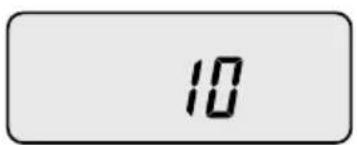
③ If you want to increase sample size, press the SAMPLE key. The display shows 10, 20, 30, 40, 50, 100, 150 and 200 every time pressing the SAMPLE key.
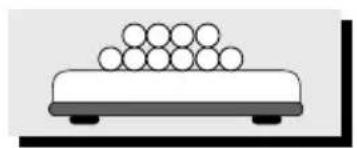
If you set sample size to 10, place 10 samples on the platter.
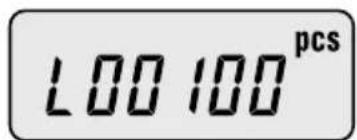
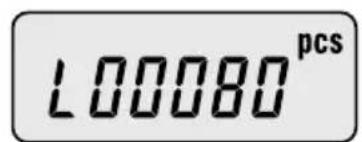
⑤ Press the SET key. The display shows unit weight and then shows the number of samples. If the display shows "LACK", the counting result may not correct. (LCD version: Lack of Unit lamp is On) If the display shows "LO", it is impossible to count samples because the unit weight is too small. (Refer to Table 1)
| Model DB-II 60kg | DB-II 150kg DB-II 300kg | - | - |
| Range of Lack 10g Lack | 1g 20g Lack 1g 50g Lack | 1g ≤ | ≤ ≤ |
| Range of Low 1g Low 1g Low | Low 1g Low | ≤ | ≤ |
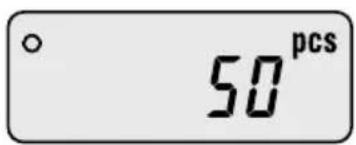
⑥ Place parts on the platter, then the display shows the number of parts. You can also use tare function in counting mode.
4. Percent Weighing Mode
The weight is displayed as a percentage of the reference.
or
or


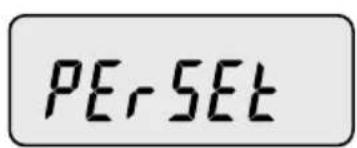
① Press the MODE key until the display shows "PERSet". If you have set reference sample before, the display shows "0.0".
② If you want to use container, place it and press the TARE key.
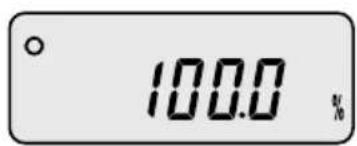
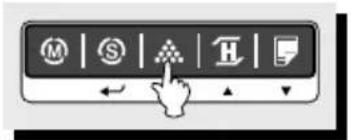
③ Place reference sample on the platter and press the SAMPLE key. The display shows "100.0".
Make sure that reference sample should be bigger than 3% of maximum capacity. If it is lower than 3% of maximum capacity, the display shows "10". In this case, increase the weight of reference sample and press the SAMPLE key.
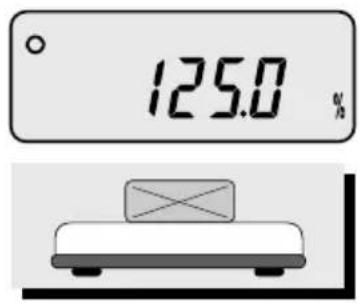
Place an item on the platter, then the weight is displayed as a percentage of the reference.
5. Hold Function
① Place an item on the platter and then press the HOLD key.
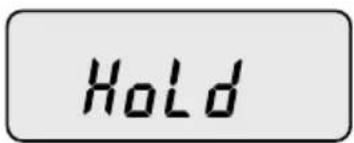
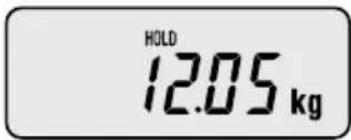
① "HOLD" is shown on the display.
Average weight is shown on the display
- To release HOLD function, press the HOLD key or remove the item from the platter.
If the scale judges that the weight of the sample varies above 1/4 weight, it will be released the hold automatically.
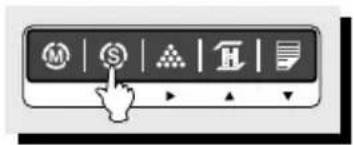
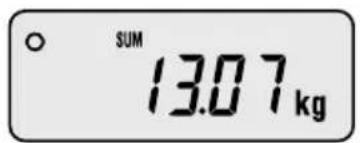
6. Cumulative Weight Sum
The function of cumulative weight sum is to be showing the aggregate times and weight as adding the value of weighing a several times. Even though power is off, the scale stores data. This function is only available in weighing mode.
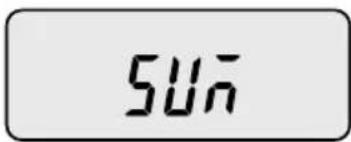
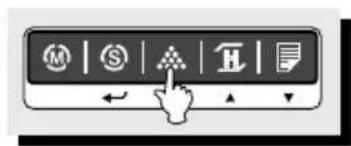
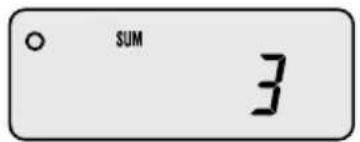
① Place an item on the platter. To add this weight, press the SAMPLE key. Make sure that SUM lamp is on.
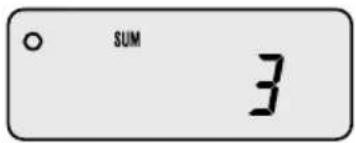
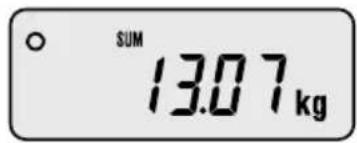

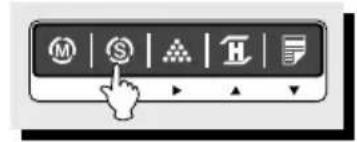
③ The display shows cumulative weight sum and aggregate times every time pressing the SET key. The SUM key is flashed.
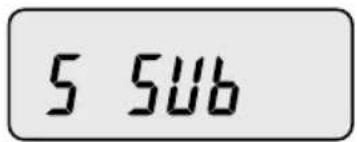

④ To cancel last added weight, press the SET key to display cumulative weight sum or aggregate times and then press the SAMPLE key. The display shows "S SUB".


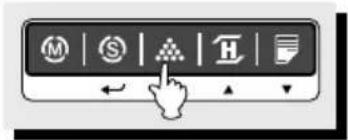
You can delete cumulative weight sum or aggregate times. Press the SET key to display cumulative weight sum or aggregate times and then press the ZERO(ESC key).
To print out cumulative weight sum, press the SET key to display cumulative weight sum or aggregate times and then press the PRINT key.
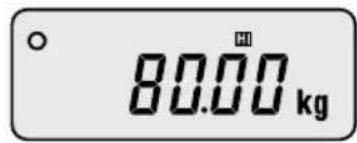
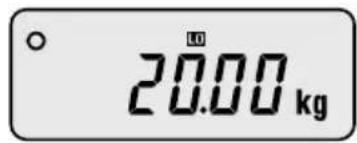
7. Weight Comparison Function(HI/OK/LOW)
7-1. How to compare weight
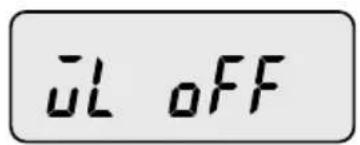
① Press the MODE key until the display shows "WL OFF". It means that weight limit function is deactivated.
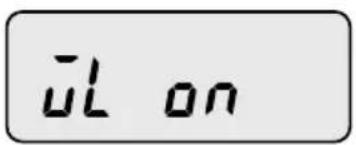
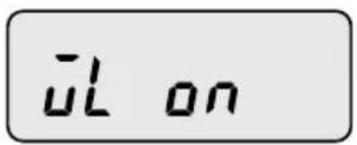
②Press the HOLD key to activate this function, the display shows "WL ON".
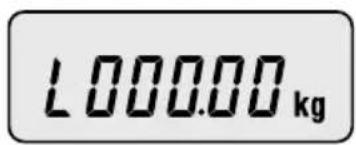
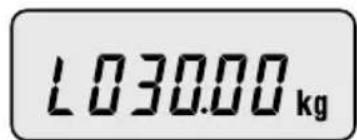
③Press the SET key to set up low value, the display shows "L000.00".
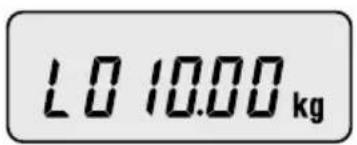


④ Press the HOLD() PRINT() key to have number up or down. To enter next digit, press the SAMPLE key.
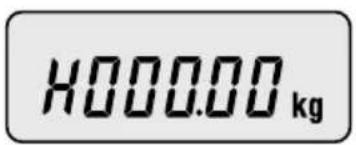
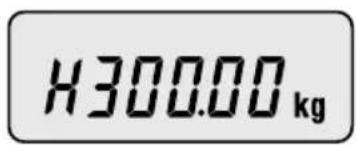
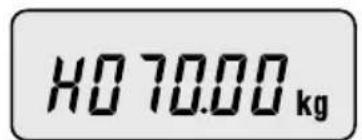
⑤ Press the SET key to set up high value, the display shows "H000.00".
⑥Press the HOLD() PRINT() key to have number up or down. To enter next digit, press the SAMPLE() key.
⑦Press the SET key, the display shows "WL ON".
If you set up LOW/HIGH limit wrong, "WL ERR" will be shown on the display. Then you have to set it up again. For example) LOW=100.00kg HIGH=90.00kg High-limit is lower than Low limit.
Press the MODE key to go to weighing mode.
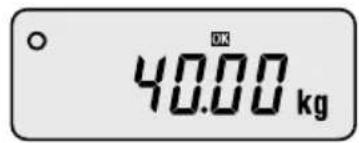
Suppose that the High limit of 70kg and the Low limit of 30kg are set up. In this condition, mp is lighted on if the weight is 40kg , lamp is lighted on if the weight is 80kg and if the weight is 20kg , lamp is lighted on. It beeps as fixed on User Setup Mode. (Refer to Setup Mode Table on page 17)
7-2. Counting comparison function
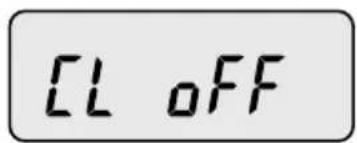
① Press the MODE key until the display shows "CL OFF". It means the counting comparison function is deactivated.
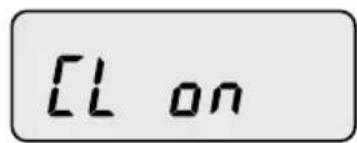
② Press the HOLD() key to activate this function, the display shows "CL ON".
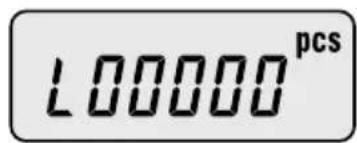
③Press the SET key, the display shows "L00000".
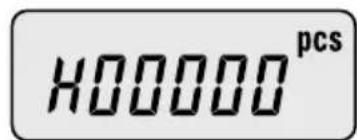
④ Press the HOLD() AR PRINT() key to have number up or down. To enter next digit, press the SAMPLE() key.
⑤ Press the SET key, the display shows "H00000".
⑥Press the HOLD() PRINT( ) key to have number up or down. To enter next digit, press the SAMPLE() key.

⑦Press the SET key, the display shows "CL ON".
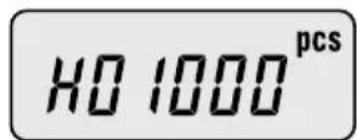
If you set up LOW/HIGH limit wrong, "CL ERR" will be shown on the display. Then you have to set it up again. For example) LOW=00100, HIGH=00090 or LOW=00100, HIGH=00100
Press the MODE key to go to weighing mode.
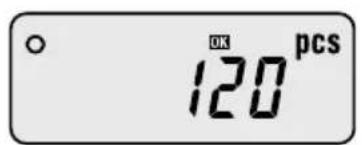
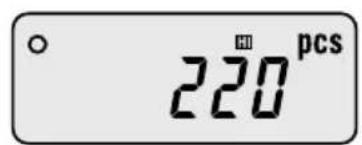
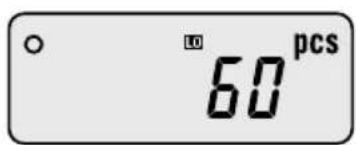
Suppose that the High limit of 200 and the Low limit of 80 are set up. In this condition, np is lighted on if the weight is 120, lamp is lighted on if the weight is 220 and if the weight is 60, lamp is lighted on. It beeps as fixed on User Setup Mode. (Refer to Setup Mode Table on page 17)

8. Print Out
8-1. Manual Print
- You can print out data every time pressing the PRINT key. You can setup print function depends on your need. Refer to Setup Mode Table on page 17.
Sample format:
-Weighing Function- -Counting Function
| WEIGHT =============== |
| WELCOME TO CAS[DB-2] CAS 2000-00-00 00:00:00 |
| =============== COUNT =============== |
| WELCOME TO CAS[DB-2] CAS 2000-00-00 00:00:00 |
Weight: 0.000 kg
-WEIGHTLIMITSETVALUE
Limit(H): 40.000 kg
Limit(L): 30.000 kg
Weight: 40.200 kg
U/Weight: 0.80400 kg
Quantity: 50 pcs
- COUNT LIMIT SET VALUE -
Limit(H): 2000 pcs
Limit(L): 1000 pcs
-Cumulative Weight Sum Function
| WELCOME TO CAS[DB-2] CAS 2000-00-00 00:00:00 | →Label Caption Date/Time | |
| Weight : | 40.180 kg | |
| Weight : | 40.200 kg | |
| Weight : | 40.200 kg | |
| Weight : | 40.200 kg | |
| Weight : | 40.200 kg | |
| Weight : | 40.200 kg | |
| Weight : | -40.200 kg | →- means that you cancel the weight right before this weight. |
| Weight : | 40.200 kg | |
| Weight : | 40.200 kg | |
| Weight : | 40.200 kg | |
| Total : | 401.980 kg | →Cumulative weight sum |
| Count : | 10 times | →Aggregate times |
8-2. Auto print
① To use auto print function, you have to set printer menu to "Pr AUt" in setup mode. Refer to Setup Mode Table on page 17.
If the weight is stable, it is printed out automatically.
9. Battery Charge
Warning massage is shown when the battery voltage is very low. (
At this time, charge the battery. (a charging battery only)
The display will show a red lamp and the battery will begin a fast charge automatically.
After an electric charging is completed, the red lamp turns into a green color.
- When the displayed lamp is not red, confirm the AC adapter is correctly connected. Install the batteries in the battery holder orienting the plus(+) and minus(-) ends as indicated on the holder.
Use only the AC adapter which comes with the scale. Other AC adapter may cause damage.
SETUP MODE
1. How to Go to Setup Mode
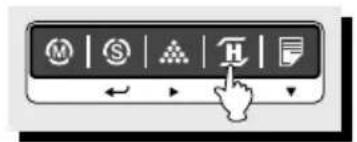
Make sure that power is OFF. While pressing the PRINT key, press the POWER key. The display shows "U SEt". You can select each menu by pressing the MODE key and change the setting by pressing the HOLD or PRINT key. If you press SET key, you will save current setting and finish this mode. To finish this mode without saving, press the ZERO key.
2. Setup Mode Table
| MENU | DISPLAY | DESCRIPTIONS |
| Buzzer | “b on” You can hear buzzer. | |
| “b oFF” You cannot hear buzzer. | ||
| Printer | “Pr oFF” Do not use printer. | |
| “Pr kEy” Manual print. | ||
| “Pr AUt” Auto print when the scale is stable. | ||
| “Pr CMd” For future. | ||
| Backlight | “bL oFF” Do not use back-light. | |
| “bL on” Use back-light. | ||
| “br 5” Back-light is on 5 seconds. | ||
| “bL 10” Back-light is on 10 seconds. | ||
| Auto Power Off | “AP oFF” Do not use Auto Power Off function. | |
| “AP 10” | Power turns to be off automatically when the scale is not in operation over for 10 minutes. | |
| “AP 30” | Power turns to be off automatically when the scale is not in operation over for 30 minutes. | |
| “AP 60” | Power turns to be off automatically when the scale is not in operation over for 60 minutes. | |
| Baud Rate | “br 48” 4,800 bps | |
| “br 96” 9,600 bps | ||
| “br 192” 19,200 bps | ||
| “br 384” 38,400 bps | ||
| Weight Limit | “WL M0” HIGH Limit Weight LOW Limit- You will hear buzzer. | |
| “WL M1” | HIGH Limit ≤ Weight, Weight LQW Limit - You will hear buzzer. | |
| “WL M2” Weight ≤ LOW Limit - You will hear buzzer. | ||
| “WL M3” HIGH Limit ≤ Weight - You will hear buzzer. | ||
| Count Limit | “CL M0” | HIGH Limit ≥ Counting result LOW Limit - You will hear buzzer. |
| “CL M1” | HIGH Limit Counting result, Counting result LOW Limit - You will hear buzzer. | |
| “CL M2” Counting result ≤ LOW Limit - You will hear buzzer. | ||
| “CL M3” HIGH Limit ≤ Counting result - You will hear buzzer. | ||
| Date | “dy on” Print out date/day. | |
| “dy oFF” Do not print out date / day. | ||
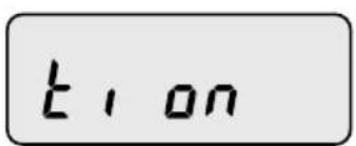
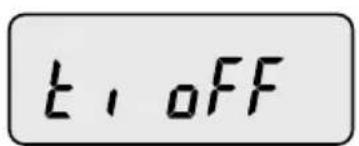
| Time | “ti on” Print out time. | |
| “ti oFF” Do not print out time. | ||
| Label | “LA off” Do not print out label caption. | |
| “LA on” Print out label caption. | ||
| Default | “dF no” Default setting is released. | |
| “dF YES” Everything is setup in default. | ||
※ Italic Bold: Default Setting
3. How to Enter Date
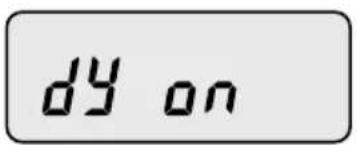
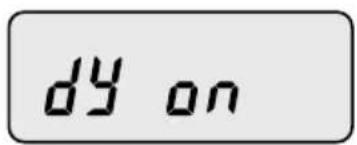
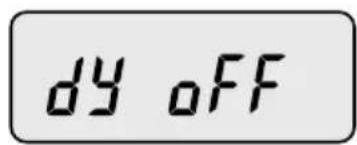

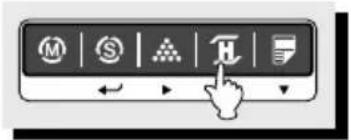

① Press the MODE key until the display shows "dy ON". It means that date is printed out.
② If you do not want to print out date, press the HOLD() key.
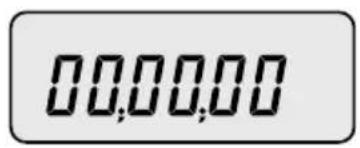
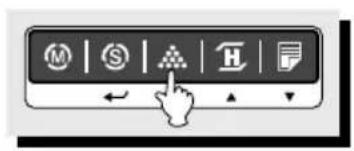
③Press the SAMPLE() key, the display shows "00,00,00".
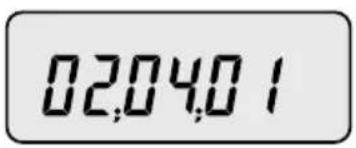
④ Press the HOLD() PRINT() key to have number up or down. To enter next digit, press the SAMPLE() key.
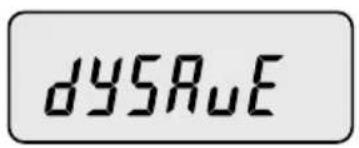
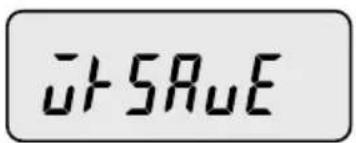
⑤ Press the SET key to save. "dysave" is shown on the display and then the display shows a day of the week.

You can change the day by pressing the HOLD() or PRINT().key. If you set up a day of the week wrong, "Wk err" is shown on the display.
⑦ Press the SET key to save. "Wksave" is shown on the display.
If you do not want to save, press the ZERO key.
4. How to Enter Time


① Press the MODE key until the display shows "ti ON". It means that time is printed out.
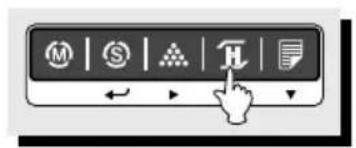
② If you do not want to print out time, press the HOLD() key.

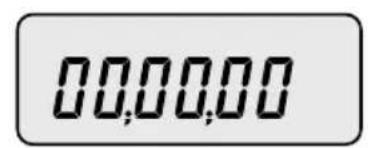


③Press the SAMPLE() key to set up time, "00,00,00" is shown on the display.
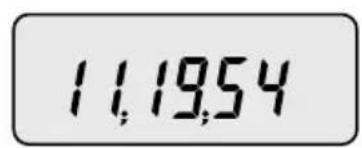
④ Press the HOLD() PRINT() key to have number up or down. To enter next digit, press the SAMPLE() key.
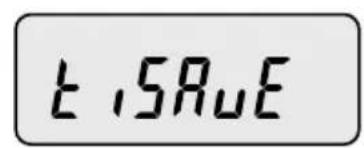
⑤ Press the SET key to save. "tisave" is shown on the display.
If you do not want to save time, press the ZERO key.
5. How to Enter Label Caption
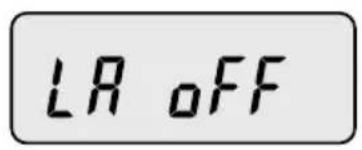

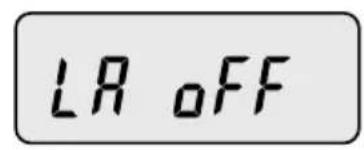


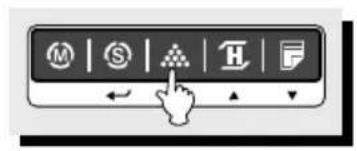
① Press the MODE key until the display shows "LA off". It means that label caption is not printed out.
② To print out label caption, press the HOLD() key. The display shows "LA on".
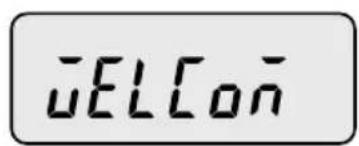
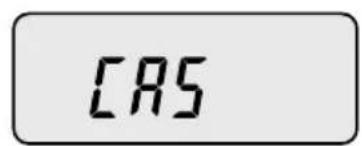
③Press the SAMPLE() key, "WELCOME" is shown on the display in default.
You can program label caption by pressing HOLD() AR PRINT().key. To enter next digit or previous digit, press the MODE or SAMPLE() key.
⑤ You can enter alphabet or special character by pressing the TARE key. When you enter special character, STABLE lamp is on. When you enter alphabet, STABLE lamp is off.
LRSRAU
⑥ Press the SET key to save. "LA save" is shown on the display.
(7) If you do not want to save, press the ZERO key.
ERROR MESSAGES
| ERROR | REASONS | SOLUTIONS |
| Err 1 | An error of the initial ZERO range | 1. Make sure the platter is empty. 2. Make sure there is a platter on the scale. |
| Err 10 | Failure of analog module | Call your CAS dealer |
| Err 11 | An error of EEPROM | Call your CAS dealer |
| Err 12 | Condition codes are broken | Call your CAS dealer |
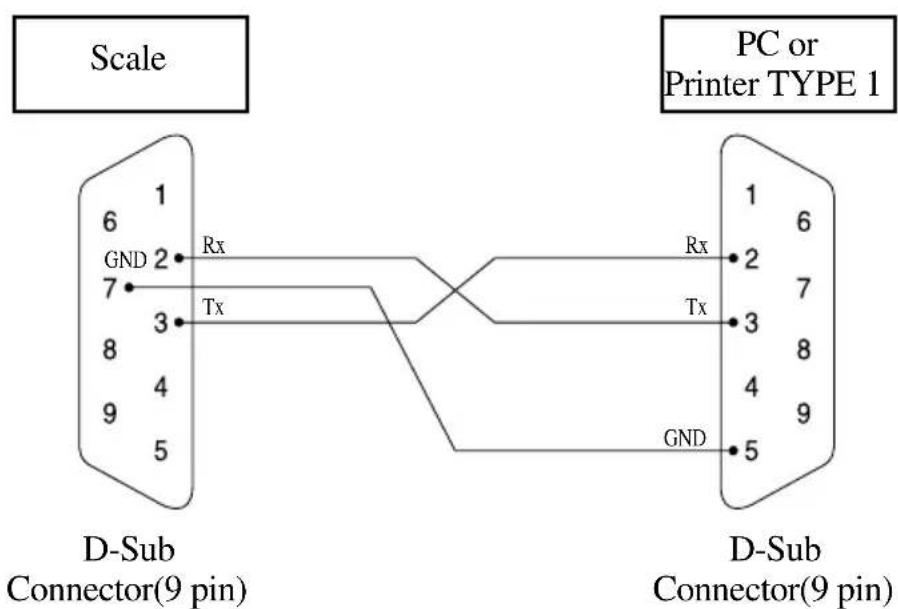
SERIAL INTERFACE
SPECIFICATIONS
LCD Version
| MODEL | DBIE-60 DBII -150 DBII 300 | 二 | |
| CAPACITY | 30kg/0.01kg60kg/0.02kg 150kg /0.05kg 300 kg / 0.1kg | 150kg/0.05kg | |
| INTERNAL RESOLUTION | 1/120,000 1 / 150 | 000 1 / 150,000 | |
| EXTERNAL RESOLUTION | 1/3,000 1/3,000 | 1/3,000 | |
| DISPLAY | LCD 6 DIGIT | ||
| DISPLAY LAMP | STABLE, ZERO, HOLD, NET, HI/OK/LO,%, PCS, SUM, kg, Low Battery | ||
| INTERFACE | RS-232C(Printer) | ||
| POWER SOURCE | DC 9V AdaptorAlkaline Battery : Approx. 100hours(Backlight is off)DC 12V 850mA Adaptor(Ni-cd)Approx. 50hours(Backlight is off)DC 24V 1A Adaptor(Pb)Approx. 45hours(Backlight is off) | ||
| TEMPERATURE RANGE | -10°C 40°€ | ||
| PLATTER SIZE (mm) | 420(W) 510(D) 110(H) | 500(W) 600(D) 120(H) | |
| PRODUCT SIZE (mm) | 420(W) 635(D) 765(H) | 500(W) 725(D) 765(H) | |
Notice: Specifications are subject to change for improvement without notice.
Modèle DS-II
MANUEL
D'UTILISATION
859.415
859.425
*859.435
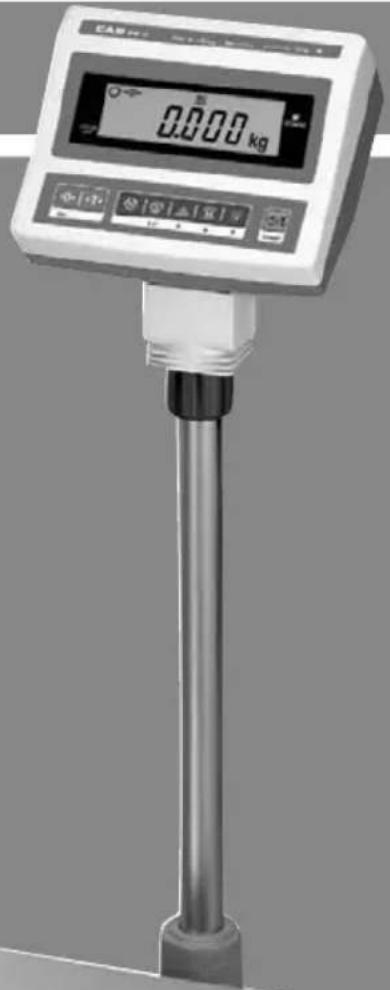
TABLE DES MATIERES
PRECAUTIONS 4
AVANT-PROPOS. 6
DESIGNATIONS ET FONCTIONS. 6
OPERATIONS. 8