
Nomad 20 - Power bank GOAL ZERO - Free user manual and instructions
Find the device manual for free Nomad 20 GOAL ZERO in PDF.
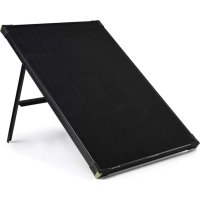
| Product type | Portable solar panel |
| Brand | Goal Zero |
| Model | Nomad 20 |
| Rated power | 20 W |
| Open circuit voltage | 18-22 V |
| Solar cell type | Monocrystalline |
| USB output port | 5 V, up to 2.1 A (10.5 W max) |
| 8 mm output port | 14-22 V, up to 1.3 A (20 W max) |
| Input port for daisy chaining | 8 mm (to daisy chain multiple panels) |
| Dimensions (unfolded) | 29.2 x 55.3 x 1.9 cm |
| Dimensions (folded) | 29.2 x 19 x 3.2 cm |
| Weight | 1.03 kg |
| Material | Laminated solar panel, fabric frame |
| Water resistance | Yes, resistant to rain and snow |
| Main features | Direct USB charging, 8 mm charging for Goal Zero batteries, daisy chain up to 4 panels (150 W max), automatic restart in low light |
| Compatible accessories | Flip, Sherpa, Yeti power banks (sold separately) |
| Maintenance and cleaning | Wipe with a soft, dry cloth. Avoid abrasive products. |
| Safety | Do not expose to extreme temperatures, do not puncture, do not short-circuit |
| Certifications | Not specified in the manual |
| Warranty | 12 months (online activation required) |
| Country of origin | Not specified |
| Package contents | Nomad 20 panel, 8 mm charging cable, quick start guide |
| Spare parts and repairability | Not specified, contact Goal Zero customer service |
Frequently Asked Questions - Nomad 20 GOAL ZERO
User questions about Nomad 20 GOAL ZERO
0 question about this device. Answer the ones you know or ask your own.
Ask a new question about this device
Download the instructions for your Power bank in PDF format for free! Find your manual Nomad 20 - GOAL ZERO and take your electronic device back in hand. On this page are published all the documents necessary for the use of your device. Nomad 20 by GOAL ZERO.
USER MANUAL Nomad 20 GOAL ZERO
Frequently Asked Questions 7
Technical Specifications 8
Français 9
Español
Deutsch
日本語
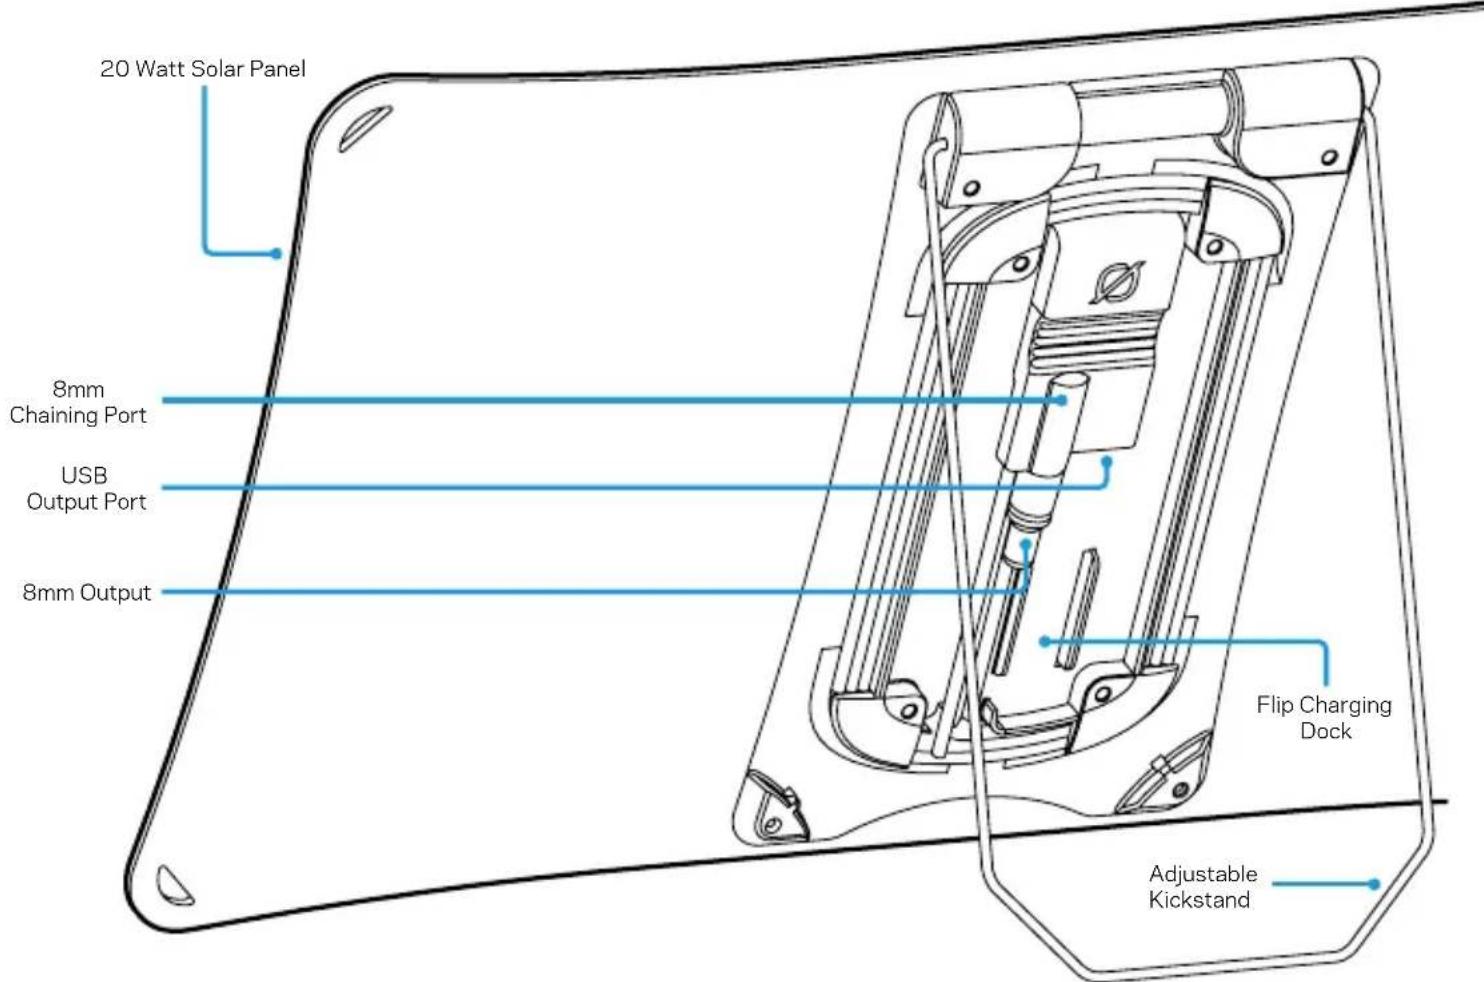
GET TO KNOW YOUR GEAR
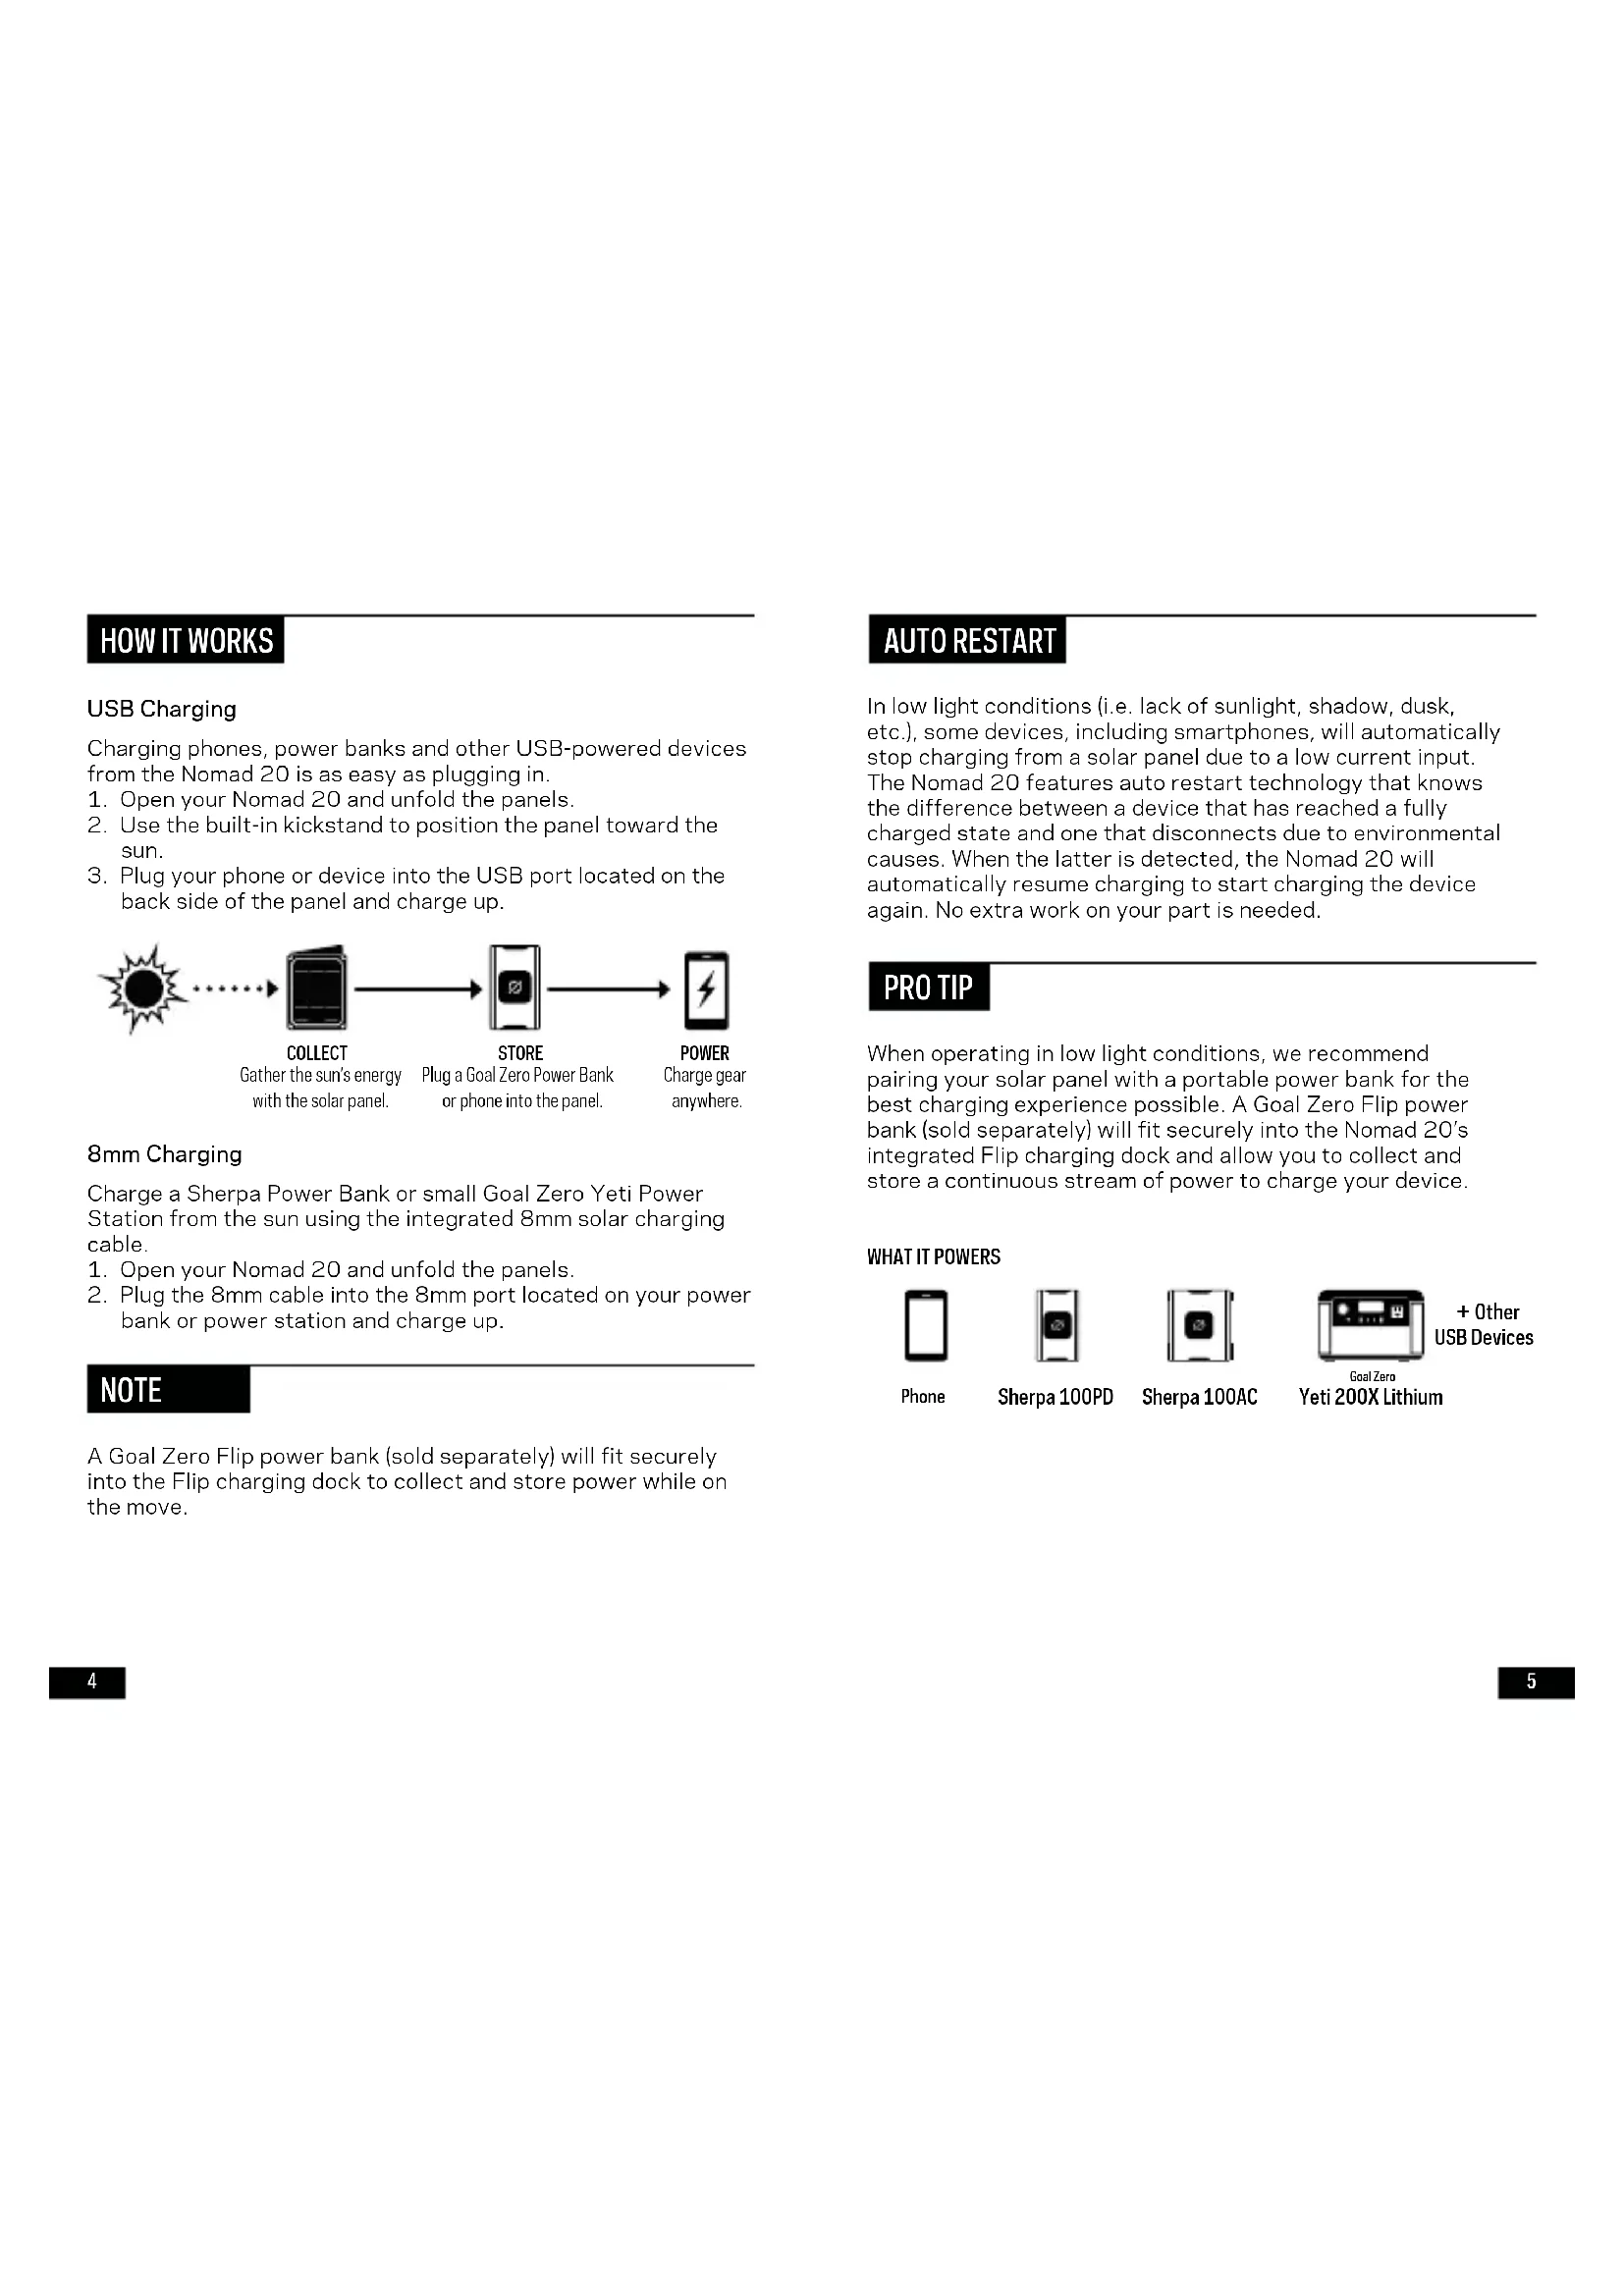
HOW IT WORKS
USB Charging
Charging phones, power banks and other USB-powered devices from the Nomad 20 is as easy as plugging in.
- Open your Nomad 20 and unfold the panels.
- Use the built-in kickstand to position the panel toward the sun.
- Plug your phone or device into the USB port located on the back side of the panel and charge up.
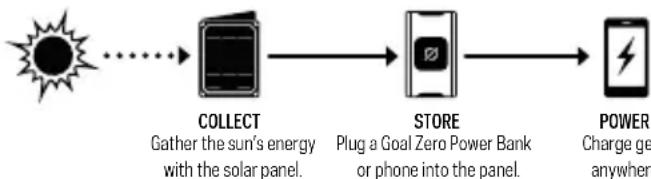
flowchart
graph LR
    A["Sun"] --> B["COLLECT"]
    B --> C["STORE"]
    C --> D["POWER"]
    style A fill:#fff,stroke:#000
    style D fill:#fff,stroke:#000
    note1["Gather the sun's energy with the solar panel."] --> B
    note2["Plug a Goal Zero Power Bank or phone into the panel."] --> C
    note3["Charge ge anywhere"] --> D
8mm Charging
Charge a Sherpa Power Bank or small Goal Zero Yeti Power Station from the sun using the integrated 8mm solar charging cable.
- Open your Nomad 20 and unfold the panels.
- Plug the 8mm cable into the 8mm port located on your power bank or power station and charge up.
NOTE
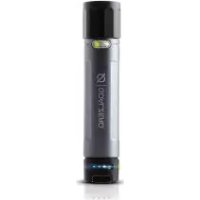
A Goal Zero Flip power bank (sold separately) will fit securely into the Flip charging dock to collect and store power while on the move.
AUTO RESTART
In low light conditions (i.e. lack of sunlight, shadow, dusk, etc.), some devices, including smartphones, will automatically stop charging from a solar panel due to a low current input. The Nomad 20 features auto restart technology that knows the difference between a device that has reached a fully charged state and one that disconnects due to environmental causes. When the latter is detected, the Nomad 20 will automatically resume charging to start charging the device again. No extra work on your part is needed.
PRO TIP
When operating in low light conditions, we recommend pairing your solar panel with a portable power bank for the best charging experience possible. A Goal Zero Flip power bank (sold separately) will fit securely into the Nomad 20's integrated Flip charging dock and allow you to collect and store a continuous stream of power to charge your device.
WHAT IT POWERS

Phone

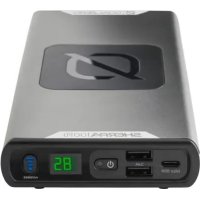
Sherpa 100PD

Sherpa 100AC
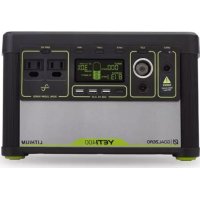
Goal Zero
Yeti 200X Lithium
CHAINING
Chaining panels is a great way to collect more power from the sun and recharge devices quicker. You can chain up to 150W of solar panels together. We recommend no more than four in a chain (see the NOTE below).
- Plug the 8mm Charge Cable into another Nomad Solar Panel's 8mm input.
- Using the 8mm Charge Cable of the final panel, plug into a Sherpa Power Bank or Goal Zero Yeti Portable Power Station. You could also plug into the USB port on the last panel to charge USB powered devices.
NOTE
After four solar panels are chained together, you might notice something called line loss, which has to do with the loss of voltages over long distances. The farther the power has to travel through cables, from panel to panel, the more power you will lose.
FREQUENTLY ASKED QUESTIONS
Q: Is the Nomad 20 waterproof?
A: The best answer: it's weatherproof. We've gone to great lengths to ruggedize the Nomad 20; including beefing up the manufacturing process with advanced lamination techniques so it'll slough off rain and snow.
Q: Does the Nomad 20 have a built-in battery?
A: No. In order to make the Nomad 20 as lightweight as possible, we chose to sell batteries as an optional accessory. You can either plug your phone or device into the Nomad 20 to charge up directly from the sun, or pair the panel with one of our power banks to collect and store power for later. The Nomad 20 works seamlessly with our line of ultra-portable Flip Power Banks, versatile Sherpa Power Banks, or small Yeti Power Stations.
Q: Is this chainable with other Nomad panels?
A: Yes, but only on some Goal Zero Nomad Solar Panels. You can plug the Charge Cable into the chaining ports on Nomad 20 Solar Panels and larger.
TECHNICAL SPECIFICATIONS
Nomad 20 Solar Panel
Solar Panel:
Rated Power 20W
Open Circuit Voltage Voc 18-22V
Cell Type Monocrystalline
Ports:
8mm Port 14-22V, up to 1.3A (20W max)
USB Port 5V, up to 2.1A (10.5W max)
General:
Weight 2.28 lbs (1.03 kg)
| Dimensions(unfolded) | 11.5 x 21.75 x 0.75 in(29.2 x 55.3 x 1.9 cm) |
| Dimensions(folded) | 11.5 x 7.4 x 1.25 in(29.2 x 19 x 3.2 cm) |
Certs

Warranty 12 Months
Be sure to activate your warranty at goalzero.com/warranty
APPRENDRE À CONNAÎTRE VOTRE ÉQUIPEMENT

flowchart
graph LR
    A["Sun Icon"] --> B["Battery"]
    B --> C["Battery"]
    C --> D["Phone with Battery"]
Designed in the U.S.A.
Made in China
Nomad is a trademark of Goal Zero.
This equipment has been tested and found to comply with the limits for a Class B digital device, pursuant to part 15 of the FCC Rules. These limits are designed to provide reasonable protection against harmful interference in a residential installation. This equipment generates, uses and can radiate radio frequency energy and, if not installed and used in accordance with the instructions, may cause harmful interference to radio communications. However, there is no guarantee that interference will not occur in a particular installation. If this equipment does cause harmful interference to radio or television reception, which can be determined by turning the equipment off and on, the user is encouraged to try to correct the interference by one or more of the following measures:
—Reorient or relocate the receiving antenna.
—Increase the separation between the equipment and receiver.
—Connect the equipment into an outlet on a circuit different from that to which the receiver is connected.
—Consult the dealer or an experienced radio/TV technician for help.
This device complies with part 15 of the FCC Rules. Operation is subject to the following two conditions: (1) This device may not cause harmful interference, and (2) this device must accept any interference received, including interference that may cause undesired operation.

Brand : GOAL ZERO
Model : Nomad 20
Category : Power bank