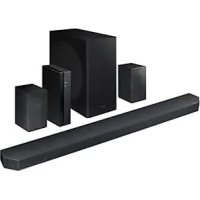
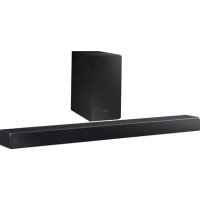
SOC920P - Soundbar SAMSUNG - Free user manual and instructions
Find the device manual for free SOC920P SAMSUNG in PDF.
Download the instructions for your Soundbar in PDF format for free! Find your manual SOC920P - SAMSUNG and take your electronic device back in hand. On this page are published all the documents necessary for the use of your device. SOC920P by SAMSUNG.
USER MANUAL SOC920P SAMSUNG
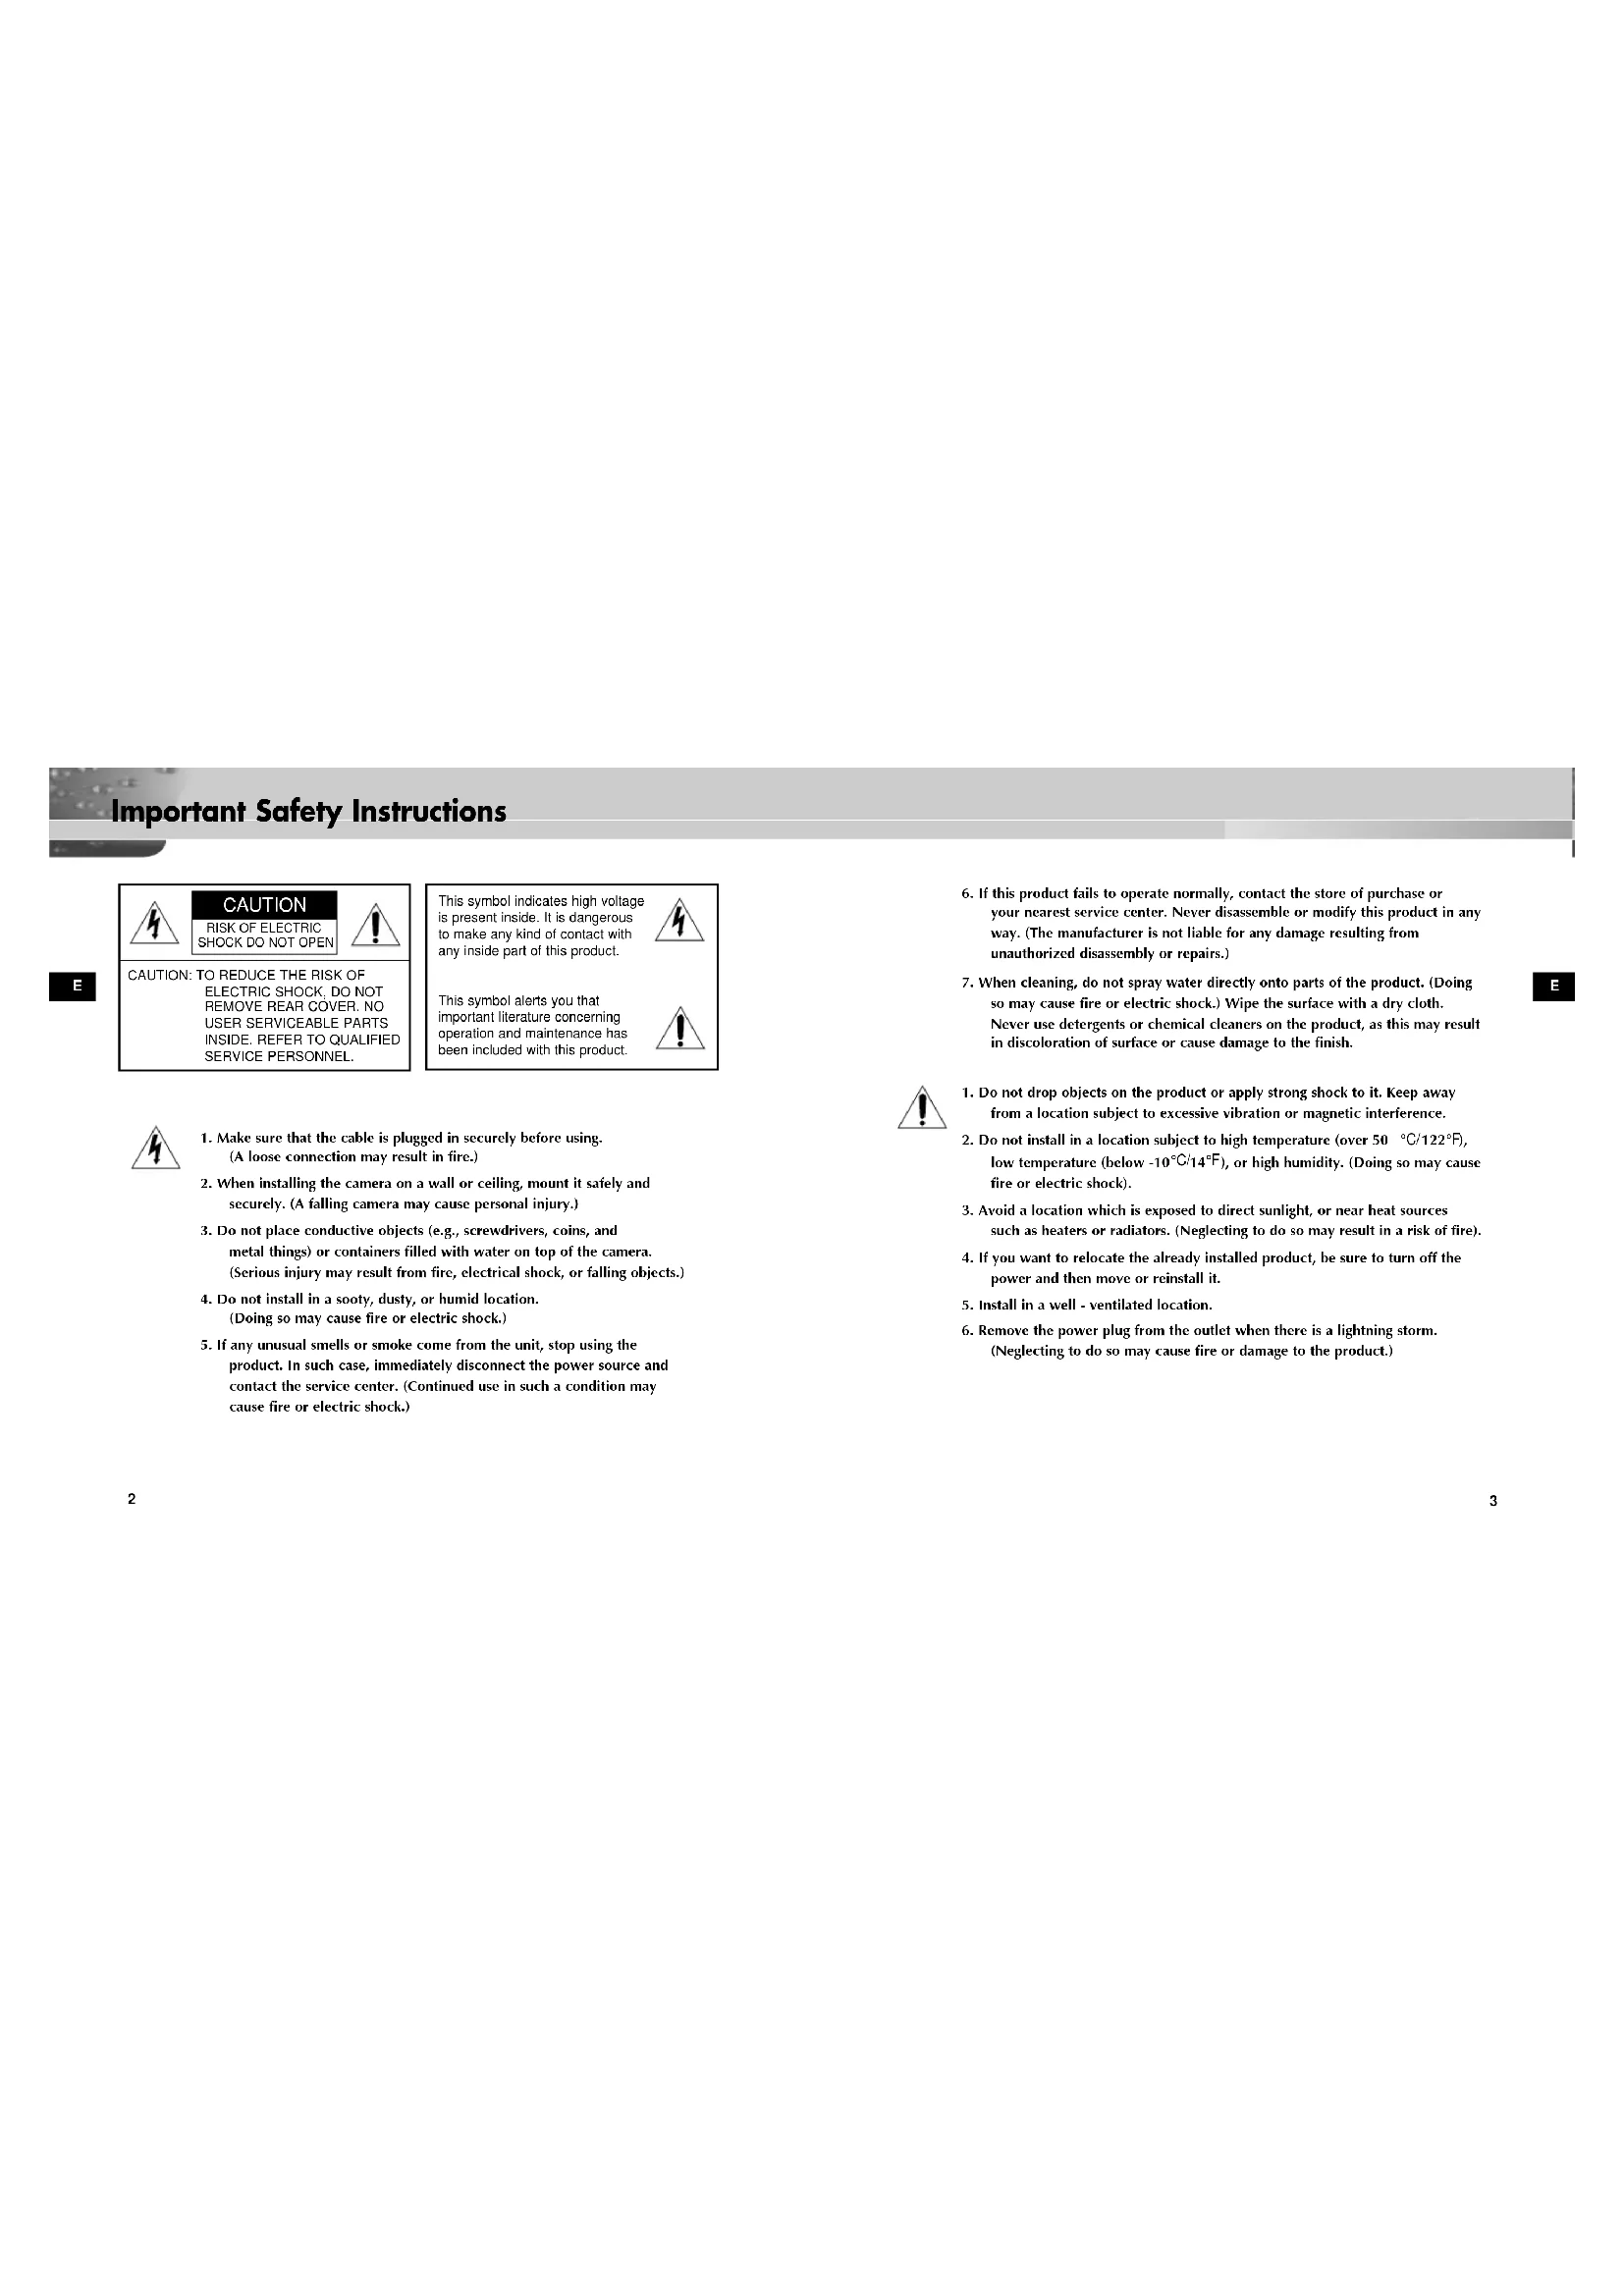
Important Safety Instructions
6. If this product fails to operate normally, contact the store of purchase or
your nearest service center. Never disassemble or modify this product in any way. (The manufacturer is not liable for any damage resulting from unauthorized disassembly or repairs.)
7. When cleaning, do not spray water directly onto parts of the product. (Doing
so may cause fire or electric shock.) Wipe the surface with a dry cloth. Never use detergents or chemical cleaners on the product, as this may result in discoloration of surface or cause damage to the finish.
1. Do not drop objects on the product or apply strong shock to it. Keep away
from a location subject to excessive vibration or magnetic interference.
2. Do not install in a location subject to high temperature (over 50
), or high humidity. (Doing so may cause fire or electric shock).
3. Avoid a location which is exposed to direct sunlight, or near heat sources
such as heaters or radiators. (Neglecting to do so may result in a risk of fire).
4. If you want to relocate the already installed product, be sure to turn off the
power and then move or reinstall it.
5. Install in a well - ventilated location.
6. Remove the power plug from the outlet when there is a lightning storm.
(Neglecting to do so may cause fire or damage to the product.) CAUTION: TO REDUCE THE RISK OFELECTRIC SHOCK, DO NOTREMOVE REAR COVER. NOUSER SERVICEABLE PARTSINSIDE. REFER TO QUALIFIEDSERVICE PERSONNEL.
1. Make sure that the cable is plugged in securely before using.
(A loose connection may result in fire.)
2. When installing the camera on a wall or ceiling, mount it safely and
securely. (A falling camera may cause personal injury.)
3. Do not place conductive objects (e.g., screwdrivers, coins, and
metal things) or containers filled with water on top of the camera. (Serious injury may result from fire, electrical shock, or falling objects.)
4. Do not install in a sooty, dusty, or humid location.
(Doing so may cause fire or electric shock.)
5. If any unusual smells or smoke come from the unit, stop using the
product. In such case, immediately disconnect the power source and contact the service center. (Continued use in such a condition may cause fire or electric shock.) This symbol indicates high voltageis present inside. It is dangerousto make any kind of contact withany inside part of this product.This symbol alerts you thatimportant literature concerningoperation and maintenance hasbeen included with this product. CAUTION RISK OF ELECTRIC SHOCK DO NOT OPEN 00351A SOC-920P-eng 11/19/03 3:15 PM Page 2E
SOC-920(P) Overview This chapter briefly introduces the SOC-920(P) and describes its key features, part names and functions.
Chapter 2 Installing SOC-920(P) 8
SOC-920(P) Introduction SOC-920(P) Overview The SOC-920(P) Anti-Vandal Dome Camera is a camera for the VPP (Video Professional Package) only. The SOC-920(P) Anti-Vandal Dome Camera is a dome-typed surveillance device that offers the best features of surveillance for banks, retail stores, commercial buildings, industrial settings, and etc. It is designed to with- stand intentional or accidental impact or vandalism. The SOC-920(P) is an advanced surveillance device that enables a maxi- mum of 120x zoom surveillance with its 12x zoom lens and 10x digital zoom IC. The SOC-920(P) is a multifunction surveillance device that is equipped with all of the key features of the existing surveillance cameras: the Low- Light Surveillance function that enables shooting moving objects under extremely low illumination, the White Balance function that provides accu- rate color rendition under any light source, the BLC function that enables effective back light compensation even at locations with bright incident light, and the One Auto Focus function that automatically tracks and focus- es on the subject. The built-in microphone that allows the user to hear all sounds generated in the monitoring area. DOME COVER 00351A SOC-920P-eng 11/19/03 3:15 PM Page 6E
Before Installation Checking the Contents of the Package Be sure to check that the following items are included in the package. SOC-920(P) CABLE Installing Manual InstallingManual
Installing SOC-920(P) This chapter explains what to check before installing the SOC-920(P), how to choose an installation site, and what precautions should be taken during installation. Now, let’s install the SOC-920(P) and connect cable. 00351A SOC-920P-eng 11/19/03 3:15 PM Page 8E
Before Installation Precautions for Installation and Use ✔ Please check whether the installation site can sufficiently support the weight of the SOC-920(P) before installation. ✔ Make sure that the cable is not caught on anything or its insulation sheath is not removed. (Neglecting to do so may cause fire or damage to the product.) ✔ Prevent people from approaching the installation area, where objects might fall during installation. Move valuables to a safe location before installation. ✔ Install in a cool place and away from direct sunlight. Be sure not expose the SOC-920(P) to direct sunlight even during use or storage. Use the BLC function when operating the SOC-920(P) underneath a spot light or under very bright lights. ✔ The SOC-920(P) must be used in an area where temperature and humidity are kept within the limits specified below: - Temperature: -10°C ~ +50°C (14°F~122°F) - Humidity: Below 90% ✔ PLASTIC ANCHOR 2 ea.
for ceiling installation
for ceiling installation (TH M4 X L30 BLK + 0 RING) ✔ L WRENCH 1 ea.
for COVER DOME removal ✔ TEMPLET 1 ea.
An installation GUIDE for installing on a ceiliing (ART PAPER) ✔ CABLE 20M 1 ea.
Connecting the power and signal. SOC-920(P) - Installation Examples ✔ It can be directly installed on ceilings. ✔ It can be directly installed on walls. 00351A SOC-920P-eng 11/19/03 3:15 PM Page 10E
1. Choose an installation site that can sufficiently support the weight of the equip-
ments to be installed.
2. Attach the supplied template to the installation site, drill pilot holes (5 mm diam
eter, min. 35 mm depth), and then install and secure the supplied plastic anchors (HUD 5).
3. Arrange them so that they will not be damaged or aught on anything when
installing the camera
4. Remove the DOME COVER to install the CAMERA.
1) Use the supplied L WRENCH to unfasten the 4
BOLTS for CASE fixing by turning them counter- clockwise as shown in the illustration.
2) Disassemble the ASSY-DOME in the direction
shown in the illustration.
5. Install the CAMERA.
Align the CAMERA’s installation holes to the holes where the PLASTIC ANCHORS are inserted and then fasten the ASSY SCREW- TAPPINGS (TH M4 X 30) with O RINGS. (2 spots) SAMSUNG
Preparing Cable The following cable are required to install and use the SOC-920(P). Cable 00351A SOC-920P-eng 11/19/03 3:15 PM Page 12E
6. Adjust the LENS direction where the customers want to monitor.
1) Turn the STOPPER RING counter-clockwise as shown in the
illustration to move the LENS body and COVER LENS.
2) Move the LENS body to adjust the vertical direction and turn
the LENS body together with the COVER LENS to adjust the horizontal direction. (There is a stopping mechanism on the COVER LENS so that the LENS cannot be turned more than 180° degrees to either left or right. Excessive rotation of the LENS may twist the inside wiring and cause damage such as a short circuit or broken wire.) ☛ The BOTTOM marking of the LENS must face downward. (Otherwise, the image may look tilted or inversed.)
3) Position the LENS in the desired direction, hold the COVER-
LENS with one hand, and tightly fasten the STOPPER RING clockwise with the other hand so that the LENS is not loose.
7. If the interior and exterior of the DOME is dirty, wipe off dirt with
a soft cotton flannel cleaning cloth.
8. After assembling the DOME COVER in the correct
direction, fasten the CASE fixing BOLT by turning it clockwise with a L WRENCH. (4 spots)
9. Once the camera is installed, connect one end of the
8. After assembling the DOME COVER in the correct
direction, fasten the CASE fixing BOLT by turning it clockwise with a L WRENCH. (4 spots)