AC600 - Network card / adapter HAMA - Free user manual and instructions
Find the device manual for free AC600 HAMA in PDF.
Frequently Asked Questions - AC600 HAMA
User questions about AC600 HAMA
0 question about this device. Answer the ones you know or ask your own.
Ask a new question about this device
Download the instructions for your Network card / adapter in PDF format for free! Find your manual AC600 - HAMA and take your electronic device back in hand. On this page are published all the documents necessary for the use of your device. AC600 by HAMA.
USER MANUAL AC600 HAMA
Operating Instructions
Bedienungsanleitung
Mode d'emploi
natural_image
Technical line drawing of a mechanical component with rounded ends and two mounting holes (no text or symbols)Thank you for choosing a Hama product.
Take your time and read the following instructions and information completely. Please keep these instructions in a safe place for future reference. If you sell the device, please pass these operating instructions on to the new owner.
1. Explanation of Warning Symbols and Notes

Warning
This symbol is used to indicate safety instructions or to draw your attention to specific hazards and risks.

Note
This symbol is used to indicate additional information or important notes.
2. Package contents
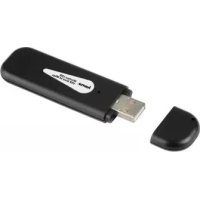
- 1 x WLAN USB stick
• 1 set of operating instructions
3. Safety Notes
- The product is intended for private, non-commercial use only.
- Protect the product from dirt, moisture and overheating, and only use it in a dry environment.
- Do not open the device or continue to operate it if it becomes damaged.
- Keep this product, as all electrical products, out of the reach of children!
- Use the product for its intended purpose only.
- Since the battery is integrated and cannot be removed, you will need to dispose of the product as a whole. Do this in compliance with the legal requirements.
- Do not modify the product in any way. Doing so voids the warranty.
4. System requirements
• One available USB port on the computer.

Note
A USB 2.0 port is recommended.
- A computer with one of the following operating systems installed: Windows 10/8.1/8/7
- Access to a wireless network (WLAN), e.g. via routers, (mobile) hotspots, etc.
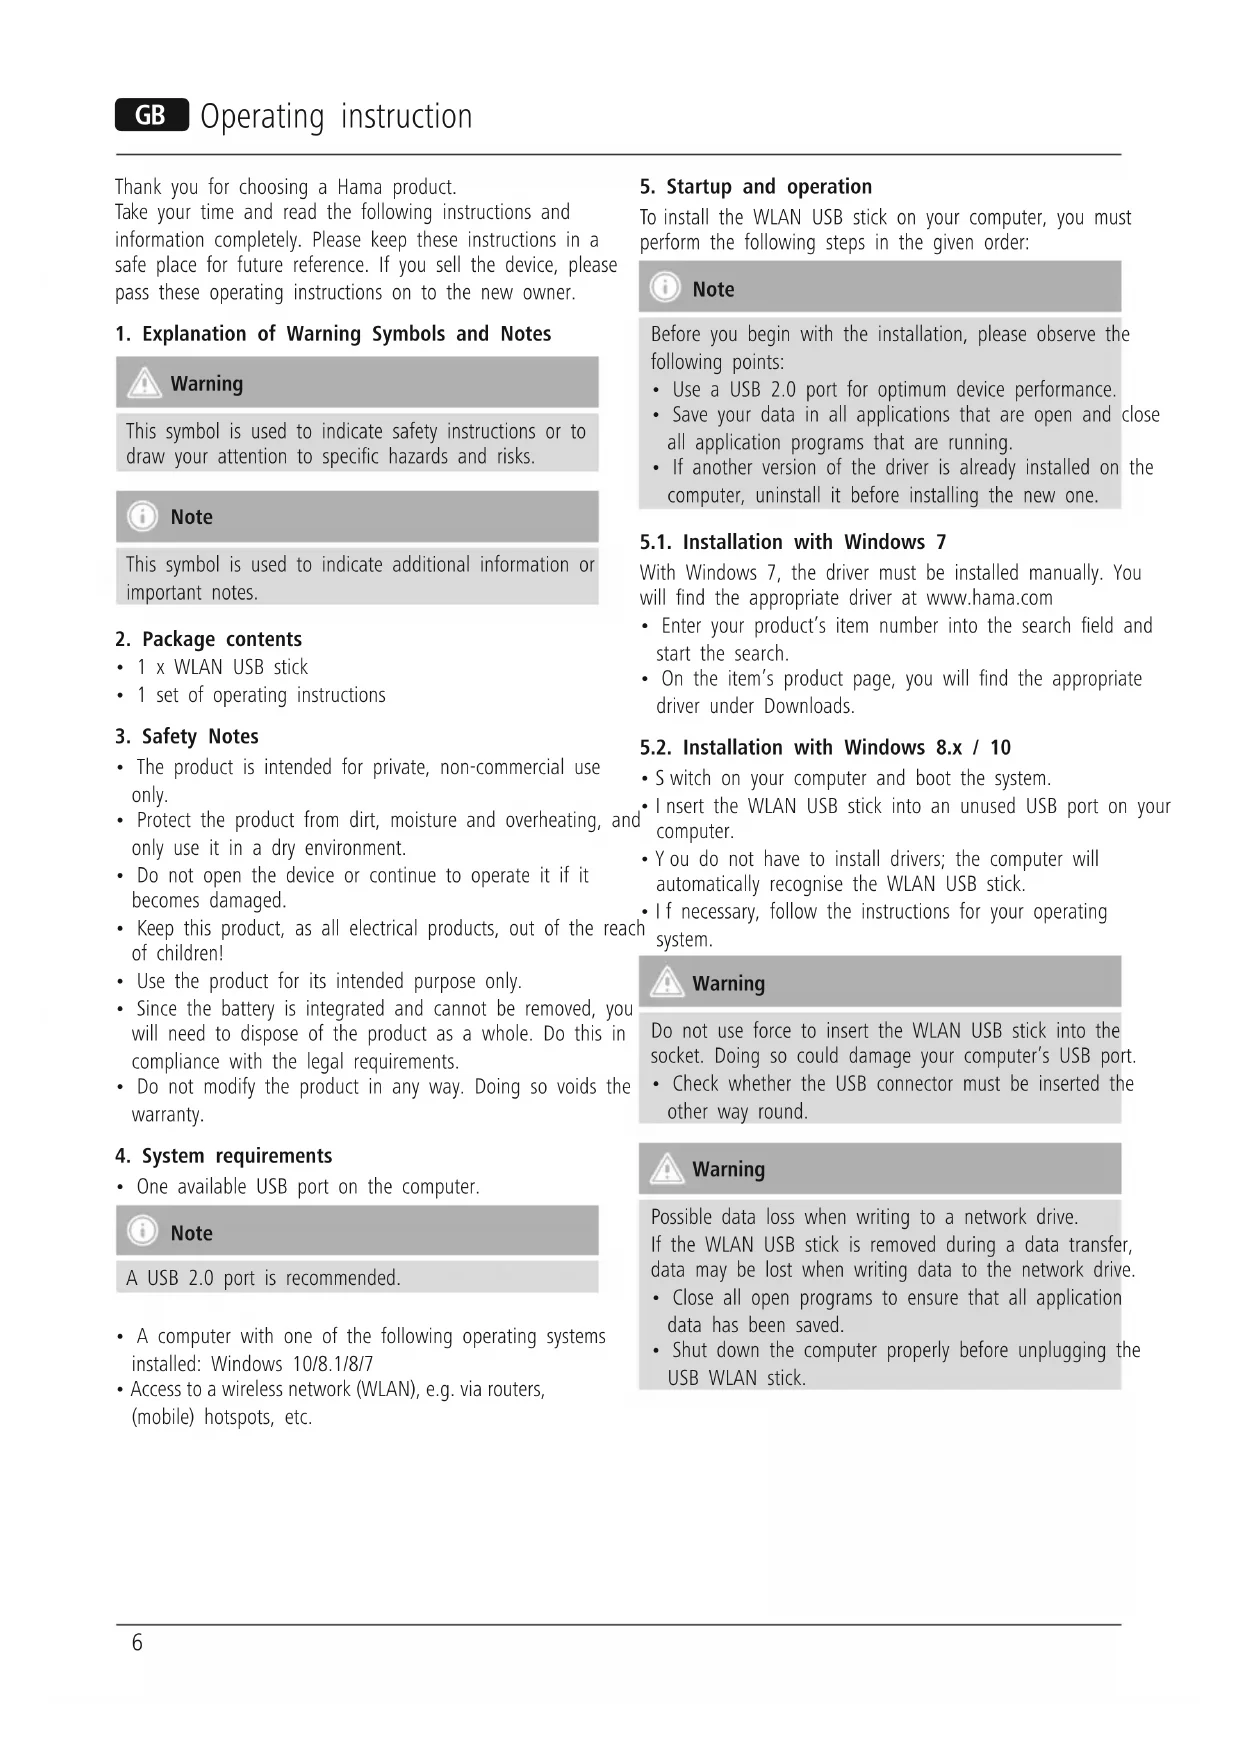
5. Startup and operation
To install the WLAN USB stick on your computer, you must perform the following steps in the given order:

Note
Before you begin with the installation, please observe the following points:
- Use a USB 2.0 port for optimum device performance.
- Save your data in all applications that are open and close all application programs that are running.
- If another version of the driver is already installed on the computer, uninstall it before installing the new one.
5.1. Installation with Windows 7
With Windows 7, the driver must be installed manually. You will find the appropriate driver at www.hama.com
- Enter your product's item number into the search field and start the search.
- On the item's product page, you will find the appropriate driver under Downloads.
5.2. Installation with Windows 8.x / 10
- Switch on your computer and boot the system.
- Insert the WLAN USB stick into an unused USB port on your computer.
- You do not have to install drivers; the computer will automatically recognise the WLAN USB stick.
- If necessary, follow the instructions for your operating system.

Warning
Do not use force to insert the WLAN USB stick into the socket. Doing so could damage your computer's USB port.
- Check whether the USB connector must be inserted the other way round.

Warning
Possible data loss when writing to a network drive. If the WLAN USB stick is removed during a data transfer, data may be lost when writing data to the network drive.
- Close all open programs to ensure that all application data has been saved.
- Shut down the computer properly before unplugging the USB WLAN stick.
5.3. Supported encryption types
The WLAN USB stick supports the following encryption processes for preventing unauthorised access to your wireless network:
• WPA
- WPA2
- WEP (64/ 128 bit)

Note
- WPA and WPA2 (Wi-Fi Protected Access) are the current standards for encryption of wireless networks and the data transmitted. Only users who know the set key can access the wireless network.
- WEP (Wired Equivalent Privacy) is an older encryption process and is required whenever a user in the wireless network does not support the newer WPA/WPA2 encryption process.
- We recommend using the WPA or WPA2 encryption process whenever possible.
5.4. Network configuration (after successful installation)
Once you have successfully installed the WLAN USB stick on your computer and inserted it, you can establish a connection between a wireless network and your computer.
The WLAN USB stick allows both infrastructure mode and ad-hoc mode.
Infrastructure mode
Wireless connection of one or more computers and other network users to an access point is called infrastructure mode. Access points such as WLAN routers allow functions such as accessing the Internet or a wired network.
Network configuration via WPS

Note - WPS
- If your access point supports WPS (Wi-Fi Protected Setup), this standard can simplify configuration of your wireless network.
- Please refer to the instructions in the operating manual of your terminal device.
-
WPS can only be used in combination with the WPA/WPA2 encryption processes (WEP is not supported).
-
Press the WPS button at the access point (button may have a different name) to activate the WPS function at the access point and on the computer with the inserted WLAN USB stick.
- The available network is automatically selected in this process and the security data is transferred.
- You may be prompted to enter a security/network key, password, etc.
- If necessary, follow the instructions for your operating system.
Manual network configuration
- Select an available network.
- You may be prompted to enter a security/network key, password, etc.
• After you have entered it correctly, the connection is established. - If no networks have been set up/are available, configure the appropriate network using the settings and configurations in the operating system you use.

Note - Configuration
- Note the information in the operating instructions for your terminal device and operating system.
- If necessary, follow the instructions for your operating system.
- The function LED integrated into the device flashes when the network is accessed.
6. Care and Maintenance
- Only clean this product with a slightly damp, lint-free cloth and do not use aggressive cleaning agents.
- Make sure that water does not get into the product.
7. Warranty Disclaimer
Hama GmbH & Co. KG assumes no liability and provides no warranty for damage resulting from improper installation/mounting, improper use of the product or from failure to observe the operating instructions and/or safety notes.
8. Service and Support
Please contact Hama Product Consulting if you have any questions about this product.
Hotline: +49 9091 502-115 (German/English)
Further support information can be found here:
www.hama.com
9. Technical Data
| Encryption modes WEP, WPA, WPA2, TKIP, AES | |
| Operating System Windows | 10 /8.1/8 /7 |
| WLAN Standards | IEEE 802.11 b/g/n(2.4 GHz up to 150 Mbps)IEEE 802.11 ac(5GHz up to 433 Mbps) |
| Power consumption 5V | --- 150mA |
10. Recycling Information
Note on environmental protection:
After the implementation of the European Directive 2012/19/EU and 2006/66/EU in the national legal system, the following applies: Electric and electronic devices as well as batteries must not be disposed of
with household waste. Consumers are obliged by law to return electrical and electronic devices as well as batteries at the end of their service lives to the public collecting points set up for this purpose or point of sale. Details to this are defined by the national law of the respective country. This symbol on the product, the instruction manual or the package indicates that a product is subject to these regulations. By recycling, reusing the materials or other forms of utilising old devices/batteries, you are making an important contribution to protecting our environment.
11. Declaration of Conformity

Hereby, Hama GmbH & Co KG declares that the radio equipment type [00053305] is in compliance with Directive 2014/53/EU. The full text of the EU
declaration of conformity is available at the following internet address: www.hama.com >00053305->Downloads.
| Frequency band(s) | 2.4GHz (2412MHz - 2472MHz)5GHz (5150MHz - 5350MHz)5GHz (5470MHz - 5725MHz)5.8GHz (5725MHz - 5850MHz) |
| Maximum radio-frequency power transmitted | 10 MW EIRP |

Note
If channels 36–64 (frequency 5.150–5.350 GHz) are used in a 5-GHz WLAN, the product may only be used in closed rooms.
86652 Monheim/ Germany
www.hama.com