LNE45DDW - Surveillance Camera Lorex - Free user manual and instructions
Find the device manual for free LNE45DDW Lorex in PDF.
Download the instructions for your Surveillance Camera in PDF format for free! Find your manual LNE45DDW - Lorex and take your electronic device back in hand. On this page are published all the documents necessary for the use of your device. LNE45DDW by Lorex.
USER MANUAL LNE45DDW Lorex
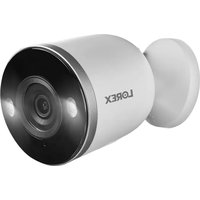
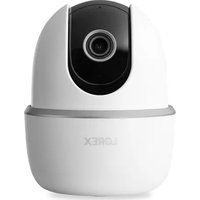
LNE45DDB LNE45DDW• Follow all instructions for safe use and handling of the product.
- Use the camera within given temperature, humidity and voltage levels noted in the camera specifications.
- Do not disassemble the camera.
- Do not point the camera directly at the sun or a source of intense light.
- You may need to clean periodically using a damp cloth. Do not use harsh, chemical-based cleaners.
- The supplied cable is rated for surface mounting only (Non-UL). Cables for in-wall and floor-to-floor installations are sold separately (CMR type). These and other cables are available at lorex.com.
- It is recommended to connect the camera to the NVR or an external PoE switch. If using a power adapter with this camera, a REGULATED power supply is REQUIRED (not included). Use of a non-regulated, non-conforming power supply can damage this product and voids the warranty. EN - Safety Precautions
- Use the camera only with compatible Lorex recorders. For a full list, visit lorex.com/compatibility.
- Not intended for submersion in water. Installation in a sheltered location recommended.
- The camera includes an Auto Mechanical IR Cut Filter. When the camera changes between Day/Night viewing modes, an audible clicking noise may be heard from the camera. This clicking is normal, and indicates that the camera filter is working.
- Consider what you want to monitor and find the best area for coverage.
- Place the camera close to the area of interest.
- Avoid placing the camera directly in front of obstructions like trees, bricks, rain gutters, or reflective surfaces.
- Install the camera where it is difficult for thieves and vandals to reach.
- Ensure the mounting surface can support at least 3.18 lbs/1.4 kg (3× the camera’s weight).
- The ideal position is about 10 feet/3 meters above ground, angled 15° downward.
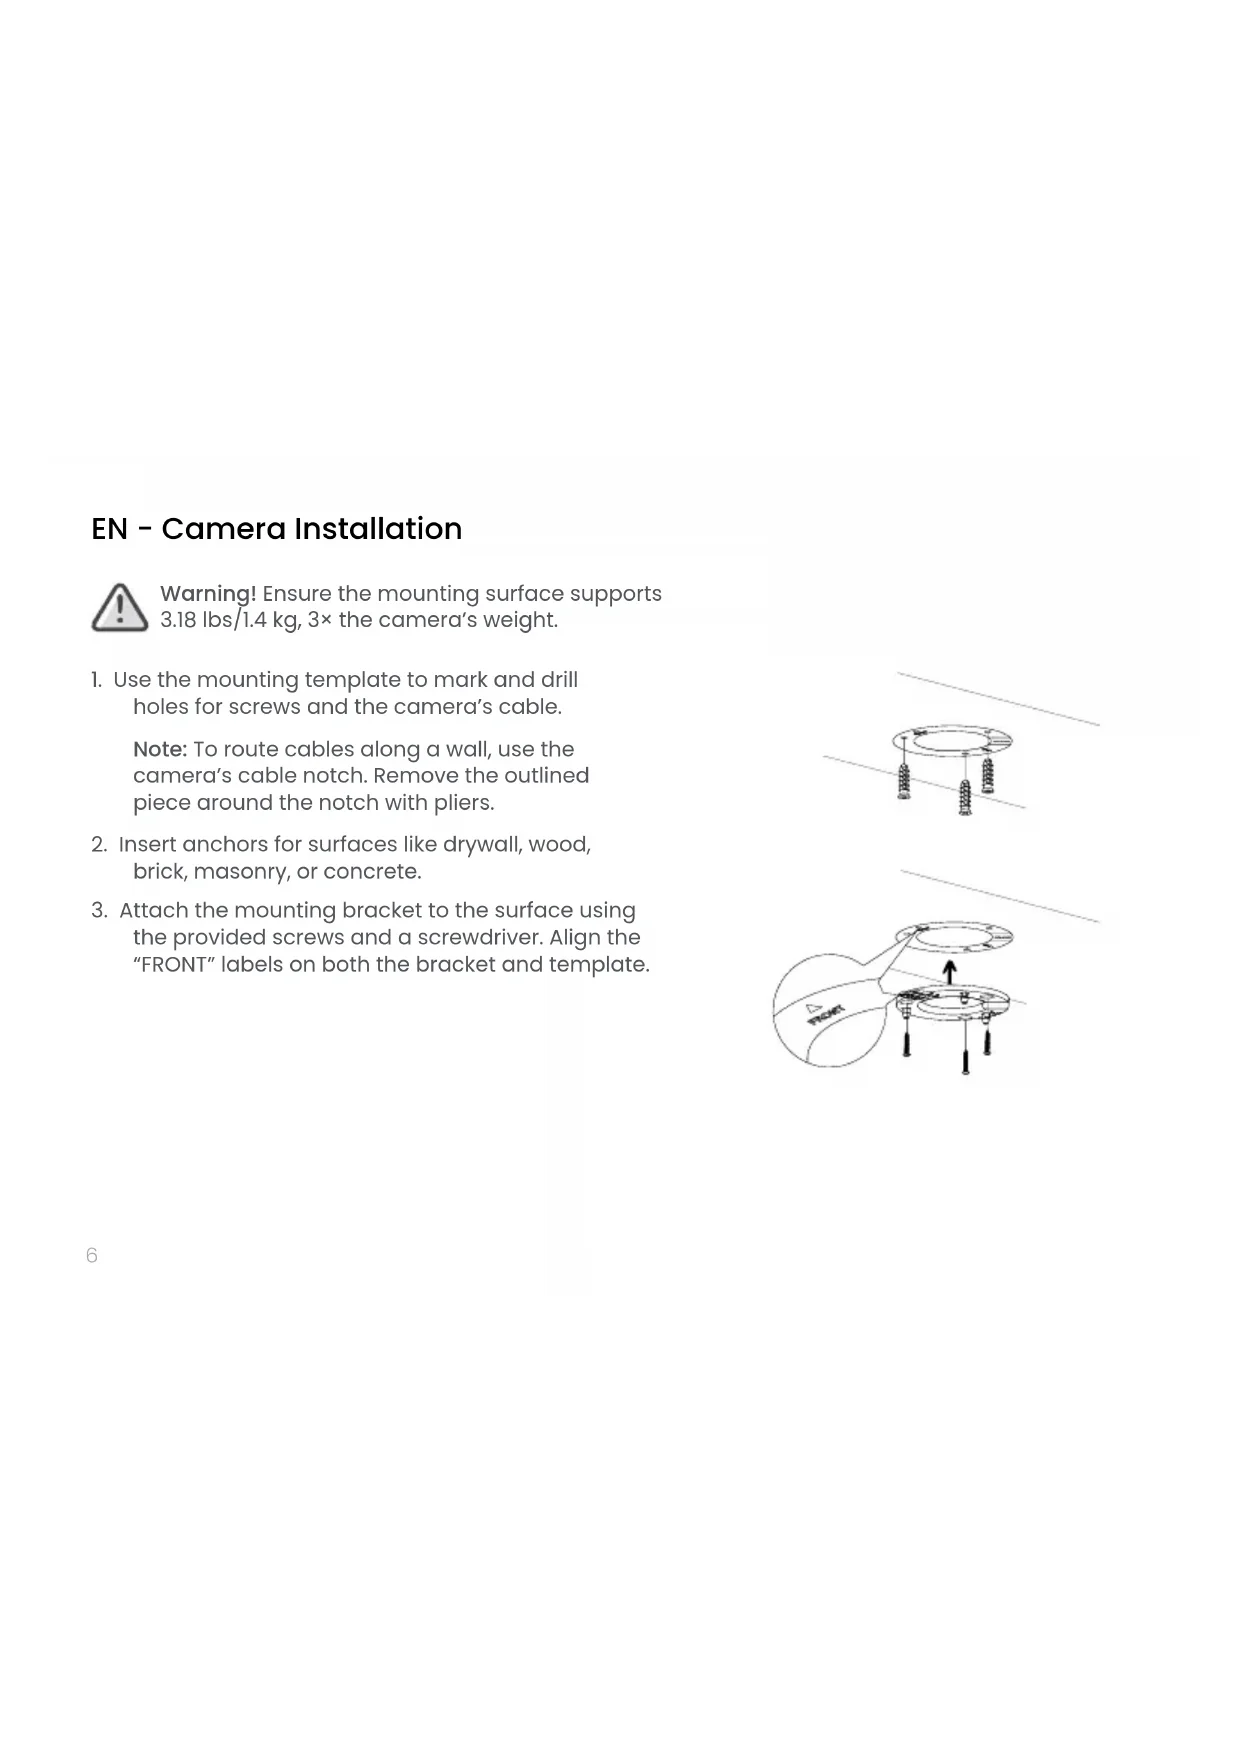
1. Use the mounting template to mark and drill
holes for screws and the camera’s cable. Note: To route cables along a wall, use the camera’s cable notch. Remove the outlined piece around the notch with pliers.
2. Insert anchors for surfaces like drywall, wood,
brick, masonry, or concrete.
3. Attach the mounting bracket to the surface using
the provided screws and a screwdriver. Align the “FRONT” labels on both the bracket and template. Warning! Ensure the mounting surface supports
3.18 lbs/1.4 kg, 3× the camera’s weight.7
4. Guide the camera’s cable through the
surface opening or cable notch.
5. Connect one end of the Ethernet cable into
the camera’s Ethernet connector and the other end into the NVR’s PoE port.
6. Secure the weather-resistant cap by twisting
it onto the camera’s Ethernet connector. If exposed to rain, seal it with silicone or electrical tape.8 PUSH
7. Attach the camera to the bracket by aligning the
tabs with the slots. Ensure the “PUSH” tab on the bracket sticks out from the camera’s release slot. Slide the camera forward until it securely “clicks” into place. Note: To detach the camera from the bracket, grip the camera firmly and push the “PUSH” tab.
8. Loosen the adjustment screw with a screwdriver
to position the camera, then securely tighten it in place.
9. Important! Remove the vinyl film from the
Warning! Ensure the mounting surface supports 0.8 lb/0.36 kg, 3× the camera’s weight.
EN - FAQs Does the camera support ePoE? Yes, the camera supports ePoE technology. With ePoE, you can connect the camera up to 600 m (2000 ft) away using just one Ethernet cable, compared to the standard 100 m (328 ft) limit. This technology enables both power and data transmission through the same cable. The NVR it connects to must also be equipped with an ePoE port, essential for providing power and ensuring effective communication with the camera. Can I use a PoE switch to connect the camera to the NVR? Yes, you can connect the camera to the NVR by connecting it to a PoE switch, available at lorex.com. How do I access the camera’s footage from my phone? To view the camera’s footage from your phone, use the compatible NVR app. Follow the NVR’s guide to download the app and add the recorder to your account. How do I reduce false alerts? First, manage notifications by scheduling them or snoozing alerts in the app’s or NVR’s settings. Then, optimize the camera’s performance by fine-tuning person and vehicle detection settings and drawing motion zones to receive alerts only for motion detected within those designated areas. How can I set up person and vehicle detection? Go to the NVR’s settings for Events > Smart Motion Plus or Person and Vehicle Detection. Enable ‘Person and Vehicle’ detection, draw motion zones to create designated areas for detection, and choose how the system will react to detection events by setting the ‘Trigger’ options. For detailed instructions, refer to the NVR’s manual at help.lorex.com and search for the NVR’s model number.12