Foriano BN151 - Baby walker Baninni - Free user manual and instructions
Find the device manual for free Foriano BN151 Baninni in PDF.
Frequently Asked Questions - Foriano BN151 Baninni
User questions about Foriano BN151 Baninni
0 question about this device. Answer the ones you know or ask your own.
Ask a new question about this device
Download the instructions for your Baby walker in PDF format for free! Find your manual Foriano BN151 - Baninni and take your electronic device back in hand. On this page are published all the documents necessary for the use of your device. Foriano BN151 by Baninni.
USER MANUAL Foriano BN151 Baninni
"THE FIRST STEPS TO KNOWLEDGE"
BABY WALKER FORIANO
MONTAGE RICHTLIJNEN
NL
Read all instructions before assembly and use of the baby walker.
Keep instructions for future use. The child may be hurt if you do not follow these instructions.
IMPORTANT! KEEP FOR FUTURE REFERENCE. WARNING! TO BE ASSEMBLED BY AN ADULT!
PARTS LIST:
Check that you have all the parts for this model BEFORE assembling your product. No tools required.
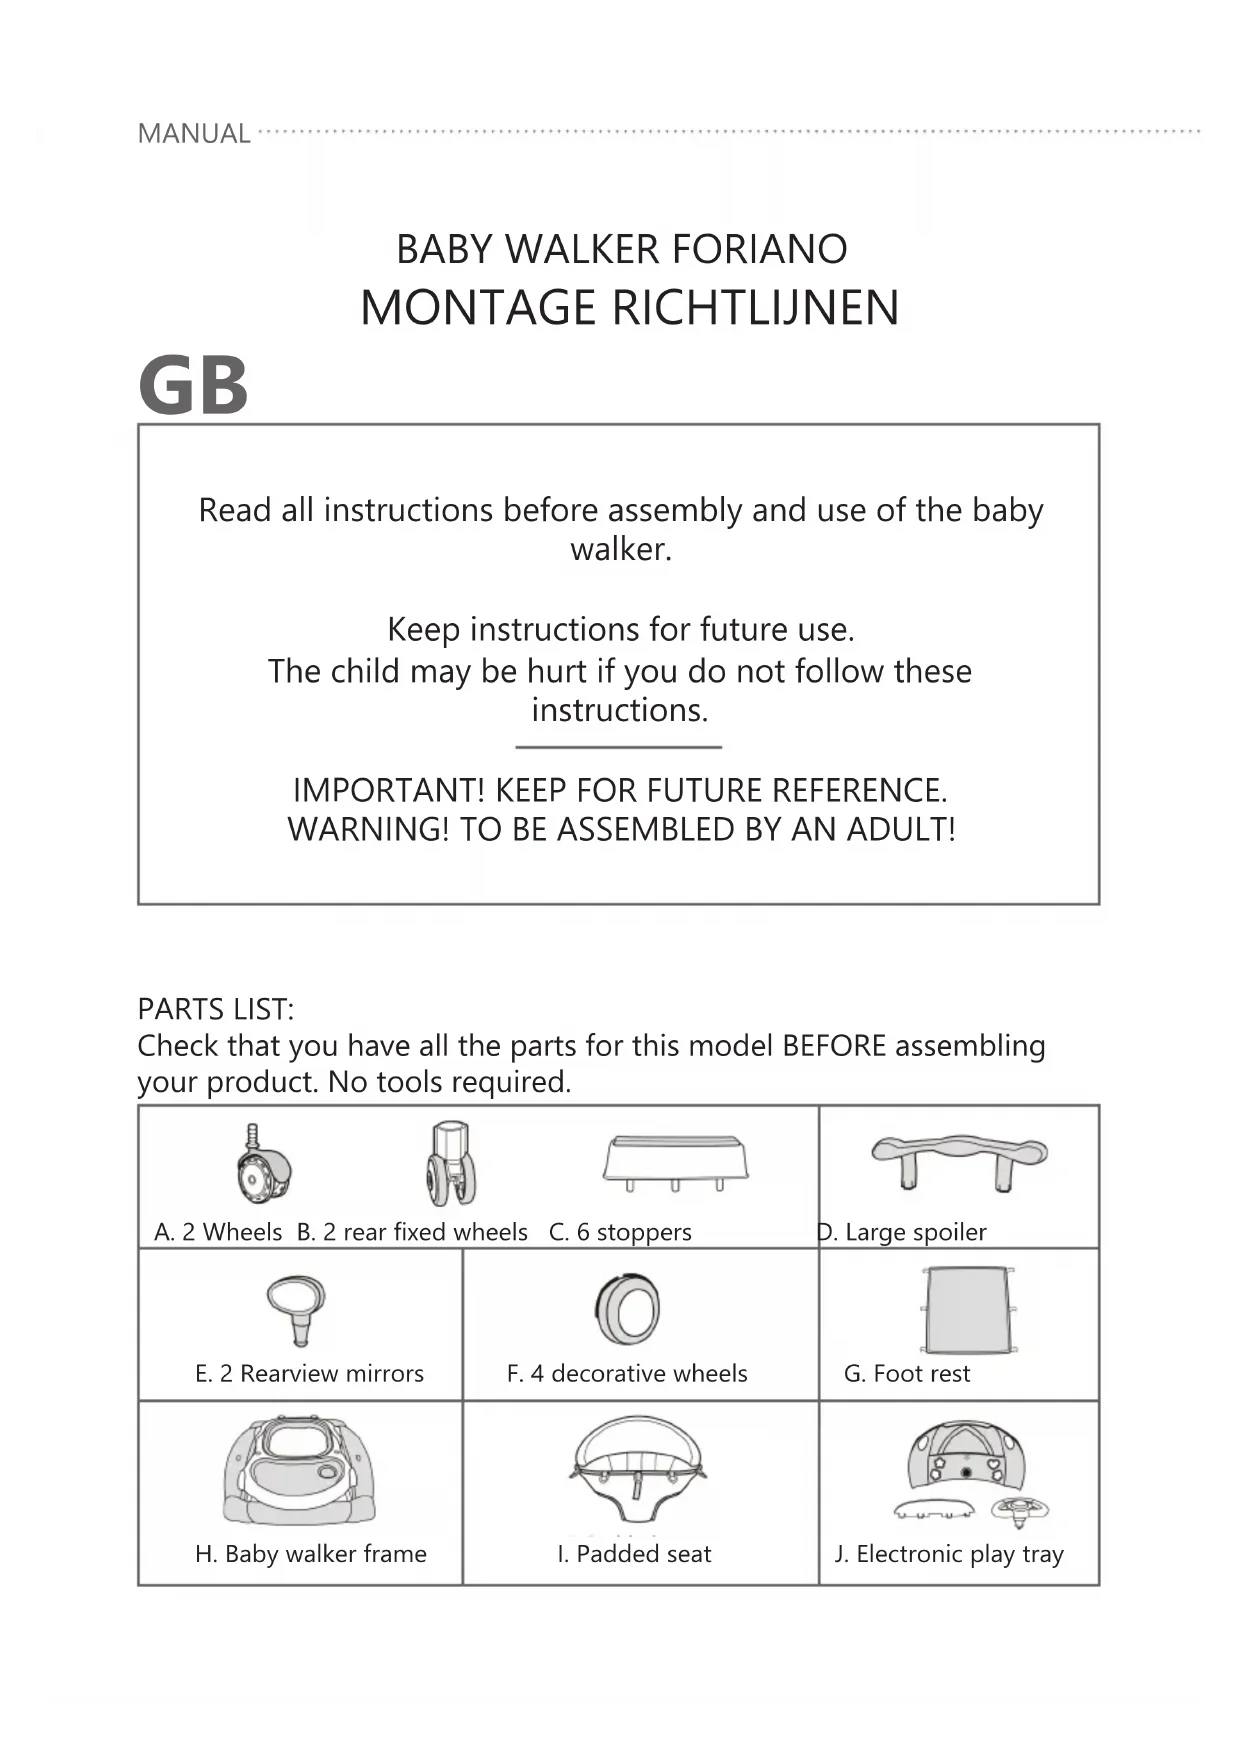
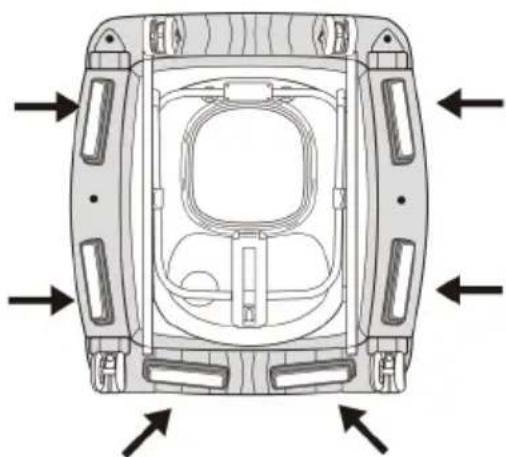
A. 2 Wheels B. 2 rear fixed wheels C. 6 stoppers

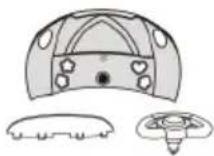
D. Large spoiler
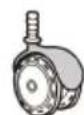
E.2 Rearview mirrors
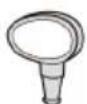
F. 4 decorative wheels
G. Foot rest
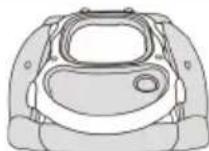
H. Baby walker frame
I. Padded seat
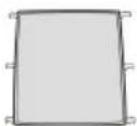
J. Electronic play tray
WARNING
Read the instructions carefully before use and keep them for future reference. The child may be hurt if you do not follow these instructions.
-
Before using, remove and dispose of any plastic bags and any other packaging (e.g. fasteners, fixing ties, etc.) and keep them out of reach of children.
-
Before using, check that the product and all of its components have not been damaged during transportation. Check regularly that the product is not broken or damaged. If the product is broken or damaged, keep out of reach of children. The product must only be assembled by an adult. For the correct assembly of the product, please refer to the following instructions.
-
Danger: Stairs: Avoid serious injury or death. Block stairs/steps securely before using the walker even when using parking brake.
-
The child will be able to reach further and move faster when in the baby walker.
-
Prevent access to stairs, steps and uneven surfaces, slopes or unstable floors, swimming pools or other sources of water. Only use the baby walker on flat and stable surfaces.
-
Never leave child unattended. Always keep child in view while in walker.
-
Keep away from all fires, heating and cooking appliances.
-
Remove hot liquids, electrical flexes and other potential dangers from reach.
-
Prevent collisions with glass in doors, windows and furniture.
-
Do not use the baby walker if any components are broken or missing.
-
This baby walker should be used only for short periods of time, maximum 20 min.
-
This baby walker is intended to be used by children who can sit unaided. approximately from 6 months. It is not intended for children weighing more than 12kg .
-
Do not use replacement parts other than those approved by the manufacturer or distributor.
MONTAGE INSTRUCTIES
Step 1.
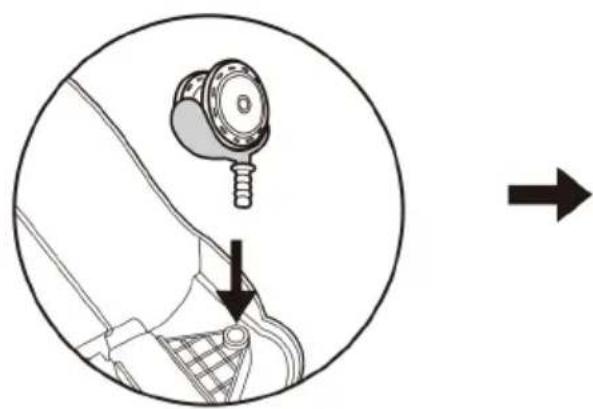
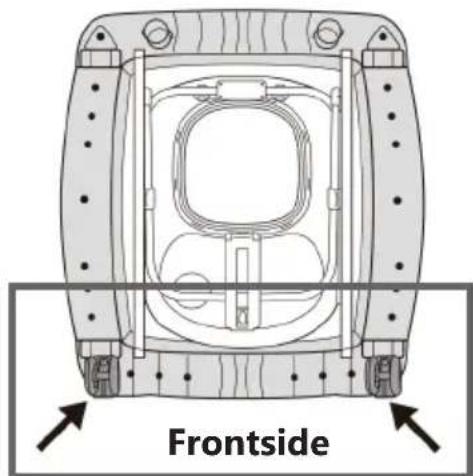
1-1. Turn the baby walker frame upside down. Fix the wheels in the appropriate housings. Ensure that the wheels are firmly pushed all the way into the housing on the down base of the walker.

1-2. Place the rear fixed wheels in the appropriate housings. Ensure that the wheels are firmly pushed all the way into the housing on the down base of the walker.
1-3.Fix the stoppers in the appropriate housings. Ensure that they are firmly pushed all the way into the housing on the down base of the walker.
Step 2.
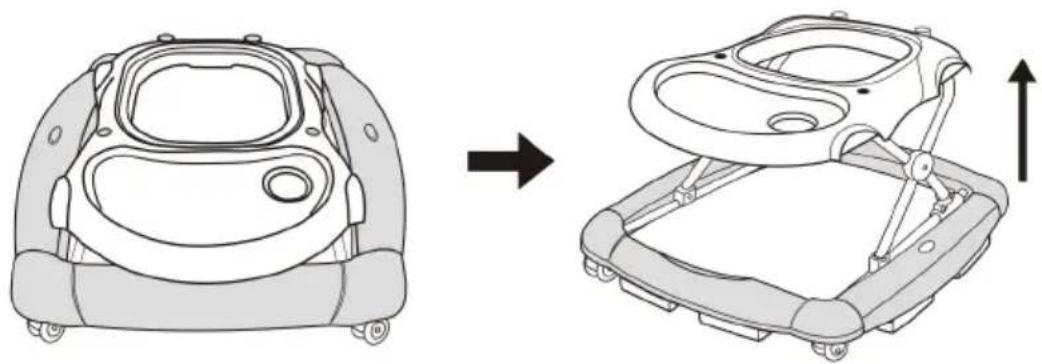
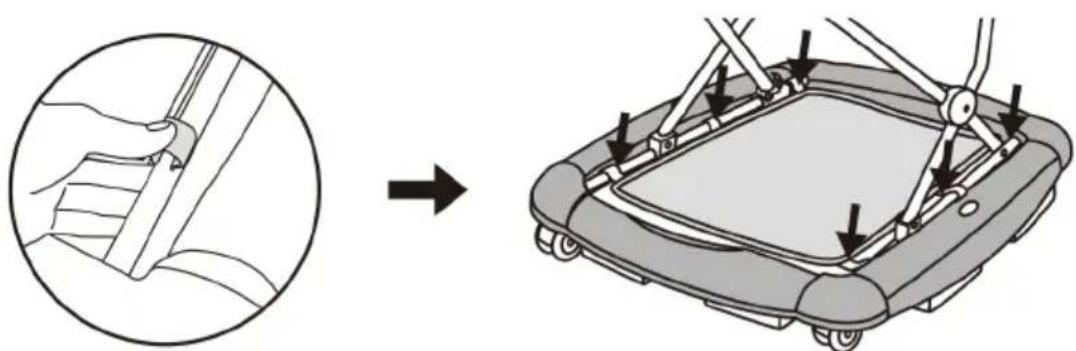
Open the baby walker in the in-use position, ensuring that all wheels touch the floor. Slowly raise the tray by pulling it in an upward direction, until a click indicates that the frame has been locked correctly in one of the three positions.
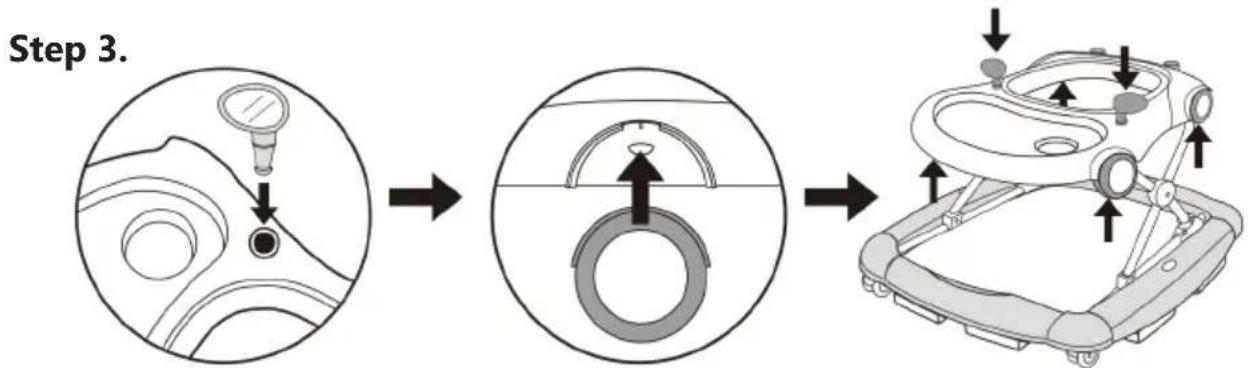
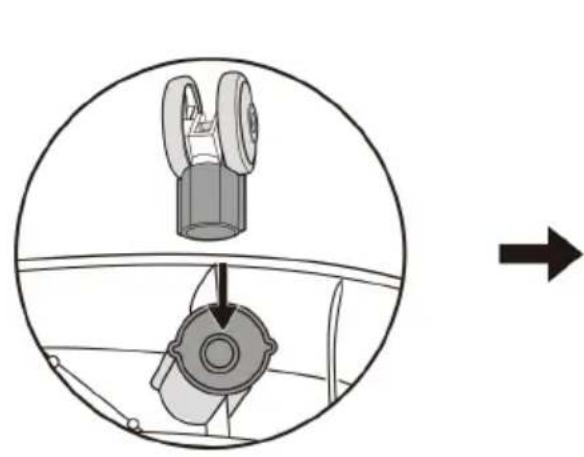
Place the rearview mirrors and decorative wheels in the appropriate housings. Ensure that the decorative wheels are firmly pushed all the way into the housing on the up base of the walker.
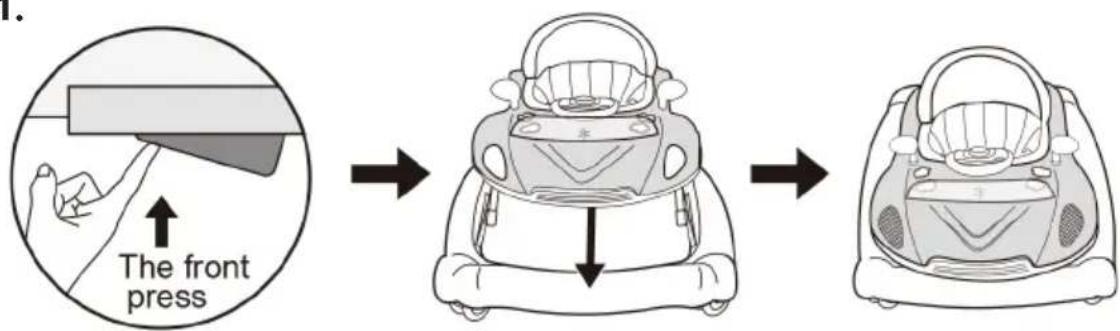
Step 4.
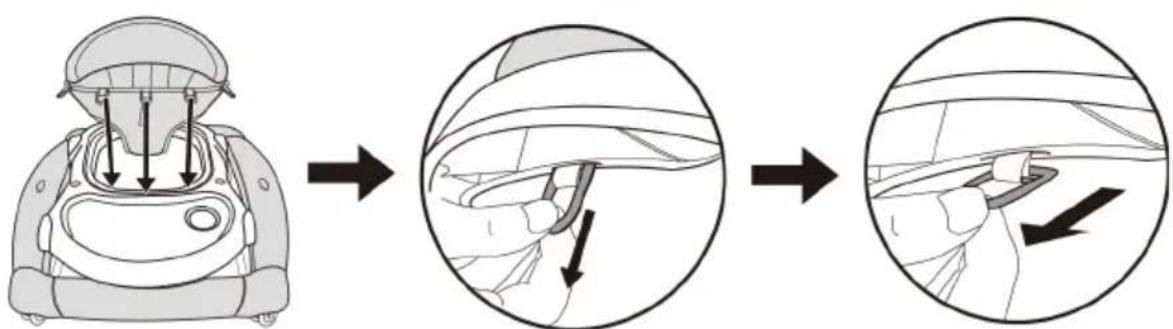
Insert the plastic rings of the padded seat in the slots located along the upper edge of the walker frame. Pass the rings through the slots and tug them until they clear the passage, then release them, ensuring that they are correctly locked in the position and cannot recede into the slot.
Step 5.
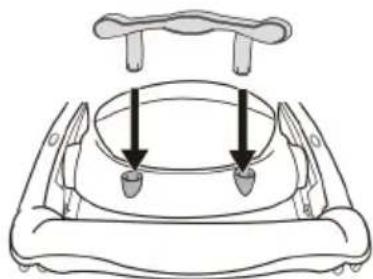
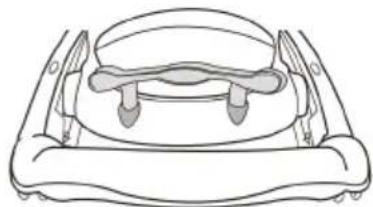
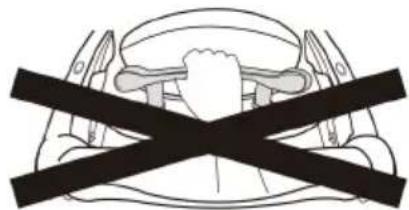
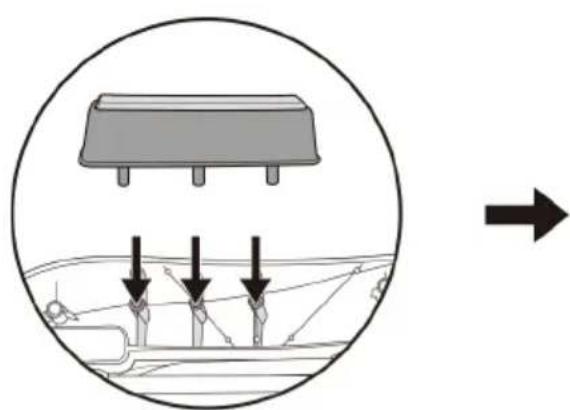
Place the large spoiler on the rear walker frame; simply place it on the housings, located at the rear of the backrest, and push it firmly in a downward direction, ensuring that it has been fitted in the correct position. Please do not lift up baby walker with large spoiler. It is dangerous do in this way.
Step 6.
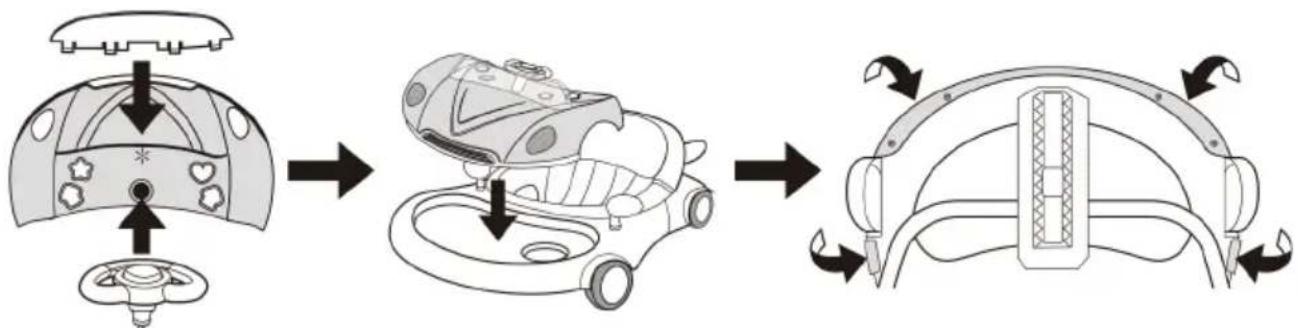
Insert all small toy parts into corresponding holes. Put the electronic play tray on the dinner tray. Make sure that the electronic play tray is firmly clicked on to the edges.
Step 7.
Place the hooks on to the tube at the corresponding position to fix the foot rest well when in rocking function.
Step 8.
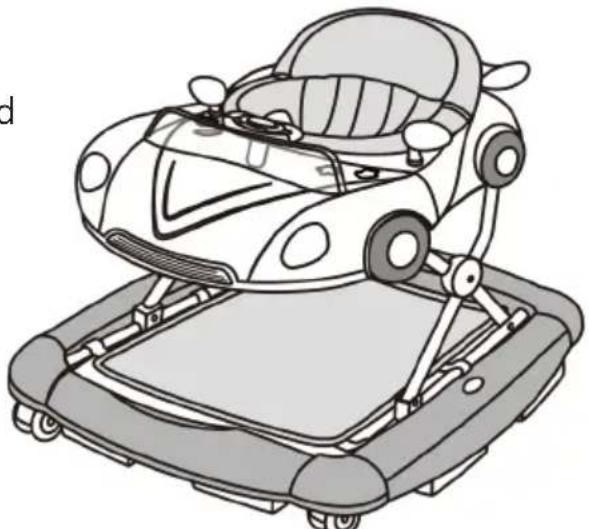
Completely assembled
HOW TO ADJUST THE HEIGHT OF BABY WALKER FRAME Warning
When opening, closing or adjusting the walker, ensure that your child is at a safe distance. Before placing the child in the walker ensure that the secondary lock button is correctly locked again.
Step 9.
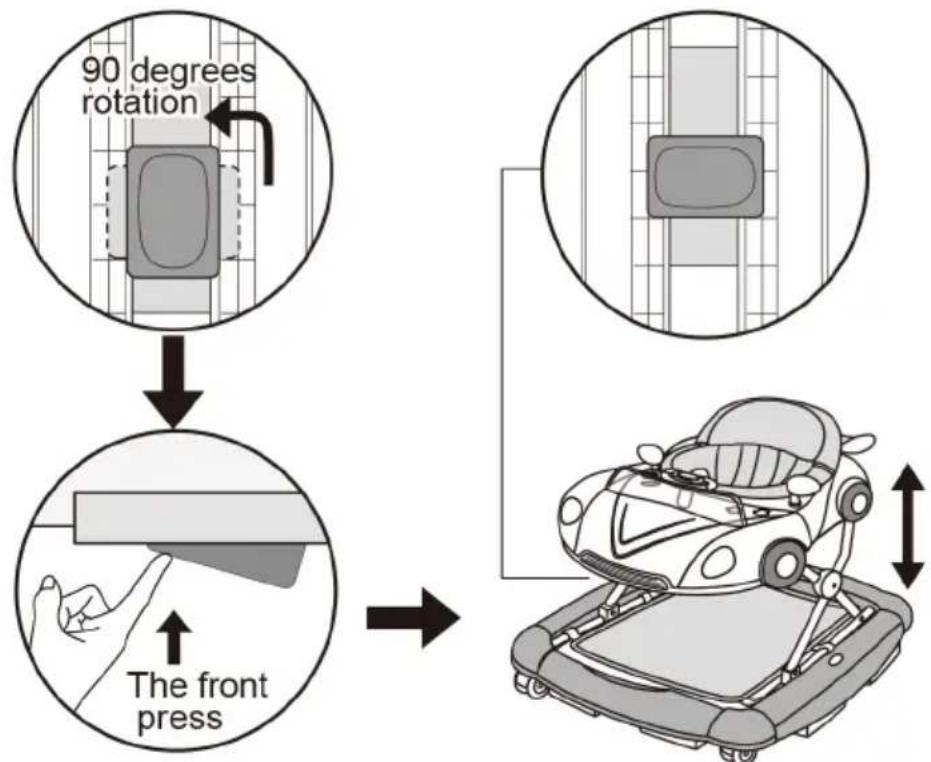
To adjust the seat's height, remove the child from the baby walking frame, pull up the safe button located under the small tray table and rotate it to 90 degrees. keep the safe button pressed, then raise or lower the small table until the desired position is reached, then pull up the safe button and rotate it to 90 degrees again to lock the small table. (If it is a automatic secondary lock, please make sure the lock rotated to 90 degrees.)
HOW TO CONVERT WALKER TO ROCKER
Step 10.
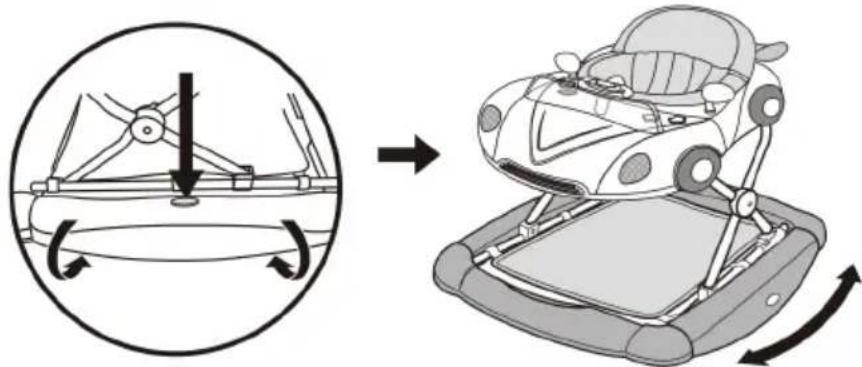
Use two hands to press the buttons on the two sides and turn over the two side boards 90 degrees, then will changed to be rocking function.
HOW TO FOLD THE WALKER
Step 11.
To close the walker frame, pull the button located under the small tray-table, and rotate it to 90 degrees. While pressing the safe button lower the seat, till the walker frame is completely folded.
USING ELECTRONIC PLAY TRAY
Warning
The walker includes one electronic play tray that attaches to the walker frame as shown in step 6. The function and use of the play tray are shown here.
Step 12.
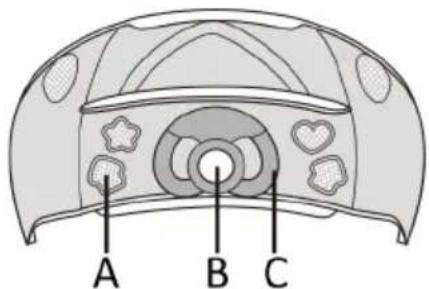
A. Press big buttons to listen to music and lights up
B. Press button to hear horn
C. Turn wheel to steer
FITTING AND / OR REPLACING BATTERIES
Warning
The toy of the walker frame requires 2X"AA" 1.5 Volt alkaline type batteries (not included).
- Batteries must only be fitted by an adult.
- To fit and/ or replace batteries: loosen the screw on the battery compartment cover with a suitable screwdriver, press the tab and remove the battery compartment cover. Then remove the spent batteries and fit new ones, ensuring that they have been fitted in the correct polarity, as shown inside the battery compartment. Replace the battery cover and tighten the screw.
Always keep batteries and tools out of reach of children. - Always remove spent batteries from the toy to avoid the danger of possible leakage from the battery damaging the product.
- Always remove the batteries if the toy will not be used for a long period.
- Only use alkaline batteries of the same type of equivalent to the type recommended for the correct function of this product.
- Never mix new and old batteries, or different types of batteries.
- Do not burn or dispose of used batteries into the environment.
- Dispose of used batteries at an appropriate differentiated collection point.
- Do not short-circuit the battery terminals.
- Do not attempt to recharge non-rechargeable batteries: they might explode.
- The use of rechargeable batteries is not recommended and cannot be used.
PRODUCT CARE AND MAINTENANCE
- Check regularly the walker frame for signs of damage or wear.
- Clean the plastic parts, including the stoppers, with a damp cloth.
- Clean the seat with brush or family soap and neutral scour
- Dry the metal parts to prevent the formation of oxidation.
- Prolonged exposure to direct sunlight may cause the fabric to fade.
BABY WALKER FORIANO
INSTRUCTIONS DE MONTAGE
FR
"THE FIRST STEPS TO KNOWLEDGE"
Voortstraat 12
2490 Balen - Belgium
www.baninni.com
Find us on Facebook & Instagram.am