AMEB - Exercise bike DKN - Free user manual and instructions
Find the device manual for free AMEB DKN in PDF.
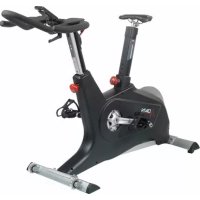
| Product Type | Exercise Bike |
| Brand | DKN |
| Model | AMEB |
| Usage | Residential only |
| Maximum user weight | 140 kg |
| Resistance levels | 32 levels |
| Training programs | Manual, Program (12 profiles), User, Target heart rate, Watt |
| Display | Time, Distance, Speed, RPM, Calories, Heart rate, Watt |
| Heart rate sensor | Hand grip sensors + compatible telemetry chest strap (ref. 20073) |
| Recovery test | RECOVERY function, scale from 1 to 6 |
| User memory | 4 users |
| Power supply | Power adapter (not included) or batteries (not specified) |
| Dimensions (L x W x H) | Approximately 100 x 50 x 120 cm |
| Weight | Approximately 30 kg |
| Maintenance | Check screws every 1 to 2 months, clean with a soft cloth, no harsh chemicals |
| Warranty | 2 years (excluding professional use) |
| Replacement parts | Use only DKN original parts |
| Safety | Do not use in a humid room, supervise children, adult use only |
Frequently Asked Questions - AMEB DKN
User questions about AMEB DKN
0 question about this device. Answer the ones you know or ask your own.
Ask a new question about this device
Download the instructions for your Exercise bike in PDF format for free! Find your manual AMEB - DKN and take your electronic device back in hand. On this page are published all the documents necessary for the use of your device. AMEB by DKN.
USER MANUAL AMEB DKN
This DKN product is designed for residential use only.
Network to the original retail purchaser and authenticated by proof of purchase from a retailer a product sold by an authorized DKN dealer.
This Limited Warranty is not transferable and does not cover normal wear and tear (including, but not limited to, damage and wear to batteries, springs, bearings, running mats, hydraulic systems, ropes, belts, pulleys, power shocks, drive belts and other non-durable parts, etc...).
This Limited Warranty is void if the product is damaged by accident, unreasonable use, improper service, failure to follow instructions provided, modification from its original state, or other causes determined not arising out of defects in material, the consequences of improper treatment, bad installation, wrong assembly or tampering of the parts by incorrect assembly, improper use of the machine (eg. too heavy load in time, weight etc...), problems caused by lack of maintenance, deviations of the standard machine, such as light vibrations or noise, and in case of semi-professional, professional and commercial use (inter alia in sports schools, physio, companies, etc...).
Transport charges, travel charges for technicians, and possible trader and/ or workshop charges are excluded from this warranty, and will be at the sole cost of the owner.
The liability of the manufacturer under this Limited Warranty shall not include any liability for direct, indirect, or consequential damages resulting from any defect nor the use of this machine.
Before you start training, please read the instructions carefully. Be sure to keep the instructions for information, in case of repair and for spare part delivery.
This exerciser has been tested up to a max. body weight of 140kg / 300 lbs.
Follow the carefully the different steps of the assembly instructions.
Use only original parts as delivered.
Before starting the assembly, be sure to check if delivery is complete by using the included parts-list.
For assembly use only suitable tools and ask for assistance with assembly if necessary.
Place the exerciser on an even, non-slippery surface. Because of possible corrosion, the usage of any exerciser in moist areas is not recommended.
Check before the first training and every 1-2 months that all connecting elements are tight fitting and are in the correct condition.
Replace defective components immediately and/or keep the equipment out of use until repair.
For repairs, use only original spare parts.
In case of repair please ask your dealer for advice
Avoid the use of aggressive detergents when cleaning.
Ensure that training starts only after correct assembly and inspection.
For all adjustable parts be aware of the maximum positions to which they can be adjusted/tightened to.
This exerciser is designed for adults. Please ensure that children use the exerciser only under the supervision of an adult.
Ensure that those present are aware of possible hazards, e. g. movable parts during training.
Warning: incorrect/excessive training can cause health injuries.
Please follow the advice for correct training as detailed in training instructions.
Consult your physician before starting with any exercise programme. He can advise on the kind of training and which impact is suitable.
The owner's manual is only for customers' reference.
The supplier can not guarantee for mistakes occurring due to translation or change in technical specification of the product.
All data displayed are approximate guidance and cannot be used in any medical application.
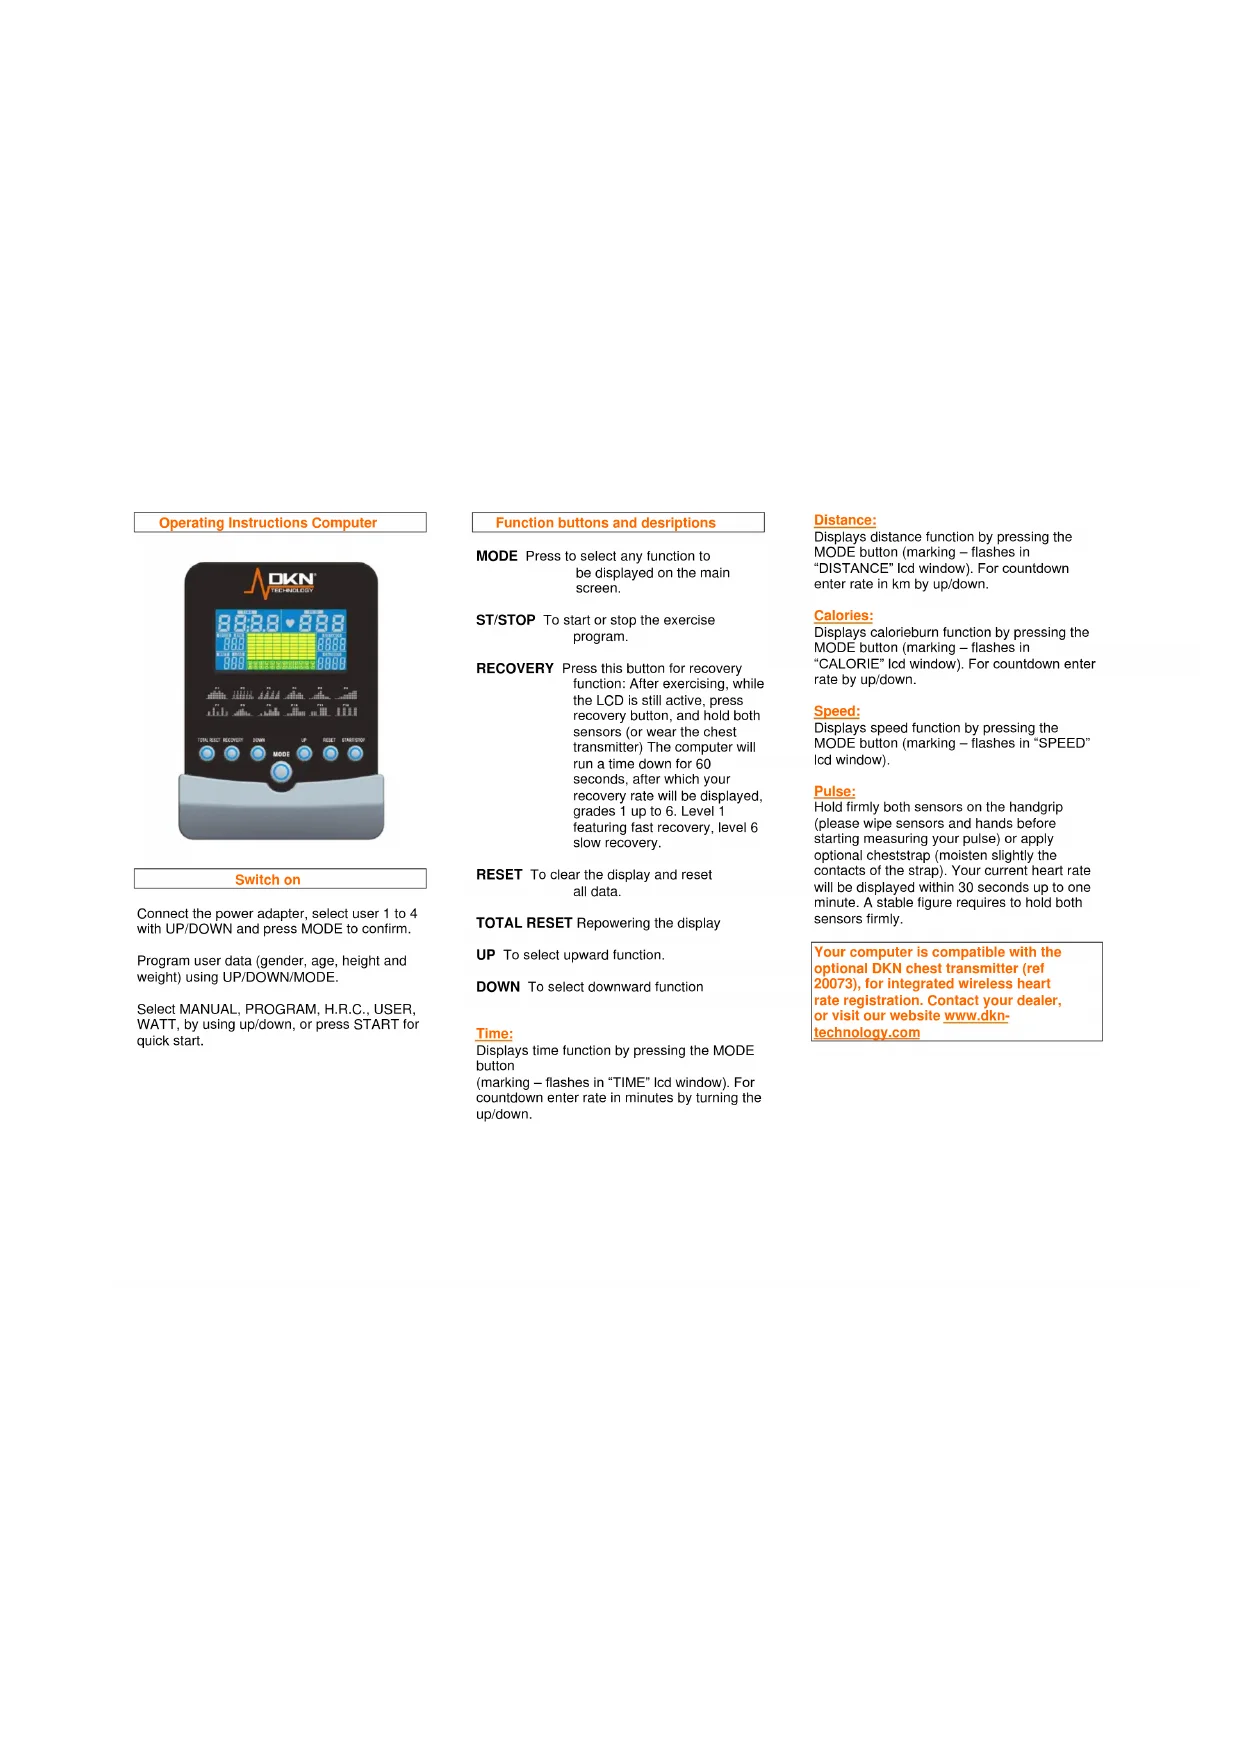
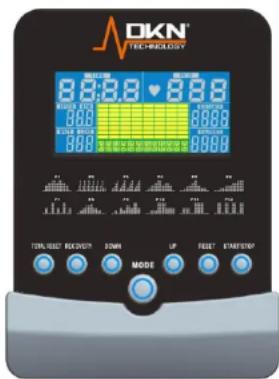
Operating Instructions Computer
Switch on
Connect the power adapter, select user 1 to 4 with UP/DOWN and press MODE to confirm.
Program user data (gender, age, height and weight) using UP/DOWN/MODE.
Select MANUAL, PROGRAM, H.R.C., USER, WATT, by using up/down, or press START for quick start.
Function buttons and descriptions
MODE Press to select any function to be displayed on the main screen.
ST/STOP To start or stop the exercise program.
RECOVERY Press this button for recovery function: After exercising, while the LCD is still active, press recovery button, and hold both sensors (or wear the chest transmitter) The computer will run a time down for 60 seconds, after which your recovery rate will be displayed, grades 1 up to 6. Level 1 featuring fast recovery, level 6 slow recovery.
RESET To clear the display and reset all data.
TOTAL RESET Repowering the display
UP To select upward function.
DOWN To select downward function
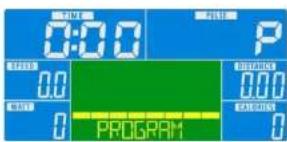
Time:
Displays time function by pressing the MODE button (marking - flashes in "TIME" Icd window). For countdown enter rate in minutes by turning the up/down.
Distance:
Displays distance function by pressing the MODE button (marking - flashes in "DISTANCE" Icd window). For countdown enter rate in km by up/down.
Calorles:
Displays calorieburn function by pressing the MODE button (marking - flashes in "CALORIE" Icd window). For countdown enter rate by up/down.
Speed:
Displays speed function by pressing the MODE button (marking - flashes in "SPEED" Icd window).
Pulse:
Hold firmly both sensors on the handgrip (please wipe sensors and hands before starting measuring your pulse) or apply optional cheststrap (moisten slightly the contacts of the strap). Your current heart rate will be displayed within 30 seconds up to one minute. A stable figure requires to hold both sensors firmly.
Your computer is compatible with the optional DKN chest transmitter (ref 20073), for integrated wireless heart rate registration. Contact your dealer, or visit our website www.dkn-technology.com
Training in MANUAL mode

- Select "MANUAL", use up/down to adjust the load level (this ergometer offers 32 levels), confirm selection by pressing "MODE".
- "TIME" flashes: use up/down to set exercise time, confirm selection by pressing "MODE".
- DISTANCE" flashes: use up/down to set distance, confirm selection by pressing "MODE".
WATT" flashes: use up/down to set targeted energy level, confirm selection by pressing "MODE". - "CALORIES" flashes: use up/down to set calorie consumption, confirm selection by pressing "MODE".
- "PULSE" flashes: use up/down to set maximum heart rate, confirm selection by pressing "MODE".
- Start exercising by pressing the "ST/STOP" button.
Training in PROGRAM mode
- Select "PROGRAM", use to select profile 1 to 12, confirm selection by pressing "MODE".
- Press "MODE" again, and set target value for 'TIME, DISTANCE, CALORIES AND PULSE'. Follow the procedure as described above in manual mode. In program mode "WATT" cannot be preset
- If you don't intend setting any target value, start exercising by pressing the "ST/STOP" button.
Training in USER mode
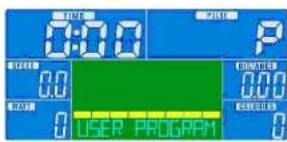
- Select "USER", use up/down to set up your own profile (this ergometer offers 32 load levels and 20 load segments).
In each segment confirm your loadsettings by pressing "MODE". - Start exercising by pressing the "ST/STOP" button.
Training in TARGET H.R. mode
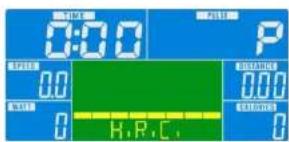
- Select "TARGET H.R.", use up/down to enter your age.
- Press "MODE", "55%" is flashing. Use up/down to select 55, 75, 90 or THR. Confirm your selection by pressing "MODE".
If you selected 55, 75 or 90% , "TIME" is flashing: follow the procedure as described above in manual mode for presetting target values. - If you selected THR, "100" is flashing: use up/down to set target heart rate.
- Confirm your selection by pressing "MODE".
- Start exercising by pressing the "ST/STOP" button.
Upon entering rate in Bpm (Beats per minute) the load tension will be controlled by current heart rate. The resistance will be auto-adjusted according to current heart rate figure. If your heart rate figure is under the target pulse, the tension will be up-adjusted one level every 30 seconds, up to the maximum level 32. As soon as your heart rate figure has achieved the target pulse, tension will be down adjusted one level immediately. In case of overspec the level will be down adjusted one level immediately, and keep down-adjusting each 15 seconds until your heart rate figure has achieved the target pulse.
Heart rate displayed is an approximate read-out, and may not be used as guidance in any cardio-vascular related medical or paramedical program.
All data displayed are approximate guidance and cannot be used in any medical application.
The owner's manual is only for customers' reference. The supplier can not guarantee for mistakes occurring due to translation or changes in technical specifications of the product.
The owner's manual is only for customers' reference. The supplier can not guarantee for mistakes occurring due to translation or changes in technical specifications of the product.
| Nr | Designation | Qty |
| A | computer | 1 |
| A-1 | screw for fixing computer | 4 |
| B | axle set | 1 |
| B-1 | hexagonal screw | 3 |
| B-2 | big pulley | 1 |
| B-3 | bushing | 1 |
| B-4 | axle | 1 |
| C | flywheel set | 1 |
| C-1 | star-shape washer | 2 |
| C-2 | nut | 5 |
| C-3 | bushing | 1 |
| C-4 | bearing 6900RS | 1 |
| C-5 | small pulley | 1 |
| C-6 | bearing 6203 RS | 1 |
| C-7 | one-way bearing set | 1 |
| C-8 | flat washer | 1 |
| C-9 | bearing 6003RS | 1 |
| C-10 | bearing 6202RS | 1 |
| C-11 | flywheel axle | 1 |
| C-12 | flywheel | 1 |
| C-13 | bushing | 1 |
| D | idler wheel set | 1 |
| D-1 | hexagonal screw | 1 |
| D-2 | idler wheel | 1 |
| D-3 | curved washer | 2 |
| D-4 | nylon nut | 1 |
| D-5 | hexagonal screw | 1 |
| D-6 | flat washer | 1 |
| D-7 | flat washer | 1 |
| D-8 | spring for idler wheel | 1 |
| D-9 | idler shaft | 1 |
| E | screw set for handlebar post | 1 |
| E-1 | semi-circle washer | 2 |
| E-2 | screw | 4 |
| E-3 | flat washer | 2 |
| F | magnet system set | 1 |
| F-1 | hexagonal screw | 2 |
| Nr | Designation | Qty |
| F-2 | spring washer | 2 |
| F-3 | flat washer | 2 |
| G-1 | right cover | 1 |
| G-2 | crank arm right | 1 |
| G-3 | screw | 2 |
| G-4 | pedal | 1 |
| G-5 | screw | 7 |
| G-6 | screw | 6 |
| G-7 | right cover | 1 |
| G-8 | screw | 6 |
| G-9 | DC wire | 1 |
| G-10 | bearing 6203 RS | 2 |
| G-11 | curved washer | 1 |
| G-12 | flat washer | 1 |
| G-13 | C-type ring | 1 |
| G-14 | driving belt | 1 |
| G-15 | seat post busing | 1 |
| G-16 | seat post knob | 1 |
| G-17 | cable lower | 1 |
| G-18 | screw | 1 |
| G-19 | sensor | 1 |
| G-20 | holder of sensor | 1 |
| G-21 | cover of handlebar post | 1 |
| G-22 | crank arm left | 1 |
| G-23 | saddle | 1 |
| G-24 | AC adaptor | 1 |
| G-25 | mainframe | 1 |
| G-26 | left cover | 1 |
| H | handlebar post | 1 |
| H-1 | cable upper | 1 |
| H-2 | handlebar post | 1 |
| I | rear stabilizer set | 1 |
| I-1 | screw | 2 |
| I-2 | cap | 2 |
| I-3 | rear stabilizer | 1 |
| J | front stabilizer set | 1 |
| J-1 | transportation wheel | 2 |
| Nr | Designation | Qty |
| J-2 | screw | 2 |
| J-3 | front stabilizer | 1 |
| K | seat post | 1 |
| L | seat slider set | 1 |
| L-1 | seat slider | 1 |
| L-2 | screw of slider | 1 |
| L-3 | knob for slider | 1 |
| L-4 | flat washer | 1 |
| L-5 | cap | 2 |
| M | handbar set | 1 |
| M-1 | foam grip | 2 |
| M-2 | handpilse | 2 |
| M-3 | cap | 2 |
| M-4 | pulse wire | 1 |
| M-5 | screw | 2 |
| M-6 | handlebar | 1 |
| N | screw | 1 |
| N-1 | T-knob | 1 |
| N-2 | metal sheet of handlebar | 1 |
| N-3 | carriage bolt | 4 |
| N-4 | semi-circle washer | 4 |
| N-5 | nut | 4 |
| N-6 | wrench | 1 |
| N-7 | allen key | 1 |
| N-8 | spanner | 1 |
| P | motor set | 1 |


www.dkn-technology.com