EA 3050 - Weather Station Techno Line - Free user manual and instructions
Find the device manual for free EA 3050 Techno Line in PDF.
Frequently Asked Questions - EA 3050 Techno Line
Download the instructions for your Weather Station in PDF format for free! Find your manual EA 3050 - Techno Line and take your electronic device back in hand. On this page are published all the documents necessary for the use of your device. EA 3050 by Techno Line.
USER MANUAL EA 3050 Techno Line
West WNW West- Nordwest
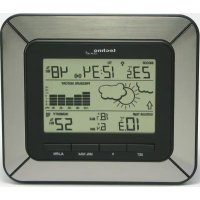
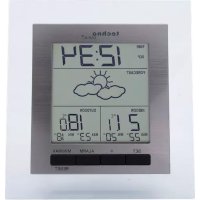
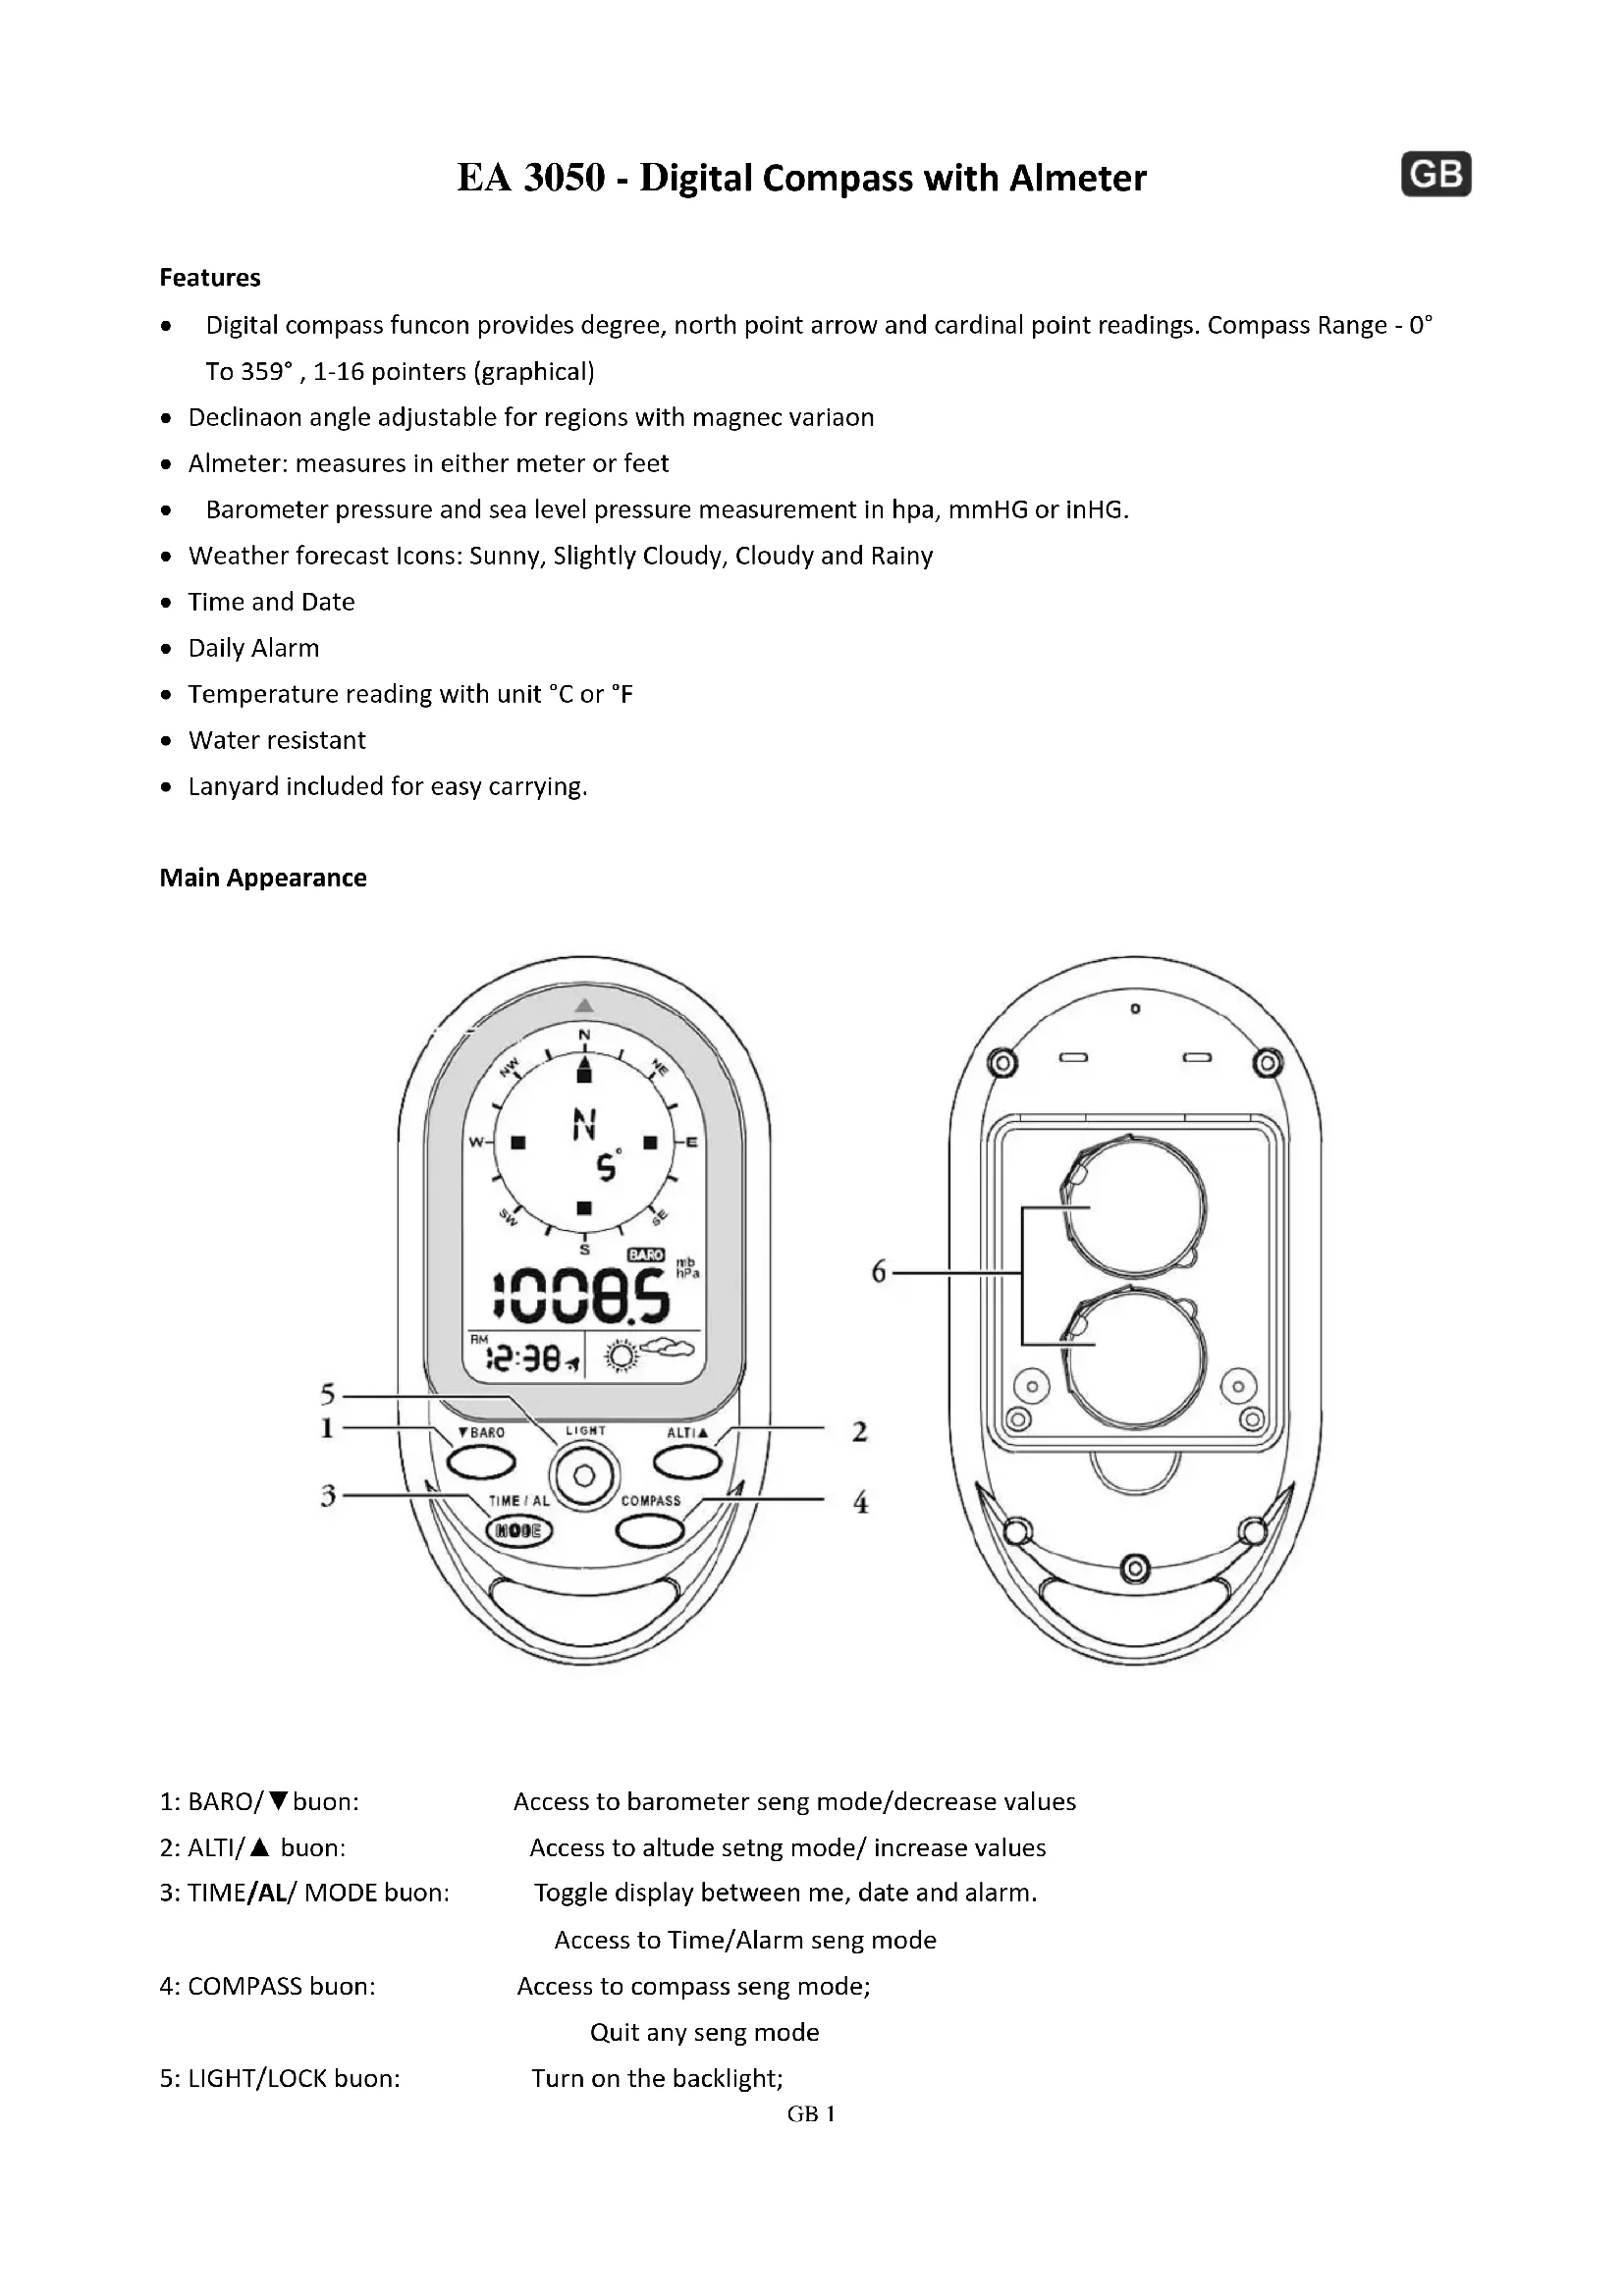
1: BARO/▼button: Access to barometer setting mode/decrease values 2: ALTI/▲ button: Access to altitude setting mode/ increase values 3: TIME/AL/ MODE button: Toggle display between time, date and alarm. Access to Time/Alarm setting mode 4: COMPASS button: Access to compass setting mode; Quit any setting mode 5: LIGHT/LOCK button: Turn on the backlight;GB 2 Lock/unlock keys 6: BATTERY COMPARTMENT LCD DISPLAY 1: Cardinal point when the compass in the north direction 2: Direction arrow 3: Temperature: appears if not in compass mode 4: Low battery Indicator 5: Appears when in Altimeter mode 6: Indicates maximum altitude 7: Indicates the display format of Day and Month 8: AM / PM 9: Year 10: Keypad is locked 11: Appears when sea level pressure is shown 12: Appears when in Barometer mode 13: Units of air pressure. 14: Units of altitude, appear in altitude mode 15: Weather forecast 16: Appears when in Alarm mode 17: Appears when alarm is activatedGB 3 Set Up: Use a small screwdriver to remove the screw on the battery cover, take the battery out with a thin stick, inserted 2 PCS CR2032 lithium batteries, and place the positive side of the battery upward. Then tighten the screw on the battery screw. When battery is low, the battery low icon ( ) will be on. The batteries should be replaced. Main Function and Operation Press MODE key to switch mode between Clock, Date, Year and Alarm Clock
Press ALTI/▲, BARO/▼, COMPASS buttons to switch between ALTIMETER MODE --- BAROMETER MODE --- COMPASS MODE
TIME MODE (1) Manual Time Setting Press and hold “MODE” key for 3 seconds to enter settings. Press “▼”or “▲”to change setting, and press “MODE” button to confirm and move to next setting. Setting sequence are as follow: 12/24 hour format, Hour, Minute, Second, Year, Month/Day sequence, Month, Day, Temperature unit, Pressure unit, and Altitude unit. If no button is pressed for 15 seconds, the display will return to previous mode. Press “COMPASS” button to exit the Time Setting Mode (2) Daily Alarm Setting Press “TIME/AL” button to navigate to Alarm Time Display. (“AL” icon display on the LCD ), Hold “TIME/AL” button for 3 seconds to enter alarm clock setting mode. Press “▼”or “▲”to change setting, and press “TIME/AL” button to confirm and move to next setting. The setting sequence are as follow: Hour, Minute and Alarm ON ( )/OFF
When alarm is on, the symbol “ ” appears and when it is off, the symbol “ ” disappears.GB 4 When alarming, “ ” will flash, press any button to stop alarming. If no button pressed for 15 seconds, the alarm will auto stop after 2 minutes.
After battery inserted, the device will automatically measure the barometer readings as well as the maximum sea level pressure reading. (1) To Set and Reset Altimeter: Altimeter: measures in either meters or feet, range:-400 ~ 9000 meters. The device provide both current altitude and maximum altitude (ⅰ) Current Altitude display (ⅱ) Maximum Altitude display (“MAX” icon display on the LCD) Press “ALT” button to enter altimeter mode. Press “ALT” button again to display the maximum altitude. When LCD display current altitude, press and hold “ALT” button for 3 seconds to enter setting. Press “▼”or “▲”to adjust altitude, and press “MODE” button to confirm and quite the setting. Press “▼”and “▲” at the same time, current altitude value will be reset to 0. When LCD display maximum altitude, press “▼”and “▲” at the same time, maximum altitude record will be cleared, and reset to 0. (2) To Set Sea Level Pressure and Weather Forecast Icons (ⅰ) Current barometric pressure: (ⅱ) Sea level pressure (“SEA” icon display on the LCD) Press “BARO” button to enter Barometer mode, LCD will display the current barometric pressure, press “BARO” button again to display the sea level pressure. In Sea Level pressure display, hold “BARO” button for 3 seconds to enter setting. Press “▼”or “▲”to change setting, and press “MODE” button to confirm and move to next setting. The setting sequences are as follow: sea level pressure, toggle weather forecast icons. (Weather Forecast have four animation as below)
The weather forecast will start the first forecast at 6 hours later after the current weather status is entered. Note: (1) Barometric pressure and sea level pressure measurement in hpa, mmHG or inHG. When sea level pressure is changed, the altitude will adjust itself accordingly. (2) The range of sea leave pressure is 900mbar ~1100mbar.GB 5
means Slight Cloudy means Cloudy means Rainy means Sunny COMPASS The compass shows the bearing in degrees due North together with 16 cardinal points Press COMPASS button, the unit will enter Compass mode, Hold the unit horizontal. Point the 12 o’clock position of the unit in the direction you want to measure. As below graph shown, the direction you are measuring now is WSW 223°.The arrow “▲” always point to North. When the direction of compass is point to North (degree for -12.5 to +12.5), the direction icon outside will be shown. If no key press for 30 seconds, the unit will auto off the compass and return to temperature mode. Note:
1. The compass must be kept in a level position when in use. Taking a measurement while the unit is not
horizontal (in relation to the horizon) can result in large measurement error
2. Always take bearings in the open air, because it is easily affected by disturbing sources of magnetism.
Direction Meaning Direction Meaning Direction Meaning Direction Meaning
North NNE North- northeast
Northeast ENE East- northeast
East ESE East- Southeast
Southeast SSE South- Southeast
South SSW South- Southwest
Southwest WSW West- SouthwestGB 6
West WNW West- Northwest
Northwest NNW North- northwest (1) Compass Sensor Calibration The compass should be calibrated before use OR when the battery is replaced. In COMPASS mode, hold “COMPASS” button for 3 seconds to enter the compass sensor calibration mode, press COMPASS button to start the calibration Keep the unit in a level position or on top of a non-metallic table/desk, reference to the arrow showing in LCD, rotate the compass clockwise for one full rotation slowly.
When finished, LCD will display “OK” if the calibration is successful or display “Fail” if it is failed as below. (2) Set the Declination Angle The angle between magnetic north and the true north direction is called magnetic declination. The earth’s magnetic poles fluctuate over time, and it also varies from place to place. Finding the declination on the map or website, then set the declination on this unit to offset the difference between magnetic north and true north. Please note that if you fail to do this, the readings you get from the compass could be in error. In COMPASS mode, hold “COMPASS” button for 3 seconds to enter the compass sensor calibration mode, press “MODE” button to enter setting of declination angle. The angle would flash on the LCD. (for example, as below, “ 0° ” will flash on the LCD) Press “▼”or “▲”to change the angle value, range from -90°to 90°, and press “MODE” button to confirm and exit the setting. TEMPERATURE When compass mode is off, the top 2 row LCD display will provide the reading of temperature with unit of °C or °F, the range from -20°C to 60°C.GB 7
When Temperature is lower than -20°C, LCD display will show LL.L°C. When temperature is higher than 60°C, LCD display will show HH.H°C.
BACKLIGHT/ KEYPAD LOCK
Press LIGHT button to turn backlight on for 5 seconds. Press and hold LIGHT button for 3 seconds, keyboard will be locked and icon will be shown in LCD display. Hold the LIGHT button for 3 seconds to unlock the keyboard.
SWITCHING OFF THE METER
Remove the batteries.
Halten Press and hold the "▼"& "▲" buttons at the same time and use a needle to press the "reset" button once. As soon as the meter displays "VER", the "▼"& "▲" buttons can be released. The unit prepares to switch off. When the LCD displays "t tESt", shake the unit briefly within 30 seconds and the LCD will display "tPass" and "Pass". The unit displays "SLEEP" and is switched off, including LCD and all functions, when the countdown of 60 seconds reaches 0. After switching off, all recordings and settings are reset.
SWITCHING ON THE METER
Insert the batteries again.
Press and hold the "LIGHT" & "COMPASS" buttons to start the meter. MOVEMENT MODE When the device detects that you are moving or you press the "ALTI" button, you enter the movement mode. The change in air pressure is used to calculate the altimeter. QUIESCENT MODE If the device is stationary for 5 minutes and the “ALTI” button has not been pressed, you enter the sleep mode. The change in air pressure is used for weather forecasting. Specifications: Thermometer measuring range: -20° ~ +60° C (-4° F to +140° F) Altimeter measuring range: -400 ~ 9000 meter Barometer measuring range: 300mbar ~ 1100 mbarGB 8 Power Supply: Battery: CR2032 lithium x 2 pcs Dimension: 54 x 103 x 17 mm Precautions Do not subject the unit to excessive force or shock. Do not expose the unit to extreme temperatures, direct sunlight, dust or humidity. Do not immerse in water. Avoid contact with any corrosive materials. Do not dispose this unit in a fire as it may explode. Do not open the inner back case or tamper with any components of this unit. Batteries safety warnings Use only alkaline batteries, not rechargeable batteries. Install batteries correctly by matching the polarities (+/-). Always replace a complete set of batteries. Never mix used and new batteries. Remove exhausted batteries immediately. Remove batteries when not in use. Do not recharge and do not dispose of batteries in fire as the batteries may explode. Ensure batteries are stored away from metal objects as contact may cause a short circuit. Avoid exposing batteries to extreme temperature or humidity or direct sunlight. Keep all batteries out of reach from children. They are a choking hazard. Use the product only for its intended purpose! Consideration of duty according to the battery law Old batteries do not belong to domestic waste because they could cause damages of health and environment. You can return used batteries free of charge to your dealer and collection points. As end-user you are committed by law to bring back needed batteries to distributors and other collecting points! Consideration of duty according to the law of electrical devices This symbol means that you must dispose of electrical devices separated from the General household waste when it reaches the end of its useful life. Take your unit to your local waste collection point or recycling centre. This applies to all countries of the European Union, and to other European countries with a separate waste collection system.FR 1 EA3050 - Station à main à affichage digital, Compas et Altimètre Fonctions Compas digital avec affichage en degrés, flèche indiquant le Nord et les points cardinaux. Plage de mesure de - 0° à 359° , 1-16 repères (graphiques) Angle de déclinaison ajustable selon la région avec variation magnétique Altimètre : mesure affichée en mètre ou en pied Pression atmosphérique et pression au niveau de la mer mesurées en hpa, mmHG ou inHG. Icônes de prévision météo : Ensoleillé, Couvert, Pluvieux Heure et date Alarme Température affichée en °C ou °F Résistant à l’eau Lanière de cou incluse pour un transport facilité Présentation