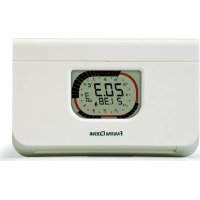
IntelliTherm C67 - Thermostat Fantini Cosmi - Free user manual and instructions
Find the device manual for free IntelliTherm C67 Fantini Cosmi in PDF.



| Product type | Weekly programmable thermostat |
| Brand | Fantini Cosmi |
| Model | IntelliTherm C67 |
| Dimensions (W x H x D) | 135 x 85 x 19 mm |
| Weight | Approx. 200 g (with batteries) |
| Power supply | 2 AA alkaline batteries 1.5 V (battery life ~2 years) |
| Display | LCD screen with temperature, time, day and programming ring |
| Comfort temperature range | 16 °C to 34 °C |
| Economy temperature range | 5 °C to 23 °C |
| Accuracy (differential) | ± 0.25 °C |
| Reference thermal gradient | 4 K/h |
| Frost protection | Yes, adjustable to 5 °C via dip switch |
| Switching current | 5(3) A, 250 V |
| Switching contact | Volt-free |
| Protection degree | IP20 |
| Double insulation | Yes |
| Main features | Weekly programming, comfort/economy mode, Joker function, day copy, operating hours counter, min/max temperature recording |
| Maintenance and cleaning | Clean with a dry cloth; do not use liquids |
| Safety | Double insulation, micro-disconnection, class A software |
| Spare parts and repairability | No user-serviceable parts; contact after-sales service in case of failure |
| ErP classification | Class IV, 2 % (EU regulations 811/2013, 813/2013) |
| Compatibility | Heating and cooling (summer/winter switch) |
Frequently Asked Questions - IntelliTherm C67 Fantini Cosmi
User questions about IntelliTherm C67 Fantini Cosmi
0 question about this device. Answer the ones you know or ask your own.
Ask a new question about this device
Download the instructions for your Thermostat in PDF format for free! Find your manual IntelliTherm C67 - Fantini Cosmi and take your electronic device back in hand. On this page are published all the documents necessary for the use of your device. IntelliTherm C67 by Fantini Cosmi.
USER MANUAL IntelliTherm C67 Fantini Cosmi
natural_image
Close-up of electronic circuit boards and connectors with no visible text or symbols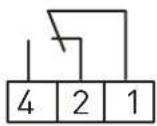

natural_image
Green printed circuit board with visible components and a magnified inset showing a small circular detail (no text or symbols)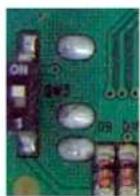
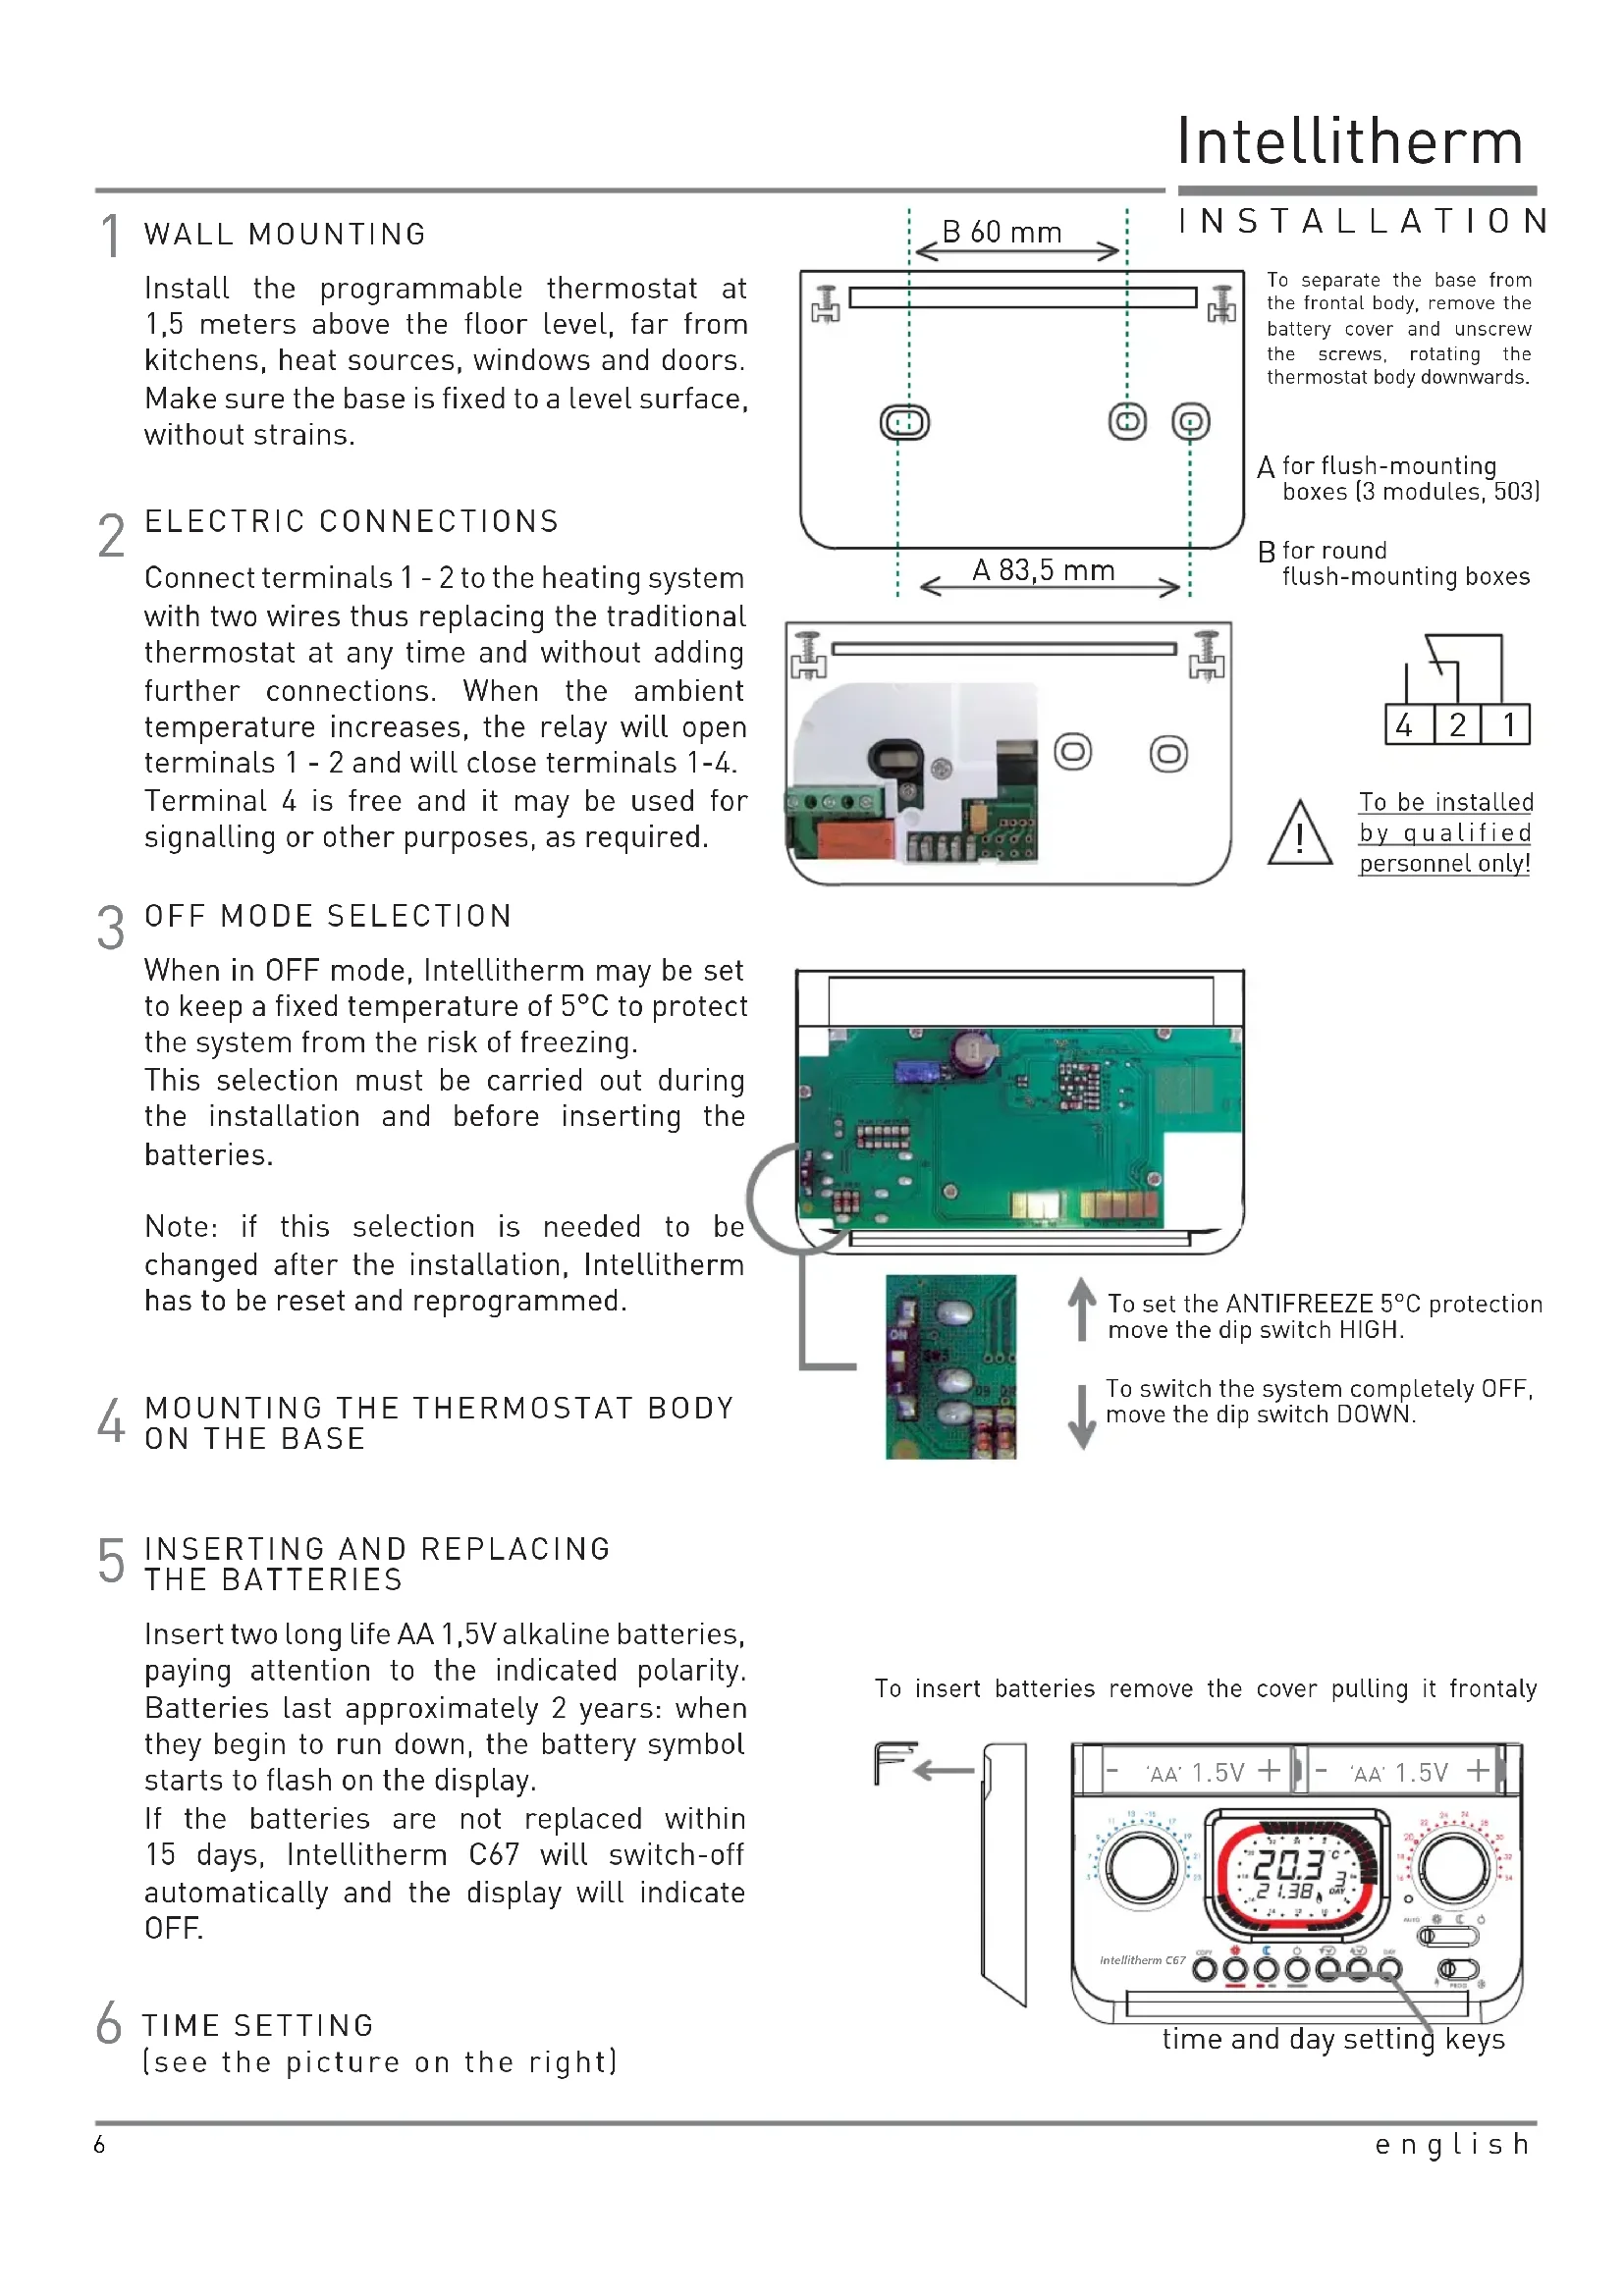
Install the programmable thermostat at 1,5 meters above the floor level, far from kitchens, heat sources, windows and doors. Make sure the base is fixed to a level surface, without strains.
2 ELECTRIC CONNECTIONS
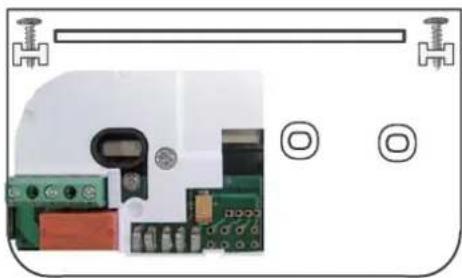
Connect terminals 1 - 2 to the heating system with two wires thus replacing the traditional thermostat at any time and without adding further connections. When the ambient temperature increases, the relay will open terminals 1 - 2 and will close terminals 1-4. Terminal 4 is free and it may be used for signalling or other purposes, as required.
3 OFF MODE SELECTION
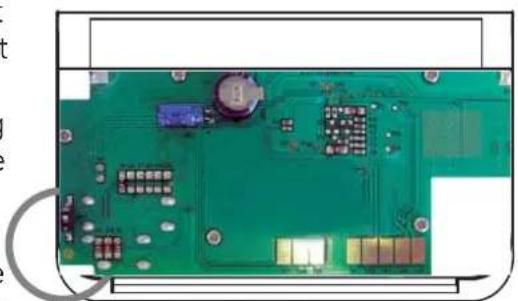
When in OFF mode, Intellitherm may be set to keep a fixed temperature of 5^ C to protect the system from the risk of freezing.
This selection must be carried out during the installation and before inserting the batteries.
Note: if this selection is needed to be changed after the installation, Intellitherm has to be reset and reprogrammed.
4 MOUNTING THE THERMOSTAT BODY ON THE BASE
5 INSERTING AND REPLACING THE BATTERIES
Insert two long life AA 1,5V alkaline batteries, paying attention to the indicated polarity. Batteries last approximately 2 years: when they begin to run down, the battery symbol starts to flash on the display.
If the batteries are not replaced within 15 days, Intellitherm C67 will switch-off automatically and the display will indicate OFF.
6 TIME SETTING
(see the picture on the right)
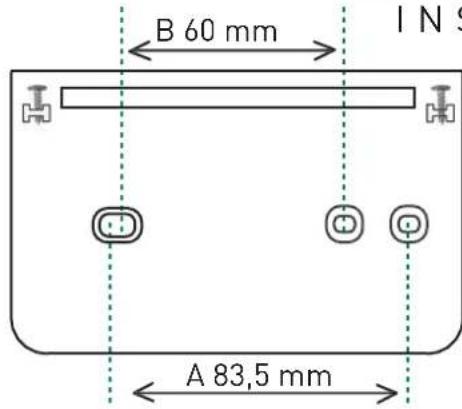
INSTALLATION
To separate the base from the frontal body, remove the battery cover and unscrew the screws, rotating the thermostat body downwards.
A for flush-mounting boxes (3 modules, 503)
B for round flush-mounting boxes
natural_image
Close-up of electronic components and connectors with no visible text or symbols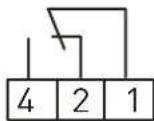

To be installed by qualified personnel only!
natural_image
Green printed circuit board with various electronic components and traces (no visible text or symbols)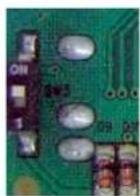
To set the ANTIFREEZE 5°C protection move the dip switch HIGH.
To switch the system completely OFF, move the dip switch DOWN.
To insert batteries remove the cover pulling it frontaly
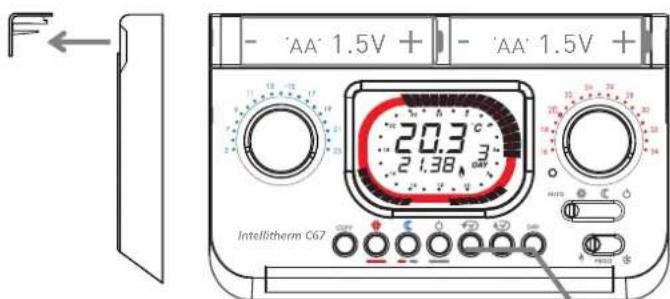
time and day setting keys
PROGRAMMABLE THERMOSTAT
C67
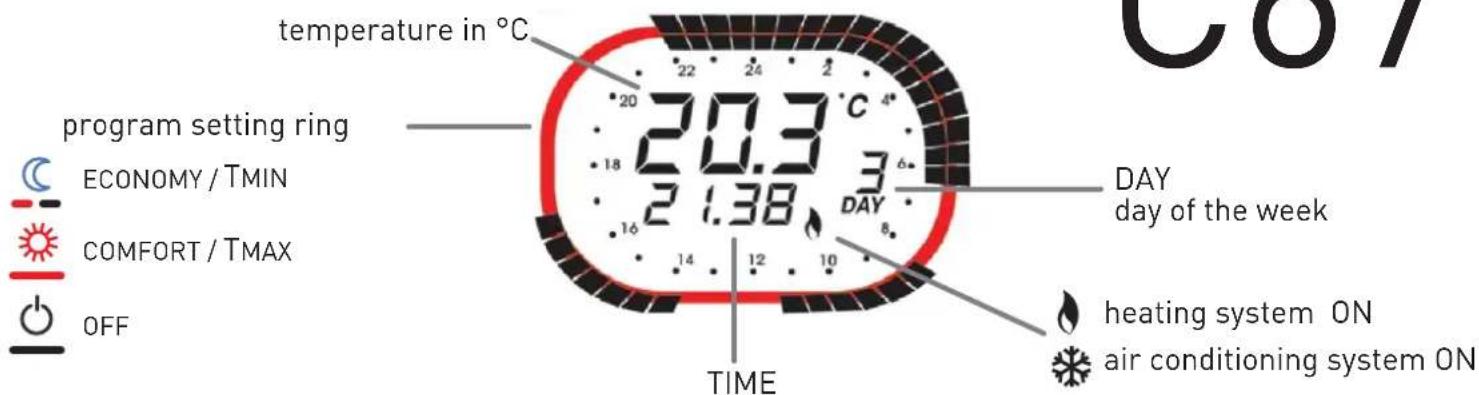
The program setting ring shows a 24-hours clock, divided into 30 min sectors. The sector colour indicates the set temperature for that period.
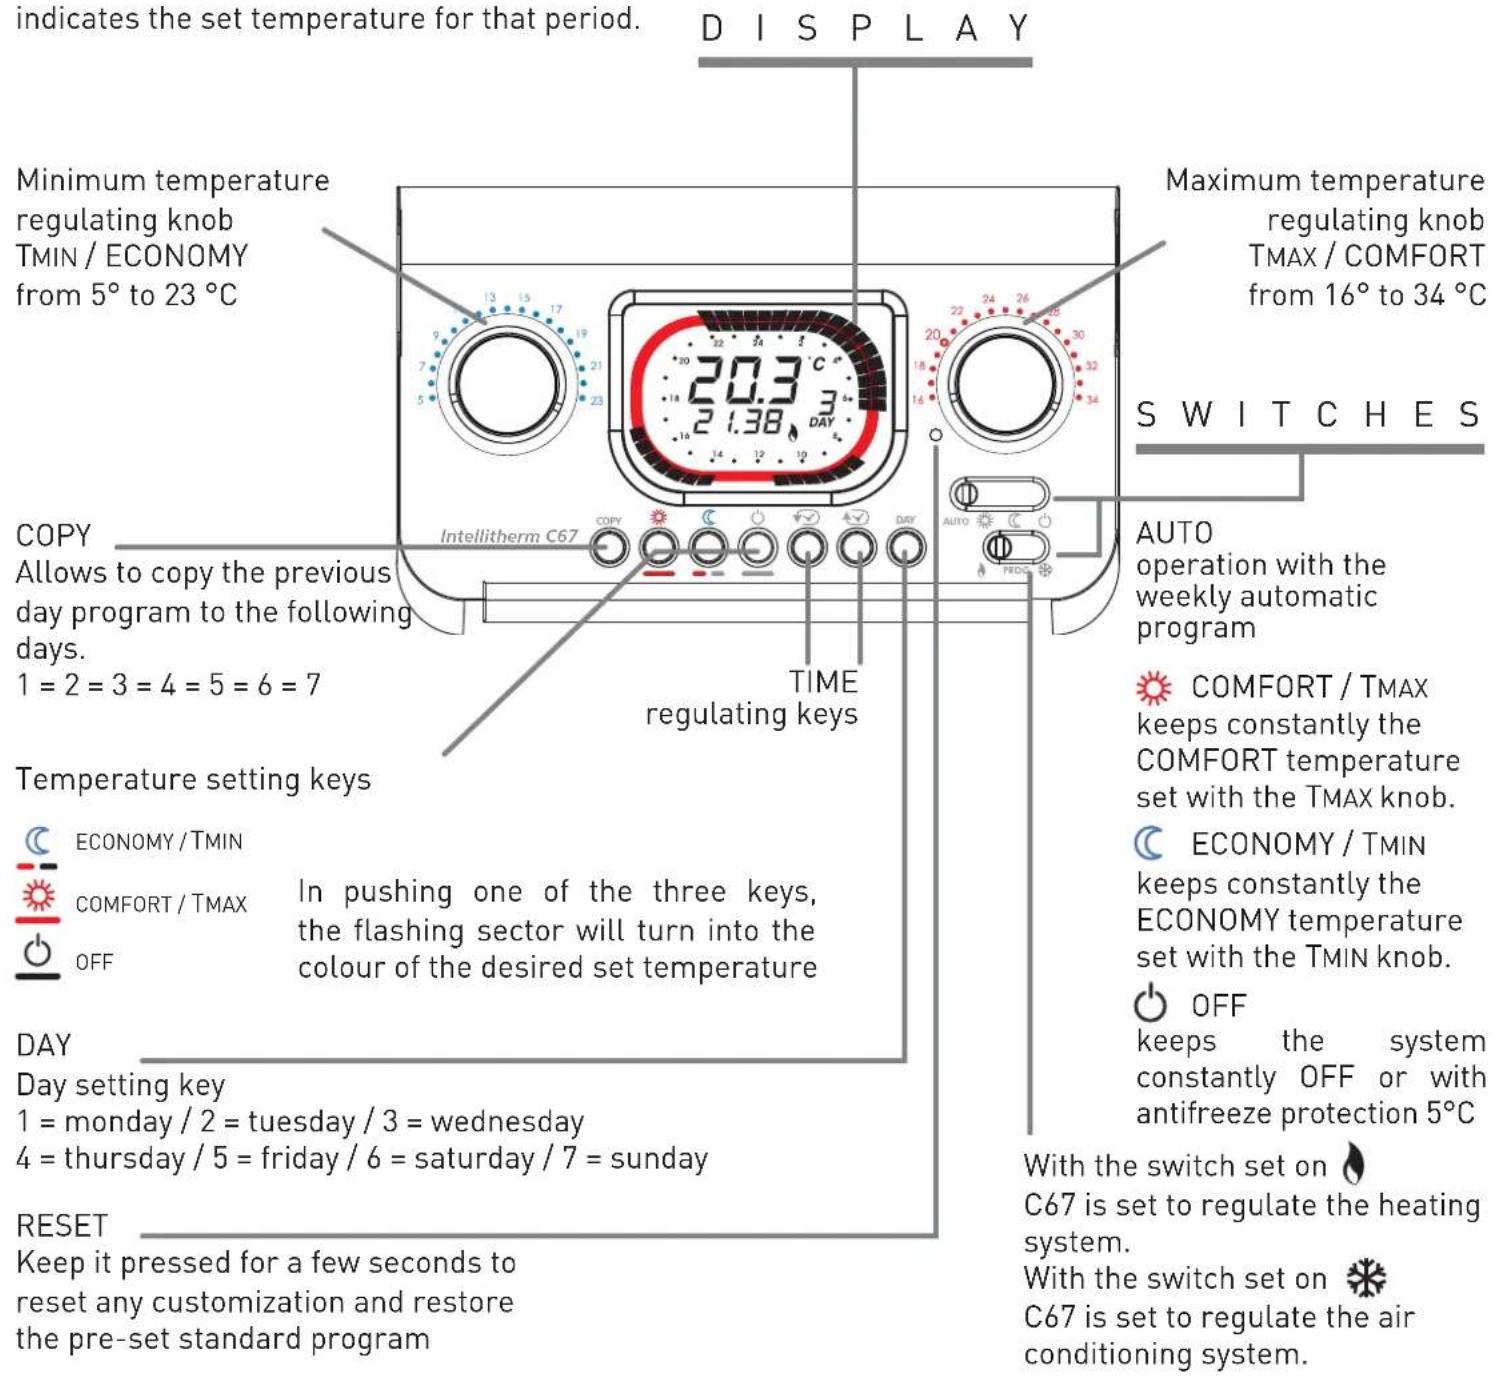
Once the C67 is installed and connected, it is possible to use the weekly program with the pre-set operating time and temperatures, just positioning the switch on the AUTO position.
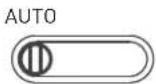
Verify that the switch is in the HEATING position.

from monday DAY 1 to friday DAY 5
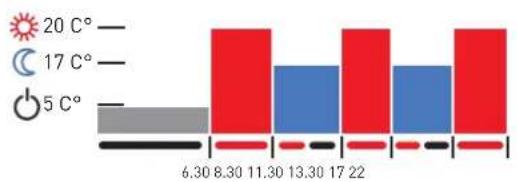
bar
| Temperature Range | Value | | :--- | :--- | | 20 °C | - | | 17 °C | - | | 5 °C | - | | 6.30 | - | | 8.30 | - | | 11.30 | - | | 13.30 | - | | 17 | - | | 22 | - |from saturday DAY 6 to sunday DAY 7
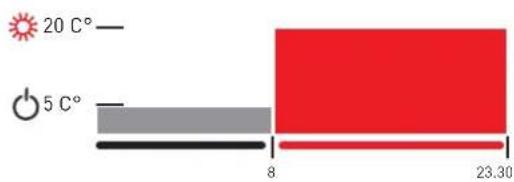
CUSTOMIZATION
It is possible to set the desired temperature for every 30 minutes.
1
Set the temperature
T MIN T MAX
3
It is possible to set the desired temperature pressing one of the three keys. The sector will change the colour and advance 30 minutes.

COMFORT / TMAX ECONOMY / TMIN

OFF
To move the switch without changing the temperature, use the keys √√ √√
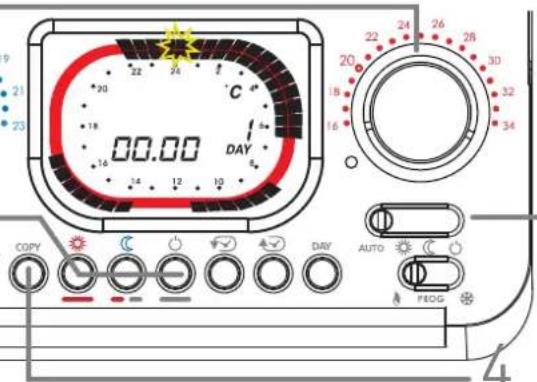
Once finished to program the first day, it is either possible to copy the program for the following days, pressing the COPY or the DAY keys to change the day and repeat the previous operations.
Move the switches to the AUTO and PROG positions to start the program setting.
The display will show time 00.00 and DAY1.
On the programming ring the sector which the temperature has to be changed flashes and corresponding time appears.
Once the changes are finished, position the switch 🔒 to start the heating or ✿ to start the air-conditioning.
JOLLY FUNCTION
With this function C67 enables you to cut out temporarily the automatic program at any time, without changing its settings, in order to have constantly the required temperature COMFORT - ECONOMY - OFF for a period from 1 to 240 hours.
AUTO
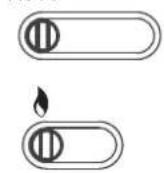
With the switch in the AUTO position, press the keys 🙏 or Ⓗ or ⏻ to set for how many hours the C67 has to cut the automatic program out, in order to force temporarily the temperature. The ring on the display will change the colour according to the selected temperature.
ECONOMY / TMIN COMFORT / TMAX OFF
Once the set time is passed, C67 will resume the automatic program. To reduce or cut out the JOLLY period before the set time, press a different colour key than the one shown on the ring.
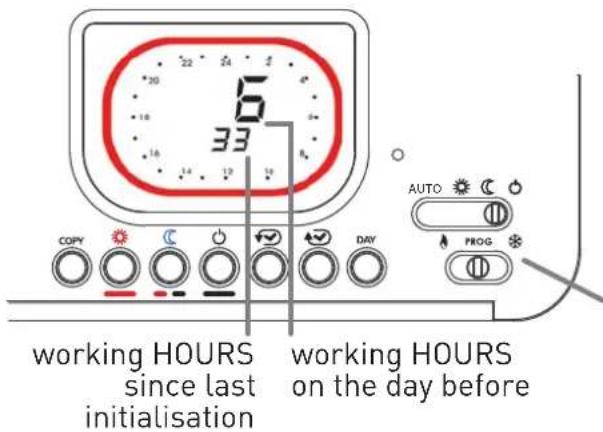
ADVANCED FUNCTIONS
With C67 it is possible to know for how many hours the heating system worked the day before (closed relay – ON) and from the last Intellitherm initialization (last reset or battery insertion).
The display will show the heating working hours, positioning the switches as indicated in the picture.
PREVIOUS DAY MINIMUM AND MAXIMUM TEMPERATURES
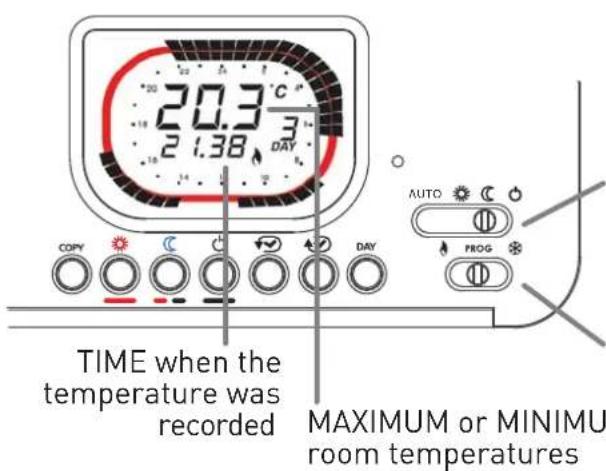
With Intellitherm C67 it is possible to verify the MINIMUM and MAXIMUM temperatures reached the day before and what time they were measured.
Move the switch to the ECONOMY position Ⓐ to read the MINIMUM temperature or move to the COMFORT position ⚙️ to read the MAXIMUM temperature.
Move the switch to PROG
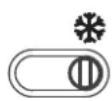
SUMMER / AIR-CONDITIONING MODE
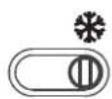
Intellitherm C67 starts the AIR-CONDITIONING mode moving the switch to the SUMMER position ✝ The comfort temperature can be regulated setting the COMFORT/TMAX knob.
The red sectors on the ring indicate what time the air-conditioning is ON; the other colours indicate when the system is OFF.
TECHNICAL DATA
In compliance with EN 60730-1 and parts two.
Contact rating 5 (3)A 250V c.a.
Micro-disconnection (1BU).
Software classe A.
Voltage free switching contact.
Temperature regulation: COMFORT from 16° to 34°C and
ECONOMY from 5° to 23°C.
Differential: +/- 0,25°C.
Thermal gradient: 4°K/h.
OFF mode with optional antifreeze protection (5°C) by a dip switch.
Maximum room temperature: T45.
□ double insulation.
Protection degree IP20.
Pollution degree 2.
Impulse voltage 4000V.
Power supply without connection to the electrical line with
2 AA 1,5V alkaline batteries (1 year battery life).
Automatic control of the battery charge; the display will indicate if the charge is inadequate.
Battery replacement without data dropout.
Switch for the winter or summer operating modes.
Reset key to restore the set program.
Dimensions 135 x 85 x 19 mm.
ErP classification: ErP Class IV; 2% [EU Reg. 811/2013]
-813/2013)
1 FIJAR A LA PARED
natural_image
Close-up of electronic circuit boards and connectors with no visible text or symbols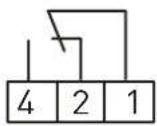

natural_image
Close-up of a green printed circuit board with visible components and a magnified inset showing a detail (no text or symbols)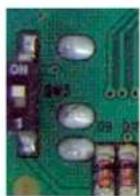
F U N C I Ó N J O L L L Y
natural_image
Close-up of electronic circuit boards and connectors with no visible text or symbols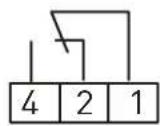
natural_image
Green printed circuit board with visible components and a magnified inset showing a detail (no text or symbols)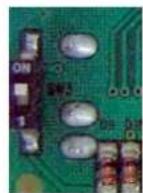
FONCTIONNEMENT D'ÉTÉ OU CLIMATISATION
natural_image
Close-up of electronic circuit boards and connectors with no visible text or symbols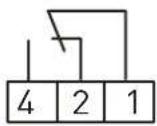

natural_image
Close-up of a green printed circuit board with visible components and a magnified inset showing a small circular detail (no text or symbols)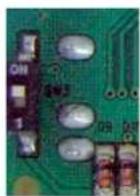
natural_image
Close-up of electronic circuit boards and connectors with no visible text or symbols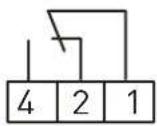

natural_image
Green printed circuit board with visible components and a magnified inset showing a circular detail (no text or symbols)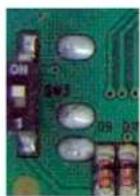
natural_image
Simple line drawing of a trash bin with crossed lines and a blank rectangular block below (no text or symbols)DISPOSAL OF PRODUCTS
The crossed out wheeled dust bin symbol indicates that products must be collected and disposed of separately from household waste. Integrated batteries and accumulators can be disposed of with the product. They will be separated at the recycling centres. The black bar indicates that the product was placed on the market after August 13, 2005. By participating in separate collection of products and batteries, you will help to assure the proper disposal of products and batteries and thus help to prevent potential negative consequences for the environment and human health. For more detailed information about the collection and recycling programmes available in your country, please contact your local city office or the shop where you purchased the product
natural_image
Simple line drawing of a trash bin with crossed lines and a blank rectangular base (no text or symbols)MISE AU REBUT DES PRODUITS
- ELECTRIC CONNECTIONS
- OFF MODE SELECTION
- MOUNTING THE THERMOSTAT BODY ON THE BASE
- INSERTING AND REPLACING THE BATTERIES
- TIME SETTING
- INSTALLATION
- PROGRAMMABLE THERMOSTAT
- C67
- CUSTOMIZATION
- JOLLY FUNCTION
- PREVIOUS DAY MINIMUM AND MAXIMUM TEMPERATURES
- SUMMER / AIR-CONDITIONING MODE
- TECHNICAL DATA
- FIJAR A LA PARED
- F U N C I Ó N J O L L L Y
- FONCTIONNEMENT D'ÉTÉ OU CLIMATISATION
- DISPOSAL OF PRODUCTS
- MISE AU REBUT DES PRODUITS
Brand : Fantini Cosmi
Model : IntelliTherm C67
Category : Thermostat