2F2609LX - Washing machine FAGOR - Free user manual and instructions
Find the device manual for free 2F2609LX FAGOR in PDF.
User questions about 2F2609LX FAGOR
0 question about this device. Answer the ones you know or ask your own.
Ask a new question about this device
Download the instructions for your Washing machine in PDF format for free! Find your manual 2F2609LX - FAGOR and take your electronic device back in hand. On this page are published all the documents necessary for the use of your device. 2F2609LX by FAGOR.
USER MANUAL 2F2609LX FAGOR
INSTALLATION AND ASSEMBLY 52 - 57
HOW TO USE THE MACHINE. PRACTICAL TIPS 58 - 68
MAINTAINING AND CLEANING THE MACHINE 69-71
SAFETY AND TROUBLESHOOTING 72-74
ENVIRONMENTAL ADVICE 75
ESPANOL
76
INSTALACIONY MONTAJE 76-81
USO DEL APARATO Y CONSEJOS PRACTICOS 82-92
MANTENIMIENTO Y LIMPIEZA DEL APARATO 93-95
Compartment de Préavage
Compartment de Lavage
Compartment Additif liquide (adoucissants,...)
IMPORTANT
Lave separamente as roupas brancas e as roupas de cor.
IMPORTANT
Lembramos que deveregaraaquina de lavar com a maxima capacité.Assim,economizará agua e energia.
INSTALLATION AND ASSEMBLY
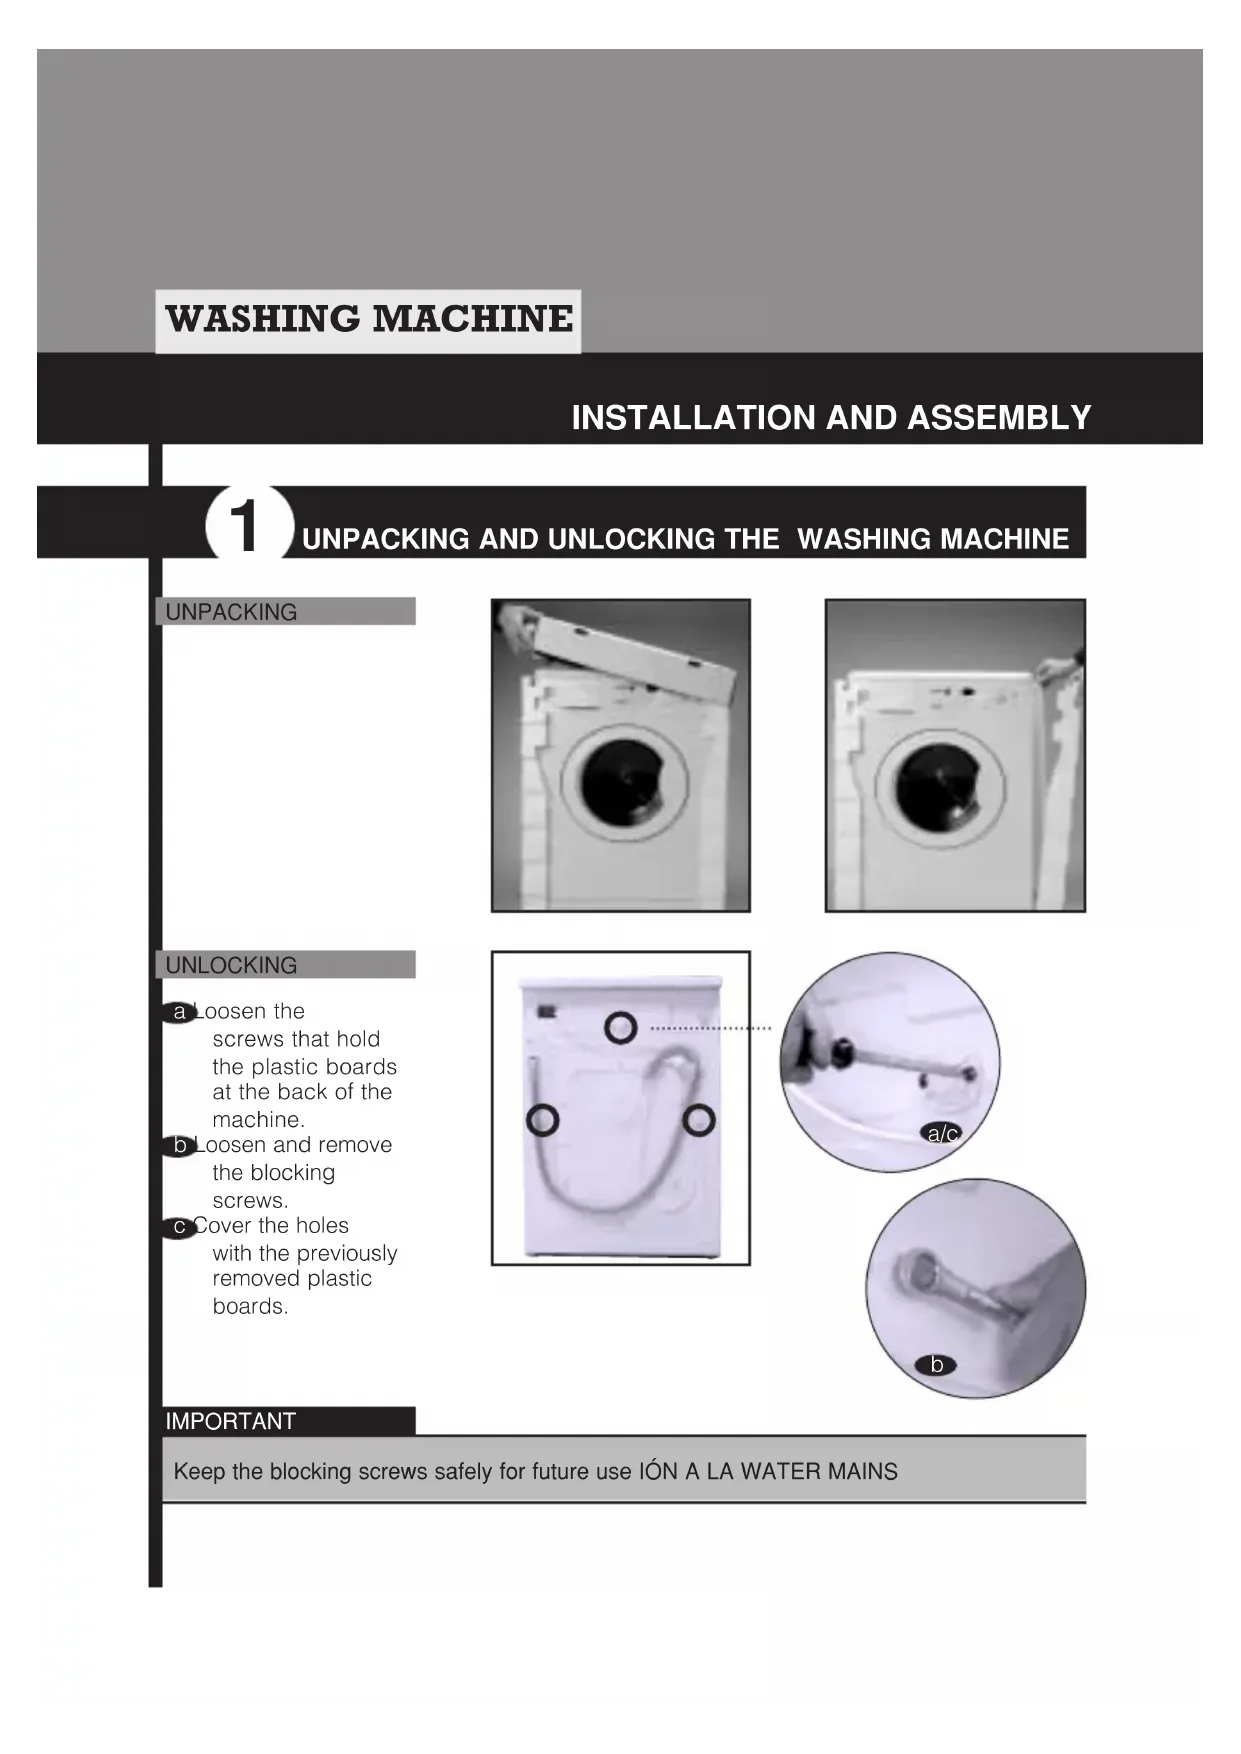
1 UNPACKING AND UNLOCKING THE WASHING MACHINE
UNPACKING
UNLOCKING
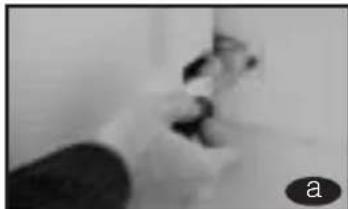
a Loosen the screws that hold the plastic boards at the back of the machine.
Loosen and remove the blocking screws.
Cover the holes with the previously removed plastic boards.
IMPORTANT
Keep the blocking screws safely for future use ION A LA WATER MAINS

CONNECTION TO THE WATER MAINSLEVELATION
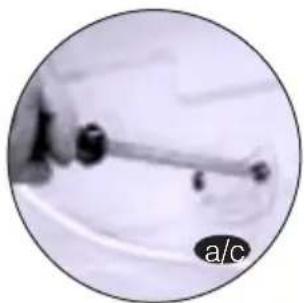
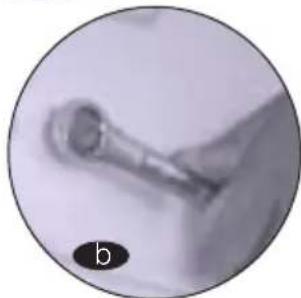
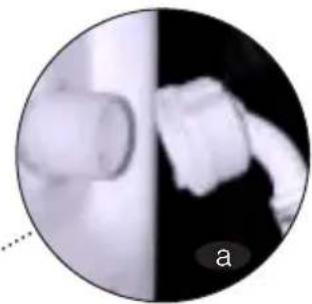
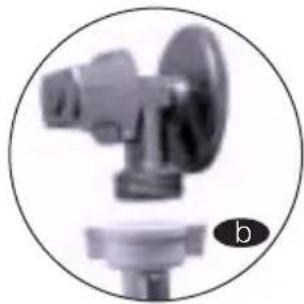
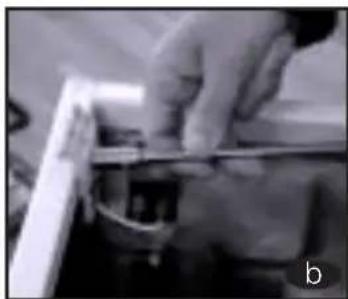
You will find the waterinput pipe inside thedrum:
a Connect the bent end of the pipe at the screw entrance of the electrically operated valve situated at the back of the machine.
bConnect the other end of the tube to the water supply. Tighten the connection nut well.
We recommend you have a fixed drainage exit at a distance of between 50 and 70~cm from the floor.
Ensure that the drainage pipe is not too tight and that there are no folds or bottlenecks.
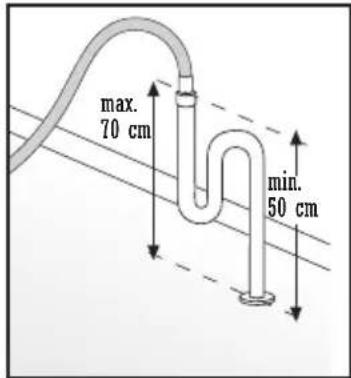
IMPORTANT
It is important that the elbow of the pipe is properly fixed at the exit so that it doesn't fall, with the consequent risk of flooding.
If your washing machine has an input for hot water, connect the tube with the red threading to the hot water tap and to the electrically operated valve with the red filter.
The washing machine is to be connected to the water supply network using the new supply pipes provided with the appliance. The old water supply pipes are not to be used.
For correct functioning of the washing machine, the water network pressure must be between 0.05 and 1MPa (0.5 - 10 Kgf/cm²).

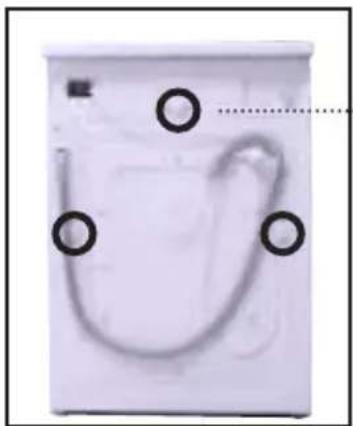
LEVELLING
Level the washing machine by using the adjustable feet. This will reduce the noise level and ensure that the machine will not move when in operation.
(4)
ELECTRICAL CONNECTION
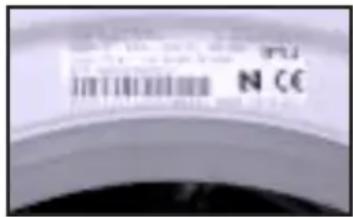
Consult the characteristics panel situated on the porthole door of the washing machine before making the electrical connections. Ensure that the voltage available at the base of the socket is the same as the voltage indicated on the panel.
Do not remove the characteristics panel. It contains important information.
IMPORTANT
It is very important to earth the washing machine properly. The electrical fittings, socket, plug, fuses or automatic switch and meter must be scaled for the maximum power indicated on the characteristics panel.
If the power cord is damaged, it must be replaced by one with the same reference number, only available from an authorised service centre.
On built-in washing machines, the mains plug must be accessible after installation.
(5)
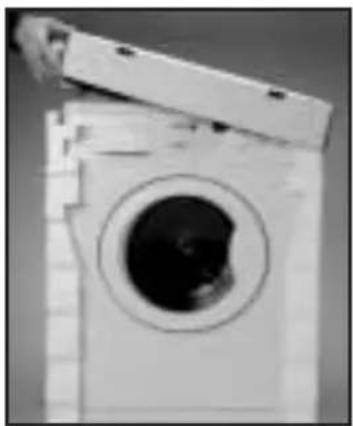
PANELLING
It is easy
to change the coating of the washing machine panels
to match your kitchen furniture. These coating panels may not be thicker than 5 mm.
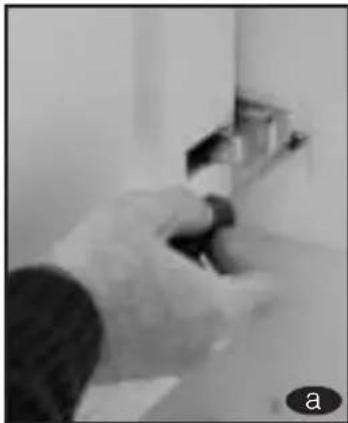
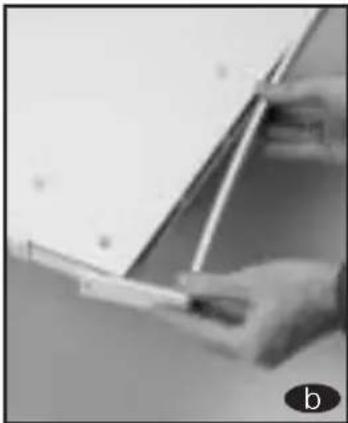
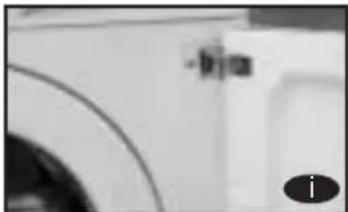
a Loosen the
screws of the hinges and dismantle the door of the washing machine.
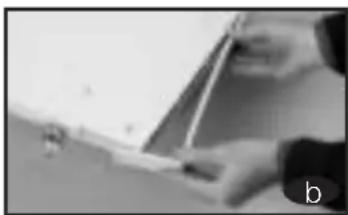
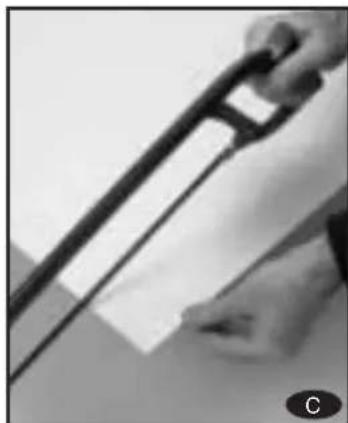
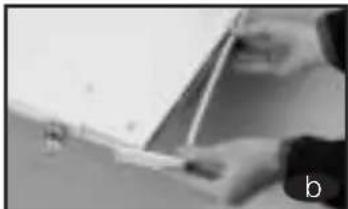
b Remove the lower protection frame, loosening the screws.
Extract the panel that was supplied with the washing machine.

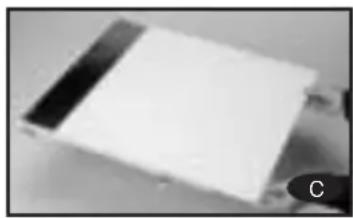
c. the new panel is 3 mm.thick or more, you will not need to leave the original panel.If it is less than 3mm thick, place it over the panel originally supplied with the washing machine.
In order to assemble the door with the new decorative panel, repeat the steps given in points a, b, c.
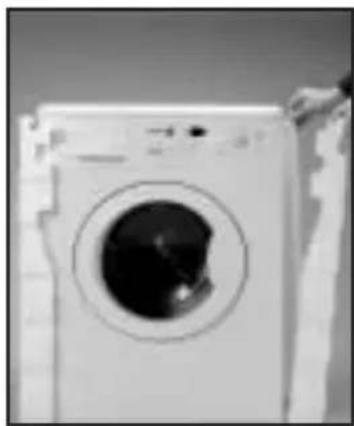
It is also possible to adjust the height of the decorative door in order to align it with the rest of the kitchen furniture and fittings.
a loosen the screws of the hinges and dismantle the door of the washing machine.
b Remove the lower protection frame, loosening the screws and extract the panel that was supplied with the washing machine.
The lower part of the door and the lower protection frame are divided into 7 × 10 ~mm . Sections, depending on your needs, divide and adapt the decorative panel to the new dimensions.
d Replace the decorative panel and the lower protection frame and assembl the door again.

Fagor washing machines also allow you to change the direction in which the door opens.
a loosen the screws of the hinges and dismantle the door of the washing machine.
b Remove the lower protection frame, loosening the screws.
Extract the panel that was supplied with the washing machine and the internal panel, loosening the screws that hold it together.
d Extract the hinges and insert them on the other side of the door.
e loosen the protecti- ve cover on the door and place it on the opposite side where the hinges were.
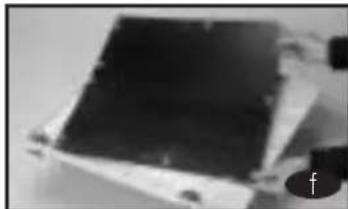
f replace the plate again, the door panel and the lower protection frame. Then hang the door again.
Extract the fastener situated at the front of the washing machine unit, by loosening the corresponding screw. Now place the fastener in the spot where the upper hinge used to be
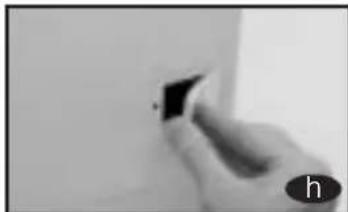
h Remove the protective buffer and place it in the spot where the lower hinge used to be.

Iang the door by lightly pushing and inserting the hinges in their new location. Adjust the screws.

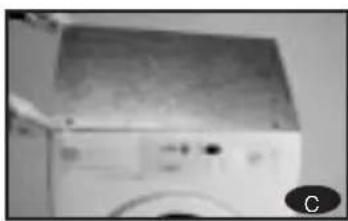
6 INSTALLATION OF THE WASHING MACHINE UNDER THE KITCHEN WORKTOP
It is possible to place the washing machine under the kitchen worktop.
If you need to change the worktop of the washing machine, please ask the Technical Support Service, for the guard plate and follow these steps:
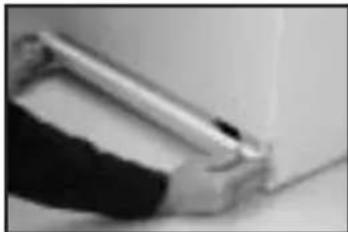
a Dismantle the worktop of your washing machine by loosening the side screws and lightly knocking the worktop backward in order to extract it.
b Remove the fasteners that hold the worktop in place by loosening the screws.
Cace and screw in the guard plate on the washing machine in order that you may introduce it in the intended spot.
7 PRIOR CLEANING
Now that you have satisfactorily installed your washing machine, we recommend that you run programme 5 at 60^ without inserting any laundry or detergent. This is in order to check the installation, the connections and the drainage system, as well as to fully clean the inside before running a wash programme in the washing machine.

Select programme 5 at 60^
Press the On/Off button
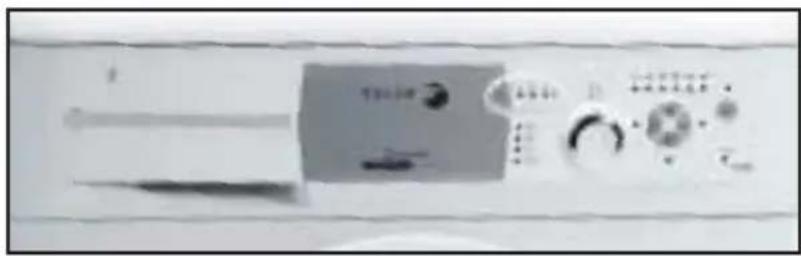
WASHING MACHINE
HOW TO USE THE MACHINE. PRACTICAL TIPS
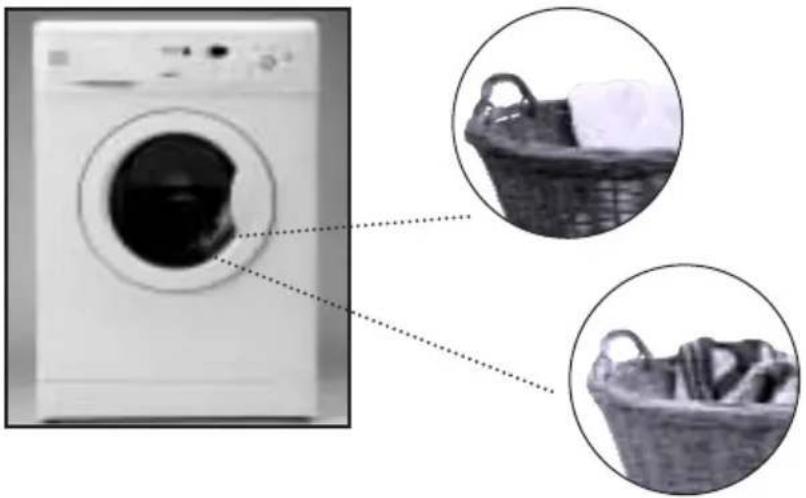
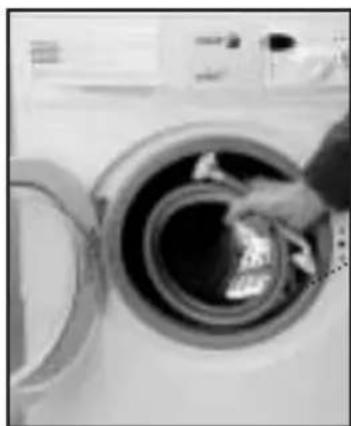
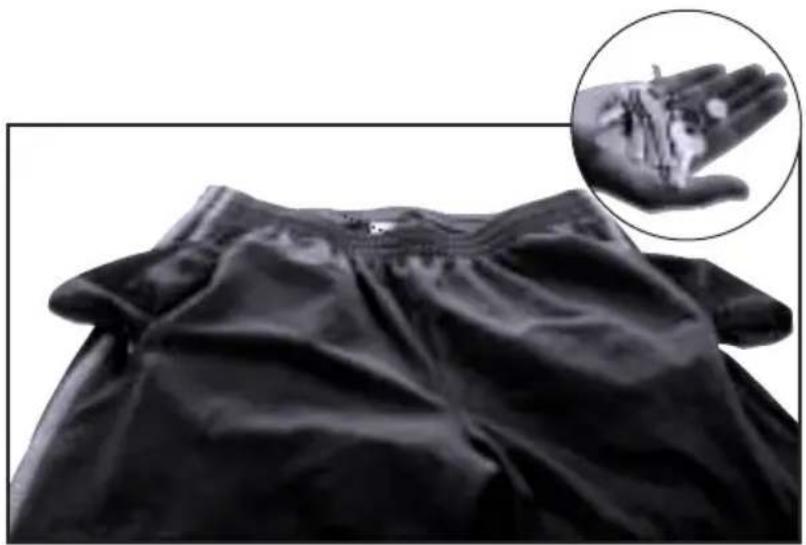
1 PREPARING THE LAUNDRY BEFORE A WASH
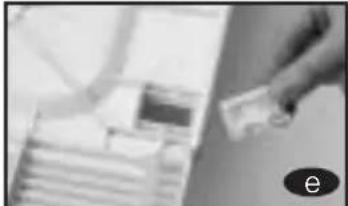
Before putting the laundry in the drum, ensure that all the pockets are empty. Small objects can obstruct the motor pump for water discharge.
Sort your laundry according to material or make
up. We recommend you use delicate programmes for delicate garments. Woollens may be washed in a special wool programme.
IMPORTA

Please ensure that your woollen garments are machine washable before running the wool programme.
Sort your laundry according to how soiled it is.
a slightly soiled garments should preferably be washed in a short, cold programme.
b Normally soiled garments should be washed in a pro- gramme without pre-wash..
c heavily soiled garments may be washed in a long programme with prewash.
Sort your laundry according to the
colours. Wash whites and coloureds separately.
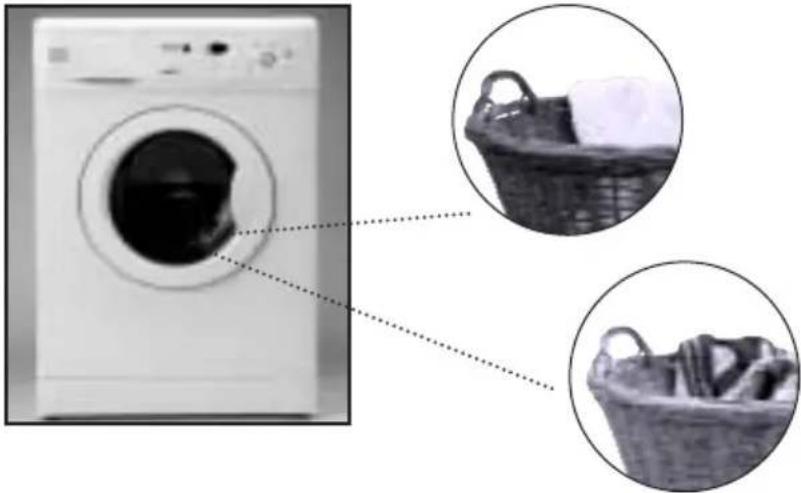
IMPORTANT
We remind you to load the washing machine at its maximum capacity. This will save water and energy.
IWe recommend that you wash garments of different sizes in the same wash programme, if possible, in order to reinforce the washing effects. This also favours the distribution of the laundry inside the drum at the spinning stage, which will mean the machine will work more silently.
2 USE OF DETERGENT AND ADDITIVES
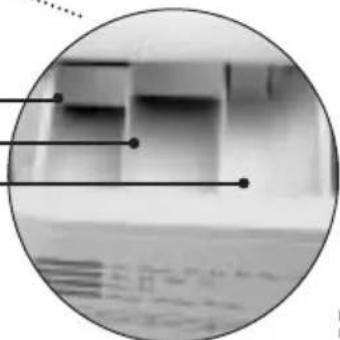
Before you start the wash programme, introduce the detergent or additive in the detergent drawer. The detergent drawer of your washing machine has three compartments.

Pre-wash Compartment.
Wash Compartment.
Liquid Additive Compartment (softeners,...)
IMPORTANT
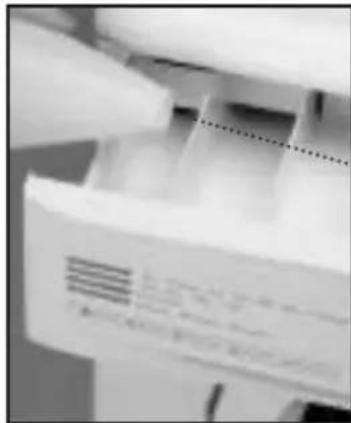
The liquid level should never exceed the MAX reference mark on the side of the drawer.
You may also use liquid detergents with this washing machine, using the optional drawer that may be acquired through the Technical Support Network.
The optional drawer should be placed in the wash compartment.
Remember that the dose of detergent to be used always depends on
The amount of laundry to be washed.
- How soiled the laundry is.
The hardness of the water (You can request information on the water hardness from the competent local entities).


ECOLOGICAL NOTE
Remember that there are concentrated detergents that are more careful with nature and the environment.
Using more detergent than is needed does not improve the wash results and as well as being a waste of money, it has a negative effect on the preservation of the environment.
Therefore, please follow the instructions supplied by the manufacturer of the detergent.
3
SELECTING THE WASH PROGRAMME
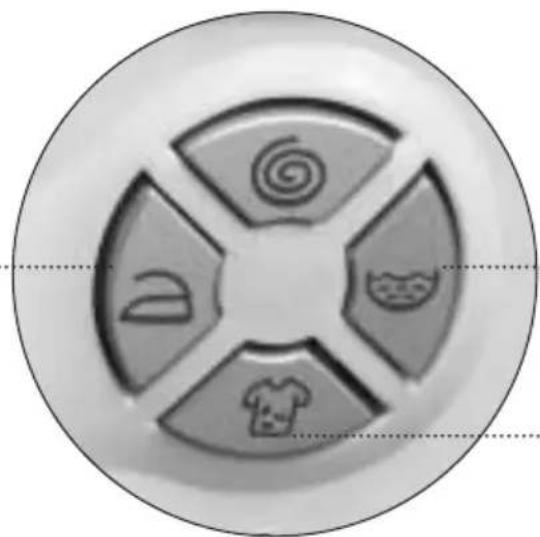
There are four types of programme:

normal
Programmes

elicate
Programmes

Iool
Programmes

Auxiliary
Programmes
To select the wash programme, please follow these steps:
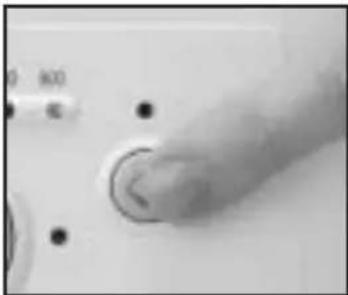
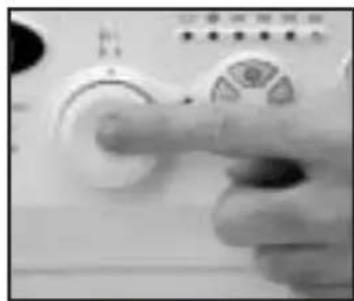
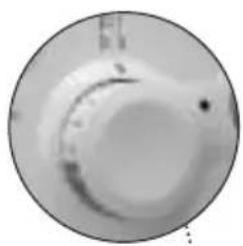
- Turn ON the machine (by pressing the programme selector, which pops out).
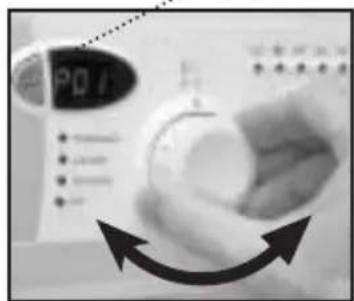
- Select the wash programme by turning the Programme Selector Dial.
When you do this, the spin speed light corresponding to the selected programme will light up.
If your washing machine has a display, when you select the programme, it will light up for a few seconds, showing P + programme number (P01. P02...). Then it will show the approximate duration of the programme in minutes.
The time that appears on the display changes according to the progress of the programme
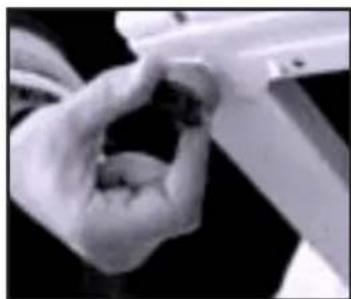
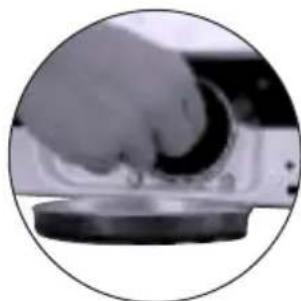
- If your washing machine is a fully integrated model, instead of pressing the programme selector control, you have to press the button in the middle of the control panel, shown in the photo. display

We recommend that you should choose the programme that is most suited to your wash, in order to avoid the pre-wash whenever possible. You will save money and help to preserve the environment.
| PROGRAMME | RECOMMENDED TEMPERATURE | TYPE DE MATERIAL | BUTTONS OF POSSIBLE OPTIONS | MAX. LAUNDRY LOAD (KG) | WASH PRODUCT COMPART-MENT | PROGRAMME DESCRIPTION | TURBO TIME | TURBO TIMES PLUS | |||||||||||
| Extra Room | Intensive wash | Easy Ion | Spin section | No spin | No creases | Total consumption KWh/ litres | Approx. duration (minutes) | Total consumption KWh/ litres | Approx. duration (minutes) | ||||||||||
| 5 Kg | 6 Kg | ||||||||||||||||||
| 1 | Normal Cold Cold delicate cottons YES 5/6" additives automatically absorbed if very lightly soiled desired and long final spin | Cotton/linen Normal wash, rinse, Whites/coloureds suciahed muligera | YES | NO | YES | 1.5 | YES | 0,15/46 | 0,15/49 | 58 | 0,10/49 50 | ||||||||
| 2 | Fast 30°C | 30 | Cotton/linen SHORT wash, rinse, Yes | YES | additives automatically absorbed if desired and long final spin | 0,20/25 | 0,20/30 | 30 | 0,20/30 30 | ||||||||||
| 3 | Normal 30°C | 30 | Cotton/linen delicate cottons lightly soiled | YES | 5/6* | 0,35/46 | 0,40/49 | 82 | 0,20/49 52 | ||||||||||
| 4 | Normal 40°C | 40 | Cotton/linen solid coloureds lightly soiled | YES | 5/6* | 0,60/46 | 0,65/49 | 87 | 0,50/49 57 | ||||||||||
| 5 (*) | Normal 60°C | 60 | Cotton/linen solid coloureds normally soiled | YES | 5/6* | A: 0,95/46 A+:0,85/46 | 1,02/49 | 102 | 1,02/49 70 | ||||||||||
| 6 | Normal 90°C | 90 | Cotton/linen whites heavily soiled | YES | 5/6* | 1,60/51 | 1,90/55 | 110 | 1,90/49 | 105 | |||||||||
| 7 | Pre-wash 60°C | 60 | Cotton/linen whites/solid coloureds heavily soiled | YES | 5/6* | 1,40/55 | 1,45/60 | 110 | 1,40/49 | 95 | |||||||||
| PROGRAMME | RECOMMENDED TEMPERATURE | TYPE DE MATERIAL | BUTTONS OF POSSIBLE OPTIONS | MAX. LAUNDRY LOAD (KG) | WASH PRODUCT COMPART-MENT | PROGRAMME DESCRIPTION | TURBO TIME | TURBO TIMES PLUS | |||||||||
| Edu Rhose | Intensive wash | Easy Ion | Spin selection | No spin | No recess | Total consumption KWh/ litres | Approx. duration (minutes) | Total consumption KWh/ litres | Approx. duration (minutes) | ||||||||
| 5 Kg | 6 Kg | ||||||||||||||||
| 8 | Delicate cold Cold cotton delicate cottons | Synthetic/mix YES 3 very lightly soiled | absorbed if desired and soft final spin | 0,15/50 0,15/55 | 50 0,10/49 50 | ||||||||||||
| 9 | Delicate 30°C cotton delicate cotton YES 3 Delicate wash, rinse, lightly soiled additives automatically | Synthetic/mix YES 3 Delicate wash, rinse, lightly soiled additives automatically | 0,35/50 0,35/55 | 55 0,20/49 50 | |||||||||||||
| 10 | Delicate 40°C cotton delicate cotton YES 3 normally soiled | Synthetic/mix normally soiled | 0,55/50 0,60/55 | 60 0,40/49 55 | |||||||||||||
| 11 | Delicate 60°C | 60 | Synthetic/mix cotton whites/solid coloured normally soiled | YES 3 | 0,95/50 1,00/55 | 70 0,90/49 70 | |||||||||||
| 12 | Wool cold | WOOL cold | Wool/mix wool whites/coloureds very lightly soiled | YES | NO | YES | 1 | Wool wash, rinse, additives automatically absorbed if desired and soft final spin | 0,05/60 0,05/60 | 30 0,05/52 35 | |||||||
| 13 | Wool 35°C | WOOL 35 | Wool/mix wool whites/coloureds lightly soiled | YES | NO | YES | 1 | 0,45/60 0,50/60 | 40 0,40/52 45 | ||||||||
| 14 | Rinse | - | Cotton/mix cotton Synthetic/delicate Wool/wool mix | YES | NO | YES | 5/6* | Rinse, additives automatically absorbed if desired and long final spin | 0,05/25 0,05/30 | 25 0,05/30 20 | |||||||
| 15 | Spin | - | Cotton/mix cotton Synthetic/delicate Wool/wool mix | NO | YES | NO | 5/6* | - | Drum emptied and long final spin | 0,05/0 | 0,05/0 | 10 | 0,05/0 | 10 | |||
| 16 | Empty/end | - | Cotton/mix cotton Synthetic/delicate Wool/wool mix | NO | 5/6* | - | Drum emptied and end of programme. Takes programme to final position | 0,00/0 | 0,00/0 | 2 | 0,00/0 | 2 | |||||
| * Check if the washing machine has a maximum load of 5 or 6 kg on the warranty certificate on the front page of this manual. Check on the washing machine control panel whether the washing machine is Turbo Time or Turbo Time Plus.* Wash and energy consumption evaluation programme based on EN60456 standard. Press the * intensive wash button. NOTE: Consumption in KWh and litres, as well as programme duration, are for maximum loads. They can vary depending on the type and amount of clothes, mains water pressure, etc. | |||||||||||||||||
(4)
SELECTING ADDITIONAL FUNCTIONS
The wash options should always be chosen after choosing the wash programme.
Any change of programme during the selection annuls the previously selected options.
Once ON has been activated
(programme selector control out or the button in the middle in the fully integrated model), select the options you want. When you select your options, the corresponding light will light up beside the selection button.
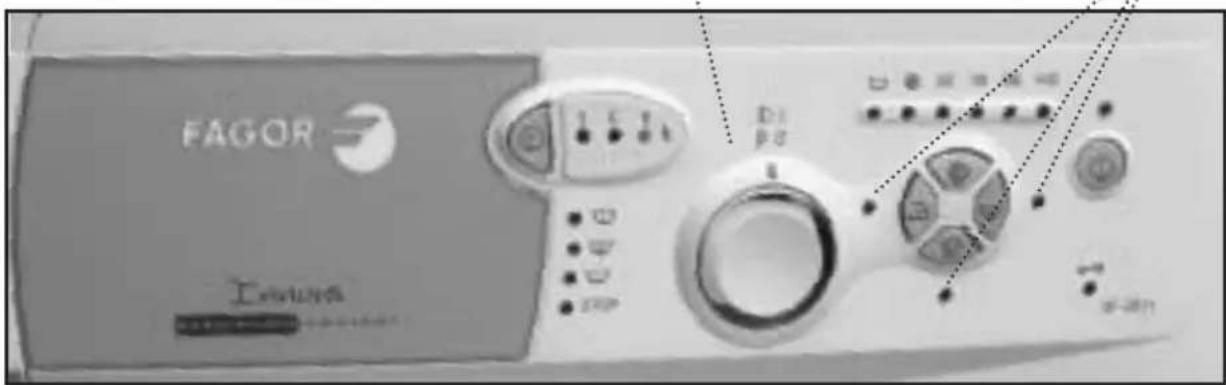
The options are as follows:
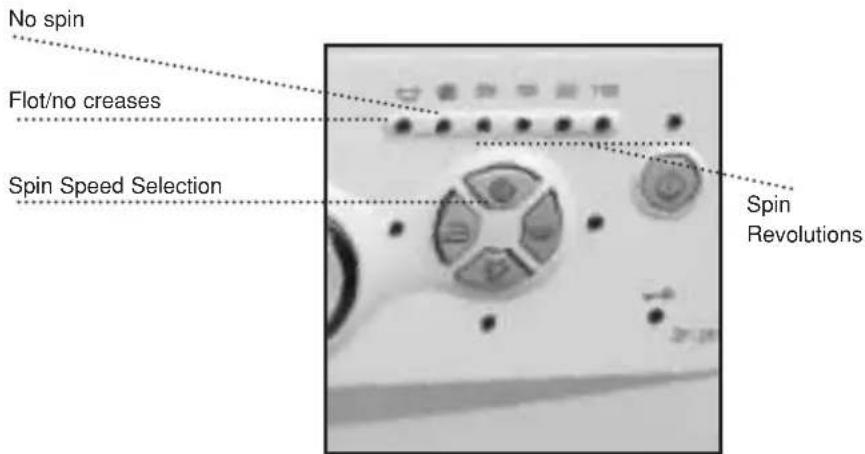
Button:Spin
Speed Selection
The selected programme has a number of spin revolutions associated, which may be viewed in the upper pilots.
If necessary, you may change the spin revolutions, eliminate the spin and the slot or no-creases option.
To do so, press the spin speed selection button once or more often until the desired option lights up.
Opinion: flot/antiarrugas
This option stops at the last rinse and the water is left in the laundry. When the function is deactivated, the washing machine continues the programme, draining the water and spinning. This option is used, for example, when you are not at home and wish to delay the spin until you arrive, in order to
avoid creases in the laundry after the spin and the time lapsed before the clothes are removed from the drum.
Option: No spin
This option allows you to run a programme without the final spin. This is used to avoid the formation of creases when washing special materials.
Button:Extra Rinse
This option increases the degree of final rinse obtained in the laundry; it is recommended for large loads and garments belonging to people with sensitive skin. This option increases water consumption!
Button: Intensive wash:
This option, especially recommended for heavily soiled and stained garments, provides better results when the normal wash cycle is extended.
Button: Easy iron
This option avoids the formation of creases in clothes by running a special programme with several special spins to separate the clothes after the spin and ease the task of ironing them afterwards.
Easy iron Extra-Rinse
Intensive wash
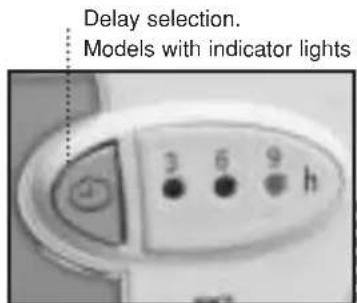
Button: Delay selector
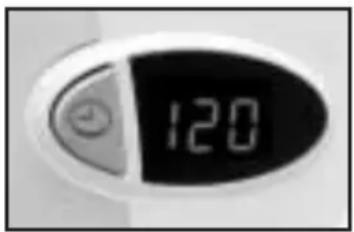
On models with a time display, a delay of up to 24 hours can be selected.
On models with 3 indicator lights, a delay of 3, 6 or 9 hours can be selected.
The delay must be selected after choosing the wash programme.
To select the number of delay hours, press the clock button until it reaches the desired delay time.
Cancelling the delay
To cancel the delay, press the clock button successively.
On washing machines with a display, the delay will be cancelled if it reaches 24 hours and is then pressed again. The display then shows the duration of the programme. On washing machines with indicator lights, the delay is cancelled by successively pressing the clock button until the indicator lights switch off.
IMPORTANT
If you change the programme or press the programme selector in (OFF), or the button in the middle in the fully integrated model, while selecting additional functions, all the functions that have been selected beforehand will be annulled.

Selecting the lock
Lock function
The lock function ensures that pressing the various buttons will not affect the selected programme and wash options. It is used as a child protection lock, etc.
Activating the lock
The lock function is activated by pressing and holding down the On button.
After this period, the on/off light will start to flash to confirm that the lock has been enabled and the washing machine will start to function. The lock should be activated after selecting the wash programme and all its options, as well as the desired delay.

Deactivating the lock
The lock is eliminated when the wash programme ends, when the END light comes on. If you wish to deactivate the lock function before reaching the end of the programme, press the On button again and hold it down for at least 3 seconds.
After the 3 seconds the light will go off and the function will enter pause status. Pressing OFF will not cancel the lock function (press the control in, or the central switch on totally integrated models). When the washing machine starts to work again, it will continue to run the programme at the point where it left off.
5 COMMISSIONING
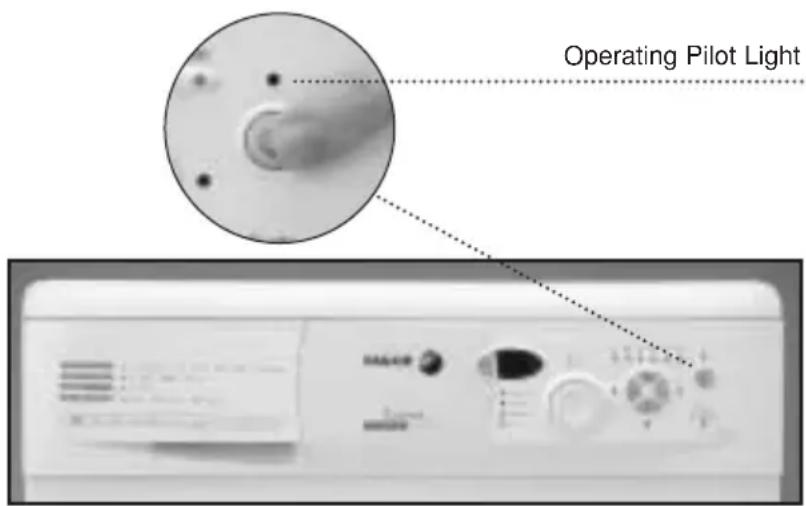
In order to switch on the washing machine, press the on/off button.
The display situated over the button will light up and the washing machine will start the selected programme with the options. If your washing machine has a display, you will be able to see how many minutes are left until the end of the wash.
Switching on the delay
This consists of pressing the on/off button after selecting the programme, the wash options and the delay time.
On washing machines with a display, the screen will flash showing the time left before the programme starts. When the delay time has elapsed, it will stop flashing and show the duration of the
programme selected. On washing machines with indicator lights, when the
On/Off button is pressed, the time indicator will flash, successively showing the time remaining for the wash programme to begin.
IMPORTANT
If you need to add or remove a garment, select pause and ensure that the water level is not over the door and that the inside temperature is not high. If you press the ON button, the wash will recommence at the same stage of the cycle where it stopped.
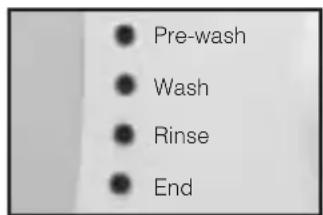
6 STAGES IN WASH PROGRAMME
The active phases at each point of the programme shall appear as the programme progresses.
Any option button may be selected as long as the phase in the programme in which it takes effect has not ended and as long as the programme allows this option.
Pressing the delay but
ton during the wash has no effect on the washing
IMPORTANT
If you use the selector to change programmes while the machine is working, it will enter the PAUSE mode. The on/off light will go off and the programme will be annulled.
machine. If you press the On/ Off button during the wash, the washing machine will enter the PAUSE mode and this button's light will turn off.
(7)
POWER CUTS
In the event of a power cut, when the supply returns, the washing machine will continue to function normally, starting off where it had
stopped (it has an hour memory). The same occurs if your press the OFF button and then the ON button
8 TIPS
In order to reduce the noise produced during the spin cycle, level the washing machine using the adjustable feet.
Try to wash garments of different sizes in the same wash programme. this improves the distribution of the clothes in the drum during the spin cycle.
- All models have a spin safety system that does not allow the machine to perform the spin cycle if the distribution of the laundry in the drum is very concentrated. This means the machine does not vibrate too much. If at any moment

With the aim of preserving the environment, your washing machine is equipped with a system that is able to adapt to the different conditions of use (laundry load and type of material), thereby ensuring an optimum level of water and energy. This means that during the wash process, although the amount of water you can see through the porthole door may seem low, there is no need to worry. The wash and rinse will be highly efficient.
you notice that the laundry is not fully rinsed when you take it out, try to spin again after dis
tributing the clothes more evenly in the drum.
WASHING MACHINE
MAINTAINING AND CLEANING THE MACHINE
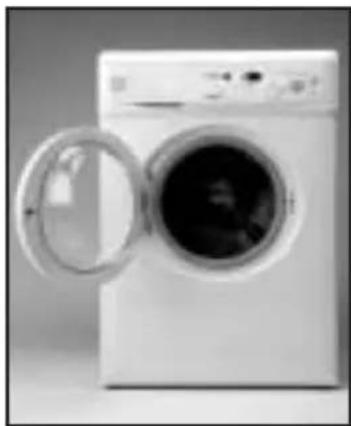
After each wash, leave the porthole door open for a while to let the air circulate freely inside the machine.
Depending on the hardness of the water, we recommend running a complete wash cycle using a decalcifying product. This will prolong the life of your washing machine.
IMPORTANT
Before any cleaning or maintenance operations, we recommend you disconnect the washing machine from the electricity mains.
1 CLEANING THE DETERGENT DRAWER
You should clean the detergent drawer whenever you notice residues of any product inside it.
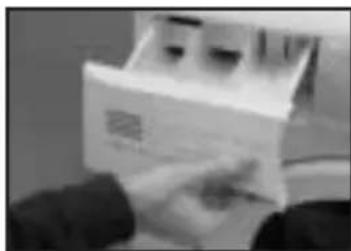
a fully extract the detergent drawer by pulling out the flap.
Clean the compartments in the drawer. Use warm water and a brush.
c Also, clean the siphons in the additive drawer.
Replace the drawer in the washing machine.
2
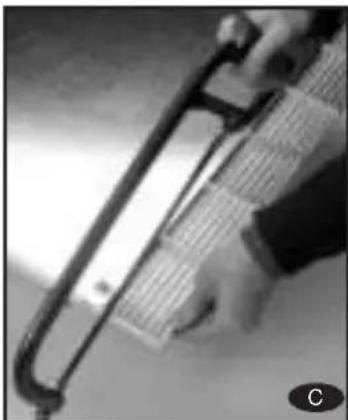
CLEANING THE ACCESSIBLE FILTER
Clean the accessible filter whenever the drainage pump is blocked by foreign bodies.
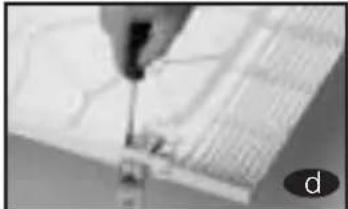
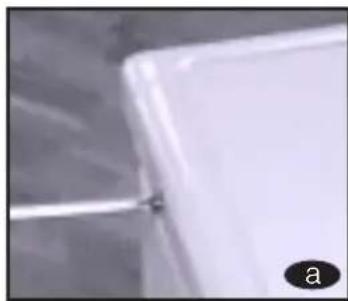
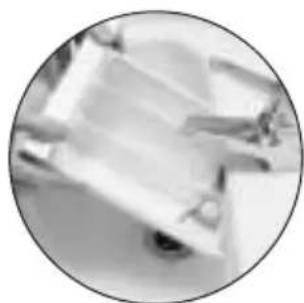
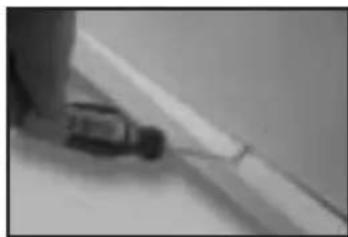
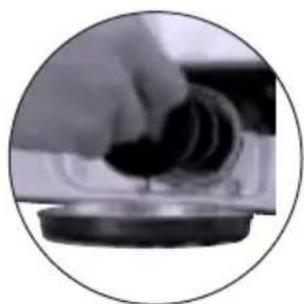
a loosen the base by gently pulling on the sides and turning downwards. Then undo the fasteners. If there is no side access, introduce a small screwdriver in the three slots on the upper part of the base, in order to lever it and loosen the hooks.
b Use a plate or other container under the filter to collect the water that will be released when it is loosened.
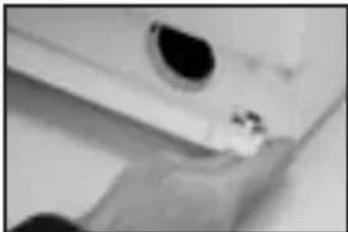
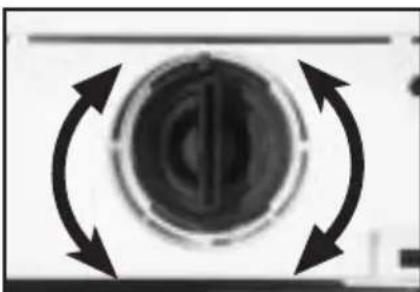
Turn the filter a quarter- or halfway sideways towards the left. Water will start to come out.
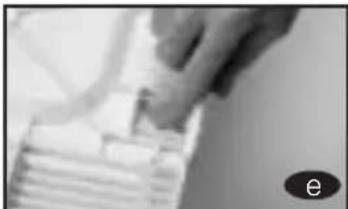
d When you are finished taking the water out of the washing machine, turn the filter around several times until you can take it out fully.
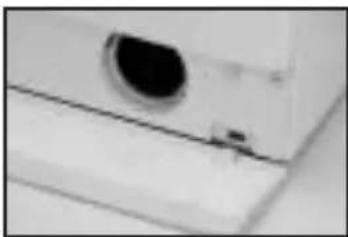
e Remove any objects or fluff that may be in the filter.
Replace the filter and the base in their places.
IMPORTANT
In order to avoid burns, this operation should not be carried out when the wash water temperature is over 30^ .
3
CLEANING THE OUTSIDE OF THE MACHINE
In order to clean the outside of the washing machine, use warm soapy water or a soft, non-abrasive cleaning agent that does not contain solvents.
Then dry it well with a soft cloth.
SAFETY AND TROUBLESHOOTING
If you detect a problem when using your washing machine, you may be able to solve it after consulting the following troubleshooting tips.
If you cannot find the solution, disconnect the machine and contact the TECHNICAL SUPPORT SERVICE
IMPORTANT
Please do not open the machine under any circumstances. There is no fuse or similar component inside that may be replaced by the user.
- Why doesn't the washing machine start working?
Perhaps
- There is no voltage in the electricity mains.
- The fuses of the electrical fittings are blown.
- The washing machine is not connected to the electricity mains.
- You didn't press the on/off button(this button's light should be on)
- The programme selector dial is not out.
- The door of the washing machine isn't closed properly. When this is detected, the displays that show "pre-wash" or "end" flash and F04 appears on the display of the washing machine. Then you should check if the door is open and close it properly.
- Why does the washing machine vibrate or make too much noise?
Perhaps:
- The internal fastening screws were not removed.
-
The washing machine is not level.
-
Why doesn't the washing machine fill with water?
-
When this fault is detected, the Wash and Rinse displays will flash in turn. If your washing machine has a display, it will show F01.
- This water input fault could be due to an interruption in the water supply, water input tap or because the water input filter on the washing machine is blocked.
-
Therefore, you should take the following steps: wait until the water supply starts again, open the water input tap or loosen the water input pipe and clean its filter.
-
Why doesn't the washing machine drain or spin?
-
When this fault is detected, the Rinse and End displays will flash in turn. If your washing machine has a display, it will show F02.
- Possible reasons for this fault may be: obstruction in the drain motor pump in the washing machine, obstruction in the drainage piping of the building or incorrect electrical connection of the motor pump.
-
Action: if the reason for the fault is an obstruction in the motor-pump, follow the steps in section 2. Maintaining and cleaning the machine.
-
Why doesn't the washing machine spin the clothes?
-
When this fault is detected, the Pre-wash and Wash displays will flash in turn. If your washing machine has a display, it will show F03.
- This fault occurs because the laundry is not evenly distributed in the drum, which can cause too much vibration.
-
Solution: return to the spin stage.
-
Is it better to put the detergent in the drawer or directly in the drum?
The use of "detergent tablets" that go directly into the drum is increasingly common. These tablets wash well and do not damage the laundry. However, other powder and liquid detergents contain aggressive components that may damage clothes if applied directly to the garments. In this case, we recommend you use the drawer
Why can't I see water in the drum?
This could be because the washing machine has a system that allows it to adapt to the laundry load and the type of material, adjusting the water level and the energy used with a view to preserving the environment. This means that during the wash process, although the amount of water you can see through the porthole door may seem low, there is no need to worry. The wash and rinse will be highly efficient.
- Why is water coming out of the drawer?
Perhaps the drawer or dispenser needs cleaning. This simple operation is described in Maintaining and cleaning the machine.
1- Cleaning the detergent drawer.
- Why can't I open the porthole door immediately after the wash ends?
Modern washing machines are equipped with safety systems to protect users. One of these is that it is not possible to open the washing machine until the drum has come to a complete halt. That is why it takes about 2 minutes before you can open the porthole door.
-
Other faults
-
The washing machine is able to detect other faults. When this happens, all the displays for the various wash stages will flash or different errors will appear on the display, F05, F06....,F10.
- These faults may be due to very diverse causes.
- Solution: call the OFFICIAL TECHNICAL SUPPORT SERVICE
WASHING MACHINE
ENVIRONMENTAL ADVICE

ECOLOGICAL NOTE
With the aim of preserving the environment, deposit your used machine at an official centre for collecting or recovering recyclable materials.
Before throwing out your used machine, cut the plug cable so that it may no longer be used.