ADV105 - Intercom ME - Free user manual and instructions
Find the device manual for free ADV105 ME in PDF.
| Brand | ME |
| Model | ADV105 |
| Product Type | Indoor audio station for intercom |
| Power supply | 15 V DC, 220 ± 50 mA |
| Main functions | Hands-free, handset, door release, intercom, alarm, conversation and ringer volume adjustment, melody selection |
| Package contents | 1 indoor unit with handset, 1 mounting hardware, 1 installation and user manual |
| Mounting type | Wall-mounted, with dowels and screws (6 mm drilling) |
| Connection | Screw terminals for power and signal, connectors for connection plate and handset |
| Temperature range | -10 to +50 °C |
| Maximum humidity | 85% |
| Ringer volume adjustment | From 0 to 100% via potentiometer on main board |
| Conversation volume adjustment | Continuous knob on the side of the unit |
| Melody selection | Via buttons (conversation then melody) to choose among several melodies |
| Ringer deactivation (night mode) | Yes, via rest button; flashing red LED indicates inactivity |
| Intercom function | Allows communication between multiple indoor units connected in parallel |
| Cleaning | Damp cloth with soapy lotion, no abrasive or chemical products |
| Safety | Do not use in damp environments, do not disassemble, unplug if damaged |
| Warranty | 2-year limited (defects in materials and workmanship) |
| Compliance | EEC certification |
Frequently Asked Questions - ADV105 ME
User questions about ADV105 ME
0 question about this device. Answer the ones you know or ask your own.
Ask a new question about this device
Download the instructions for your Intercom in PDF format for free! Find your manual ADV105 - ME and take your electronic device back in hand. On this page are published all the documents necessary for the use of your device. ADV105 by ME.
USER MANUAL ADV105 ME
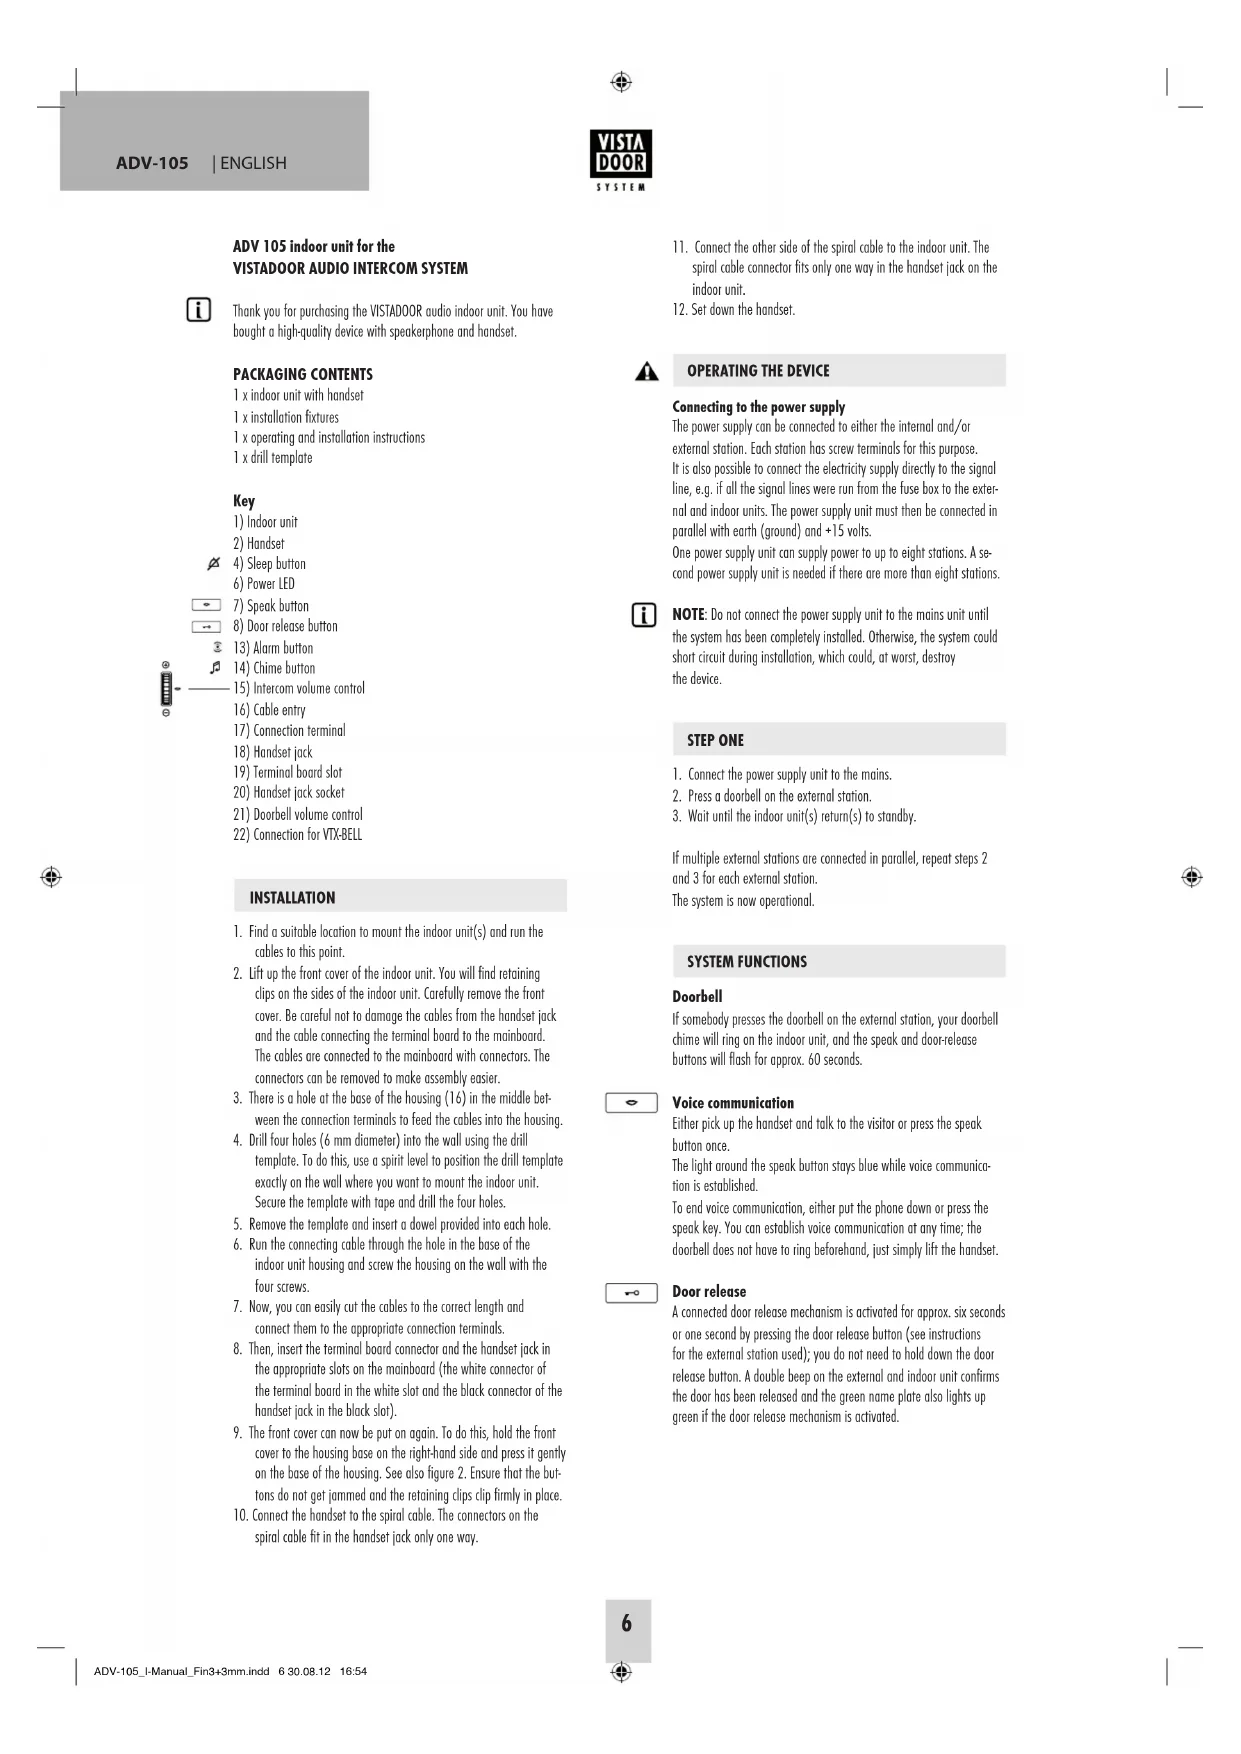
Thank you for purchasing the VISTADOOR audio indoor unit. You have bought a high-quality device with speakerphone and handset.
PACKAGING CONTENTS
1 x indoor unit with handset
1 x installation fixtures
1 x operating and installation instructions
1xdrill template
Key
1) Indoor unit
2) Handset
- Find a suitable location to mount the indoor unit(s) and run the cables to this point.
- Lift up the front cover of the indoor unit. You will find retaining clips on the sides of the indoor unit. Carefully remove the front cover. Be careful not to damage the cables from the handset jack and the cable connecting the terminal board to the mainboard. The cables are connected to the mainboard with connectors. The connectors can be removed to make assembly easier.
- There is a hole at the base of the housing (16) in the middle between the connection terminals to feed the cables into the housing.
- Drill four holes (6 mm diameter) into the wall using the drill template. To do this, use a spirit level to position the drill template exactly on the wall where you want to mount the indoor unit. Secure the template with tape and drill the four holes.
- Remove the template and insert a dowel provided into each hole.
- Run the connecting cable through the hole in the base of the indoor unit housing and screw the housing on the wall with the four screws.
- Now, you can easily cut the cables to the correct length and connect them to the appropriate connection terminals.
- Then, insert the terminal board connector and the handset jack in the appropriate slots on the mainboard (the white connector of the terminal board in the white slot and the black connector of the handset jack in the black slot).
- The front cover can now be put on again. To do this, hold the front cover to the housing base on the right-hand side and press it gently on the base of the housing. See also figure 2. Ensure that the buttons do not get jammed and the retaining clips clip firmly in place.
-
Connect the handset to the spiral cable. The connectors on the spiral cable fit in the handset jack only one way.
-
Connect the other side of the spiral cable to the indoor unit. The spiral cable connector fits only one way in the handset jack on the indoor unit.
- Set down the handset.

Connecting to the power supply
The power supply can be connected to either the internal and/or external station. Each station has screw terminals for this purpose. It is also possible to connect the electricity supply directly to the signal line, e.g. if all the signal lines were run from the fuse box to the external and indoor units. The power supply unit must then be connected in parallel with earth (ground) and +15 volts.
One power supply unit can supply power to up to eight stations. A second power supply unit is needed if there are more than eight stations.

NOTE: Do not connect the power supply unit to the mains unit until the system has been completely installed. Otherwise, the system could short circuit during installation, which could, at worst, destroy the device.
STEP ONE
- Connect the power supply unit to the mains.
- Press a doorbell on the external station.
- Wait until the indoor unit(s) return(s) to standby.
If multiple external stations are connected in parallel, repeat steps 2 and 3 for each external station.
The system is now operational.
SYSTEM FUNCTIONS
Doorbell
If somebody presses the doorbell on the external station, your doorbell chime will ring on the indoor unit, and the speak and doo! release buttons will flash for approx. 60 seconds.

Voice communication
Either pick up the handset and talk to the visitor or press the speak button once.
The light around the speak button stays blue while voice communication is established.
To end voice communication, either put the phone down or press the speak key. You can establish voice communication at any time; the doorbell does not have to ring beforehand, just simply lift the handset.

Door release
A connected door release mechanism is activated for approx. six seconds or one second by pressing the door release button (see instructions for the external station used); you do not need to hold down the door release button. A double beep on the external and indoor unit confirms the door has been released and the green name plate also lights up green if the door release mechanism is activated.
The door release mechanism can be activated if:
- somebody rings the doorbell (within 60 seconds and without having to establish voice communication first); 2. the reply function is on.

Set the doorbell chime
- Press the speak button.
- Press the chime button to play the chime set.
- Press the chime button to play the next chime and repeat this process until you find the chime you want.
- Press the speak button to save the chime.
There are 12 different chimes to choose from.

Set the handset volume
Use the handset volume control on the side of the indoor unit to infinitely adjust the handset volume of the person at the other end.
Set the doorbell volume
The volume can be infinitely set between 0% and 100% using the doorbell volume control on the mainboard (adjust the volume with a small screw driver; turning clockwise to increase the volume and anticlockwise to decrease it).
Be careful not to overtighten the potentiometer.

Disable the doorbell chime (e.g. at night)
The doorbell chime can be disabled. To do this, press the sleep button on the indoor unit once. The LED below the sleep button flashes red to show that the chime has been disabled. To activate the chime again, press the sleep button again; the LED will stop flashing and the chime will be reactivated.
The optical signal (light surrounding the speak and door release buttons) remains activated even if the doorbell chime is disabled and continues to indicate that the doorbell has been pressed.

NOTE: If the VTX-BELL module is used, this will also be disabled during sleep mode, i.e. the signal from connected receivers is also disabled.

Activate alarm
The external station can sound an alarm (e.g. if you are being harassed). To do this, you have to press and hold the alarm button on the indoor unit. The alarm only sounds if the button is pressed and held down within 60 seconds after the doorbell was pressed or if voice communication is established.
Intercom
If several indoor units are connected in parallel, you can communicate between these indoor units.
If you press the alarm button when the station is on standby, all indoor units connected in parallel will sound the alarm. Voice communication is established if the handset is lifted on one of the ringing indoor units or the speak button is pressed. To end the call, either put the handset down or press the speak button.
TECHNICAL DATA
Operating voltage: 15VDC
Current consumption: 220 ± 50mA
Temperature range: -10^ to +50^
Maximum humidity: 85%
INFORMATION
Information regarding CE-Conformity
The functionality of the unit can be affected by the influence of strong static, electrical or high frequency fields (discharging, mobile phones, radios, microwaves).
Cleaning and maintenance
Always disconnect mains powered units from the mains supply before cleaning (disconnect the plug). The unit housing can be cleaned using a soapy soft cloth. Do not use any abrasive materials or chemicals. Remove dust build-up from ventilation slits using a brush and clean up using a vacuum cleaner. Do not hold the vacuum cleaner nozzle directly against the unit.
Safety instruction
In the event of damage to the housing, connectors, power cables or isolation shielding, switch off the device immediately and disconnect from the mains power. ELECTRIC SHOCK - DANGER OF LOSS
OF LIFE. (Unplug the mains connector from the socket!). Damage should be repaired immediately by a specialist!

Never carry out repairs yourself!
Warranty
2 years warranty from date of purchasing, on base of correct using.
The producer is not responsible for consequential damages which are effected directly or indirectly from this item.

SAFETY NOTES
The warranty will be null and void in case of damages arising from violations of these operating instructions. We are not liable for consequential damages!
We accept no liability for material damages or injuries arising from inappropriate use or violation of the safety instructions. In such cases all warranty claims are null and void!
For reasons of safety and licensing (CE), unauthorised conversion and/or modification of the product is prohibited.
The design of the product complies with protection class 1. Only a standard mains socket (230V /50Hz) of the public mains supply may be used to power the device. Devices powered by mains voltage must be kept away from children. Please therefore be particularly careful in the presence of children.

Do not take the product apart! There is a danger of lethal electric shock!
Do not leave packaging material lying about since plastic foils and pockets and polystyrene parts etc. could be lethal toys for children.
The interior units are suitable only for dry interior rooms (not both rooms and other moist places). Do not allow the devices to get moist or wet. There is a danger of lethal electric shock!
In industrial institutions, the accident prevention regulations of the Association of Commercial Professional Associations for electrical installations and equipment must be observed. Please consult a specialist should you have doubts regarding the method of operation, the safety, or the connections of the device.
Handle the product with care - it is sensitive to bumps, knocks or falls even from low heights.
GB
These operating instruction are published by
m-e GmbH modern-electronics,
The operating instructions reflect the current technical specifications at time of print. We reserve the right to change the technical or physical specifications.
conversation est active.