
PastaFiXX - Food Processor BEEM - Free user manual and instructions
Find the device manual for free PastaFiXX BEEM in PDF.
| Product type | Food processor - Electric pasta machine |
| Brand | BEEM |
| Model | PastaFiXX (M23.001) |
| Dimensions (H x W x D) | 175 x 290 x 305 mm |
| Net weight (main kit) | 4.2 kg |
| Power supply | 220-240 V~, 50/60 Hz, 200 W |
| Protection class | II |
| Main functions | Dough kneading, pasta extrusion (spaghetti, tagliatelle, linguini, macaroni), preparation of small cakes, sausage filling |
| Maximum flour capacity | 500 g |
| Material of removable parts | Dishwasher-safe food-grade plastic |
| Maintenance and cleaning | Motor unit: wipe with a damp cloth. Other parts: wash in warm soapy water or dishwasher. Dry thoroughly before storing. |
| Safety | Safety switches (lid and receptacle), overheat protection, do not immerse motor unit in water |
| Spare parts and accessories | Accessory kit (ref. 900710001): 4 pasta shapes, 2 measuring cups, filling tube. Mechanical kit (ref. 900710006): worm screw, shaft, kneading unit, etc. Small cakes accessory (ref. 900710016) |
| Warranty | Legal warranty + extended manufacturer warranty according to conditions at beem.de |
| General information | Domestic use only. Supplied with illustrated user manual. Complies with EU directives. |
Frequently Asked Questions - PastaFiXX BEEM
User questions about PastaFiXX BEEM
0 question about this device. Answer the ones you know or ask your own.
Ask a new question about this device
Download the instructions for your Food Processor in PDF format for free! Find your manual PastaFiXX - BEEM and take your electronic device back in hand. On this page are published all the documents necessary for the use of your device. PastaFiXX by BEEM.
USER MANUAL PastaFiXX BEEM
Electric pasta machine
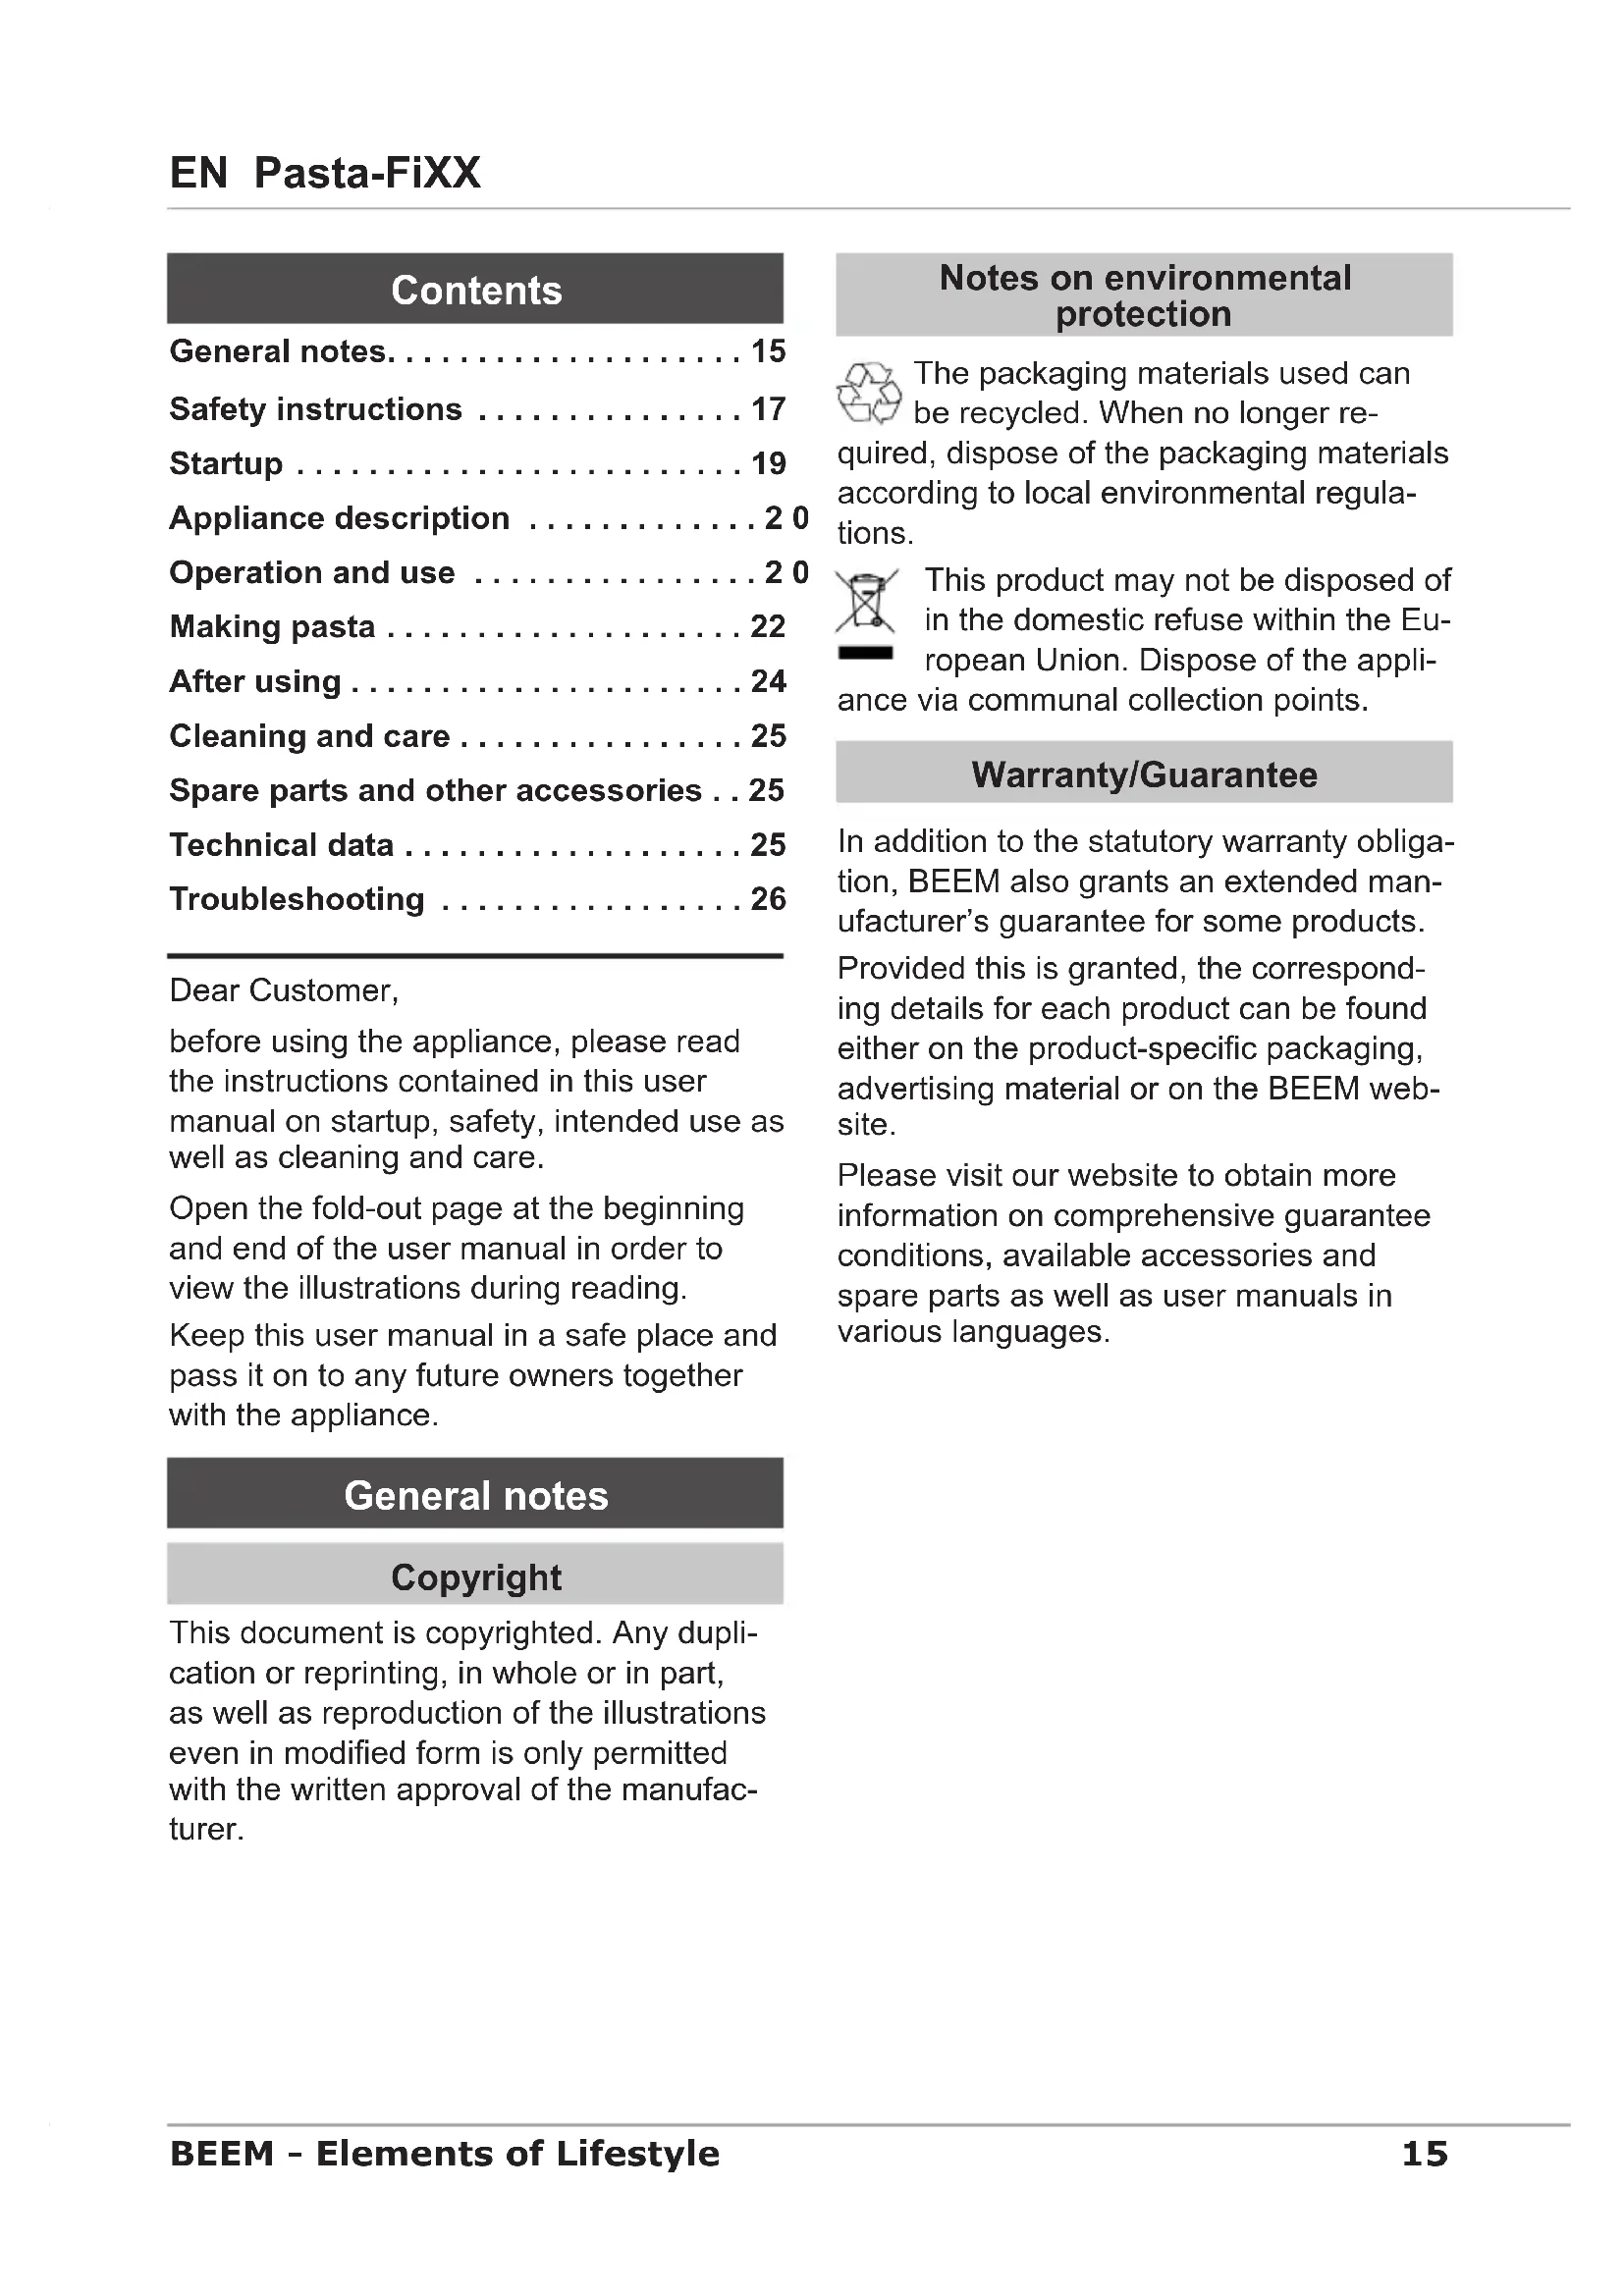
Open the fold-out page at the beginning and end of the user manual in order to view the illustrations during reading.
Safety instructions 17
Startup 19
Appliance description 20
Operation and use 20
Making pasta 22
After using 24
Cleaning and care 25
Spare parts and other accessories . . 25
Technical data 25
Troubleshooting 26
Dear Customer,
before using the appliance, please read the instructions contained in this user manual on startup, safety, intended use as well as cleaning and care.
Open the fold-out page at the beginning and end of the user manual in order to view the illustrations during reading.
Keep this user manual in a safe place and pass it on to any future owners together with the appliance.
General notes
Copyright
This document is copyrighted. Any duplication or reprinting, in whole or in part, as well as reproduction of the illustrations even in modified form is only permitted with the written approval of the manufacturer.
Notes on environmental protection
The packaging materials used can be recycled. When no longer required, dispose of the packaging materials according to local environmental regulations.
This product may not be disposed of in the domestic refuse within the European Union. Dispose of the appliance via communal collection points.
Warranty/Guarantee
In addition to the statutory warranty obligation, BEEM also grants an extended manufacturer's guarantee for some products.
Provided this is granted, the corresponding details for each product can be found either on the product-specific packaging, advertising material or on the BEEM website.
Please visit our website to obtain more information on comprehensive guarantee conditions, available accessories and spare parts as well as user manuals in various languages.
Symbols used
DANGER
This indicates an imminent hazardous situation, which could lead to severe physical injury or death.
Follow these instructions listed here to avoid danger.
WARNING
This indicates a possible hazardous situation, which could lead to severe physical injury or death.
Follow these instructions listed here to avoid danger.
CAUTION
This indicates a potentially hazardous situation, which could lead to minor injuries or material damage.
Follow these instructions listed here to avoid danger.
NOTE
A note contains additional information to simplify the use of the appliance.
Intended use
This appliance is intended primarily for non-commercial use in closed rooms for the production of pasta in normal household quantities. Any use other than previously stated is considered as improper use.
WARNING
If not used for its intended purpose and/or used in any other way, the appliance may be or become a source of danger.
Use the only for its intended purpose.
Observe the procedures described in this user manual.
No claims of any kind will be accepted for damage resulting from use of the for other than its intended purpose.
The risk must be borne solely by the user.
Limitation of liability
We assume no reliability for damage or follow-up damage in the case of:
failure to observe the instructions in the user manual,
use for other than the intended purpose,
improper or unsuitable handling,
incorrectly performed repairs,
unauthorised modifications,
use of non-approved parts or spare parts,
use of unsuitable supplementary or accessory parts.
Declaration of Conformity
BEEM hereby declares that this appliance complies with the fundamental requirements and other relevant provisions of 2006/95/EC, 2009/125/EC and 2004/108/EC directives.
Safety instructions
Inspect the appliance for visible signs of damage before use. Do not use a damaged appliance.
This appliance is not intended for use by persons (including children) with restricted physical, sensory or mental capabilities or with insufficient experience and/or knowledge unless they are supervised by a person responsibly for their safety or have received instructions on the use of the appliance from such a person.
Children must be supervised to ensure that they do not play with the appliance.
Store the appliance and accessory parts out of the reach of children.
Do not leave the appliance unattended during operation.
Only allow repairs to the appliance to be carried out by an authorised specialist or by the works customer service; this particularly applies to replacing a damaged connecting cable. Unqualified repairs can lead to considerable danger for the user. They will also invalidate the warranty/guarantee.
Repairs to the appliance during the warranty/guarantee period may only be carried out by service centres authorised by the manufacturer, otherwise the warranty/guarantee will become invalid in the event of damage or subsequent damage.
Defective parts may only be replaced with original spare parts. Only original spare parts warranty/guarantee that the safety requirements are met.
Only use spare parts from the manufacturer or spare parts that are specifically recommended by the manufacturer. The warranty/guarantee will otherwise be invalidated.
Do not use this appliance together with an external timer or a separate remote control system.

DANGER
Danger from electric current!
Do not use the appliance if the mains cable or mains plug is damaged.
Do not open the housing of the ap- pliance. Danger from electric current if live connections are touched and/ or the electrical and mechanical configuration is changed.
Never immerse the appliance or the mains plug in water or other liquids.
Pull the plug out of the mains socket, when assembling and disassembling,
- if you are not using the appliance,
- if a malfunction occurs during operation,
- before you clean the appliance.
Risk of suffocation!
Never play with packaging material.
Risk of suffocation.
WARNING
Danger from moving parts!
Always disconnect the mains plug before assembling, disassembling, cleaning or storing the appliance.
Do not disable safety mechanisms and never operate the appliance without the lid.
Only operate the appliance with the I corresponding attachment and screw cap.
CAUTION
Do not pull the connecting cable to remove the plug from the mains socket.
Do not put hard ingredients into the appliance.
Do not use sharp objects or abrasive cleaning agents to clean the surfaces.
When using for prolonged periods of time, allow the appliance to cool down occasionally to avoid overheating.
The pasta dough container and accessory parts are not designed to be used in ovens or microwaves.
Never lift or move the appliance with the mains cable.
Requirements for the place of use
For safe and trouble-free operation of the appliance, the installation location must satisfy the following requirements:
Place the appliance on a firm, dry, flat, waterproof and heat-resistant surface.
Do not install the appliance in a hot, wet or very humid environment.
The mains socket must be easily accessible and allow fast disconnection in the event of an emergency.
The surface finishes on furniture may contain substances that can be detrimental to the silicon feet of the appliance. If necessary, place a mat under the feet of the appliance.
Electrical connection
For safe and trouble-free operation of the appliance, the following instructions must be observed for the electrical connection:
Before connecting the appliance, compare the connection data (voltage and frequency) on the rating plate with those of your mains power supply. This data must correspond in order to avoid damage to the appliance. If in doubt, ask your electrical appliance retailer.
The mains socket must be protected by at least a 10 A automatic circuit breaker.
Ensure that the mains lead is undamaged and is not laid over sharp edges.
The mains cable must not pulled tightly, bent or come into contact with hot surfaces.
Route the cable to prevent risk of trip- ping.
The electrical safety of the appliance is only assured when it is connected to a properly installed protective earth (PE) conductor system. Connection to a mains socket without PE conductor is forbidden. If in doubt, the electrical system must be checked by a qualified electrician. The manufacturer assumes no liability for injury or damage caused by a missing or interrupted protective earth conductor.
Startup
Unpacking
Remove the appliance, all accessory parts and the user manual from the box.
Remove all packaging materials and protective foils from the product and the accessories before using it for the first time.
NOTE
Do not remove the rating plate or any warning signs on the appliance. Keep the original packaging during the warranty or guarantee period in order to return the appliance in the packaging in the event of a warranty or guarantee claim. Transport damage will invalidate the warranty or guarantee.
Check the delivery contents
Check for visible signs of damage or missing items.
Report incomplete or damaged contents to your supplier immediately.
Before using for the first time
Clean the appliance and the accessories as described in the section Cleaning and care.
NOTE
When using for the first time, it is possible that production-related additives such as grease could cause slight odour or smoke. This is completely normal. Ensure sufficient ventilation.
Appliance description
(See illustration on the left fold-out page)
Motor unit1
Spindle socket2
Lid recess3
Kneading switch position
Extrude switch position
Switch A6
Switch B7
Screw cap8
Extruder screw9
Centring ring10
Drive spindle11
Extruder screw housing12
Kneading unit13
Adapter ring14
15 Pasta dough container
16 Lid
17 Macaroni attachment
18 Spaghetti attachment
19 Linguine attachment
20 Tagliatelle attachment
21 Small measuring cups
22 Large measuring cup
23 Conical filling shaft
24 Shortbread attachment
25 User manual (not illustrated)
Switch positions
Level


Function
Appliance switched on:
Kneading mode
Appliance switched off.
Appliance switched on:
Dough extruding mode
Safety switches
The appliance is equipped with two safety switches and can only be operated when the pasta dough container (16) and the lid (17) are correctly fitted on the motor unit.

WARNING
Before using each time, check the function of the safety switch. Switch on the appliance without attached container or lid for this purpose. If the motor turns, the safety switch is defective and the appliance may not be used.
Operation and use
(See illustration on the right fold-out page)
Assembly (image A1)
Push the pasta dough container (15) onto the motor unit (1).
Push the centring ring (10) onto the drive spindle (11) (image A2) and insert the extruder screw (9) into the extruder screw housing (12).
Push the kneading unit (13) onto the drive spindle(11).
Push the adapter ring (14) onto the drive spindle (11) (image A3) so that the adapter ring is flush with the kneading unit (13).
Insert the drive spindle with all attached parts into the pasta dough container (15) so that the end of the drive spindle (11) fits into the spindle socket (2) of the drive unit (1).
Lock the extruder screw housing (12) in the pasta dough container (15) by turning it clockwise.
NOTE
Make sure that the extruder screw (9) does not protrude out of the extruder screw housing (12). Push the extruder screw into its housing until it stops.
Put the desired attachment (17, 18, 19, 20, 23 or 24) into the screw cap (8) and screw the screw cap (8) onto the extruder screw housing together with the attachment (image A4, image A5).
Put the lid (16) onto the pasta dough container (15) so that the lip of the lid protrudes into the lid recess (3) of the motor unit (1) first. Hold the lid upright for this purpose and hook it into the lid recess (3).
To close the lid (16), push the front part downwards until it audibly snaps in.
To open the lid (16), simultaneously press both lips of the lid and push it upwards (image A6).
NOTE!
The biscuit attachment enables you to select the biscuit mould, by pushing the pusher of the attachment into the desired shape.
Insert the pusher so that the grooves point forwards otherwise the dough will ooze out of the sides
Switching the appliance on/off
The appliance is switched on or off via switches A (6) and B (7).
To start kneading the pasta dough, successively move switches A (6) and B (7) to knead
To remove the kneaded pasta dough, successively move switches A (6) and B (7) to extrude
To switch off the appliance, success- sively move switches A (6) and B (7) to 0.
NOTE
The selected function is only possible when both switches are at the same position.
Always move each switch success- sively to care for the drive motor.
Filling with ingredients
After the machine is switched off, you may remove the lid (16) from the pasta dough container (15) to add ingredients.
NOTE
To fill the container with more than 500g of flour in order to allow the pasta dough to be kneaded thoroughly.
Liquid ingredients are added to the pasta dough (image A7) through the slot in the lid (16) in portions.
Making pasta
Processing instructions
Pay attention to the following processing instructions to achieve the best results:
Measure all ingredients before beginning.
Remove the lid and add all solid ingredients to the pasta dough container (15) first.
Stir or beat the liquid ingredients well and add to the pasta dough through the slot in the lid (16) a little at a time while the appliance is running.
Knead the pasta dough thoroughly for approx. 5 minutes. The pasta dough is ready when it is compact and even and does not stick to the sides.
If the pasta dough is still crumbly after a few minutes, add water a spoonful at a time.
If the pasta dough sticks to the sides of the container, add a little flour or semolina.
In order to remove as much of the pasta dough as possible when the container is almost empty, tip the appliance slightly forward.
It is preferable to use fresh pasta. Cook the pasta in boiling salt water al dente - for approximately 1-3 minutes.
Pasta can be dried at room temperature or in the oven (at 40^ ) for later use. Store the well-dried pasta in plastic bags. The cooking time for dried pasta is between 6 to 10 minutes.
Basic recipe 1
Ingredients:
400 g semolina
170 ml water
1 teaspoon of salt
First assemble the corresponding attachment for the desired pasta form.
Fill the pasta dough container with the previously weighed semolina and the salt and close the lid.
Move both switches so that they are pointing at the knead symbol and pour the water through the opening in the lid of the container a little at a time.
nead the pasta dough thoroughly for approx. 5 minutes.
Finishing kneading by moving both switches to the "0" position.
To press out the pasta dough, move both switches so that they are pointing at the extrude symbol. After a few seconds, the raw pasta is pressed through the attachment.
Basic recipe 2
Ingredients:
300 g wheat flour
3 class M eggs
30 ml of olive oil
1 pinch of salt
Put the flour and salt into the pasta dough container.
Beat the eggs and olive oil well and pour through the opening of the lid of the container a little at a time.
To proceed further, refer to basic recipe 1.
Basic recipe 3
Ingredients:
250 g whole grain or wheat flour
12 teaspoon of salt
2 class M eggs
2 teaspoons of olive oil
2 tablespoons of water
Put the flour and salt into the pasta dough container.
Beat the eggs, olive oil and water well and pour through the opening of the lid of the container a little at a time.
To proceed further, refer to basic recipe 1.
Basic recipe 4
Ingredients:
300 g of flour
50 g semolina
12 teaspoon of salt
3 class M eggs
3 teaspoons of olive oil
Pour the flour, semolina and the salt into the pasta dough container.
Beat the eggs and olive oil well and pour through the opening of the lid of the container a little at a time.
To proceed further, refer to basic recipe 1.
Pasta variations
Coloured pasta:
To make coloured pasta, you can use the ingredients listed in the following table:
| Colour | Ingredient |
| Yellow | Saffron, curcuma |
| Red | Tomato paste |
| Violet | Beetroot puree |
| Green | Spinach juice, finely chopped basil |
| Black | Sepia ink (fishmonger) |
NOTE
When adding liquid ingredients, the quantities of olive oil, water or eggs stated in the recipes must be reduced a little.
Other variations:
Further interesting variations are possible by adding various aromatic foodstuffs such as chilli powder, grated lemon peel, crushed garlic, finely chopped herbs etc.
Shortbread biscuits
Ingredients:
200 g of flour
50 g starch
100 g of sugar
1 packet of vanilla sugar
100 g ground nuts
100 g melted, no longer hot butter
eggs (class M)
First mount the shortbread attachment with the desired opening onto the appliance.
Add flour, starch, sugar, vanilla sugar and the nuts to the dough container and close the lid.
Scramble the eggs and the liquid butter.
While stirring, add the butter-egg mixture to the container through the opening on the lid.
Allow the dough to mix well (both switches at position ) until it no longer crumbles.
To press out the dough, move both switches to the position. After a few seconds, the raw biscuit dough is pressed through the attachment in the desired shape.
After using
Switch off the appliance and pull the plug out of the mains socket.
Remove the lid (16).
Unscrew the screw cap (8) and re- move it together with the attachment.
Unlock the extruder housing (12) by turning it anticlockwise and pull it forwards out of the pasta dough container (15).
Pull the kneading unit (13) together out of the drive spindle (11) together with the adapter ring (14).
Pull the extruder screw (9) forwards out of its housing (12). Remove the centring ring.
Pull the pasta dough container (15) forwards from the motor unit (1).
Clean the appliance and the accessories used as described in the section Cleaning and care.
Storage
If you do not intend to use the appliance for a longer period of time, clean it as described in the section Cleaning and care.
Store the appliance and all accessory parts at a dry, clean and frost-free location, which is protected against direct sunlight.
Cleaning and care
Before beginning work, pay attention to the safety instructions in the section on safety!
Cleaning the appliance
Rinse stuck on pasta dough from all 一 accessories parts used under running water.
Wipe the motor unit (1) with a slightly damp cloth.
All other parts can be cleaned in a warm washing-up liquid solution or in the dish washer.
Dry all parts of the appliance thor- roughly after cleaning.
NOTE
Dried and caked food residues can be removed more easily if you allow them to soak in warm washing-up liquid solution for 10 minutes before cleaning.
Allow attachments with stuck on pasta dough to dry out. You can subsequently use a tooth pick or needle to clear the holes.
After drying, assemble the appliance to prevent losing any parts.
Spare parts and other accessories
| Item* | Article No. | Designation |
| 17 - 23 | 900 710 001 | Set consisting of: 4 attachments, small and large measuring cup, conical filling shaft |
| 8 - 16 | 900 710 006 | Set consisting of: screw cap, extruder screw, centring ring, drive spindle, extruder screw housing, kneading unit, adapter ring, pasta dough container and lid |
| 24 900 | 710 016 | Shortbread attachment |
- numbering according to the description of the appliance
Technical data
| Model | Electric pasta making machine Pasta-FiXX |
| Type number M23.001 | |
| Dimensions (W x H x D) | 175x290x305 mm |
| Main set approx. net weight | 4.2 kg |
| Operating voltage 220-240V~ | |
| Mains frequency | 50/60 Hz |
| Power | 200 W |
| Protection class | II |
| Type of protection | IPX0 |
Troubleshooting
The following table will help you locate and eliminate minor faults:
| Fault Possible cause Remedy | ||
| The appliance does not function when the switch is moved. | Plug not inserted into socket. Insert plug. | |
| Automatic circuit breaker in electrical distribution board tripped. | Switch on the automatic circuit breaker again. | |
| The internal safety switch has switched off the appliance as a result of overheating. | Allow the appliance to cool down. | |
| The container and/or the lid are not fitted properly. | Fit and lock the container and lid properly. | |
| The switches are at different positions. | Move them both to the same position. | |
| The automatic circuit breaker in the electrical distribution board trips | Too many appliances connect-ed to the same power circuit. | Reduce the number of appliances on the power circuit. |
| Appliance is defective. | Contact customer service. | |
| Motor runs extremely slowly or stops. | Container overfilled. | Remove some of the ingredients. |
| Pasta dough is too thick. | Stir water into the dough a teaspoon at a time. | |
NOTE
If you cannot resolve the problem with the steps described above, please contact customer service.
Table des matieres
Remarques generales 27
Elements of Lifestyle
BEEM
Subject to printing error.
For service in other countries contact your local dealer.


- General notes
- Copyright
- Notes on environmental protection
- Warranty/Guarantee
- Symbols used
- DANGER
- WARNING
- CAUTION
- NOTE
- Intended use
- Limitation of liability
- Declaration of Conformity
- Safety instructions
- Requirements for the place of use
- Electrical connection
- Startup
- Unpacking
- Check the delivery contents
- Before using for the first time
- Appliance description
- Switch positions
- Level
- Function
- Safety switches
- Operation and use
- Assembly (image A1)
- NOTE!
- Switching the appliance on/off
- Filling with ingredients
- Making pasta
- Processing instructions
- Basic recipe 1
- Ingredients:
- Basic recipe 2
- Basic recipe 3
- Basic recipe 4
- Pasta variations
- Coloured pasta:
- Other variations:
- Shortbread biscuits
- After using
- Storage
- Cleaning and care
- Cleaning the appliance
- Spare parts and other accessories
- Technical data
- Troubleshooting
- Table des matieres
- BEEM
Brand : BEEM
Model : PastaFiXX
Category : Food Processor