
DA8000RC - Surveillance Camera Monacor - Free user manual and instructions
Find the device manual for free DA8000RC Monacor in PDF.
User questions about DA8000RC Monacor
0 question about this device. Answer the ones you know or ask your own.
Ask a new question about this device
Download the instructions for your Surveillance Camera in PDF format for free! Find your manual DA8000RC - Monacor and take your electronic device back in hand. On this page are published all the documents necessary for the use of your device. DA8000RC by Monacor.
USER MANUAL DA8000RC Monacor
Copyright ^® by MONACOR INTERNATIONAL GmbH & Co. KG, Bremen, Germany. All rights reserved.
text_image
SECURITY by MONACOR®
GB Prior to the operation ...
Please read these operating instructions carefully prior to the operation. Thus, you will be able to know all functions of the unit. Please keep the instructions for later use.
Make sure that no unauthorized persons get hold of the operating instructions and the menu overview!
The English text starts on page 12.
| Do You Want to..Test ? |
| Do You Want to..Delete Zone ? |
| Do You Want to..Select Options ? |
Do You Want to..
Delete Zone ?
Do You Want to.. Program Chime ?
Do You Want to.. Program Chime?
| 21 Jun 18:05 | ||
| < < < | SET | >>> |
Hinweise
| 22 Jun 16:12 | ||
| <<< SET 1 >>> |
| 22 Jun 16:12 |
| << SET 2 >>> |
| 22 Jun 16:12 | ||
| <<< SET 3 >>> |
| 21 Jun 17:53 | ||
| << | UNSET | >>> |
| Do You Want to.. Test? |
| Do You Want to..Delete Zone ? |
21 Jun 18:05
<< SET >>>
| Do You Want to..Test ? |
| Do You Want to..Delete Zone ? |
| Do You Want to..Select Options ? |
| Do You Want to..View Log ? |
| 28 Jun 06:50Off User 1 |
2 Setting Facilities 12
2.1 Creating or deleting access codes ..... 12
2.2 Setting time and date 13
2.3 Switching on and off the function "Chime" ... 14
3 Activating and Deactivating the Alarm Control System .... 14
3.1 Full activation mode 14
3.2 Partial activation mode "Part 1" ..... 15
3.3 Partial activation modes "Part 2" and "Part 3" 15
3.4 Excluding certain zones from the alarm recording 15
3.5 Deactivating the alarm control system ..... 16
4 Alarm 16
4.1 Stopping the alarm triggering and resetting the alarm 16
4.1.1 Reset in case of tampering actions ..... 16 (Tamper Reset) ..... 16
4.1.2 Reset in case of alarm (Alarm Reset) ..... 16
4.2 Overview of the alarm messages in the display 17
4.3 Reading the log 17
5 Test Mode 18
Zone features and system parameters adjusted 39
The system is operated via one of the keypad controllers connected.
1 Overview of the Individual Alarm Zones
At the end of these operating instructions you will find a table which allows you or your system technician to enter information on the individual zones and on the parameters adjusted of the alarm control system. Thus, this important information will always be available.
As an explanation: In connection with the alarm control system DA-8000 the term “alarm zone” does not always mean a certain local area which is monitored by a group of alarm sensors. This is only the case if the alarm system has thus been equipped. The alarm sensors which have the same function may be connected together to one of the eight possible zones of the DA-8000. (A zone is also called line or loop, derived from the electrical way of function.)
Example: All window contacts on the ground floor are connected to the zone 1 and all motion detectors on the ground floor to zone 2. The zone 2 has been programmed with the feature "Part 2". Then the alarm control system triggers an alarm in the partial activation mode "Part 2" when one of the windows is opened, however, it ignores the motion detectors. Thus, the cleaning personnel will be able to clean the ground floor without triggering an alarm. However, the alarm control system already monitors the windows. (In the partial activation mode "Part 2" all zones with the feature "Part 2" are excluded from an alarm triggering, however, not in the full activation mode.)
2 Setting Facilities
A sheet with an overview of the user menu is supplied with the operating instructions. If you are already quite familiar with the alarm control system, you may also make all settings by means of this overview.
2.1 Creating or deleting access codes
To be able to operate the alarm control system, an access code is required. Thus, tampering actions by unauthorized persons are prevented. Up to nine codes with three different access authorizations can be created:
User numbers 1 to 3 with all access authorizations (master access codes)
allows activation, deactivation, and adjusting of different system parameters (setting the time, creating access codes, etc.).
User numbers 4 to 7
to activate and deactivate
User numbers 8 to 9
to activate only
The user number 1 with the access code 5, 6, 7, 8 is factory-set. This can be changed and further user numbers can be created:
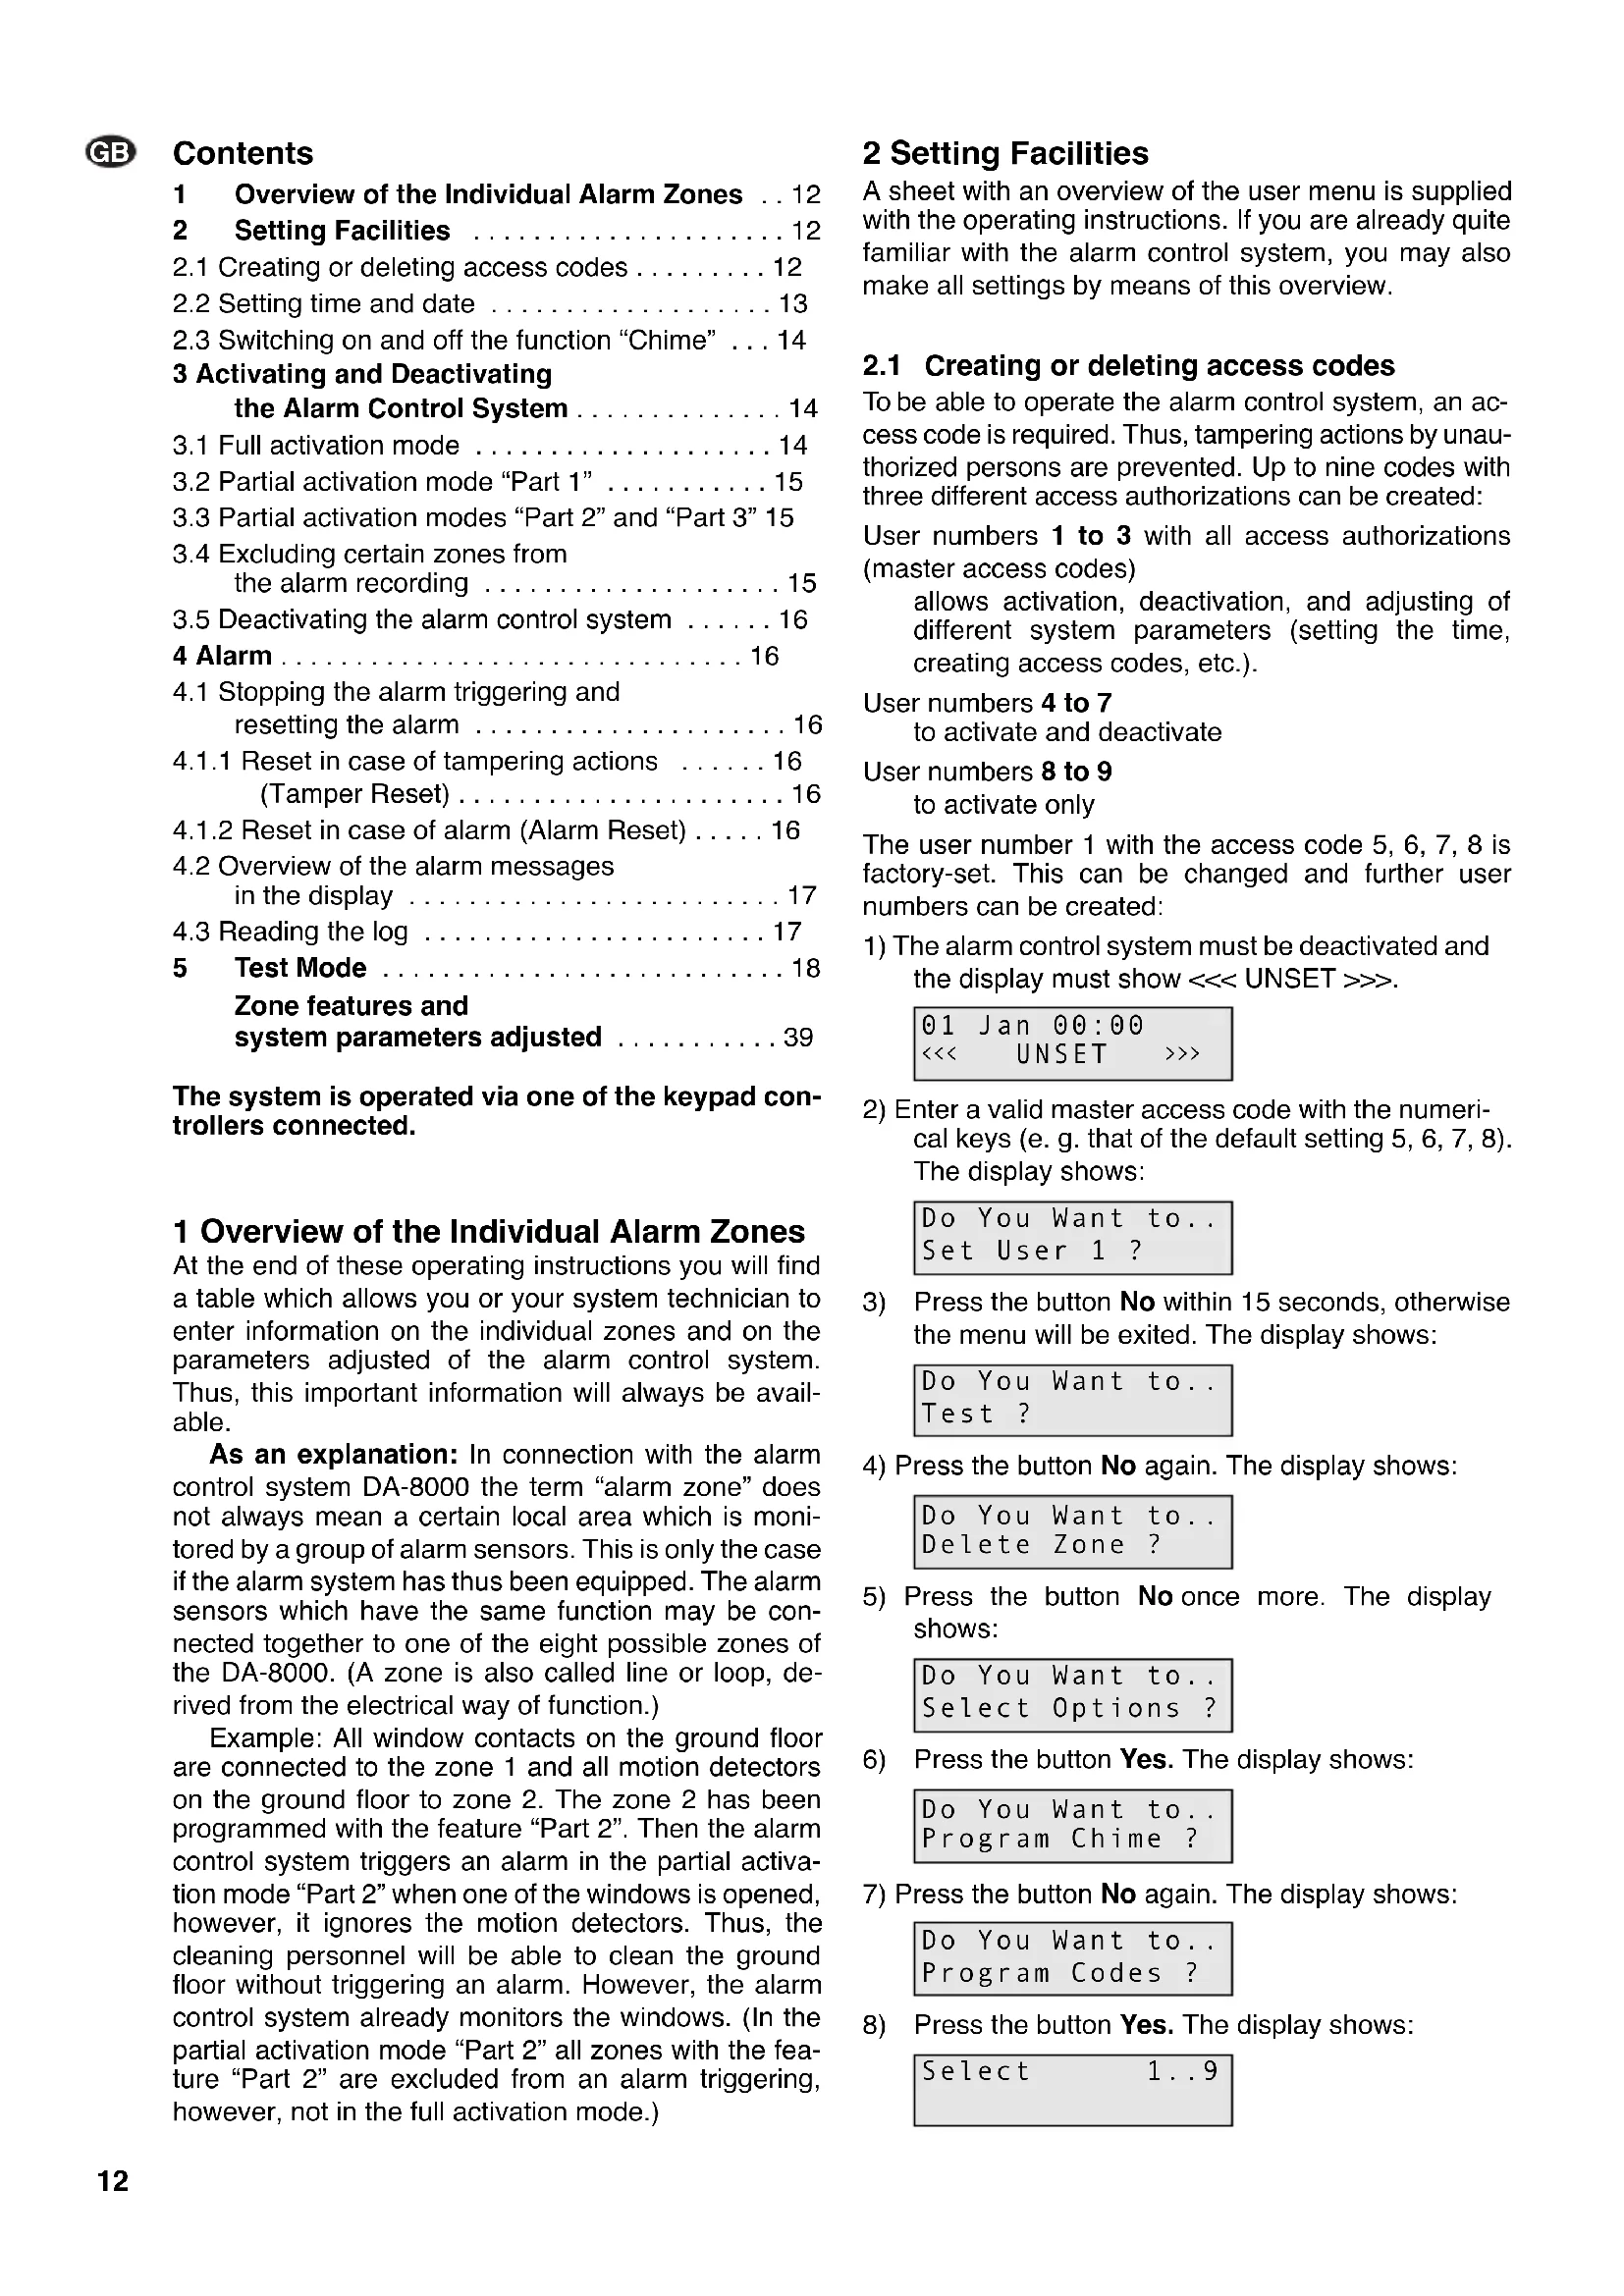
1) The alarm control system must be deactivated and the display must show <<< UNSET >>>.
01 Jan 00:00 << UNSET >>>
2) Enter a valid master access code with the numerical keys (e.g. that of the default setting 5, 6, 7, 8). The display shows:
Do You Want to.. Set User 1 ?
3) Press the button No within 15 seconds, otherwise the menu will be exited. The display shows:
Do You Want to.. Test ?
4) Press the button No again. The display shows:
Do You Want to... Delete Zone ?
5) Press the button No once more. The display shows:
Do You Want to.. Select Options ?
6) Press the button Yes. The display shows:
Do You Want to.. Program Chime ?
7) Press the button No again. The display shows:
Do You Want to.. Program Codes ?
8) Press the button Yes. The display shows:
Select 1..9
9) For changing the code of user number 1, select this number with the button 1 or, for creating another access code, press the numerical key which corresponds to the desired access authorizations. The display shows e.g.:
| Code | 4 |
| ##### |
10) Press the button No. The display shows:
| Code 40000< |
11) Enter the desired sequence of numbers and make sure to remember it. Example:
| Code 42933← |
or for deleting the access code for the selected user number, enter the sequence of numbers 0, 0, 0, 0.
12) To confirm the entry, press the button Yes. The display changes e.g. to:
| Code 4 TextUser 4 |
13) The user name is indicated in the lower display line. The default setting is "User" and the corresponding number. For keeping the default setting press the button Yes and continue with operating step 16.
For indicating another code press the button No. The display shows:
| Code | 4 | Text |
| - |
14) Enter eight letters, numbers, and, if necessary, blanks with the numerical keys. Press the corresponding numerical key so many times until the desired character appears:
| Key Character | |
| 1 A, | B, C |
| 2 D, | E, F |
| 3 G, | H, I |
| 4 J, | K, L |
| 5 M, | N, O |
| Key Character | |
| 6 P, Q, R | |
| 7 S, T, U | |
| 8 | V, W, X |
| 9 | Y, Z, blank |
| 0 | 1, 2, 3, ... 9, 0 |
If the desired character is shown, actuate the button Yes and enter the next letter. If not all eight characters are required, complete the remaining positions with blanks.
15) As soon as the 8th character is confirmed with the button Yes, the display returns to:
| Do You Want to..Program Codes ? |
16) For creating further access codes repeat the operating steps 8) to 15).
17) When all codes are created, press the button 0 twice after the operating step 15) so that a signal will sound after exiting the menu and the display shows date, time, and <<< UNSET >>> again.
2.2 Setting time and date
1) The alarm control system must be deactivated. Then the display shows:
| 01 Jan 00:00 | ||
| << | UNSET | >>> |
2) Enter a valid master access code (user numbers 1 to 3) with the numerical keys (e. g. that of the default setting 5, 6, 7, 8). The display shows:
| Do You Want to.. Set User 1 ? |
3) Press the button No within 15 seconds, otherwise the menu will be exited. The display shows:
| Do You Want to..Test? |
4) Press the button No again. The display shows:
| Do You Want to..Delete Zone ? |
5) Press the button No once more. The display shows:
| Do You Want to..Select Options ? |
6) Press the button Yes. The display shows:
| Do You Want to..Program Chime ? |
7) Press the button No. The display shows:
| Do You Want to..Program Codes ? |
8) Press the button No once more. The display shows:
| Do You Want to.. Set Date/Time ? |
9) Press the button Yes. The display shows:
| Type | Day/Mnth |
| 0000← |
10) Enter the day and the month with the numerical keys, e. g. for June 21 the buttons 2, 1, 0, 6. The display shows:
| Type | Day/Mnth |
| 2106← |
11) Confirm with the button Yes. The display changes to:
| Type | Hrs/Mins |
| 0000← |
12) Enter the hours and the minutes with the numerical keys, e.g. for 9.45 a.m. press the buttons 0, 9, 4, 5. The display shows:
| Type | Hrs/Mins |
| 0945← |
13) Press the button Yes. The display changes e.g. to:
21 Jun 09:45
0k?
If date and time are not yet correct, press the button No and correct the setting from operating step 10). In the other case confirm the setting with the button Yes. The display returns to:
Do You Want to.. Set Date/Time ?
14) To terminate the time setting, press the button 0 twice so that a signal will sound after exiting the menu and the display shows date, time, and <<< UNSET >>> again.
2.3 Switching on and off the function "Chime"
The function "Chime" allows an internal signaling even with the alarm control system deactivated. Then the buzzers in the keypad controllers and the speaker connected to the alarm control system emit four short audio signals in case of an alarm recording in a zone with the feature "Chime". This function can be switched on and off for all "Chime" zones together via the keypad controller.
1) The alarm control system must be deactivated. Then the display shows:
01 Jan 00:00
<< UNSET >>>
2) Enter a valid master access code (user numbers 1 to 3) with the numerical keys (e.g. that of the default setting 5, 6, 7, 8). The display shows:
Do You Want to.. Set User 1 ?
3) Press the button No within 15 seconds, otherwise the menu will be exited. The display shows:
Do You Want to.. Test?
4) Press the button No again. The display shows:
Do You Want to..
Delete Zone ?
5) Press the button No once again. The display shows:
Do You Want to.. Select Options ?
6) Press the button Yes. The display shows:
Do You Want to.. Program Chime ?
7) Press the button Yes once more. The display shows:
Chime
Off
(However, if the function "Chime" has already been activated, the display shows "Chime On" instead. Then it is possible to switch off this function with the button No.)
8) Press the button No. The display shows:
Chime
On
9) Confirm with the button Yes. The display returns to:
Do You Want to.. Program Chime?
10) To terminate this setting procedure, press the button 0 twice so that a signal will sound after exiting the menu and the display shows date, time, and <<< UNSET >>> again.
3 Activating and Deactivating the Alarm Control System
Either activate the alarm control system via one of the keypad controllers (chapters 3.1 to 3.4) or via a key switch or a code lock, if installed. With a key switch or a code lock, however, only the full activation mode (all alarm zones are active) can be switched on.
After the activation the signal for the run of the exit delay time will sound (for the duration see the overview on the last page). During this time the monitoring range must be exited via the zone(s) with an exit delay (feature "E/E" or "Access").
As an explanation: An "E/E" zone is not activated after activating the alarm control system before the exit delay time (exit time) has expired. This feature is especially provided for doors through which the operators of the alarm control system enter and leave the building. The programmed delay time is entered on the last page.
With an alarm recording in an “access” zone no alarm will be triggered if another zone with the feature “E/E” has activated the exit delay before. However, if this delay has not been activated, a recording immediately triggers an alarm. This feature is especially provided for motion detectors intended for the access doors for the operators.
3.1 Full activation mode
In the full activation mode it is possible to trigger an alarm via all alarm zones (except those with the feature "ET" and "Alert") in case of a recording.
1) If the function for quick activation is possible ("Quick Set", see overview on the last page), press the button Quick.
If not, enter a valid access code and actuate the button Full.
2) The signal for the run of the exit delay time sounds and the display shows in the meantime:
Exit Now!...
Ok!
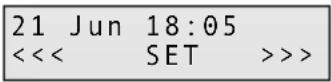
As soon as the alarm control system is activated, the display changes to:
| 21 Jun 18:05 | ||
| << | SET | >>> |
Notes
-
To activate the alarm control system within the next three seconds (still before the end of exit delay) the button Quick can be pressed (e.g. after exiting the last "E/E" zone).
-
For interrupting the activation process during the exit delay, enter a corresponding access code.
3.2 Partial activation mode "Part 1"
In this mode the alarm zones are excluded from an alarm triggering for which the mode "Part 1", "Ch/P1", "Part 3", or "Ch/P3" has been programmed (if necessary, see overview on the last page).
1) If the function for quick activation is possible (if necessary, see overview on the last page), press the button Quick. If not, enter a valid access code.
2) Actuate the button Part.
3) The signal for the run of the exit delay time sounds and the display shows in the meantime:
| Exit Now!... 1Ok! |
As soon as the alarm control system is activated, the display changes to:
| 22 Jun 16:12 |
| < < < SET 1 >> > |
Notes: see chapter 3.1.
3.3 Partial activation modes "Part 2" and "Part 3"
In the mode "Part 2" the alarm zones are excluded from an alarm triggering for which the mode "Part 2", "Part 3", "Ch/P2", or "Ch/P3" has been programmed (if necessary, see overview on the last page).
In the mode "Part 3" the alarm zones are excluded from an alarm triggering for which the mode "Part 1", "Part 2", "Part 3", "Ch/P1", Ch/P2", or "Ch/P3" has been programmed (if necessary, see overview on the last page).
1) If the function for quick activation is possible (if necessary, see overview on the last page), press the button Quick. If not, enter a valid access code.
2) Actuate the button Part.
3) In addition press the numerical key 2 for the mode "Part 2" or the numerical key 3 for the mode "Part 3". The signal for the run of the exit delay time sounds and the display shows in the meantime:
| Exit Now!... 2Ok! |
As soon as the alarm control system is activated, with mode "Part 2" the display changes to:
| 22 Jun 16:12 | ||
| <<< SET 2 >>> |
In the mode "Part 3" the display shows:
| 22 Jun 16:12 | ||
| <<< SET 3 >>> |
Notes: see chapter 3.1.
3.4 Excluding certain zones from the alarm recording
Certain zones, e. g. in which the work is not yet terminated, can be excluded from the recording so that the alarm control system can be activated in spite of this and takes over the surveillance of the other zones.
1) The alarm control system must be deactivated. Then the display shows:
| 21 Jun 17:53 | ||
| << | UNSET | >>> |
2) Enter a valid master access code (user numbers 1 to 3) with the numerical keys (e. g. that of the default setting 5, 6, 7, 8). The display shows:
| Do You Want to.. Set User 1 ? |
3) Press the button No within 15 seconds, otherwise the menu will be exited. The display shows:
| Do You Want to.. Test ? |
4) Press the button No again. The display shows:
| Do You Want to..Delete Zone ? |
5) Now press the button Yes. The display shows:
| Enabled Zones...12345678 |
In the second line of the display the zones are indicated which are active with the alarm control system activated.
6) Successively press the numerical keys which correspond to the zones to be deactivated, e. g.:
| Enabled Zones... |
| -234--78 |
7) A zone which is not selected any more can be selected again by pressing the corresponding numerical key once more.
8) After the selection press the button 0 twice so that the display e. g. shows:
| Do You Want to.. Set User 1 ? |
9) Now activate the alarm control system with the following buttons within 15 seconds:
Full for the full activation mode or Part for the partial activation mode 1 or Part and 2 for the partial activation mode 2 or Part and 3 for the partial activation mode 3
Then the display shows during the exit delay time:

As soon as the alarm control system is activated, it changes to:
The setting of the deactivated zones is only valid for the present activation. If the menu item "Do You want to ... Delete Zone?" is called once more, all zones are activated again.
3.5 Deactivating the alarm control system
If a key switch or a code lock is installed, deactivate the alarm control system via it, otherwise via one of the keypad controllers:
1) Go to a keypad controller or the key switch via the alarm zone(s) with an entry delay (feature "E/E" or "Access"). A signal sounds during the entry delay time while passing through this/these zone/s. This delay time is available to deactivate the alarm control system without triggering an alarm. While the first partial time ("Entry 1 Time") is running, a pulsating tone can be heard. Then the second partial time starts ("Entry 2 Time"). An audio signal of a different sound now warns that the end of the entry delay time is coming near.
2) Enter the access code or actuate the lock.
The access codes of the user numbers 8 and 9 cannot be used here because they only allow activation.
3) The display changes
$$ \begin{array}{l} \text { from } \ll \text { SET } \ggg \ \text { to } \ll \text { UNSET } \ggg \end{array} $$
Thus, the alarm control system is deactivated.
4 Alarm
4.1 Stopping the alarm triggering and resetting the alarm
After an alarm the alarm control system must be deactivated (see chapter 3.5) which will also stop the alarm triggering at the same time. The display now shows further information on the alarm (see chapter 4.2). In order to activate the alarm control system again, reset the alarm with the button Reset. The display shows date, time, and <<< UNSET >>> again. However, an alarm cannot be reset with each access code. While programming, restrictions may have been defined (for the present restriction see overview on the last page):
4.1.1 Reset in case of tampering actions (Tamper Reset), i.e. if one of the anti-tamper contacts has been opened
Any
With this setting the alarm can be stopped by entering any access code and then be reset with the button Reset.
Eng (engineer)
With this setting the acoustical signaling can also be stopped with any access code. However, after pressing the button Reset, the display shows:
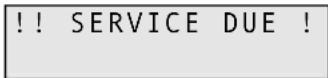
This is to indicate that first the technician has to eliminate the damage caused by tampering. Only the technician is able to reset the alarm by entering his access code so that the alarm control system can be activated again.
4.1.2 Reset in case of alarm (Alarm reset)
Mast
An alarm can only be stopped by entering a master access code (see chapter 2.1) and reset by subsequently pressing the button Reset.
Anti (anti code reset)
The alarm triggering can in fact be stopped by entering a master access code. However, the alarm cannot be reset with the button Reset so that the alarm control system cannot be activated again. For this purpose a special software and a PC are required (inform the technician).
Eng. (engineer)
The acoustical alarm triggering can in fact be stopped with an access code of the user numbers 1 to 7, however, it is only possible to reset the alarm with the button Reset after previously entering the access code for the technician.
Any
The acoustical alarm triggering can be stopped by entering any access code, however, the reset is only possible after entering an access code of the user numbers 1 to 7 and subsequently pressing the button Reset.
4.2 Overview of the alarm messages in the display
An alarm message is displayed depending on the present operating condition of the alarm control system:
With deactivated alarm control system: !!! CHECK !!! With activated alarm control system: !!! ALARM !!!
If the alarm control system is activated, an alarm message is only displayed after deactivation (chapter 3.5), e.g.:
| !!! ALARM 8 !!!Zone8 |
An alarm has been recorded in the alarm zone 8. With deactivated alarm control system, a corresponding message is immediately displayed:
| !!!! CHECK !!!Zone7 |
In the alarm zone 7 the panic button (Panic*) has been actuated, a smoke or fire detector (Fire*) activated, or an emergency or fire door (Alert*) opened.
* programmed zone feature
| !!!! CHECK !!!Mains Flt |
The mains supply has been interrupted.
| !!!! CHECK !!!Alert |
By simultaneously pressing the buttons 1 and 3 at a keypad controller, an internal alarm has been triggered.
If an anti-tamper contact has been opened, the following messages are possible:
| !!!! CHECK !!!Case Tamp |
The anti-tamper contact of the alarm control system is open.
| !!!! CHECK !!!KP Tamper |
The anti-tamper contact of a keypad controller is open.
| !!!! CHECK !!!Bell Tamp |
The anti-tamper contact of the alarm unit (or the siren or strobelight) is open.
| !!!! ALARM !!!Tamper |
One of the contacts in the common sensor anti-tamper loop has been opened.
4.3 Reading the log
In the log the last 64 events with date and time are documented. Alternatively also 256 events without date and time can be stored. This option can be programmed by the technician, if required.
1) The alarm control system must be deactivated. Then the display shows e.g.:
| 28 Jun 14:37 |
| <<< UNSET >>> |
2) Enter a valid master access code (user numbers 1 to 3) with the numerical keys. The display shows:
| Do You Want to.. Set User 1 ? |
3) Press the button No within 15 seconds, otherwise the menu will be exited. The display shows:
| Do You Want to.. Test? |
4) Press the button No again. The display shows:
| Do You Want to..Delete Zone ? |
5) Press the button No once more. The display shows:
| Do You Want to..Select Options ? |
6) Press the button Yes. The display shows:
| Do You Want to..Program Chime ? |
7) Press the button No. The display shows:
| Do You Want to..Program Codes? |
8) Press the button No once more. The display shows:
| Do You Want to.. Set Date/Time ? |
9) Press the button No once again. The display shows:
| Do You Want to..View Log? |
10) Press the button Yes. The display now shows the last event, e. g.:
| 28 Jun 06:50Off User 1 |
The user 1 deactivated the alarm control system on June 28 at 6.50 a.m.
11) With the button No it is now possible to display previous events. In case of an alarm message (date + "alarm"), after activating the button No again, the alarm zone concerned is indicated.
12) With the button Yes it is possible to go to recent events.
13) To terminate this function, press the button 0 three times so that a signal will sound after exiting the menu and the display shows date, time, and <<< UNSET >>> again.
Meaning of the different indications
27 Jun 19:50
On User 1
The user 1 activated the alarm control system on June 27 at 19h50 (7.50 p.m.).
28 Jun 06:50
Off User 1
The user 1 deactivated the alarm control system on June 28 at 6.50 a.m.
28 Jun 11:32
On Engineer
The technician activated the alarm control system on June 28 at 11.32 a.m.
28 Jun 11:50
Alarm
An alarm was recorded on June 28 at 11.50 a.m. To display the zone concerned, press the button No:
28 Jun 11:50
Zone3
An alarm occurred in zone 3.
17 Jun 22:09
Mains Flt
The mains supply was interrupted on June 17 at 22h09 (10.09 p.m.).
01 Jan 00:04
W/dog
The power supplies by the 230 V mains and the rechargeable battery were interrupted at the same time. After the power supply is present again, the date is reset to January 1 and the time to 0.00. In this case date and time have to be readjusted (chapter 2.2).
05 Jun 09:18
Tamper
One of the contacts in the common sensor anti-tamper loop was opened on June 5 at 9.18 a.m.
Further possible anti-tamper messages:
Case Tamp tampering action at the alarm control system
KP Tamper tampering action at a keypad controller
Bell Tamp tampering action at the alarm unit, siren, or strobelight
5 T est Mode
In the test mode all alarm sensors can successively be triggered without response of the siren and the strobelight.
1) The alarm control system must be deactivated. Enter a master access code (chapter 2.1). The display shows e.g.:
Do You Want to..
Set User 1 ?
2) Press the button No within 15 seconds, otherwise the programming mode will be exited. The display shows:
Do You Want to..
Test ?
3) Press the button Yes. The display must now show:
Walktesting.....
0k!
4) Trigger all sensors successively. The buzzers of the keypad controllers and the speaker connected to the alarm control system will sound for the time of the alarm recording. The display shows the corresponding zone in the meantime.
5) To test the siren and the strobelight, press the numerical key 9. To switch off the siren and the strobelight, press the button 9 again.
6) To switch off the test mode and exit the programming mode, press the button 0 three times so that date, time, and <<< UNSET >>> are displayed again.
Subject to technical modification.
All rights reserved by MONACOR® INTERNATIONAL GmbH & Co. KG. No part of this instruction manual may be reproduced in any form or by any means for any commercial use.
[Non-Text]
[Non-Text]
[Non-Text]
[Non-Text]
[Non-Text]
[Non-Text]
[Non-Text]
[Non-Text]
[Non-Text]
[Non-Text]
[Non-Text]
[Non-Text]
[Non-Text]
[Non-Text]
[Non-Text]
[Non-Text]
[Non-Text]
[Non-Text]
[Non-Text]
[Non-Text]
[Non-Text]
[Non-Text]
[Non-Text]
[Non-Text]
[Non-Text]
[Non-Text]
[Non-Text]
[Non-Text]
[Non-Text]
[Non-Text]
[Non-Text]
[Non-Text]
[Non-Text]
[Non-Text]
[Non-Text]
[Non-Text]
[Non-Text]
[Non-Text]
[Non-Text]
[Non-Text]
[Non-Text]
[Non-Text]
19
[Non-Text]
[Non-Text]
19
19
[Non-Text]
[Non-Text]
[Non-Text]
[Non-Text]
[Non-Text]
[Non-Text]
[Non-Text]
[Non-Text]
[Non-Text]
[Non-Text]
[Non-Text]
[Non-Text]
[Non-Text]
[Non-Text]
[Non-Text]
[Non-Text]
[Non-Text]
[Non-Text]
[Non-Text]
$$ \begin{array}{l} \text {Do You Want to..} \ \text {Delete Zone ?} \end{array} $$
Do You Want to.. Program Codes?
Do You Want to.. Program Codes?
Do You Want to.. Test?
Do You Want to.. Delete Zone ?
Do You Want to.. Program Chime?
Do You Want to.. Program Codes?
| Do You Want to..Test ? |
| Do You Want to..Delete Zone ? |
| Do You Want to..Select Options ? |
21 Jun 18:05
<< SET >>>
Do You Want to.. Test?
Do You Want to..
Delete Zone ?
Do You Want to.. Program Chime?
Do You Want to.. Program Codes?
Do You Want to... View Log?
28 Jun 06:50 Off User 1
28 Jun 06:50 Off User 1
28 Jun 11:32 On Engineer
17 Jun 22:09 Mains Flt
01 Jan 00:04 W / dog
Do You Want to.. Test?
| Do You Want to..Test ? |
| Do You Want to..Delete Zone ? |
| Do You Want to..Select Options ? |
Do You Want to..
Delete Zone ?
Do You Want to.. Program Chime?
Do You Want to.. Program Chime ?
21 Jun 18:05
<< SET >>>
N.B.:
$$ \boxed { \begin{array}{l} \text {Do You Want to..} \ \text {Delete Zone ?} \end{array} } $$
21 Jun 18:05
<< SET >>>
| Do You Want to..Test ? |
| Do You Want to..Delete Zone ? |
| Do You Want to..Select Options ? |
| Do You Want to..View Log ? |
| 28 Jun 06:50Off User 1 |
| 28 Jun 06:50Off User 1 |
| 28 | Jun | 11:32 |
| On | Engineer | |
| 17 Jun 22:09Mains Flt |
| Do You Want to..Test ? |