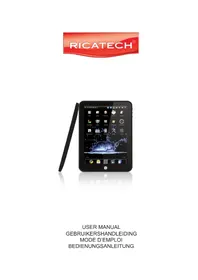
TAB1004 - Tablet Ricatech - Free user manual and instructions
Find the device manual for free TAB1004 Ricatech in PDF.


| Product type | Touchscreen tablet |
| Brand | Ricatech |
| Model | TAB1004 |
| Screen | 7 inch TFT LCD, 800x600 resolution, 4:3 aspect ratio, capacitive touch |
| Processor | 600-800 MHz |
| RAM memory | 256 MB DDR2 |
| Internal storage | See packaging (depending on version) |
| Expandable storage | Micro SD (memory card) |
| Operating system | Android 2.1 |
| Connectivity | Wi-Fi 802.11 b/g, Bluetooth 2.1+EDR, USB 2.0 (OTG/HOST/SLAVE), Mini HDMI |
| Battery | Lithium-ion polymer 7.4 V, 1500 mAh |
| Battery life | 30 hours standby |
| Camera | Rear 2 MP (optional) |
| Speakers | Built-in |
| Microphone | Built-in |
| Headphone jack | Yes (3.5 mm) |
| Sensors | Accelerometer (auto rotation) |
| Supported video formats | MKV (H.264 HP), AVI, RM/RMVB, FLV, MPEG-1, MPEG-2 |
| Supported audio formats | MP3, WMA, APE, FLAC, AAC, OGG, AC3, WAV |
| Supported image formats | JPEG, BMP, GIF, PNG |
| Estimated dimensions | Approximately 196 x 122 x 10.5 mm |
| Estimated weight | Approximately 315 g |
| Power supply | AC adapter 12 V, 1.25 A |
| Maintenance | Clean with a soft, dry cloth. Avoid moisture, high temperatures, and dust. |
| Included accessories | AC adapter, USB cable, user manual |
Frequently Asked Questions - TAB1004 Ricatech
User questions about TAB1004 Ricatech
0 question about this device. Answer the ones you know or ask your own.
Ask a new question about this device
Download the instructions for your Tablet in PDF format for free! Find your manual TAB1004 - Ricatech and take your electronic device back in hand. On this page are published all the documents necessary for the use of your device. TAB1004 by Ricatech.
USER MANUAL TAB1004 Ricatech
Charging the Battery----
Turn On/Off----
Operation Interface
Using the Touchscreen ____
Basics
Opening & Switching Applications----
Status Bar Overview ----
Settings
Opening Settings----
Wireless & networks
Sound & display ----
Location & security----
Applications
Privacy
SD Card & sevice storage----
Language & keyboard ----
Date & time
Touch panel calibration----
USB Mode select
Update Media Library
Factory data reset----
About device
Software Installment And Management
APK Installer
ES File Explorer----
Android Market----
Specification----
Caution
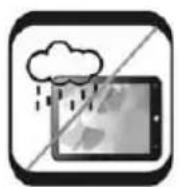
Moisture
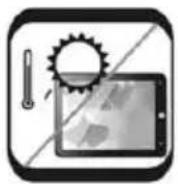
High Temperature
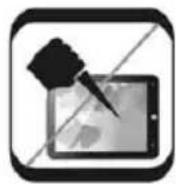
Hard Object Damage
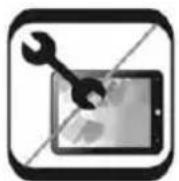
Open without Authorization
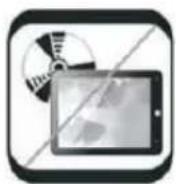
Poor Ventilation
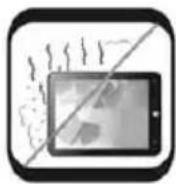
Dust and smoke
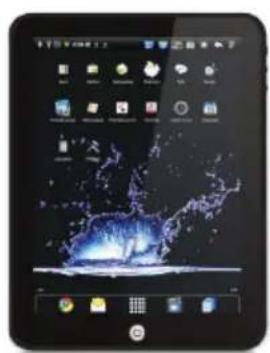
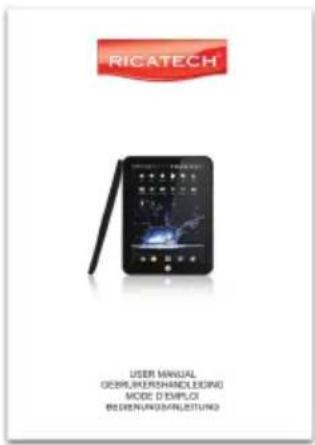
Media Tablet User Manual
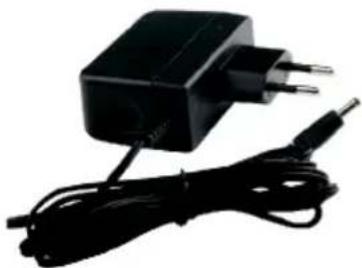
Adapter

Mini USB Cable
Hardware Overview
7" / 10"
(Right View)
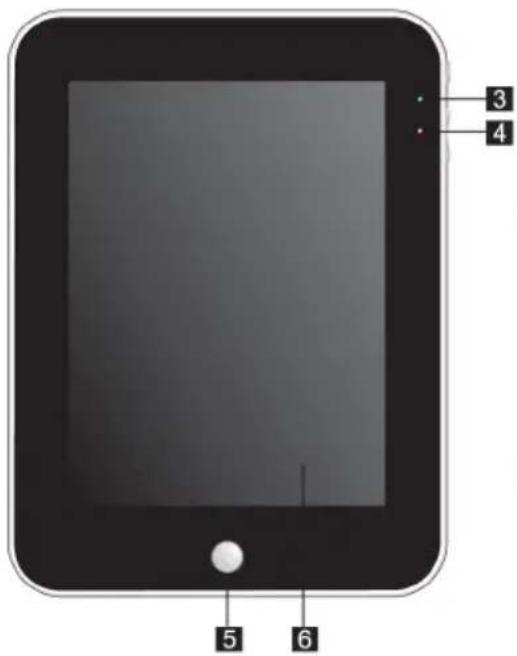
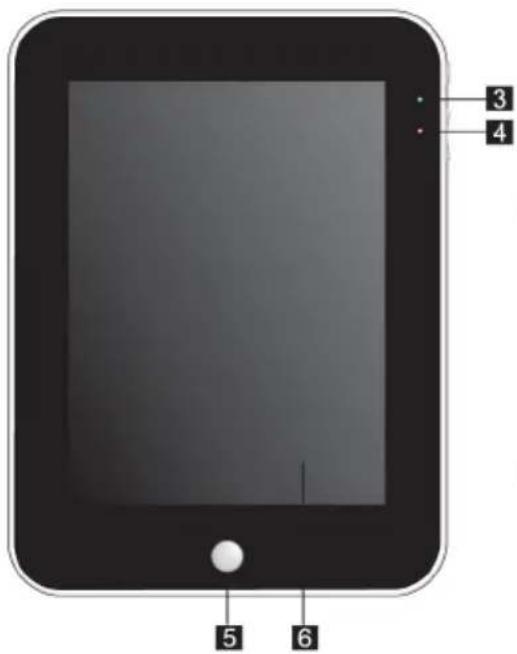
(Front View)
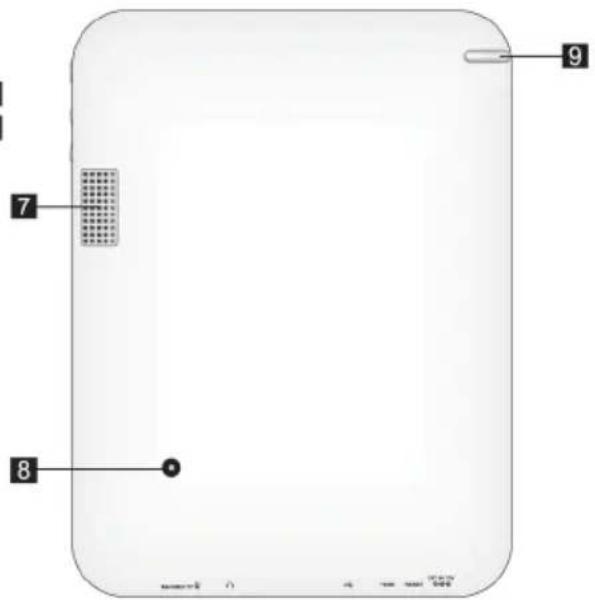
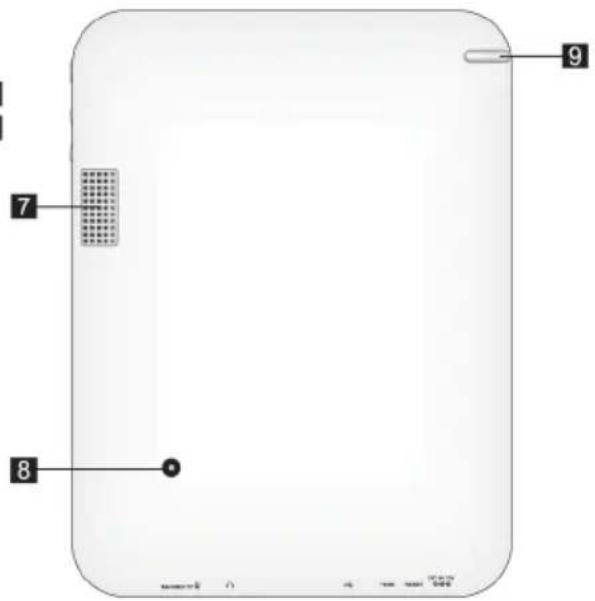
(Rear View)


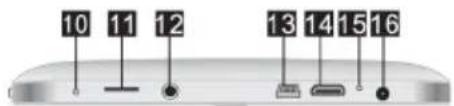
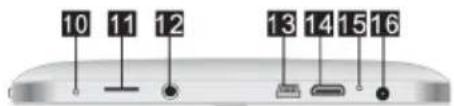
(Bottom View)
- Power
- Volume / Back
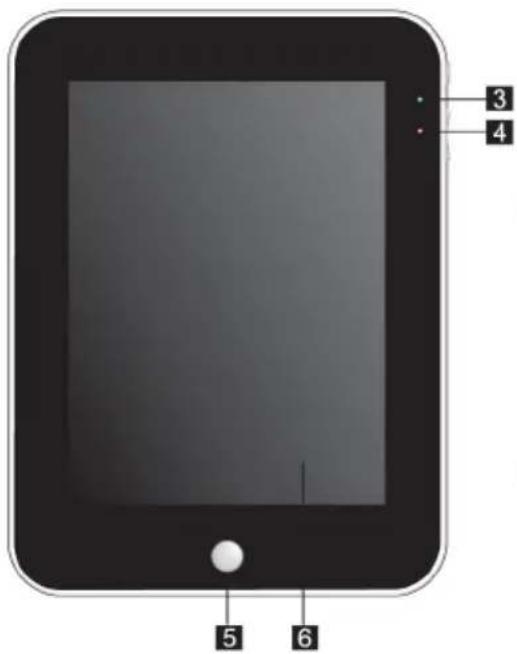
- LED power indicator
- LED charging indicator
- Home
- Touch screen
- Speaker
- Camera(optional)
- Stylist
- Microphone
- Micro SD slot
- Earphone jack
- Mini USB port
- Mini HDMI output jack
- Reset
- Power jack
Getting Started
CHARGING THE BATTERY
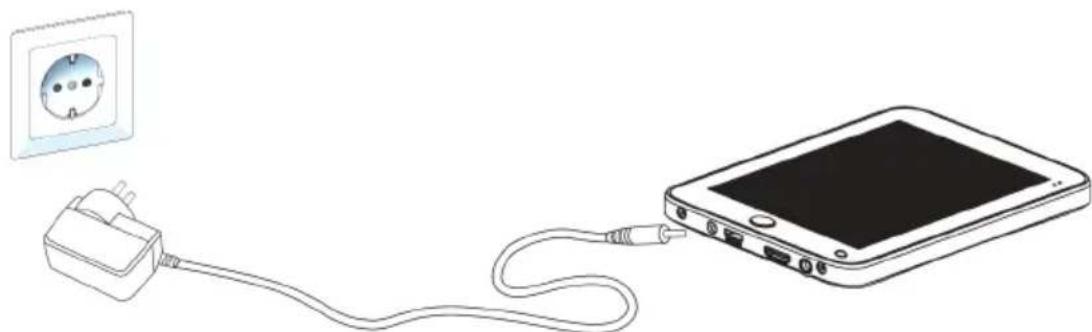
- Plug one end of the adaptor into a power outlet, the other end into the device. The LED charging indicator turns red, indicating that the device is currently being charged.
- During charging, the battery icon animation will appear on the screen. When the device is fully charged, the battery animation icon will stop and turn green.
Note: If the device is completely out of power, please connect it to a power outlet. And the screen will prompt “the power is too low, charging now.” You must charge the device for few minutes before the device can be operated.
Maximizing Battery Life
- The device uses internal Lithium-ion polymer battery. and must be charged with the supplied adaptor.
- It is recommended to fully charge your battery for 8 hours first two times. After that, the device can be fully charged within 4 hours.
- It is recommended to fully charge the device at least once a month to avoid permanent damage to the battery.
TURN ON/OFF
To turn on the device, hold the power(⏻) button for three seconds.
To shutdown the device, hold the power(⏻) button for three seconds and select "OFF" then "OK" on screen.
Note: 1. The device will be turned off automatically when it is low on battery.
2. If the device is not properly shutdown, the device will attempt to scan and repair memory storage after restarted. This may cause the device take longer time to boot up.
3. By pressing power( ⏻ )button it will put the device into power saving standby mode. To turn it back on, simply press the power( ⏻ ) button again.
OPERATION INTERFACE
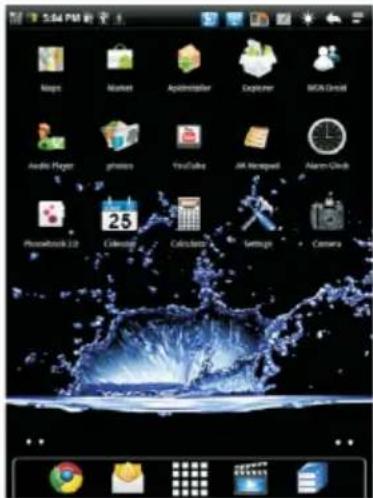
The main way to control Android features is by using finger to manipulate icons, buttons, menu items, the on-screen keyboard, other items on the touchscreen, and to zoom in or out photos, webpages, e-mail, and maps. You can also change the screen's orientation.
Touch:
To act on items on the screen, such as application and setting icons, to type letters and symbols using the on-screen keyboard, or to press on-screen buttons, you simply touch them with your finger.
Touch & hold:
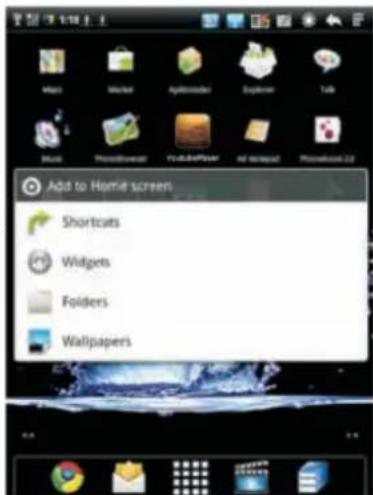
Touch & hold an item on the screen by touching it and not lifting your finger until an action occurs. For example, to open a menu
for customizing the Home screen, you touch an empty area on the
Home screen until the menu opens.
Drag:
Touch & hold an item for a moment and then, without lifting your finger, move your finger on the screen until you reach the target position. You drag items on the Home screen to reposition them.
Swipe or slide:
To swipe or slide, you quickly move your finger across the surface of the screen, without pausing when you first touch it. ( So you don't drag an item instead ). For example, you slide the screen up or down to scroll a list, and in some Calendar views you swipe quickly across the screen to change the range of time visible.
Double-tap:
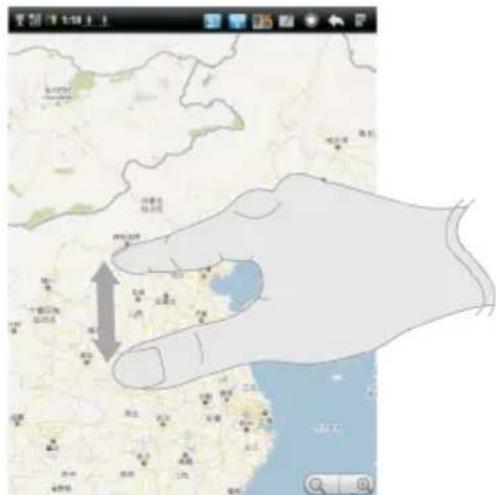
Tap quickly twice on a webpage, map, or other screen to zoom. For example, you double-tap a section of a webpage in Browser to zoom that section to fit the width of the screen. Touch (+ /-) at the lower right corner can do zooming action also.
Pinch fingers together or apart
(only workable on multi-touch model):
When viewing photos, webpages, e-mail , or maps, you can zoom in and zoom out by pinch your fingers together or apart.
Rotate the screen:
The orientation of the screen rotates with the device as you turn it from upright to its side and back again.
OPERATION INTERFACE
BASICS
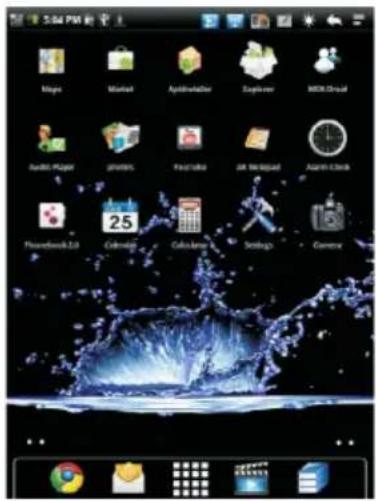
- Extended Home Screens:
There are five extended home screens available to place your shortcuts, widgets and more. To switch between each screen, swipe left or right across screen using finger or click the page Icon.
- Manage Home/Extended Screen Icon
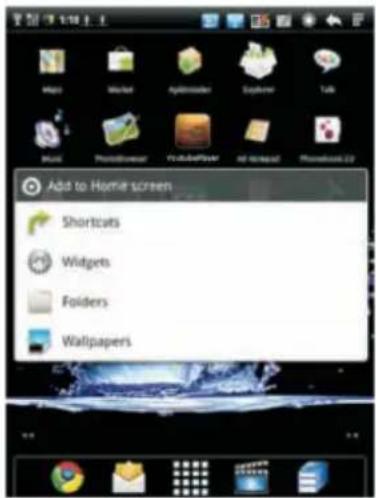
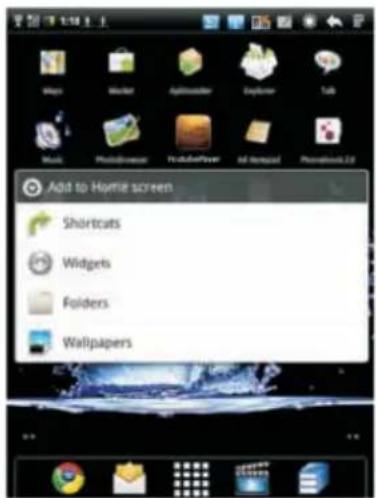
2.1) To add an Item to the Home Screen:
2.1.1) Open the Home screen where you want to add the Item.
2.1.2) Press Menu (☐) Or just touch & hold an empty location on the Home screen. If there are no empty spots on the Home screen, Add is dimmed; you must delete or move an Item before you can add another Item, or switch to another Home screen.
2.1.3) In the menu that opens, touch the type of Item to add.
2.2) To move around an item on the Home screen
2.2.1) Touch & hold the Item you want to move.
2.2.2) Drag the item to a new location on the screen. Pause at the edge of the screen to drag the item onto another home screen panel.
2.2.3) When the item is where you want, lift your finger.
2.3) To remove an Item from the Home screen.
2.3.1) Touch & hold the Item you want to remove.
2.3.2) Drag the Item to the Trash Can Icon.
2.3.3) When the Icon turns red, lift your finger.
2.4) To change the Home screen wallpaper
2.4.1) Touch & hold an empty area of the Home screen and in the menu that opens, touch Wallpapers.
2.4.2) Touch Live wallpapers, Pictures, or Wallpapers.
2.4.3) Locate the wallpaper you like to use then touch Save or Set wallpaper.
2.5) To rename a folder
2.5.1) Touch the folder to open it.
2.5.2) Touch & hold the folder window's title bar.
2.5.3) Enter a new name in the dialog that appears.
2.5.4) Touch OK.
OPERATION INTERFACE
OPENING & SWITCHING APPLICATIONS
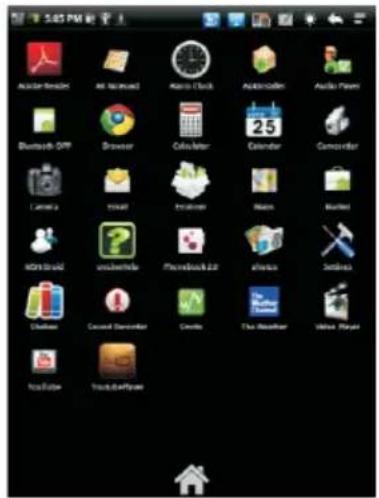
- To open and close the Launcher ( ☐ )
- On the Home screen, touch the Launcher Icon to open it. (If you have more applications than it can fit on the Launcher in one view, you can slide the Launcher up or down to view more.) - Touch Home button to close the Launcher.
- To open an application
- Touch an application's Icon on the Launcher. OR - Touch an application's Icon on the Home screen.
- To switch to a recently used application
3.1) Press & hold the Home button. (A small window opens, with icons of applications that you've used recently.)
3.2) Touch an Icon to open its application. (Or press Back to return to the current application)
STATUS BAR OVERVIEW
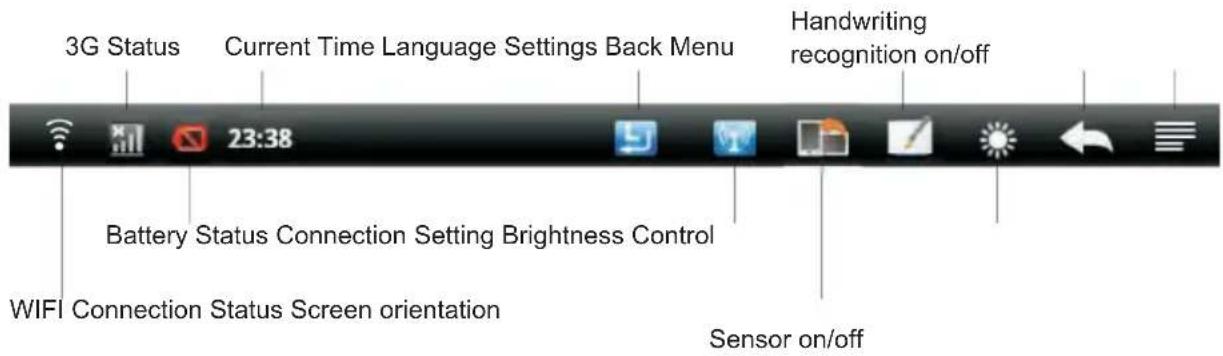
- Touch the Language setting (L) icon to re-set the language.
- Touch the Connection setting (☐) Icon to display wireless & network settings.
- Touch the Screen orientation sensor (C) Icon to enable or disable the screen orientation sensor.
- Touch the Handwriting Recognition (☐) Icon to enable or disable the handwriting recognition function.
- Repeatedly touch the Brightnes control (☐) Icon to select the brightness level.
- Touch the Back (◀) Icon to return to previous screen.
- Touch the Menu (☐) Icon to display menu settings.
Settings
OPENING SETTINGS
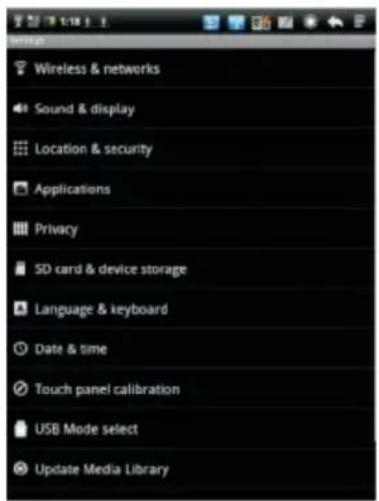
The Settings application contains most of the tools for customizing and configuring your device.
To open Settings:
- Press Home, press Menu, and touch Settings. OR
- Touch the Setting Icon on the Home screen or in the Launcher.
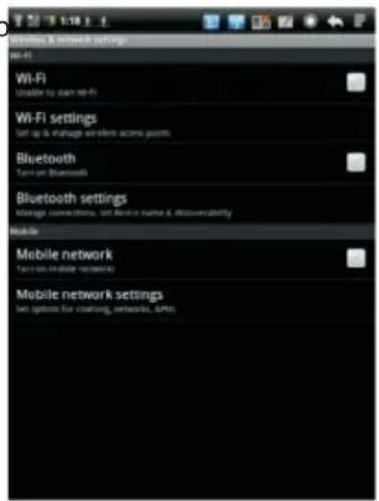
WIRELESS & NETWORKS
Manage Wi-Fi settings (✗) and connecting to wireless network.
1) Wi-Fi
- Check to turn on Wi-Fi (☑) so you can connect to Wi-Fi netwo
2) Wi-Fi settings
2.1) To connect to a Wi-Fi network(☑), click on the Wi-Fi settings and wait for the device to search available network.
2.2) When the desired Wi-Fi network appeared, simply touch the Wi-Fi network you like to connect to establish connection.
2.3) If the Wi-Fi is a secured network, you will be required to enter the password before you can establish the Wi-Fi connection.
3) Bluetooth Check to turn on Bluetooth so you can connect to Bluetooth devices
4) Bluetooth settings
4.1) To scan for Bluetooth devices
4.1.1) Touch Scan for devices to begin scanning Bluetooth devices in range.
4.1.2) Once the desired Bluetooth device name appear in the list, simply touch it and begin paring
4.2) To make the device Discoverable
4.2.1) Check the Discoverable Check Box and the device will become visible to other Bluetooth device for 120 seconds
4.2.2) Your Bluetooth device should be able to scan for the device. The device name will appear exactly as what is being provided in the Device name setting.
4.2.3) To turn off Discoverable after pairing, simply uncheck the Discoverable or wait for 120 seconds the device will automatically become non-discoverable.
5) Mobile networks setting screen
- Data enabled: Uncheck to prevent the device from transmitting data on any mobile network.
- Data roaming: Uncheck to prevent the device from transmitting data on other carriers' mobile network when you can't access your own carrier's mobile network.
- Data usage: Only available if your carrier enforces a mobile network data use policy.
- Access Point Name: Opens the APNs screen, where you can select mobile access point configuration; or press Menu to add a new APN. Consult your carrier about how to use the tools on this screen.
Settings
Network operators:
Opens a screen that searches for and displays mobile networks that are compatible with the device. Consult your carrier to understand the billing implications of selecting another carrier.
SOUND & DISPLAY
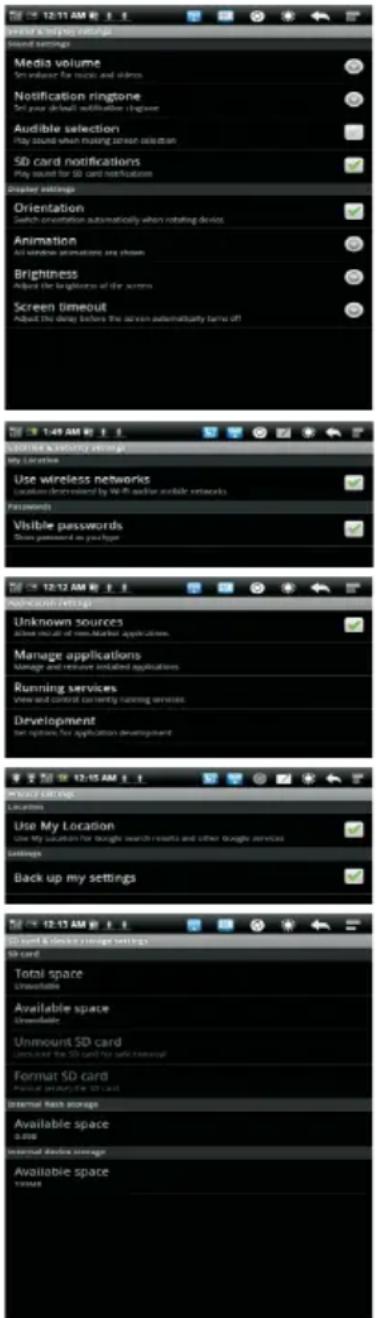
Sound Settings
- Media volume: Set volume for music and videos.
- Notification ringtone: Set your default notification ringtone.
- Audible selection: Play sound when making screen selection.
- SD card notification: Play sound for SD card notifications.
Display Setting
- Orientation: Switch orientation automatically when rotating device.
- Animation: All window animation are shown.
- Brightness: Adjust the brightness of the screen.
- Screen timeout: Adjust the delay before the screen automatically turns off.
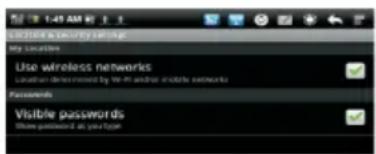
LOCATION & SECURITY
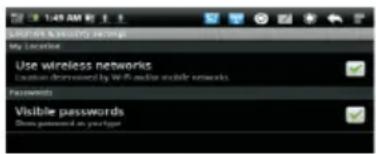
- Use wireless networks: Location determined by Wi-Fi and/or mobile networks.
- Visible password: Show password as you type.
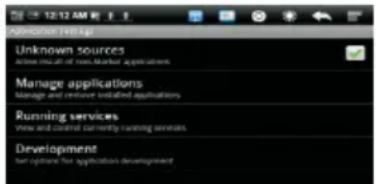
APPLICATIONS
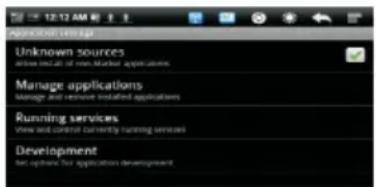
- Unknown sources: Allow install of non-Market applications.
- Manage applications: Manage and remove installed applications.
- Running services: View and control currently running services.
- Development: Set options for application development.
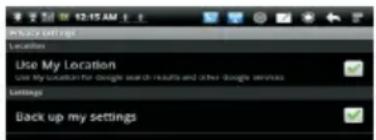
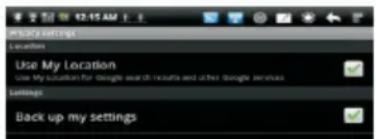
PRIVACY
- Use My Location: Use my location for Google search results and other Google services.
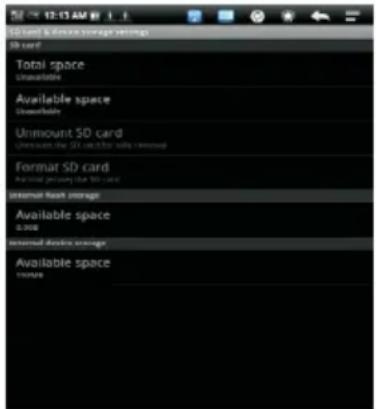
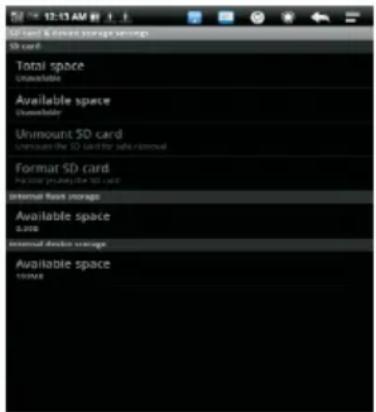
- Back up My settings: backup my setting or delete all backup on Google server. SD CARD & DEVICE STORAGE
Display available storage space on internal device memory and SD card memory.
Note: To remove SD card safely from device when the device is powered on, select Unmount SD card to safely remove the SD card to avoid any damage.
Settings
LANGUAGE & KEYBOARD
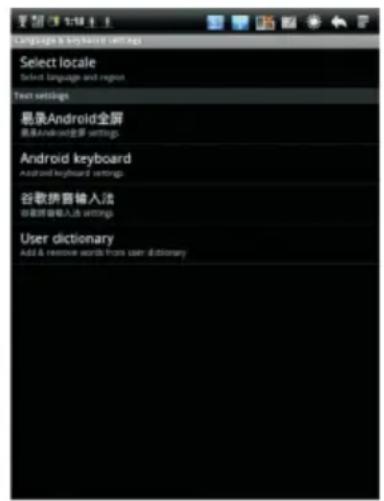
- Select locale: Select language and region.
- Android full-screen: Android full-screen settings.
- Android keyboard: Android keyboard settings.
- Pinyin IME: Pinyin IME settings.
- User Dictionary: Add & remove words from user dictionary.
DATE & TIME
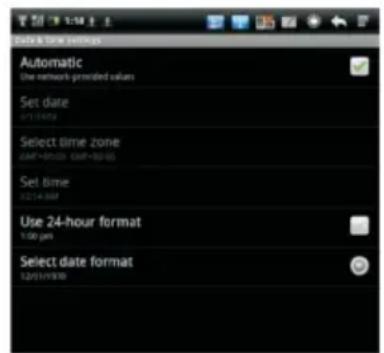
- Set date: Setup current date.
- Select time zone: Setup current time zone.
- Set Time: Setup current time.
- Use 24-hour format: Check to use 24-hour time format.
- Select date format: Setup date format.
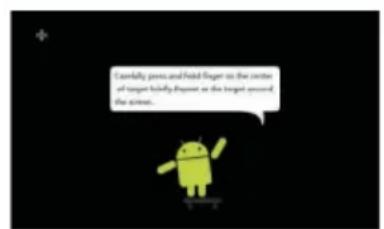
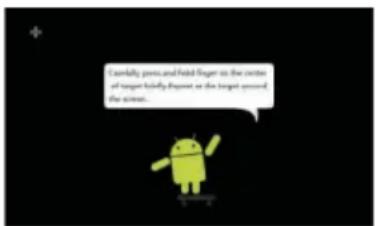
To calibrate the touch screen, use your finger to touch the( + )as it appear on each region of the screen.
USB MODE SELECT
Select USB mode: OTG/HOST/SLAVE
Host Mode: Select USB work as host mode, then you can mount U-disk or 3G Modules.
UPDATE MEDIA LIBRARY
When inserting or removing SD memory card or USB, please choose "update media library" to update data; When copying file to the memory or delete files stored in the memory, please choose "update media library" to update data.
FACTORY DATA RESET
This will erase alldata from your device including:
- Your Google account
- System and application data and settings
- Downloaded applications
It will not erase: - Current system software and bundled applications
- SD card files, such as music or photos
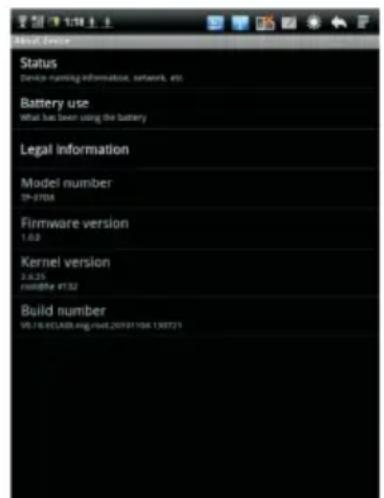
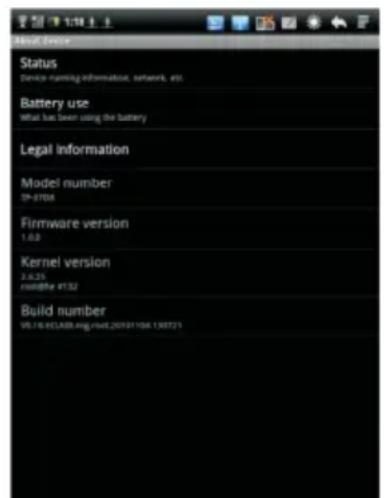
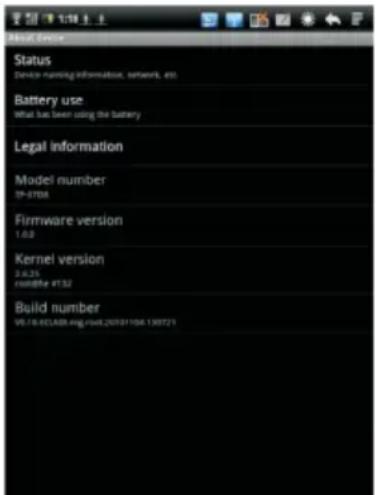
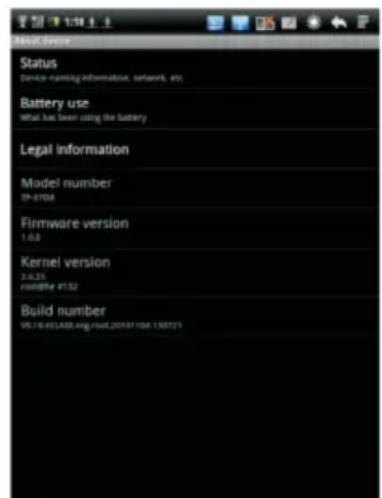
ABOUT DEVICE
About device includes information about your device.
Software Installation & Management
APK INSTALLER
The device uses third party application to access most of the applications via network.
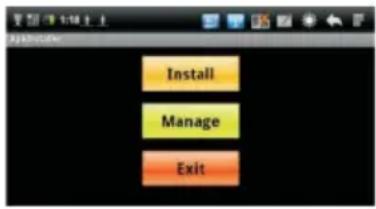
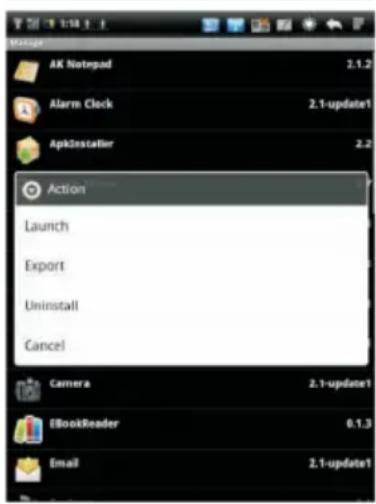
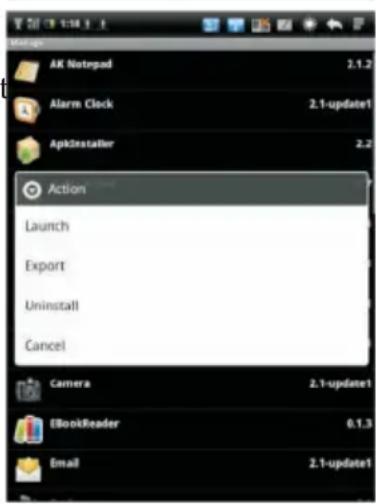
Click ( ), APK installer options will pop up on the screen.
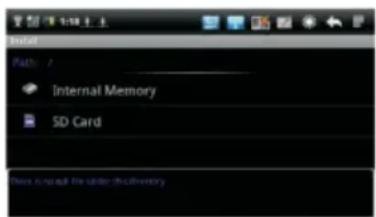
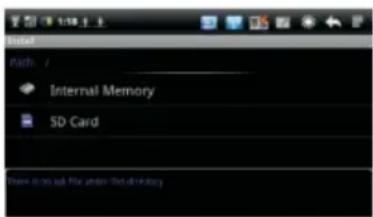
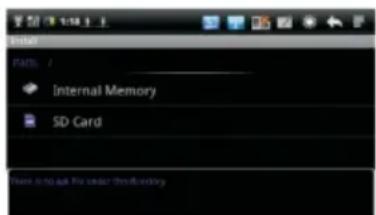
- Install: click Install to enter APK installer interface, and select the application in APK format that you wish to install. After installation is done, the device will return to Home screen.
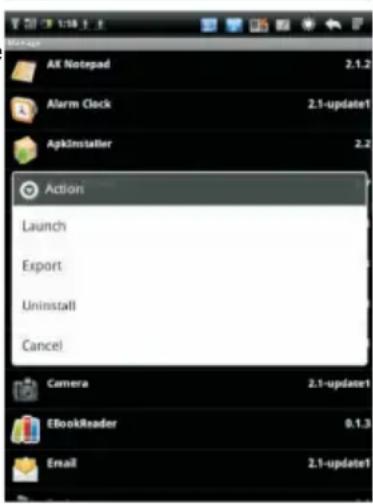
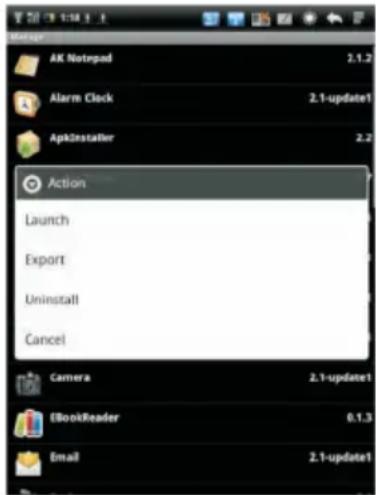
- Manag: Click "Manag" to begin managing application.
Launch : Run the selected application.
Export to SD: Export the selected application to SD card.
Uninstall: Uninstall the selected application.
Search at market: Search the selected application at the Market.
Cancel: Cancel to return to previous screen.
How to install input method:
- Connecting to the network
- Enter Market
- Flick Search button to search all needed input methods
- Select the desired input method
- Flick [Install/Confirm] to download and install the input method.
- After installment is done, please enter SETTING from home screen, and then open LANGUAGE AND KEYBOARD to select the installed input method.
Note: The installed input methods can display in the list only being selected.
ES FILE EXPLORER
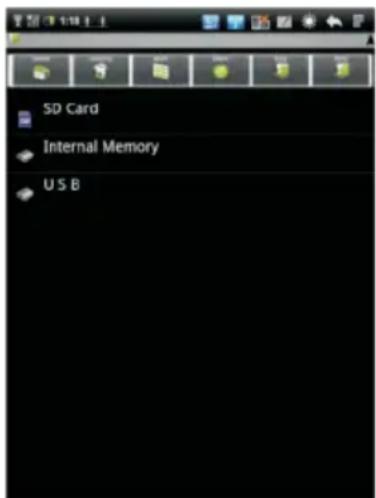
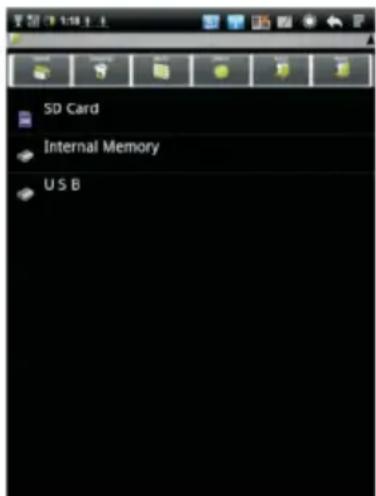
Select (☐) to enter Explorer, you can browse through files stored in the device. Touch following icons to perform different operations.
Home: Access the explorer to display the path of SD Card, Internal Memory and USB.
Level Up: Return to previous folder that's one level higher or exit the application.
Multi: Select more files or folders.
Editor: 1. Copy: Copy file or folder.
- Delete: Delete file or folder.
- Cut: Cut selected file or folder to other location.
- Paste: Paste the cut file or folder to specific location.
- Rename: Rename file or folder.

Back: Return to previous screen.
Next: Access the next screen.
ANDROID MARKET
Android Market provides direct access to applications and games to download and install on the device.
SPECIFICATION
| Item\Model 7" | 10" | ||
| Base Features | Processor Speed 600-800MHz | ||
| System Memory | DDR2 256MB | ||
| Flash Drive Capacity | See package | ||
| Expansion Slot | Micro SD Card | ||
| Display | Screen Type | TFT LCD | |
| Screen Size | 7"-Inch (diagonal) | 10"-Inch (diagonal) | |
| Aspect Ratio | 4:3 | ||
| Native Screen Resolution | 800 x 600 pixels | 1024 x 768 pixels | |
| Auto Orientation | Yes | ||
| Audio | Integrated Microphone | Yes | |
| Speakers | Yes | ||
| Headphone Jack | Yes | ||
| Power | Battery Life | 30H(stand by) | 52H(stand by) |
| Battery | 7.4 V, 1500mAh | 7.4 V, 2600mAh | |
| Adaptor | 12V, 1.25A | ||
| Inputs & Outputs | Rear side 2 Mega pixel CMOS Camera (optional) | See Package | |
| Keyboard | Virtual (Touchscreen) | ||
| Handwriting Recognition | English / Chinese | ||
| Pointing Device | Single-touch or Multi-touch (depending on what kind of model you have purchased) | ||
| USB 2.0 | Yes | ||
| Mini HDMI | Yes | ||
| Connection | Integrated Wi-Fi | 802.11 b/g | |
| Integrated Bluetooth | 2.1+EDR | ||
| 3G(optional) | See package | ||
| Built in Decoders | Video | MKV(H.264 HP), AVI, RM/RMVB, FLV, MPEG-1, MPEG-2 | |
| Audio | MP3, WMA, APE, FLAC, AAC, OGG, AC3, WAV | ||
| Images | JPEG, BMP, GIF, PNG | ||
| Software | Operating System | Android 2.1 | |
| Pre-Loaded Application | Please refer to the actual product | ||
CUSTOMER SUPPORT
You can contact the Ricatech customer service when you have a question or a problem with your Ricatech product. You can contact us by telephone and email.
For customer support by email, please sent a email to support@ricatech.com Please make sure that you mention the model number and serial number of the product, mention your name & address and describe your question or problem clearly.
Telephone
For customer support by telephone, please dial +32 3 3265694. One of our service staff will be ready to serve you.
For full procedure please visit the website of Ricatech at: www.ricatech.com
Nederlands
Inhoud
Opgelet
Opgelet-
Inhoud Verpakking----
Hardwareoverzicht
Media Tablet Bedienings handleiding
Adapter

Mini USB Kabel
Hardware Overzicht
7 " / 10 "
(Right View)
(Front View)
(Rear View)

(Bottom View)
Levensduur van de batterij optimaal benutten
Het scherm draaien:
Bedienings Interface
OPENEN & VERWISSELEN VAN TOEPASSINGEN
1) Wi-Fi
4) Bluetooth-instellingen
SD-KAART & APPARAATOPSLAG
Settings
TAAL & TOETSENBORD
MEDIABIBLIOTHEEK UPDATEN
ES-BESTANDSEXPLOLER
Adaptateur

Câble mini USB
APERÇU DU MATERIEL
7 " / 10 "
(Right View)
(Front View)
(Rear View)

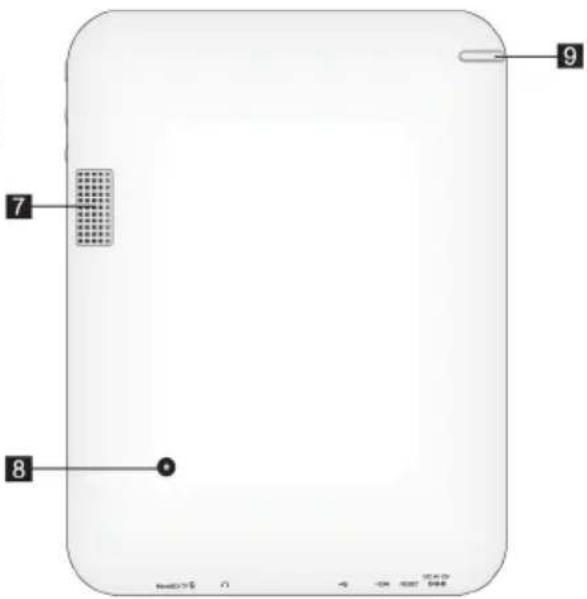
(Bottom View)
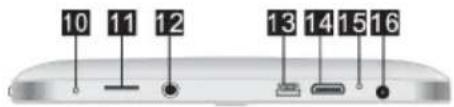
OUVERTURE & CHANGEMENT D'APPLICATIONS
1) Wifi
4) Paramètres Bluetooth
STOCKAGE DE LA CARTE SD & DE L'APPAREIL
MISE A JOUR DE LA BIBLIOTHEQUE MEDIA
A PROPOS DE L'APPAREIL
EXPLORATEUR DE FICHIERS ES
Adapter

Mini USB-Anschluss
ÜBERBLICK ÜBER DIE HARDWARE
7" / 10"
(Right View)
(Front View)
(Rear View)

-
-
-
-
-
广力云智慧零售收银系统
[Non-Text]
[Non-Text]
-
-
-
[Non-Text]
[Non-Text]
[Non-Text]
[Non-Text]
[Non-Text]
[Non-Text]
[Non-Text]
[Non-Text]
[Non-Text]
[Non-Text]
[Non-Text]
[Non-Text]
[Non-Text]
[Non-Text]
[Non-Text]
[Non-Text]
-
-
广力云智慧零售收银系统
[Non-Text]
[Non-Text]
[Non-Text]
[Non-Text]
[Non-Text]
[Non-Text]
[Non-Text]
[Non-Text]
[Non-Text]
[Non-Text]
[Non-Text]
[Non-Text]
[Non-Text]
[Non-Text]
[Non-Text]
[Non-Text]
[Non-Text]
[Non-Text]
[Non-Text]
[Non-Text]
[Non-Text]
[Non-Text]
[Non-Text]
[Non-Text]
[Non-Text]
[Non-Text]
[Non-Text]
[Non-Text]
[Non-Text]
[Non-Text]
[Non-Text]
[Non-Text]
[Non-Text]
[Non-Text]
[Non-Text]
[Non-Text]
[Non-Text]
[Non-Text]
[Non-Text]
[Non-Text]
[Non-Text]
[Non-Text]
[Non-Text]
[Non-Text]
[Non-Text]
[Non-Text]
[Non-Text]
[Non-Text]
[Non-Text]
[Non-Text]
[Non-Text]
[Non-Text]
[Non-Text]
[Non-Text]
[Non-Text]
[Non-Text]
[Non-Text]
[Non-Text]
[Non-Text]
[Non-Text]
[Non-Text]
[Non-Text]
[Non-Text]
[Non-Text]
[Non-Text]
[Non-Text]
[Non-Text]
[Non-Text]
[Non-Text]
[Non-Text]
[Non-Text]
[Non-Text]
[Non-Text]
[Non-Text]
[Non-Text]
[Non-Text]
[Non-Text]
[Non-Text]
[Non-Text]
[Non-Text]
[Non-Text]
[Non-Text]
[Non-Text]
[Non-Text]
[Non-Text]
[Non-Text]
[Non-Text]
[Non-Text]
[Non-Text]
[Non-Text]
[Non-Text]
[Non-Text]
[Non-Text]
[Non-Text]
[Non-Text]
[Non-Text]
[Non-Text]
[Non-Text]
[Non-Text]
[Non-Text]
[Non-Text]
[Non-Text]
[Non-Text]
[Non-Text]
[Non-Text]
[Non-Text]
[Non-Text]
[Non-Text]
[Non-Text]
[Non-Text]
[Non-Text]
[Non-Text]
[Non-Text]
[Non-Text]
[Non-Text]
[Non-Text]
[Non-Text]
[Non-Text]
BENUTZEROBERFLÄCHE
1) WiFi
4) Bluetooth-Einstellungen
EINSTELLUNGEN
SPRACHE & TASTATUR
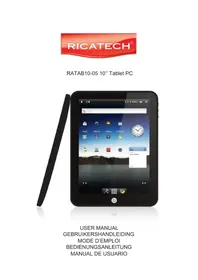
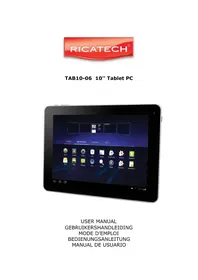

- CAUTION
- HARDWARE OVERVIEW
- GETTING STARTED
- CHARGING THE BATTERY
- MAXIMIZING BATTERY LIFE
- TURN ON/OFF
- OPERATION INTERFACE
- TOUCH
- TOUCH & HOLD
- DRAG
- SWIPE OR SLIDE
- DOUBLE-TAP
- PINCH FINGERS TOGETHER OR APART
- ROTATE THE SCREEN
- BASICS
- OPENING & SWITCHING APPLICATIONS
- STATUS BAR OVERVIEW
- SETTINGS
- OPENING SETTINGS
- WIRELESS & NETWORKS
- NETWORK OPERATORS
- SOUND & DISPLAY
- SOUND SETTINGS
- DISPLAY SETTING
- LOCATION & SECURITY
- APPLICATIONS
- PRIVACY
- LANGUAGE & KEYBOARD
- DATE & TIME
- USB MODE SELECT
- UPDATE MEDIA LIBRARY
- FACTORY DATA RESET
- ABOUT DEVICE
- SOFTWARE INSTALLATION & MANAGEMENT
- APK INSTALLER
- ES FILE EXPLORER
- ANDROID MARKET
- SPECIFICATION
- CUSTOMER SUPPORT
- TELEPHONE
- NEDERLANDS
- INHOUD
- HARDWARE OVERZICHT
- HET SCHERM DRAAIEN
- BEDIENINGS INTERFACE
- OPENEN & VERWISSELEN VAN TOEPASSINGEN
- WI-FI
- BLUETOOTH-INSTELLINGEN
- SD-KAART & APPARAATOPSLAG
- TAAL & TOETSENBORD
- MEDIABIBLIOTHEEK UPDATEN
- ES-BESTANDSEXPLOLER
- APERÇU DU MATERIEL
- OUVERTURE & CHANGEMENT D'APPLICATIONS
- WIFI
- PARAMÈTRES BLUETOOTH
- STOCKAGE DE LA CARTE SD & DE L'APPAREIL
- MISE A JOUR DE LA BIBLIOTHEQUE MEDIA
- A PROPOS DE L'APPAREIL
- EXPLORATEUR DE FICHIERS ES
- ÜBERBLICK ÜBER DIE HARDWARE
- BENUTZEROBERFLÄCHE
- BLUETOOTH-EINSTELLUNGEN
- EINSTELLUNGEN
- SPRACHE & TASTATUR
Brand : Ricatech
Model : TAB1004
Category : Tablet