6642 - Sewing machine JOCCA - Free user manual and instructions
Find the device manual for free 6642 JOCCA in PDF.
| Product type | Sewing machine |
| Brand | Jocca |
| Model | 6642 |
| Power supply | 6 V DC (4 AA 1.5 V batteries) or mains adapter (not included) |
| Included accessories | Pedal, power adapter, needle threader, 4 bobbins, spare needles |
| Speed control | Two-position switch: normal speed (I) and fast (II) |
| Tension adjustment | Upper thread tension dial |
| Bobbin winder | Bobbin winding pin with folding lever |
| Needle type | Standard needle with replacement via adjustment screw |
| Maintenance and cleaning | Clean with a dry cloth. Use specific sewing machine oil. Do not immerse. |
| Safety | Unplug before maintenance; turn off and unplug when changing needle, bobbin or accessory |
| Intended use | Household use only |
| Weight | Approximately 2 kg (estimate) |
| Dimensions (L x W x H) | Approximately 30 x 15 x 25 cm (estimate) |
| Warranty | Coverage of manufacturing defects (JOCCA technical service) |
Frequently Asked Questions - 6642 JOCCA
User questions about 6642 JOCCA
0 question about this device. Answer the ones you know or ask your own.
Ask a new question about this device
Download the instructions for your Sewing machine in PDF format for free! Find your manual 6642 - JOCCA and take your electronic device back in hand. On this page are published all the documents necessary for the use of your device. 6642 by JOCCA.
USER MANUAL 6642 JOCCA
text_image
JOCCA HOME & LIFERef. 6642
JOCCA
HOME & LIFE
(EN) Instructions manual
natural_image
White JOCCA sewing machine with blue control knobs and mechanical components (no visible text or symbols on the device body)
Business Sector Compliance Initiative
BSCI

TOVTHSIRLAND® CERT ISO 9091

TOVHITAMAND® CERT ISO 14001
SEWING MACHINE WITH PEDAL
PURCHASE ACKNOWLEDGEMENT
JOCCA thanks you for the trust placed in the purchase of our product and we are certain that you will always be satisfied with any of our products.
For better service of all your questions and needs, JOCCA customer service is at your disposal to solve any query:
atencionalcliente@jocca.es
PRODUCT DESCRIPTION
a- Thread guide 1
b- Needle adjustment screw
c- Thread guide 2
d- Needle
e- Presser foot
f- Lid
g- Lower bobbin compartment
h- Pedal socket
i- Adaptor socket
j- Speed button
k- On/Off button
I- Long spindle for winding.
m-Needle control balance wheel
n- Bobbin
o- Thread guide 3
p- Foldable spindle
q- Thread tension disc
r- Thread stretching bar
s- Thread guide 4
t- Presser foot lifting lever
ACCESSORIES INCLUDED:
- Pedal
- Power adaptor
- Threader
- 4 Bobbins
- Extra needle
SAFETY WARNINGS
-These instructions are very important. Please read this instructions manual carefully before using the appliance and keep it at hand to refer to it at any time.
20-EN
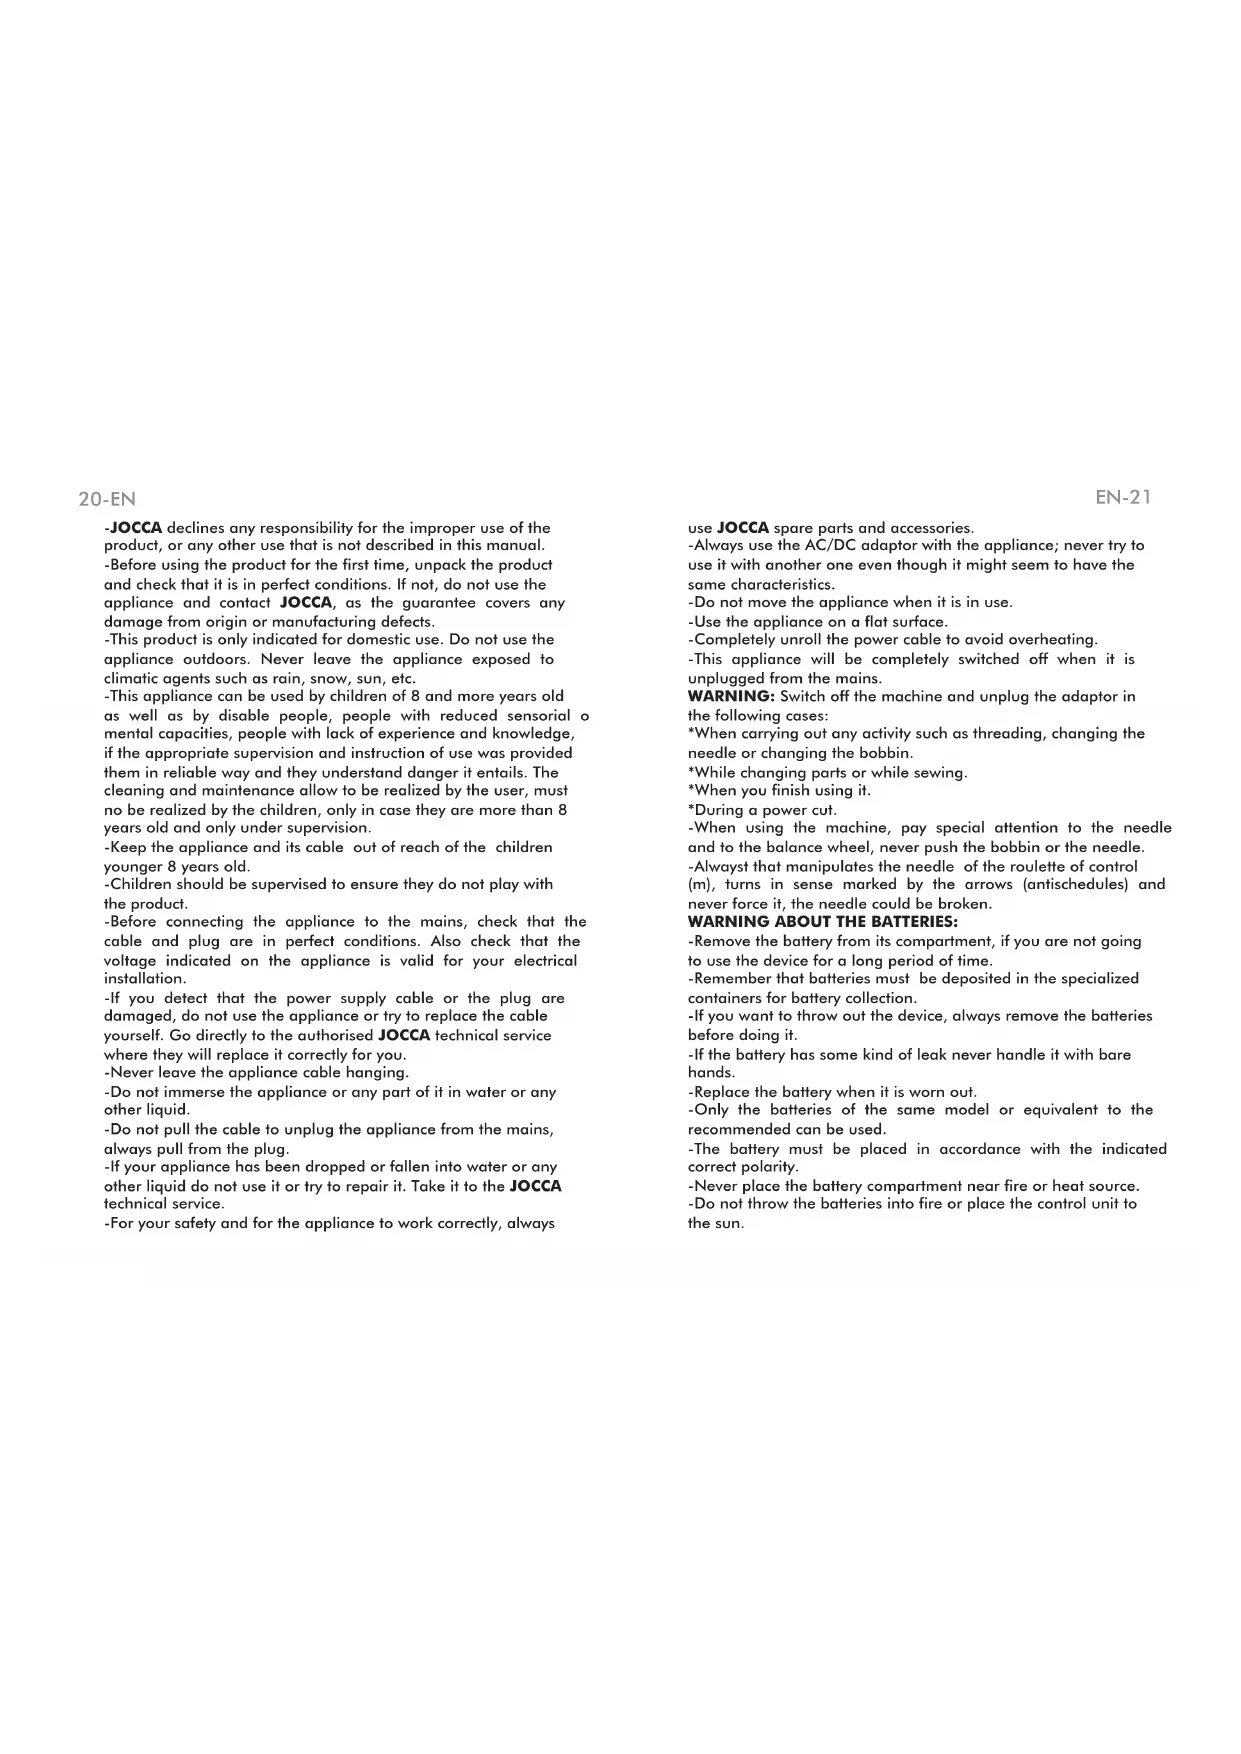
-JOCCA declines any responsibility for the improper use of the product, or any other use that is not described in this manual. -Before using the product for the first time, unpack the product and check that it is in perfect conditions. If not, do not use the appliance and contact JOCCA, as the guarantee covers any damage from origin or manufacturing defects.
-This product is only indicated for domestic use. Do not use the appliance outdoors. Never leave the appliance exposed to climatic agents such as rain, snow, sun, etc.
-This appliance can be used by children of 8 and more years old as well as by disable people, people with reduced sensorial mental capacities, people with lack of experience and knowledge, if the appropriate supervision and instruction of use was provided them in reliable way and they understand danger it entails. The cleaning and maintenance allow to be realized by the user, must no be realized by the children, only in case they are more than 8 years old and only under supervision.
-Keep the appliance and its cable out of reach of the children younger 8 years old.
-Children should be supervised to ensure they do not play with the product.
-Before connecting the appliance to the mains, check that the cable and plug are in perfect conditions. Also check that the voltage indicated on the appliance is valid for your electrical installation.
-If you detect that the power supply cable or the plug are damaged, do not use the appliance or try to replace the cable yourself. Go directly to the authorised JOCCA technical service where they will replace it correctly for you.
-Never leave the appliance cable hanging.
-Do not immerse the appliance or any part of it in water or any other liquid.
-Do not pull the cable to unplug the appliance from the mains, always pull from the plug.
-If your appliance has been dropped or fallen into water or any other liquid do not use it or try to repair it. Take it to the JOCCA technical service.
-For your safety and for the appliance to work correctly, always
EN-21
use JOCCA spare parts and accessories.
-Always use the AC/DC adaptor with the appliance; never try to use it with another one even though it might seem to have the same characteristics.
-Do not move the appliance when it is in use.
-Use the appliance on a flat surface.
-Completely unroll the power cable to avoid overheating.
-This appliance will be completely switched off when it is unplugged from the mains.
WARNING: Switch off the machine and unplug the adaptor in the following cases:
*When carrying out any activity such as threading, changing the needle or changing the bobbin.
*While changing parts or while sewing.
*When you finish using it.
*During a power cut.
-When using the machine, pay special attention to the needle and to the balance wheel, never push the bobbin or the needle.
-Always that manipulates the needle of the roulette of control (m), turns in sense marked by the arrows (antischedules) and never force it, the needle could be broken.
WARNING ABOUT THE BATTERIES:
-Remove the battery from its compartment, if you are not going to use the device for a long period of time.
-Remember that batteries must be deposited in the specialized containers for battery collection.
-If you want to throw out the device, always remove the batteries before doing it.
-If the battery has some kind of leak never handle it with bare hands.
-Replace the battery when it is worn out.
-Only the batteries of the same model or equivalent to the recommended can be used.
-The battery must be placed in accordance with the indicated correct polarity.
-Never place the battery compartment near fire or heat source.
-Do not throw the batteries into fire or place the control unit to the sun.
22-EN
-Do not mix new batteries or the old and worn-out.
INSTRUCTIONS FOR USE
Warning! Before using the machine.
-Make sure that the button is in the O position. Insert the batteries in the lower part of the machine in the correct position and in the position indicated in the picture or connect the AC/DC adaptor in its corresponding socket and then to the power supply.
-Connect the control pedal in the socket in the lower part of the machine.
Indications to take into account:
-To use the machine either the control pedal or the ON switch can be used.
NOTE: Always disconnect and switch off the machine when not in use.
HOW TO THREAD THE TOP THREAD (fig1)
-Lift up the presser foot lever and lift the needle by turning the balance wheel following the arrow indicated on the same. Follow the following instructions:
1.- Lift the bobbin pin and put it in place (n).
2.- Pull the thread through guide 3 (o).
3.- Lead the thread through the tension disc (q).
4.- Pull the thread through guide 4 (s).
5.- Lead the thread through the hole in the bar to tighten (r).
6.- Lead the thread through guides 1 (a) and 2 (c).
7.- Lead the thread through the eye of the needle (d) from front to back.
PUTTING THE LOWER BOBBIN IN PLACE
1.- With your left hand, hold the end of the thread leaving about 8 cm outside.
2.- Pull the threader downwards by the central plate groove (fig2). Lead the thread between the wires of the threader and pull to take the thread out by the groove.
3.- Put the bobbin in place. The thread has to be lead clockwise.
4.- Leave out about 10 cm of thread on the top part of the bobbin
22-EN
EN-23
towards the presser foot.
5.- Cover the bobbin with its lid.
HOW TO START SEWING
1.- Lift the needle by turning the balance wheel clockwise. Lift up the presser foot.
2.- Make sure that the two ends of the thread are placed needle backwards at least 10 cm.
3.- Put the garment in place, hold it down with the presser foot and lower the needle manually.
4.- Press the pedal or press the O/I button until I position and start sewing. Slide the garment with your hand. Do it slowly for the first few stitches. If, while sewing, by using either the pedal or through the On button, you need to modify the sewing speed, press the speed control button: I position, normal speed and II position, faster speed.
5.- To stop sewing, either stop pressing the pedal or place the on button in O position.
IMPORTANT:
When finishing, lift up the needle manually, and in this way it will not bend when taking the garment out; lift up the presser foot and withdraw the garment. Then cut both threads at 10 cm. in length.
HOW TO ADJUST THE THREAD TENSION
-Revise if the lower thread and the top one have the same tension and if this tension is strong enough to close both threads in the centre.
-If the top thread is too tight, the bobbin thread will be in the top part of the garment. For this, slacken the needle thread tension.
-If the top thread is too loose, the needle thread will be on the lower part of the garment. To correct this, tighten the thread.
WINDING THE LOWER BOBBIN
1.- Slide back the lid and extract the empty bobbin.
2.- Adjust the rewinding spindle in the hole for the winding of the bobbin (I). Turn counter-clockwise.
3.- Lift up the foldable spindle (p) and insert a thread bobbin.
24-EN
4.- Insert the thread through the small bobbin hole from the inside and take out about 8 cm of thread.
5.- Hold the end of the thread tight and press the ON button or the control pedal. Stop once it has gone around a few times.
6.- Cut the end of the thread with scissors in the top part of the bobbin and then continue with the winding until the amount of thread desired is wound.
7.- Cut the thread at about 8 cm from the bobbin. Extract the thread bobbin from the spindle.
8.- Put away the spindle rewinder and put the long spindle in its place.
NEEDLE CHANGE
1.- Lift up the needle to its maximum position by turning the balance wheel with the presser foot in its lowest position.
2.- Hold it and release the screw that adjusts the needle. Remove the needle.
3.- Put the new needle in the support with the flat part to the side of the machine making sure that the needle eye is facing the front of the machine. Do not try to push the needle upwards whilst placing it in the support before adjusting the screw.
4.- Tight the needle adjustment screw.
CLEANING AND STORAGE
-For correct operation, the machine requires regular cleaning and greasing.
IMPORTANT: Before cleaning, make sure the machine is disconnected from the mains and that it does not have any batteries inside.
-Use a cloth to clean the machine and remove any surplus oil.
-Do not use lubricants such as solvents, abrasive detergents or products that may damage the machine.
-Use specific oil for sewing machines (any other type of oil could damage it). Oil with one drop where there is friction.
-NEVER SUBMERGE THE MACHINE IN WATER OR IN ANY OTHER LIQUID.
EN-25
FREQUENT PROBLEMS
- The top thread is not properly threaded.
- The control pedal is not connected to its corresponding socket.
- The needle is not correctly placed in its support.
- The needle eye is not facing the front part of the machine.
- The needle is bent.
- The lower thread is not properly threaded or is broken.
- An incorrect sized lower bobbin is being used.
- The thread tension is not correct.
- The lower bobbin and its support are not in the correct position, so the support is blocked and does not turn clockwise.
TECHNICAL SPECIFICATIONS
6V DC (4xAA 1,5V)
This appliance conforms to the safety requirements and provisions of directives 2006/95/EC on Low tension devices and 2004/108EC on Electromagnetic Compatibility.
PROTECTION OF THE ENVIRONMENT – DIRECTIVE
2002/96/EC
This product has been designed and manufactured with high quality materials and components that can be recycled and reused.

When you see the symbol of a crossed out litter bin on wheels next to a product, this means that the product conforms to the European Directive 2002/96/EC. Please obtain information about the local recycling system for electric and electronic products.
Follow the local rules and do not dispose of used products by throwing them in the normal bins at home. Proper recycling of your used product will help avoid negative impacts on the environment and people's health.