
DM2147 - Barbecue TRISTAR - Free user manual and instructions
Find the device manual for free DM2147 TRISTAR in PDF.
| Product type | Electric donut maker |
| Brand | TriStar |
| Model | DM2147 |
| Dimensions (L x W x H) | Approximately 28 x 24 x 12 cm |
| Weight | Approximately 1.8 kg |
| Power supply | 220-240 V ~ 50/60 Hz |
| Power | 900 W |
| Capacity | 7 donuts simultaneously |
| Plate material | Non-stick coating |
| Adjustable temperature | Yes, with adjustment knob (min - max) |
| Indicator lights | Power on indicator and ready indicator |
| Handles | Side handles with cavity for easy opening |
| Safety | Non-slip feet, automatic shut-off not specified, but recommended to unplug after use |
| Care and cleaning | Wipe the plates with a soft damp cloth after cooling; do not immerse |
| Intended use | Cooking donuts for domestic use only |
| Included accessories | No specific accessories included |
| Warranty | Legal warranty of conformity |
| Product code | DM2147 |
| Certification | Compliant with European standards |
Frequently Asked Questions - DM2147 TRISTAR
User questions about DM2147 TRISTAR
0 question about this device. Answer the ones you know or ask your own.
Ask a new question about this device
Download the instructions for your Barbecue in PDF format for free! Find your manual DM2147 - TRISTAR and take your electronic device back in hand. On this page are published all the documents necessary for the use of your device. DM2147 by TRISTAR.
USER MANUAL DM2147 TRISTAR
natural_image
Electric waffle grill with donuts and a plate of chocolate-dusted pastries on a wooden table (no text or symbols visible)DM - 1147
F.Plaques anti-adhesif
G.Rangement cordon
H.Pieds antiderapants
Operating instructions and guarantee
Dear Customer,
We hope you will enjoy using your new doughnut maker. You can bake seven doughnuts simultaneously without having to deep-fry them!
Doughnuts are quick to make and go well to almost any occasion.
Bon appétit!
Your Tristar team
Contents
- Safety warnings
- First-time use
- Use
- Cleaning
- Recipe and useful tips
- Fault / remedy
Safety warnings
Intended use
The appliance is intended for baking doughnuts. It is designed for baking domestic quantities and is not suitable for commercial use.
Hazard to children and persons unable to use appliances safely
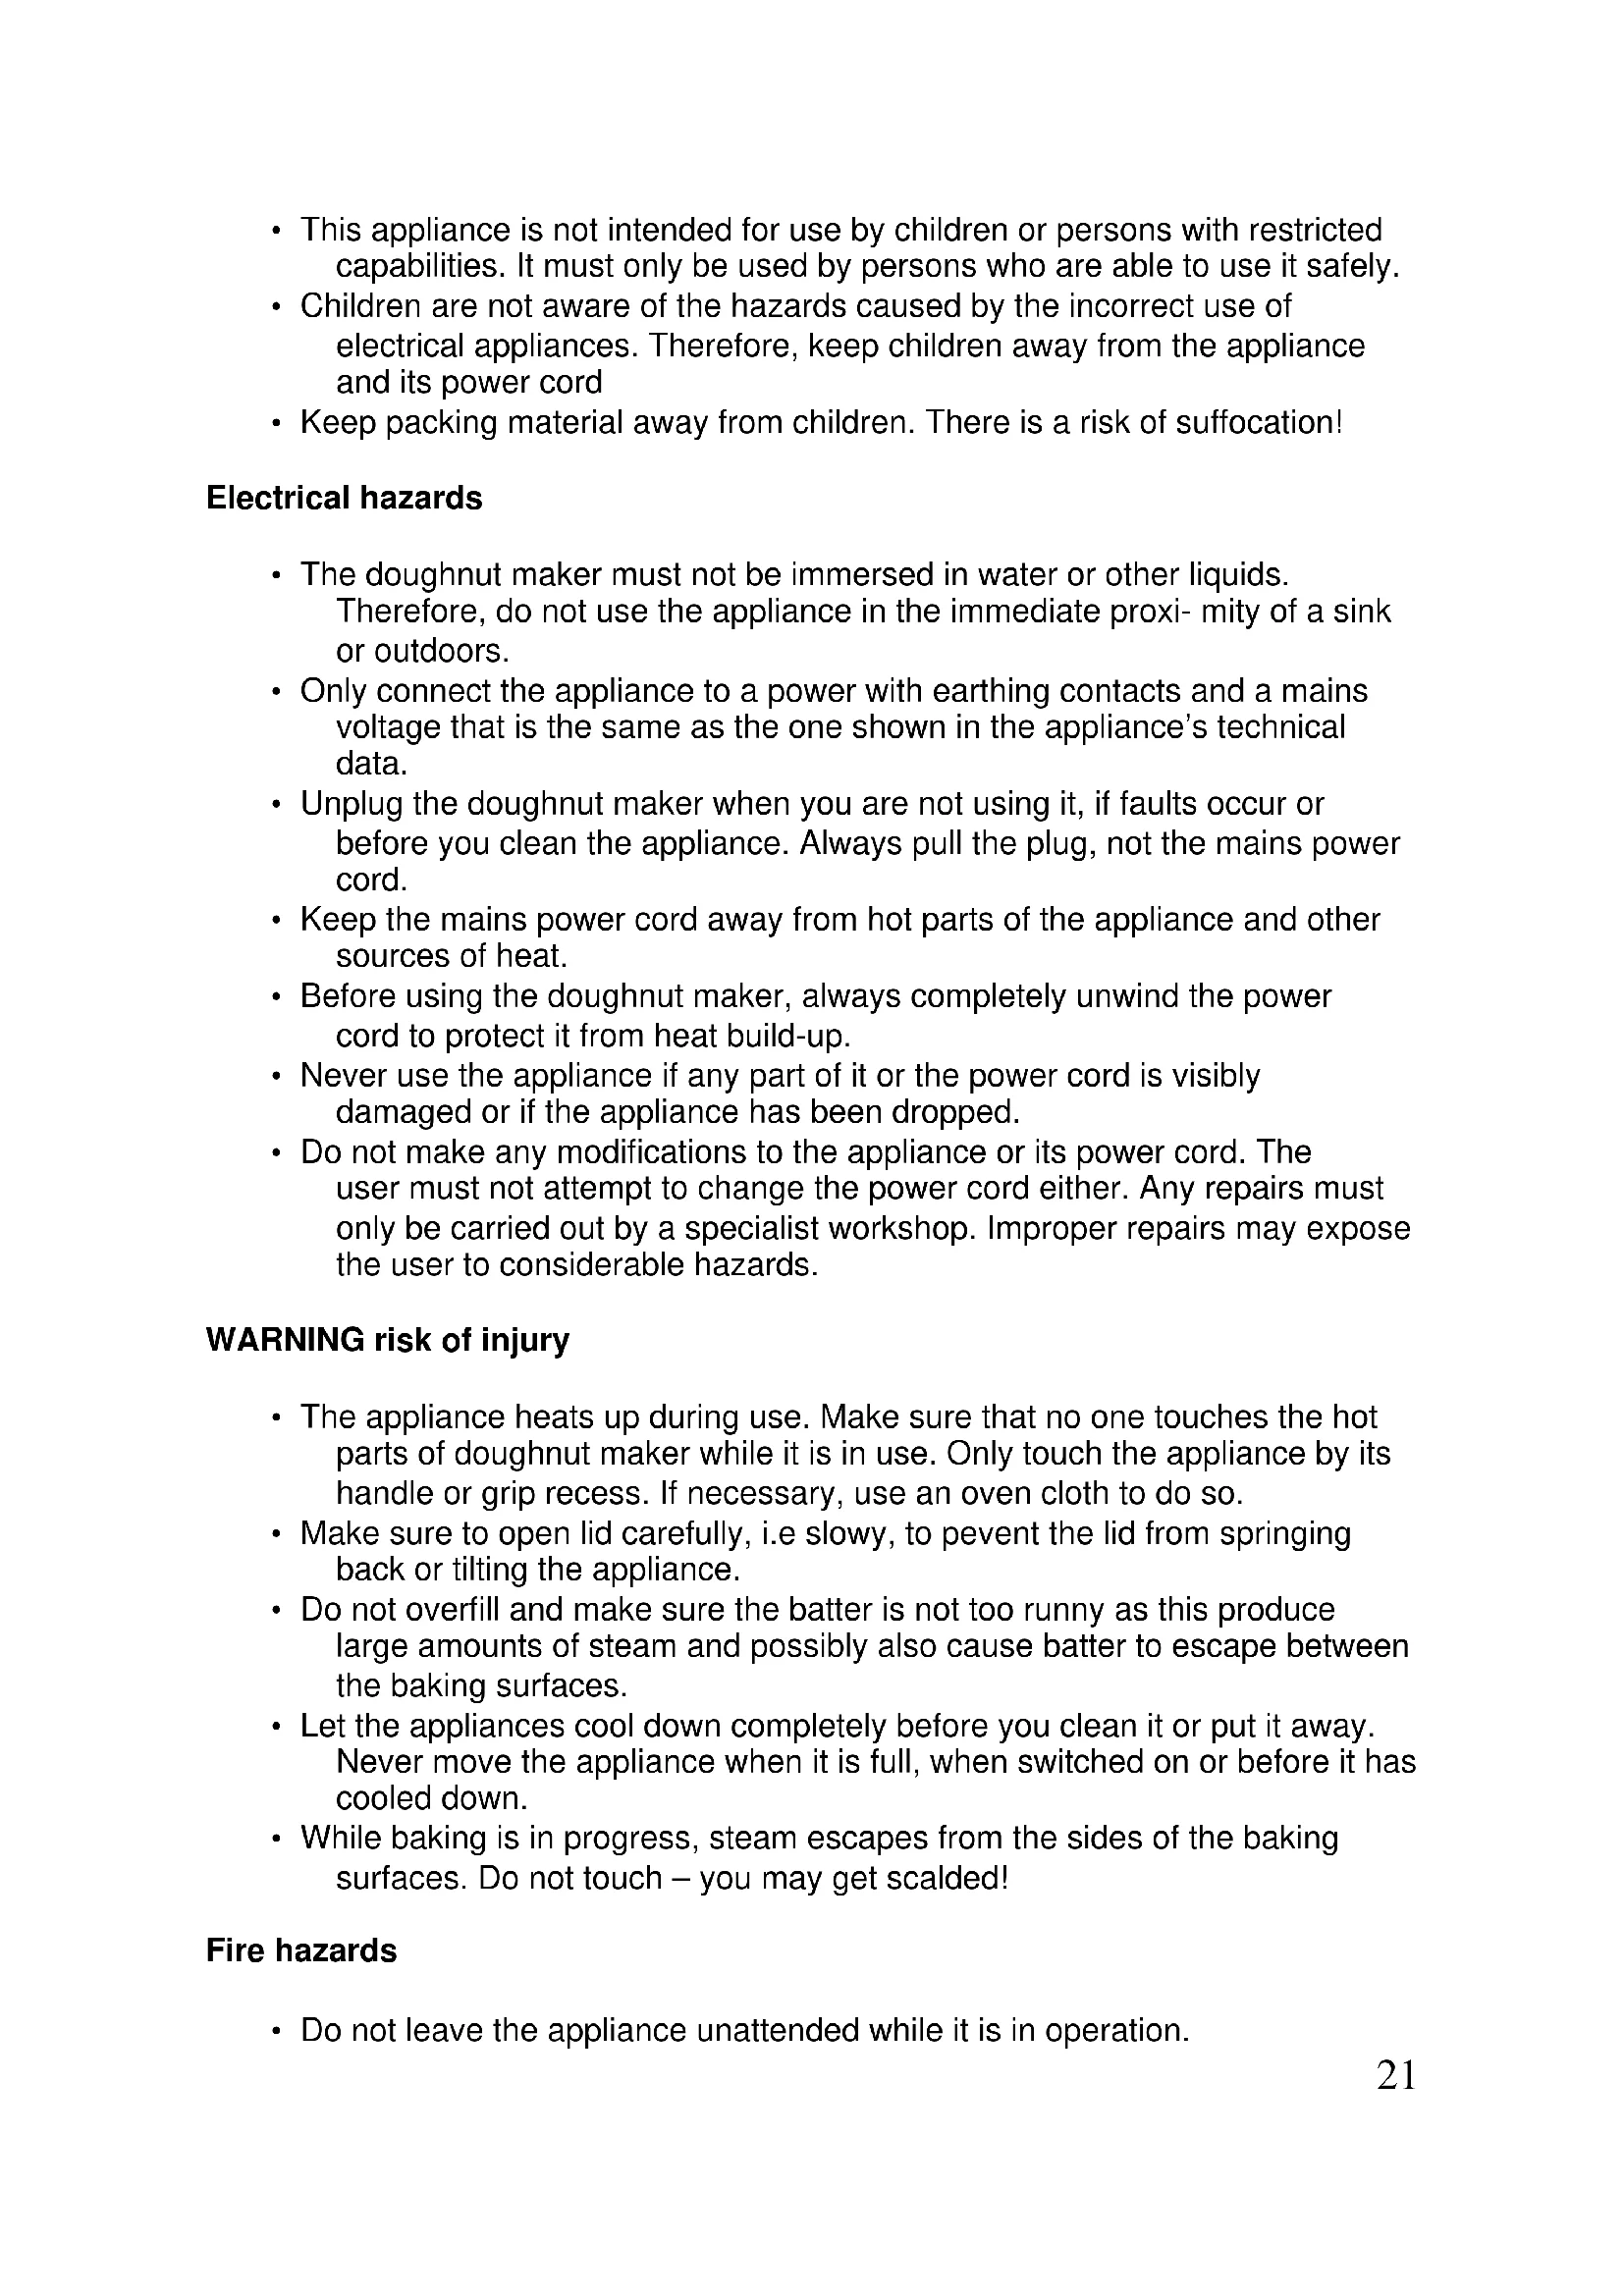
- This appliance is not intended for use by children or persons with restricted capabilities. It must only be used by persons who are able to use it safely.
- Children are not aware of the hazards caused by the incorrect use of electrical appliances. Therefore, keep children away from the appliance and its power cord
- Keep packing material away from children. There is a risk of suffocation!
Electrical hazards
- The doughnut maker must not be immersed in water or other liquids. Therefore, do not use the appliance in the immediate proximity of a sink or outdoors.
- Only connect the appliance to a power with earthing contacts and a mains voltage that is the same as the one shown in the appliance's technical data.
- Unplug the doughnut maker when you are not using it, if faults occur or before you clean the appliance. Always pull the plug, not the mains power cord.
- Keep the mains power cord away from hot parts of the appliance and other sources of heat.
- Before using the doughnut maker, always completely unwind the power cord to protect it from heat build-up.
- Never use the appliance if any part of it or the power cord is visibly damaged or if the appliance has been dropped.
- Do not make any modifications to the appliance or its power cord. The user must not attempt to change the power cord either. Any repairs must only be carried out by a specialist workshop. Improper repairs may expose the user to considerable hazards.
WARNING risk of injury
- The appliance heats up during use. Make sure that no one touches the hot parts of doughnut maker while it is in use. Only touch the appliance by its handle or grip recess. If necessary, use an oven cloth to do so.
- Make sure to open lid carefully, i.e slowly, to prevent the lid from springing back or tilting the appliance.
- Do not overfill and make sure the batter is not too runny as this produce large amounts of steam and possibly also cause batter to escape between the baking surfaces.
- Let the appliances cool down completely before you clean it or put it away. Never move the appliance when it is full, when switched on or before it has cooled down.
- While baking is in progress, steam escapes from the sides of the baking surfaces. Do not touch – you may get scalded!
Fire hazards
- Do not leave the appliance unattended while it is in operation.
- Keep the appliance away from combustible material and do not cover the appliance.
Caution – material damage
- Stand the appliance on an even surface resistant to heat and splashes. Do not place it on a surface that could become hot, e.g hot plates or next to a flame or a gas cooker. Position the appliance at a safe distance from the edge of the surface you stand it on top prevent it from falling onto the floor or children reaching for it.
- The appliance is fitted with non-slip rubber feet. Furniture today is often coated with various varnishes and a synthetic substances and treated with many different preservatives. Some of these products may contain substances that react adversely with the rubber feet and soften them. If necessary, place a non-slip, heat resistant mat under the appliance.
• To remove doughnuts, only use a heat resistant or plastic utensils so as not to scratch the non stick coating on the baking surfaces.
- Do not use any rough or abrasive cleaning product or sponge scourers on the non stick baking surfaces or on the outer surfaces of the doughnut maker as this may damage them.
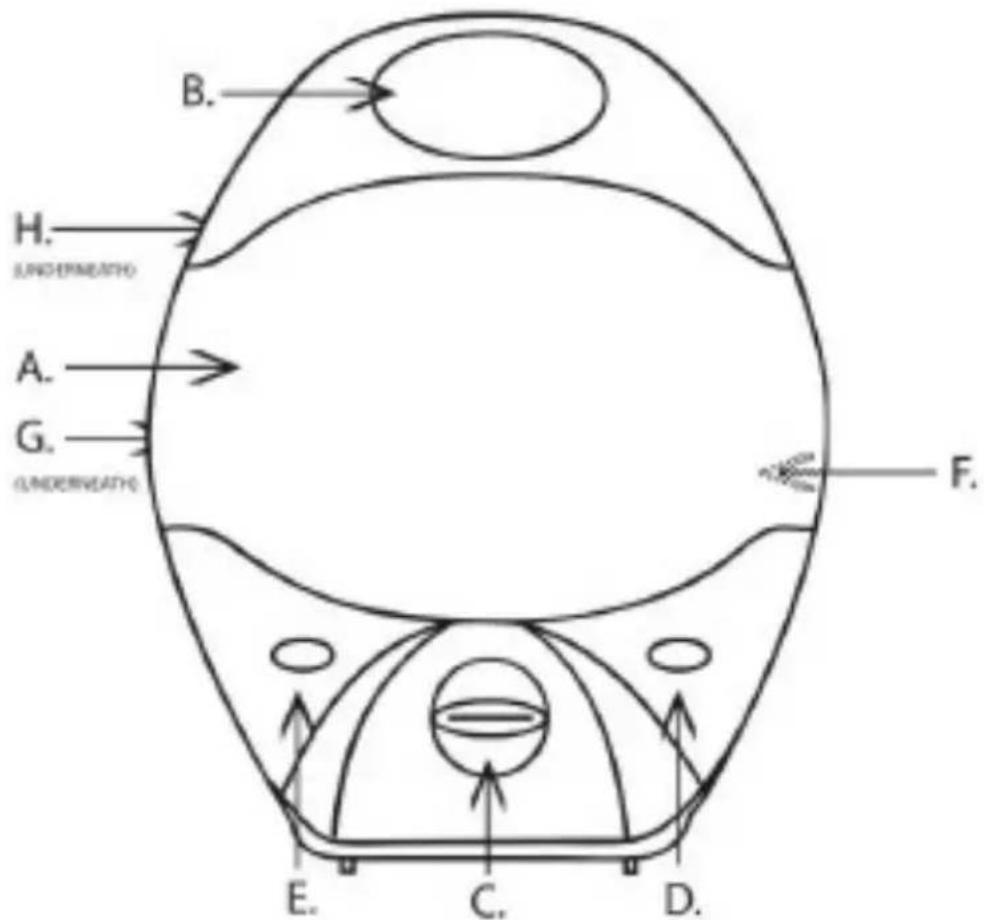
A.Lid
B.Handle
C.Temperature -minimum -maximum
D. Power on -indicator
E. Ready for use – indicator
F.Baking plates
G.Cord storage
H. non-skidding feet
First-time use
Before using you new appliance to bake doughnuts for the first time, heat it up first without batter. This will remove any residue left over from production. A slight odour may be caused the first time the appliance is heated up, wich is harmless. Provide adequate ventilation.
- Remove all packaging material
- Place a finger into the grip recess and pull the locking catch towards you.
- Slowly fold up the lid to prevent the lid from springing back.
- Wipe the baking surfaces with a damp cloth.
- Brush oil on the baking surfaces or apply a thin coating of butter.
- Slowly close the lid down again. You must be able to hear the locking cratch clip into place.
- Plug the doughnut maker into an earthed power point. The indicator light D. shows that the appliance is heating up. The indicator light E. start as soon as operating temperature is reached.
- Leave the appliance switched on for about 10 minutes under supervision.
- Remove the mains plug from the wall outlet and slowly fold up the lid to prevent the lid from springing back.
- Let the appliance cool down.
- Wipe the baking surfaces thoroughly with a household cloth. The doughnutmaker is now ready for use.
Use
Follow all safety instructions in the section "First time use". The appliance bakes the batter from both sides between the heated baking plates.
The bottom half of the doughnuts will always be darker than the top half. This is because the batter bakes from the bottom first as the top half does not start to bake until the batter has risen.
➢ Place the doughnut maker on a level, heat and splash- resistant surface and fully unwind the power cord.
➢ Close the top baking plate down unto the bottom baking plate and plug the appliance in. The indicator light D. shows that the appliance is heating up.
The indicator light E. is lighted as soon as operating temperature is reached. The appliance is ready for baking.
➢ Place a finger into the grip recess and pull the locking scratch towards you.
When the indicator light goes out, slowly fold up the lid to prevent it springing back.
- Quickly fill about a flat teaspoon-full of batter in each of the small doughnut cavities.
➢ Overfilling may also prevent the doughnuts from cooking all the way through.
➢ Close the lid again. You must be able to hear the locking catch clip into place.
The indicator light comes back on again after a short time. It shows the appliance is heating up.
CAUTION
Risk of damaging the non-stick coating of the baking plates
- Use only heat-resistant wood or plastic cutlery to remove the doughnuts.
- When the indicator light goes out, slowly fold up the lid to check the degree of baking. If your doughnuts are not brown enough, give them a minute or two longer.
- Loosen them at the sides with a utensil and then remove them using an egg turner.
- Immediately refill the baking cavities with batter.
If the doughnuts turn out too light or too dark, increase or reduce the baking time for the next batch.
The ideal baking time is about 3 to 4 12 minutes.
After a few batches you will have found the preferred degree of browning.
However, this will always depend on the type and thickness of your batter.
To begin with, doughnuts may take longer to bake. Baking time is shortened once the doughnut maker has been in operation for a while.
Unplug after use and let the appliance cool down with the baking surfaces open. Place the appliance out of children's reach while it is cooling down.
Cleaning
- Remove crumbs from the baking surfaces.
- Wipe the baking surfaces and outside of the doughnut maker with a soft damp cloth.
- Dry the baking surfaces and outside of the doughnut maker with a soft cloth.
Tip: Burnt-on batter is easy to remove after coating with a small quantity of vergetable oil and allowing to stand for a while. After a few minutes, the batter comes off easily.
After cleaning, you can place the connecting cord into the cable tidy.
Recipe and useful tips
Useful tips:
- Crisply baked doughnuts soon go soft if you pile them on top of each other. It is better to place them in a single layer on a wire rack.
- All ingredients should be thoroughly mixed to produce even browning.
We have put together a recipe for you. However, you can also let your imagination run free as long as it tastes good. Plenty of recipe books for baking doughnuts are available from bookstores. Have fun trying out the recipe.
Basic Recipe
Doughnuts
Ingredients: 250 g flour
125 g sugar
14 litre milk
2 teaspoons vanilla sugar or a few drops of vanilla essence
3 eggs
50 ml vegetable oil
15 g ( 2 tablespoons) baking powder
1 pinch salt
Preparation: 1. Place flour, baking powder, sugar, vanilla or vanilla essence and salt into a mixing bowl
-
Make a well in the middle of these ingredients and add the milk, eggs and oil.
-
Using a mixer, mix all ingredients thoroughly to produce a smooth batter.
Fault/ remedy
Not working?
• Is the doughnut maker plugged in?
Doughnuts are to light?
- Bake doughnuts for a little longer.
• Is the batter too runny?
Doughnuts are too dark?
- Slightly reduce baking time.
Doughnuts are sticking to baking surfaces?
- Brush small quantity of vegetable oil on baking surfaces.
- Fill baking cavities with less batter.
Extreme amounts of steam occurring while baking?
- Batter is too runny.
• Too much batter filled in?
*****
Guidelines for protection of the environment

This appliance should not be put into the domestic garbage at the end of its useful life, but must be disposed of at a central point for recycling of electric and electronic domestic appliances. This symbol on appliance, instruction manual and packaging puts your attention to this important issue. The materials used in this appliance can be recycled. By recycling used domestic appliances you contribute an important push to the protection of our environment. Ask your local authorities for information regarding the point of recollection..
natural_image
Symbol of a trash bin crossed with a diagonal line and a horizontal bar below (no text or labels)
- Operating instructions and guarantee
- Dear Customer,
- Contents
- Safety warnings
- Intended use
- Hazard to children and persons unable to use appliances safely
- Electrical hazards
- WARNING risk of injury
- Fire hazards
- Caution – material damage
- First-time use
- Use
- CAUTION
- Risk of damaging the non-stick coating of the baking plates
- Cleaning
- Recipe and useful tips
- Useful tips:
- Basic Recipe
- Doughnuts
- Fault/ remedy
- Not working?
- Doughnuts are to light?
- Doughnuts are too dark?
- Doughnuts are sticking to baking surfaces?
- Guidelines for protection of the environment
Brand : TRISTAR
Model : DM2147
Category : Barbecue