Espresso Novo Plus - Coffee machine KRUPS - Free user manual and instructions
Find the device manual for free Espresso Novo Plus KRUPS in PDF.
Download the instructions for your Coffee machine in PDF format for free! Find your manual Espresso Novo Plus - KRUPS and take your electronic device back in hand. On this page are published all the documents necessary for the use of your device. Espresso Novo Plus by KRUPS.
USER MANUAL Espresso Novo Plus KRUPS
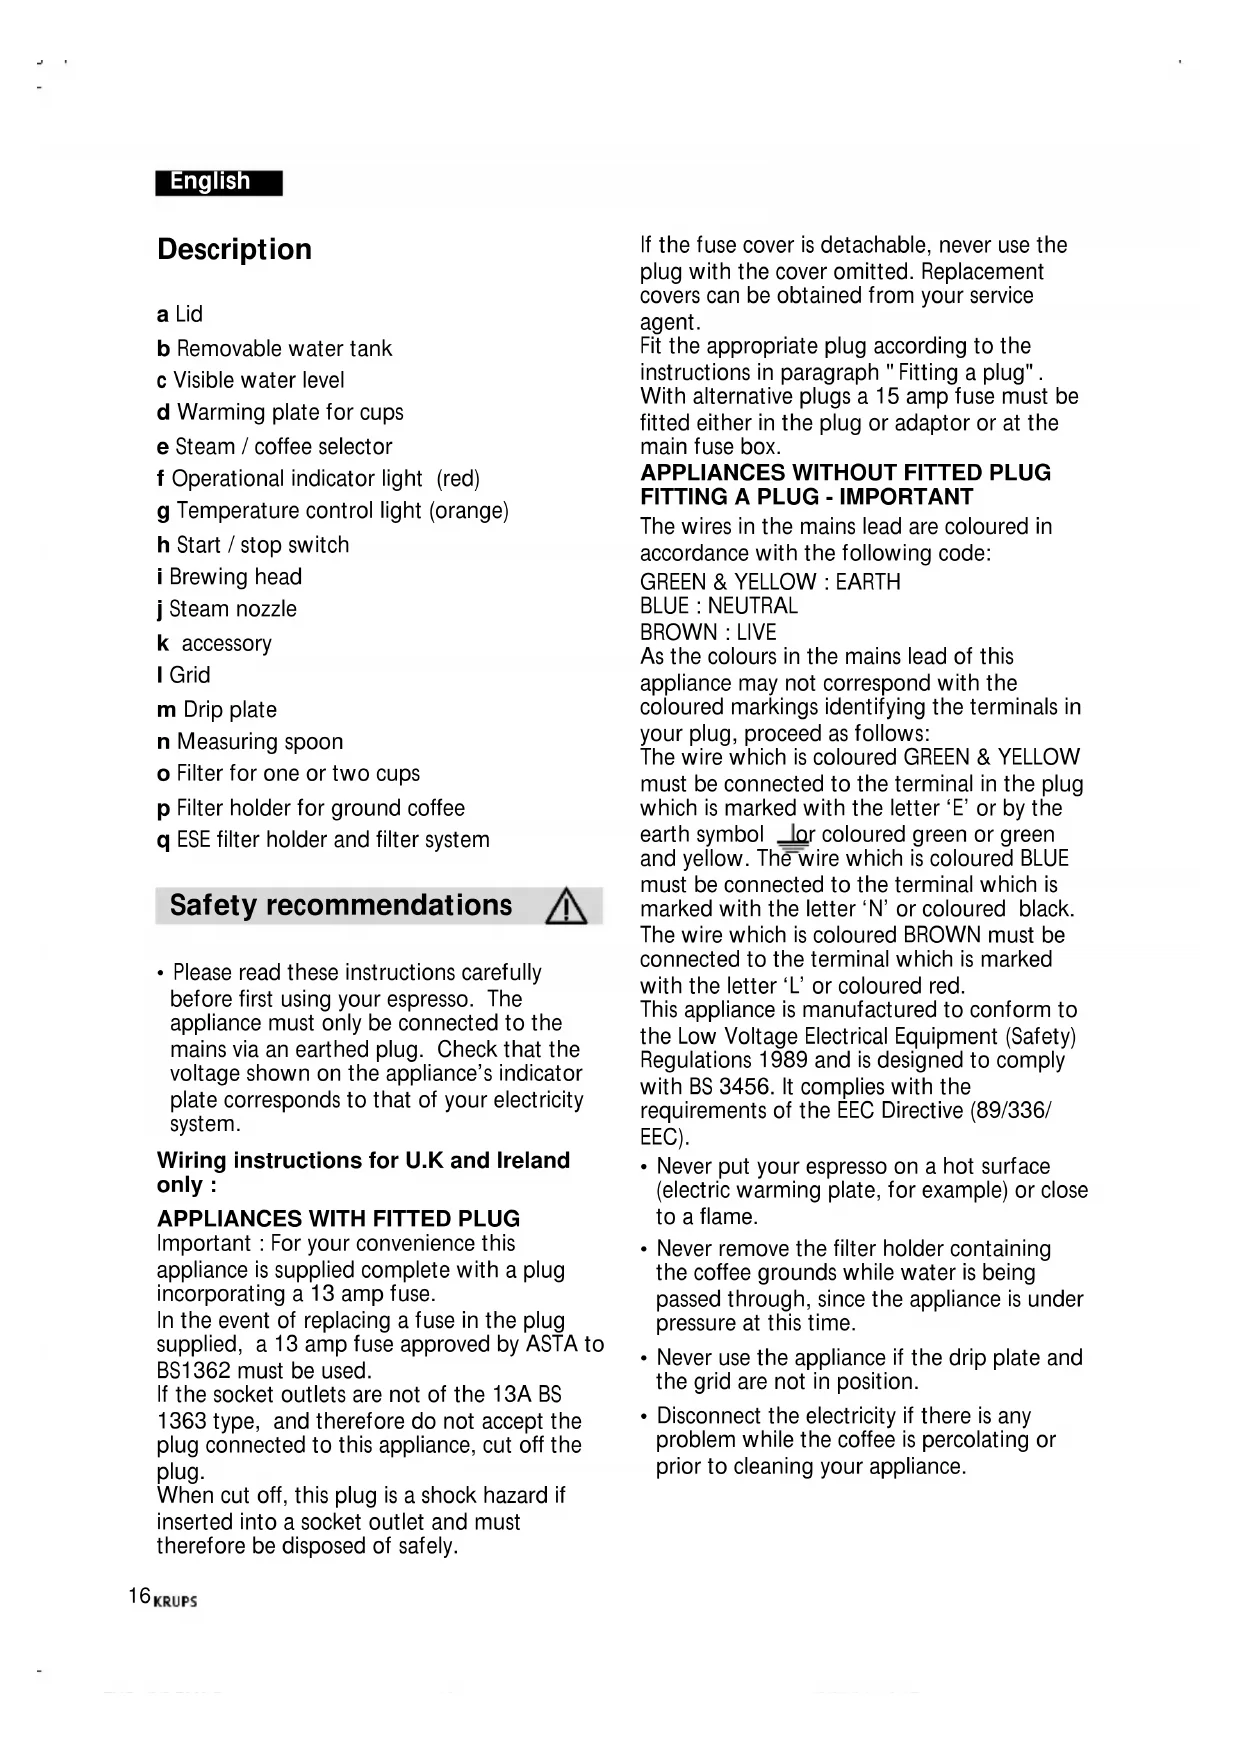
- Please read these instructions carefully before first using your espresso. The appliance must only be connected to the mains via an earthed plug. Check that the voltage shown on the appliance’s indicator plate corresponds to that of your electricity system. Wiring instructions for U.K and Ireland only :
APPLIANCES WITH FITTED PLUG
Important : For your convenience this appliance is supplied complete with a plug incorporating a 13 amp fuse. In the event of replacing a fuse in the plug supplied, a 13 amp fuse approved by ASTA to BS1362 must be used. If the socket outlets are not of the 13A BS 1363 type, and therefore do not accept the plug connected to this appliance, cut off the plug. When cut off, this plug is a shock hazard if inserted into a socket outlet and must therefore be disposed of safely. If the fuse cover is detachable, never use the plug with the cover omitted. Replacement covers can be obtained from your service agent. Fit the appropriate plug according to the instructions in paragraph "Fitting a plug". With alternative plugs a 15 amp fuse must be fitted either in the plug or adaptor or at the main fuse box.
The wires in the mains lead are coloured in accordance with the following code:
GREEN & YELLOW : EARTH
BLUE : NEUTRAL BROWN : LIVE As the colours in the mains lead of this appliance may not correspond with the coloured markings identifying the terminals in your plug, proceed as follows: The wire which is coloured GREEN & YELLOW must be connected to the terminal in the plug which is marked with the letter ‘E’ or by the earth symbol or coloured green or green and yellow. The wire which is coloured BLUE must be connected to the terminal which is marked with the letter ‘N’ or coloured black. The wire which is coloured BROWN must be connected to the terminal which is marked with the letter ‘L’ or coloured red. This appliance is manufactured to conform to the Low Voltage Electrical Equipment (Safety) Regulations 1989 and is designed to comply with BS 3456. It complies with the requirements of the EEC Directive (89/336/ EEC).
- Never put your espresso on a hot surface (electric warming plate, for example) or close to a flame.
- Never remove the filter holder containing the coffee grounds while water is being passed through, since the appliance is under pressure at this time.
- Never use the appliance if the drip plate and the grid are not in position.
- Disconnect the electricity if there is any problem while the coffee is percolating or prior to cleaning your appliance. English FNC1/2/3.PM6.5 19/01/04, 16:171617
- Never unplug the appliance by pulling on the cord and never lay the cord across a sharp edge or the corner of an item of furniture.
- Do not allow the cable or your hands to come into contact with the hot parts of the appliance (cup warming plate, filter holder, steam nozzle).
- Never immerse the appliance in water.
- Keep away from children and do not allow the cord to hang down.
- Follow the instructions given for descaling.
- Never start the machine if it is damaged or if the cord is in poor condition.
- If the cord or any other specific part becomes defective, these can only be replaced by a Krups approved service centre. You must never, under any circumstances, open the appliance yourself.
- Check that the filter holder is pushed well down before starting the coffee and reset the selector to O before releasing the filter holder. Espresso coffee Espresso coffee is richer in aroma and stronger than normal coffee. It is drunk from small pre- heated espresso cups. Hot water is passed through the ground coffee to obtain this delicious foamy black coffee, which has an invigorating effect. You can recognise an espresso by its characteristic aroma and its typical froth. But this requires high pressure and an excellent espresso coffee which has been well roasted and correctly ground. If you cannot buy ground espresso coffee, use a coffee grinder to grind the beans. The coffee must not be ground too fine. It must be slightly granulated. If it is too fine, you risk blocking the grid of the brewing head and the filter. So as to obtain sufficient froth with a good colour, it is normal that the flow rate of the coffee is slower than with a filter coffee machine. To guarantee complete success for your espresso, you must also use freshly-drawn water (so that it has not had time to stagnate in the air), without any chlorine odour and at a fairly cold temperature. Before first using your machine Before using your appliance for the first time, clean the water heating system, without coffee in the filter holder, filling the water tanks once or twice, as follows:
- Open the lid and lift out the water tank using the handle (1). Fill with water (2).
- Replace the tank, positioning it firmly to ensure that water can enter, and close the lid (3). The water level in the water tank can be checked at any time using the window provided for this purpose, so if necessary you can add more water (4).
- Start the appliance (5). The red operating light and the orange temperature control indicator light will both come on.
- Place one of the filters in the filter holder (6). Then put the filter holder on the appliance’s brewing head.
- To ensure that the filter holder is in the correct position, turn the handle so it points to the left (7), place the filter holder flat against the brewing head, then turn the handle towards the right (8) as far as it can go.
- Place a container, as large as possible, beneath the filter holder (9).
- As soon as the orange indicator light goes off, turn the selector to the setting (10) and allow all the water in the water tank to run through.
- If necessary, you can stop the operation by turning the selector to the O setting to empty the container, then resume the operation. FNC1/2/3.PM6.5 19/01/04, 16:171718 Using the various functions of your espresso machine
For best results, we recommend that you first pre-heat the accessories (filter holder, filter and cups) without putting in ground coffee. To do this :
- Fill the water tank (1) (2) (3) and start the appliance (5).
- Put the filter holder in place (7) (8), and place the espresso cups underneath. As soon as the appliance reaches the correct temperature the orange indicator light will go out.
- Turn selector to the setting (10).
- When the cups are full of hot water, reset the selector to the O setting. Once the appliance is hot, the espresso cups can then be pre-heated on the cup warming plate. . Preparing an espresso :
- Fill the water tank (1) (2) (3) and start the appliance (5).
- Put the filter for one or two cups into the filter holder (6) .
- Put one or two measures of ground coffee into the filter with the measuring spoon and tamp down using the measuring spoon (12) (13).
- Remove any ground coffee which is lying around the filter (14).
- Replace the filter holder (15).
- Place one or two espresso cups beneath the filter holder. As soon as the appliance reaches the correct temperature the orange indicator light will go out.
- Then turn the selector to the setting (16).
- When the cups are full, reset the selector to the O setting.
- Remove the filter holder and the filter from the machine, and take out the coffee grounds (17). The filter can be refilled to make more espressos.
. WITH THE SPECIAL «ESE» FILTER HOLDER
(MODELS FNC2/FNC3) The E.S.E. system was designed for making Italian-style “espresso ristreto” (squeezed). The amount of coffee is 35 ml and the water should take 20 seconds to run through. «ESE», which stands for «Easy Serving Espresso» , is a selected measure of coffee, ground and pressed between two filter papers making it ready for use. This system thus makes it easy for you to prepare your espresso because you avoid the measurement and tamping down operations and it also makes it easier for you to clean the appliance. We do not intend, or recommend, that the ESE servings are used for making a long coffee. We recommend that you take care, when handling and storing the ESE servings, that they do not become deformed. For best results, we recommend that you pre- heat the accessories (filter holder, filter and cups) without any coffee. To do this:
- Fill the water tank (1) (2) (3) and start the appliance (5).
- Put the empty ESE filter in place (7) (8) (9) and position the espresso cup underneath. Once the appliance reaches the correct temperature, the orange temperature control light will go out.
- Then turn the selector to the setting (10).
- When the cup is full of hot water, reset the selector to the O setting. Once the machine has heated up, the espresso cups can be pre-heated on the cup warming plate (on top of the machine). . Preparing an espresso:
- Place the ESE serving in the ESE filter holder fitted with its own filter (21). FNC1/2/3.PM6.5 19/01/04, 16:171819
- Put the ESE filter holder in place (7) (8) (9) by pressing it firmly to the right.
- Once the appliance reaches the correct temperature, the orange temperature control light will go out.
Then turn the selector to the setting (10).
- When the recommended quantity of coffee has been reached (35 ml) turn the selector to the O position.
- Remove the ESE filter holder from the brewing head and throw away the used measure.
The tapping noise which occurs while steam is being produced comes from the intermittent regulation of the pump and has no effect on the proper working of the appliance. If you wish to make an espresso immediately after steam, the appliance must first be allowed to cool down in order to achieve the correct temperature for preparing an espresso.
- To do this, place a container below the filter holder without coffee and position correctly, then turn the selector to the setting (10).
- Allow the water to flow through until the orange indicator light comes on. Then turn the selector to the O setting. After this, you can make another espresso. Beware: during and after use of the ma- chine, the metallic parts of the steam nozzle can become burning hot. . Using the Krups cappuccino accessory The cappuccino accessory makes it easy to produce frothy milk for making a cappuccino. Please note: the cappuccino accessory must only be used for producing frothy milk.
- Fit the cappuccino accessory to the end of the steam nozzle (18).
- Fill the water tank (1) (2) (3) and start the appliance (5).
- Move the nozzle to the exterior of the appliance.
- Pour about 100 ml of skimmed milk into a small, narrow container with a capacity of about 0.5 litres which will fit under the steam nozzle. The milk and its container must be well chilled (so it is not advisable to run the container under hot water before frothing the milk).
- Turn the selector to the setting (19). Once the appliance reaches the right temperature, the orange temperature control light will go out.
- Hold the container under the steam nozzle equipped with the cappuccino accessory in such a way that the tip is immersed in the milk.
- Turn the selector to the setting (20). Keep the container straight during this operation. Do not allow the tip of the nozzle to touch the bottom of the container because this could obstruct the passage of the steam.
- Once the froth has been produced, turn the selector to the setting (19) for the following cleaning operation in order to prevent the milk from drying on the steam nozzle:
- remove the container.
- place an empty container under the steam nozzle.
- select the setting again (20) to remove the milk residue.
- turn the selector to the O setting.
- clean the steam nozzle and the cappuccino accessory with a damp cloth. For more thorough cleaning of the cappuc- cino accessory, please refer to the paragraph on maintenance. . Heating liquids Heating liquids is done with the steam nozzle only. FNC1/2/3.PM6.5 19/01/04, 16:171920
- Fill the water tank (1) (2) (3) and start the appliance (5).
- Move the steam nozzle to the exterior of the appliance.
- Turn the selector to the setting (19). Once the appliance reaches the correct temperature, the orange temperature control light will go out.
- Immerse the steam nozzle in the container holding the liquid to be heated.
- Then turn the selector to the setting (20) until the liquid is hot enough, then reset the selector to the O setting and remove the container.
- For liquids other than water, turn the selector to the setting (19) for the following cleaning operation in order to prevent any blockage of the opening of the steam nozzle :
- place an empty container below the steam nozzle.
- select the setting again (20) to remove the residue of the liquid.
- turn the selector to the setting O.
- Clean the steam nozzle with a damp cloth.
- For more thorough cleaning of the nozzle, please refer to the paragraph on mainte- nance. Maintenance - Never wash your espresso machine accessories in the dishwasher. After use, the water tank must be emptied. . Drip plate This must be emptied after using the appliance after taking off the grid (22) (23). If several espressos are being prepared one after the other, the drip plate should be emptied from time to time (about once every 7 - 8 espressos). The presence of water is normal and does not signify a leak. If necessary, clean the drip plate and its grid with water and a little non-abrasive washing-up liquid, rinse and dry. When reassembling the machine, ensure that the plastic lining is in the right place (24). . The brewing head, the filter and the filter holder These must be cleaned after each use. All you need to do is wipe a damp cloth over the brewing head of your appliance and to wash the other accessories in water and a little non- abrasive washing-up liquid, rinse and dry. If the brewing head is heavily clogged up, unscrew the grid using a coin, clean it and refit it, pressing down firmly (25). When your espresso is not being used, do not leave the filter holder on the appliance to prevent wear on the gasket. . The cup warming plate: remove this to clean it with water and a little non-abrasive washing-up liquid, rinse and dry (26). . Steam nozzle: wipe with a damp cloth after each use . The cappuccino accessory For more thorough cleaning the cappuccino accessory can be dismantled.
- Remove parts A and C from the metal tube B (27).
- Clean all three parts with hot water. If need be, unclog the opening of part A using a fine needle.
- Be careful with the little plastic nozzle (part A) when you replace the cappuccino accessory. Descaling
- Descaling of your espresso should be done fairly frequently with citric or tartaric acid.
- The guarantee does not include espresso machines which do not function, or do not function properly, because descaling has not been carried out. However, we would advise you to use the Krups descaling accessory, reference 054, which is available from Krups after-sales ser- vice centres. This accessory includes, apart from two descaling doses, a testing strip for FNC1/2/3.PM6.5 19/01/04, 16:172021 water hardness to assess the frequency of descaling of your appliance in normal use. Descaling depends on the hardness of the water, but also on the use cycle. The frequently of descaling indicated by the 054 accessory is thus given by way of indication only. - Then follow the following method:
- Unscrew the grid from the head of the appliance and clean it.
- Dissolve 2 dessertspoons of the descaling product or a sachet of KRUPS descaling accessory, reference 054, in half a litre of lukewarm water and pour the whole lot into the empty water tank.
- Place a container under the brewing head. Run through about 1/3 of the liquid immediately, setting the selector to the position (10).
- Stop the appliance, leaving the position (10) engaged and wait for 10 - 15 minutes to allow the descaler to take effect.
- Next, start the machine again and allow the rest of the liquid to run through.
Then rinse with two water tanks of fresh water and replace the grid on the head of the appliance (see paragraph on maintenance). Problems, probable causes and how to correct them Problems Probable causes Corrective actions Espresso not hot Cups, filter and Preheat the enough filter holder accessories (cups, are cold. filter, filter holder) See paragraph «Preparing an espresso». Coffee leaks The filter holder See paragraph around the filter is not mounted «Preparing an holder correctly or has espresso». not been tightened sufficiently. There are coffee Clean around the grounds on the filter and the edge of the filter gasket. The brewing head Clean the gasket gasket is dirty. with a damp cloth. The brewing Contact an head gasket approved Krups is defective service centre. Pump is very noisy No water in the Fill the water tank. water tank. Water tank incor- Press firmly down rectly mounted. on the water tank. Coffee grounds too Use fresh coffee old or very dry and the pump can- not produce pressure. Water does not run No water in the Fill the water tank. through water tank. Press firmly down Water tank incor- on the water tank. rectly mounted. The filter is blocked, Clean the filter and the coffee grounds the grid on the are too fine or head. tamped down too See the paragraph hard. «Maintenance» and try a coarser coffee. Brewing head Put the grid to grid is encrusted soak in descaling solution See paragraph «Maintenance». Appliance needs See paragraph descaling. «Descaling». Water runs through Coffee grounds too Try a finer coffee too quickly coarse Quantity of Use the spoon ground coffee provided to is insufficient. measure out the coffee. Coffee grounds not Tamp down the tamped down coffee again. firmly enough The espresso has Coffee grounds Try a finer-ground no froth (froth on too coarse coffe coffee) Coffee grounds Tamp down the not tamped coffee again Coffee grounds Use fresh coffee stale or too dry FNC1/2/3.PM6.5 19/01/04, 16:172122 The milk is not very Steam nozzle bloc- See paragraph frothy ked «Maintenance» Cappuccino acces- See paragraph sory blocked «Maintenance» Milk not fresh. Use fresh milk Milk is lukewarm. Put milk in refrigerator. Lots of water on Grounds not Tamp down the the coffee grounds properly tamped grounds down Insufficient quantity Increase the of ground coffee quantity of ground coffee. Recipes Savour your espresso just as you like it: when you want to relax or to round off a good meal. Here are a few recipes which you will be able to create with your espresso machine. . Original espresso
- Take one measuring spoonful of good quality well roasted espresso coffee, and filter it directly into the pre-heated cup. If you use good, finely ground coffee, the cup will be crowned by a fine head of froth.
- Add sugar if desired and treat yourself. Ori- ginal espresso is drunk without milk but plenty of sugar. . Cappuccino For a state of the art cappuccino, the ideal quantities are as follows: 1/3 coffee, 1/3 hot milk, 1/3 frothy milk. The quantity of hot milk + froth obtained should be about double the amount of coffee prepared.
- Use large cups which have been pre-heated.
- Fill them with coffee to the equivalent of one cup of espresso and top up with milk which has been frothed up using the autocappuccino accessory.
- Lastly, sprinkle with drinking chocolate powder. . Café crème
- Prepare a classic espresso in a large cup.
- Add a cloud of cream to make an espresso with milk. You can also replace the cream with hot milk. . Caffe corretto *
- Prepare a cup of espresso in the normal way.
- Then slightly ‘correct’ the taste by adding 1/4 or 1/2 a glass of cognac. You can also use anisette, grappa, Sambuco, Kirsch or Cointreau for the same effect. And there must be countless other possibilities for ìennoblingî an espresso. Let your imagina- tion run wild. . Coffee Liqueur *
- Mix in an empty 0.75 litre bottle: 3 cups of espresso, 250 g brown cane sugar, 1/2 litre cognac or Kirsch.
- Leave the mixture to soak for at least 2 weeks. You will then have a delicious liqueur, especially for coffee lovers. . Iced coffee à l’italienne 4 vanilla ice cubes, 2 cups of cold sugared espresso, 1/8 litre milk, fresh cream, grated chocolate.
- Mix the cold espresso with milk.
- Distribute the ice cubes among the glasses, pour the coffee over them and decorate with fresh cream and grated chocolate. . Friesian coffee *
- Add a small glass of rum to a sugared cup of espresso.
- Decorate with a good layer of fresh cream and serve. . Espresso flambé * 2 cups of espresso, 2 small glasses of cognac, 2 teaspoonfuls of brown sugar, fresh cream.
- Pour the cognac into heat-resistant glasses, heat and flame.
- Add sugar, mix, pour the coffee and decorate with fresh cream. FNC1/2/3.PM6.5 19/01/04, 16:172223 If you like, the espresso can also be diluted with a little boiling water. . Perfect espresso * 2 cups of espresso, 6 egg yolks, 200g sugar, 1/8 litre sugared fresh cream, 1 small glass of orange liqueur.
- Beat the egg yolks with the sugar until it forms a thick foamy mass.
- Add the cold espresso and orange liqueur.
- Then mix in the fresh whipped cream.
- Pour the mixture into cups or glasses.
- Put the cups into the freezer. . Mocha pudding 2 cups of espresso, 1/2 litre milk, 1 sachet vanilla pudding powder, 3 egg yolks, 1/8 litre sugared fresh cream, 150 g sugar.
- Prepare a vanilla pudding with the milk, vanilla powder and sugar.
- Add the egg yolks to the pudding while it is still hot.