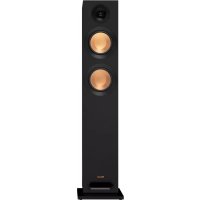
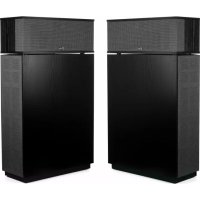
KPT8060H - Speaker KLIPSCH - Free user manual and instructions
Find the device manual for free KPT8060H KLIPSCH in PDF.
Download the instructions for your Speaker in PDF format for free! Find your manual KPT8060H - KLIPSCH and take your electronic device back in hand. On this page are published all the documents necessary for the use of your device. KPT8060H by KLIPSCH.
USER MANUAL KPT8060H KLIPSCH
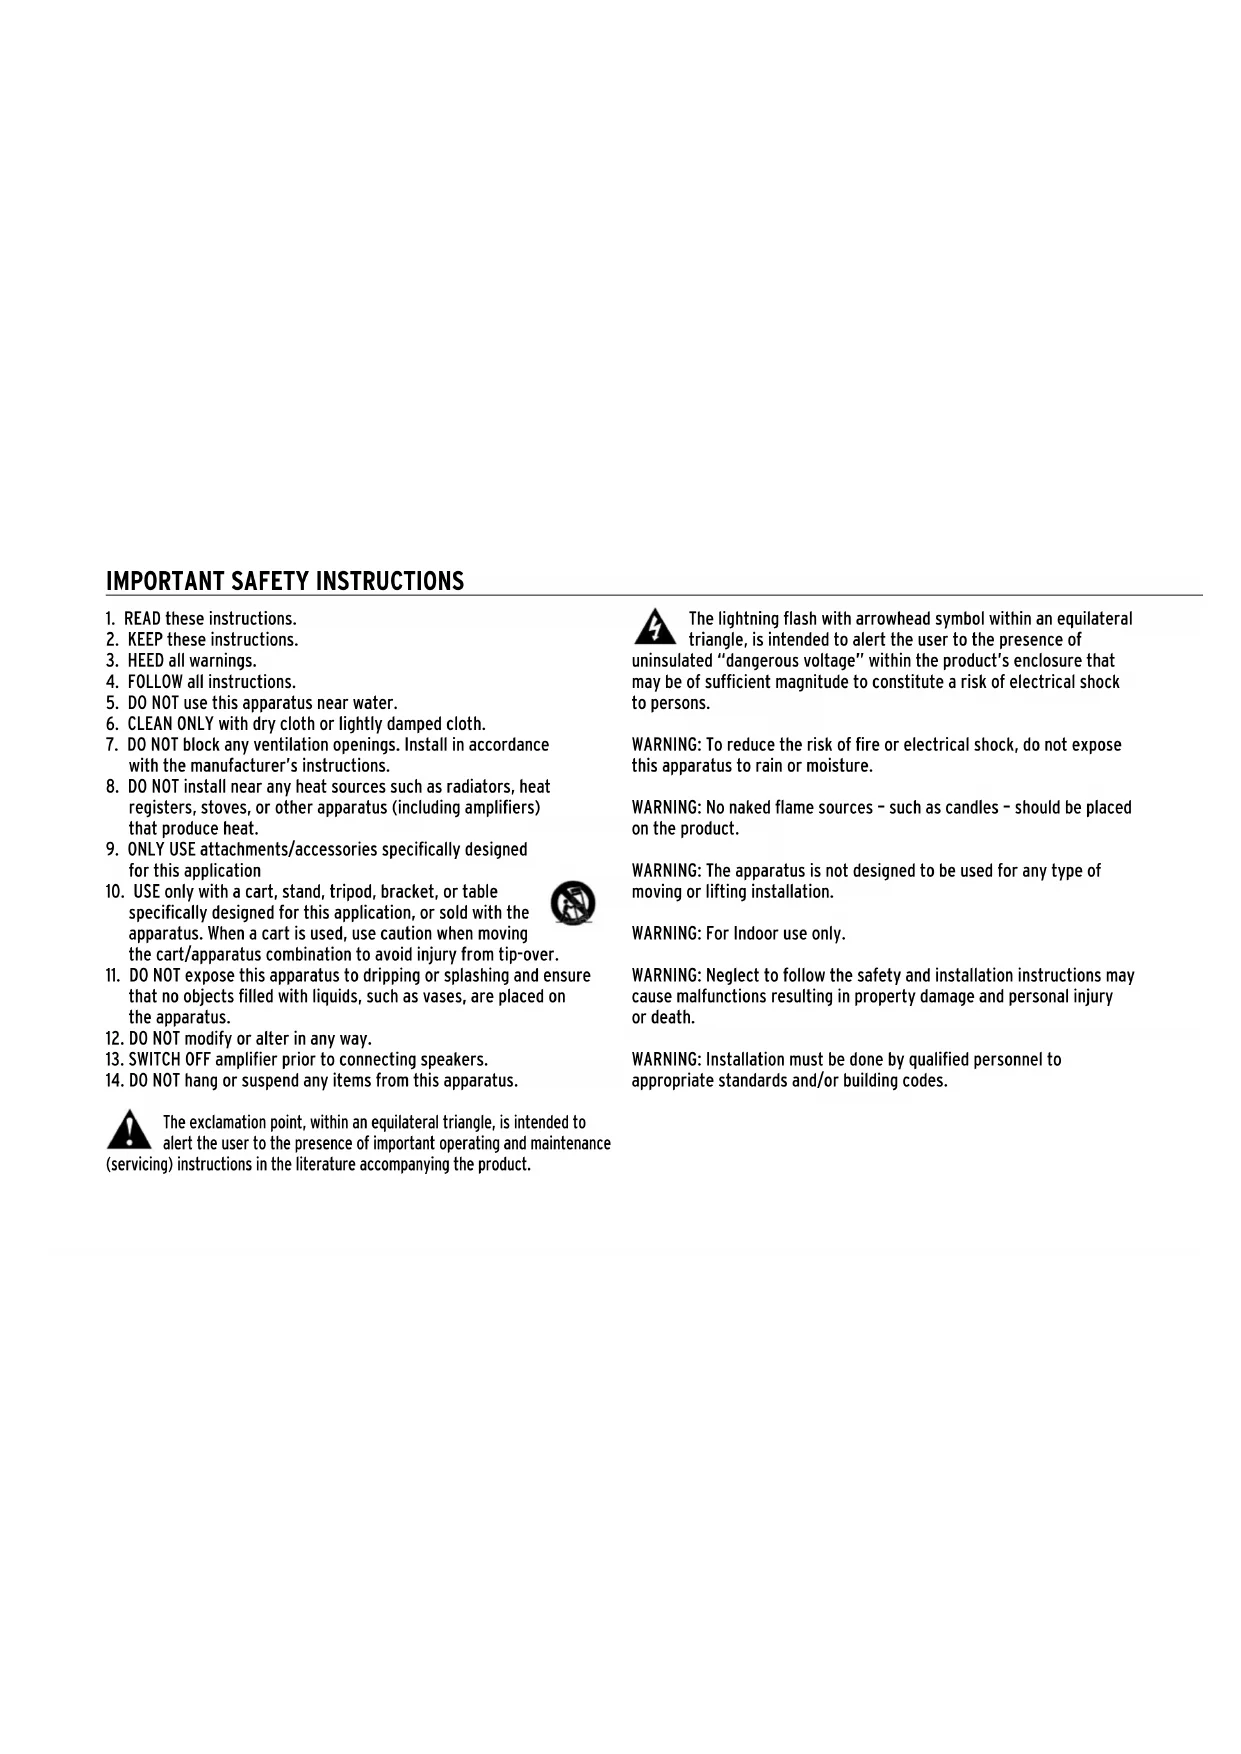
2. KEEP these instructions.
3. HEED all warnings.
4. FOLLOW all instructions.
5. DO NOT use this apparatus near water.
6. CLEAN ONLY with dry cloth or lightly damped cloth.
7. DO NOT block any ventilation openings. Install in accordance
with the manufacturer’s instructions.
8. DO NOT install near any heat sources such as radiators, heat
registers, stoves, or other apparatus (including amplifiers) that produce heat.
9. ONLY USE attachments/accessories specifically designed
for this application
10. USE only with a cart, stand, tripod, bracket, or table
specifically designed for this application, or sold with the apparatus. When a cart is used, use caution when moving the cart/apparatus combination to avoid injury from tip-over.
11. DO NOT expose this apparatus to dripping or splashing and ensure
that no objects filled with liquids, such as vases, are placed on the apparatus.
12. DO NOT modify or alter in any way.
13. SWITCH OFF amplifier prior to connecting speakers.
14. DO NOT hang or suspend any items from this apparatus.
The exclamation point, within an equilateral triangle, is intended to alert the user to the presence of important operating and maintenance (servicing) instructions in the literature accompanying the product. The lightning flash with arrowhead symbol within an equilateral triangle, is intended to alert the user to the presence of uninsulated “dangerous voltage” within the product’s enclosure that may be of sufficient magnitude to constitute a risk of electrical shock to persons.
WARNING: To reduce the risk of fire or electrical shock, do not expose
this apparatus to rain or moisture.
WARNING: No naked flame sources – such as candles – should be placed
WARNING: The apparatus is not designed to be used for any type of
moving or lifting installation.
WARNING: For Indoor use only.
WARNING: Neglect to follow the safety and installation instructions may
cause malfunctions resulting in property damage and personal injury or death.
WARNING: Installation must be done by qualified personnel to
appropriate standards and/or building codes. IMPORTANT SAFETY INSTRUCTIONSWARNING: Do Not Open! Risk of Electrical Shock. Voltages in this equipment are hazardous to life. No user-serviceable parts inside. Refer all servicing to qualified service personnel. EU COMPLIANCE INFORMATION: Eligible to bear the CE mark, Conforms to European Union EMC Directive 2004/108/EC; European Union Restriction of Hazardous Substances Recast (RoHS2) Directive 2011/65/EC; European Union WEEE (Recast) Directive 2012/19/EC; Conforms to European Union Low Voltage Directive 2006/95/EC; European Union Registration, Evaluation, Authorization and Restriction of Chemicals (REACH) Directive 2006/121/EC You may obtain a free copy of the Declaration of Conformity by contacting your dealer, distributor, or Klipsch Group, Inc.’s worldwide headquarters. Contact information can be found here: http://www.klipsch.com/Contact-Us WEEE NOTICE Note: This mark applies only to countries within the European Union (EU) and Norway. This appliance is labeled in accordance with European Directive 2012/19/EC concerning waste of electrical and electronic equipment (WEEE). This label indicates that this product should not be disposed of with household waste. It should be deposited at an appropriate facility to enable recovery and recycling.KPT-8000-M, KPT-8060-H This manual provides a suggested placement and wiring guide for Klipsch Cinema Surround Speakers. These speakers were designed for both sidewall and ceiling surround applications and provide excellent performance for all types of digital surround formats. Illustration of Soundfold SB-6 and SB-7 brackets sold by Klipsch is also shown. These SB-6 and SB-7 brackets should only be used for wall speaker placement and are NOT designed for ceiling speaker placement. Tools needed to attach Bracket and Safety Cable to Surround Speaker: (1) #3 Phillips (cross-recessed) driver (1) 9/16” socket or wrench 18.6” (47.5cm) 7.2” (18.3cm) 11.9” (30.4cm) 6.6” (16.8cm) 5.0” (12.7cm) 2.8” (6.9cm) Coverage Pattern KPT-8000-M: 100º x 100º KPT-8060-H: 90º x 60º 14.7” (37.2cm)
OF PRODUCT MAY RESULT IN
22.5” (57.2cm) 10.2” (18.3cm) 14.8” (37.6cm) 7.7” (19.6cm) 2.75” (6.9cm) Coverage Pattern KPT-1200-M: 100º x 100º KPT-1260-H: 90º x 60º KPT-1200-VBM: 140º x 60º INPUT CONNECTIONS 18.2” (46.2cm) 4-point Terminals KPT-8000-M KPT-8060-H KPT-1200-M KPT-1260-H KPT-1200-VBM 5.0” (12.7cm) 8ºSURROUND SPEAKER WALL SPACING / HEIGHT PLACEMENT GUIDELINES 10’ (3m) 25% Standard Surround Speaker Placement Seating usually begins approximately 25% back from screen. First speaker position on the sidewall should be at or within 5’ (1.5m) of the first seating position. Maintain same speaker spacing/height for side/back walls. 10’ (3m) 10’ (3m) 10’ (3m) 10’ (3m)
(1.5m)SURROUND SPEAKER WALL AND CEILING PLACEMENT GUIDELINES Example of Surround Speaker Placement in Surround Sound Seating starts close to front of screen. Maintain equal number of surround speakers spaced evenly. Standard Surround Speaker Angle Aim surrounds to throw sound to moviegoer’s ear opposite from wall. 10’ (3m) 10’ (3m)
(1.5m) Ceiling/Wall Speaker Placement For Dolby Atmos™ surround speaker placement/setup see www.dolby.com For Auro 11.1 by Barco surround speaker placement/setup see www.barco.com/Auro11-1SURROUND SPEAKER WIRING (ALL SPEAKERS, SAME CHANNEL) AMP 4Ω AMP 2Ω AMP 2Ω AMP Unequal Speaker ImpedanceCOMPONENTS Angled Insert (For wall mount only) Safety Cable Attachment 3/8-16 x 1.75 UNC 2A 1.125” (2.86 cm) 1/4-20 x 1.125 UNC 2A .75” (1.9 cm) 1/4-20 x 0.75 UNC 2A x4x4 x8 Must use!SURROUND SPEAKER MOUNTING 1.125” length screws allow for a maximum bracket thickness of 0.75” (19.05 mm). If using bracket other than Soundfold SB-6 or SB-7 then exceeding max bracket thickness requires screw substitution. The length of the screw must accommodate a minimum 0.3125” (7.94 mm) and a maxmimum 1” (25.4 mm) thread engagement between screw and surround speaker. 0.75” length screws allow for a maximum bracket thickness of 0.375” (9.53 mm). If using bracket other than Soundfold SB-6 or SB-7 then exceeding max bracket thickness requires screw substitution. The length of the screw must accommodate a minimum 0.3125” (7.94 mm) and a maxmimum 19/32” (15.08 mm) thread engagement between screw and Angled Insert. 1.125” (2.86 cm) 1/4-20 x 1.125 UNC 2A .75” (1.9 cm) 1/4-20 x 0.75 UNC 2A Speaker Bracket Thickness Speaker Bracket Thickness Must use! Must use!1.75” length screws allow for maximum safety cable attachment thickness of 0.875” (22.53 mm). Exceeding max Safety Cable Attachment Thickness requires screw substitution. The length of the screw must accommodate a minimum 0.75” (19.05 mm) and a maxmimum 1.5” (38.1 mm) thread engagement between screw and surround speaker. Consult with a licensed structural engineer for proper speaker bracket/wall attachment. Make sure all surfaces supporting the surround speakers are sturdy and capable of safely holding at least 10 times the total weight of the surround speakers and associated equipment. A Safety Cable attachment point is provided if a Safety Cable is required by your local codes. Klipsch Cinema Surround Speakers are designed to be wall OR ceiling mounted.
THE SOUNDFOLD SB-6 AND SB-7
BRACKETS ARE FOR WALL-MOUNT
USE ONLY. Consult a third-party bracket supplier* for brackets approved for ceiling mounting. Make sure to suspend on ceiling in accordance with all local codes. Apply a thread locking adhesive to all threaded fasteners. The Safety Cable Attachment screw is .375” (.952cm) diameter and can accommodate mounting materials up to .875” (2.22cm) thick. If no safety cable is being utilized, leave screw in speaker as is. *adapttechgroup.com Safety Cable Attachment Thickness Safety Cable Attachment Screw and Washer 3/8-16 x 1.75 UNC 2A SURROUND SPEAKER MOUNTING (CONT.)SURROUND SPEAKER MOUNTING (CONT.)
Apply thread locking adhesive directly to the threads of the four 1.125” (2.86cm) screws before attaching the speaker to the bracket. Without Angled Insert With Angled Insert Must use! Must use! Must use! IMPROPER INSTALLATION
OF PRODUCT MAY RESULT IN
INFORMATIONS DE CONFORMITÉ UE
KLIPSCH.COM ©2014, Klipsch Group, Inc. Klipsch Group, Inc. is a wholly-owned subsidiary of Voxx International Corporation. Klipsch and Keepers of the Sound are trademarks of Klipsch Group, Inc., registered in the United States and other countries. Dolby and Dolby Atmos are registered trademarks of Dolby Laboratories.