CLR2855 - Alarm clock radio ROADSTAR - Free user manual and instructions
Find the device manual for free CLR2855 ROADSTAR in PDF.
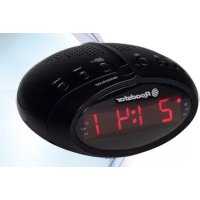
| Product type | Radio alarm clock |
| Brand | Roadstar |
| Model | CLR2855 |
| FM frequency band | 87.5 - 108 MHz |
| Power supply | 230 V AC, 50 Hz |
| Power consumption | 3 W |
| Main functions | Alarm, FM Radio, Snooze, Sleep timer, Time setting |
| Display | Digital clock with brightness adjustment |
| Headphone jack | Yes |
| Speaker | Built-in |
| Safety | Do not expose to moisture or rain; use only on 230V mains |
| Maintenance | Clean with a soft cloth and mild detergent solution; avoid abrasives |
| Recycling | Do not dispose of with household waste; follow WEEE directive |
| Note | Time and alarm settings are lost in case of power outage |
Frequently Asked Questions - CLR2855 ROADSTAR
User questions about CLR2855 ROADSTAR
0 question about this device. Answer the ones you know or ask your own.
Ask a new question about this device
Download the instructions for your Alarm clock radio in PDF format for free! Find your manual CLR2855 - ROADSTAR and take your electronic device back in hand. On this page are published all the documents necessary for the use of your device. CLR2855 by ROADSTAR.
USER MANUAL CLR2855 ROADSTAR
AlarmClock with PLL FM Radio
CLR-2855
Instruction manual
Bedienungsanleitung
Roadstar is a registered Trademark of Roadstar S.A. - Switzerland All rights reserved

English En

WARNING

The exclamation point within the triangle is a warning sign alerting the user of important instructions accompanying the product.
The lightening flash with arrowhead symbol within the triangle is a warning sign alerting the user of "dangerous voltage" inside the unit.
To reduce the risk of electric shock, do not remove the cover. No use of adhesive parts inside the unit. Refer all servicing to qualified personnel.
This unit operates on 230V 50Hz. If the unit is not used for a long period of time, remove the plug from the AC mains.
This unit must not be exposed to moisture or rain.

The power switch in this unit is mounted on the secondary circuit. It does not disconnect the whole unit from the mains in OPF position.
Ensure all connections are properly made before operating the unit.
This unit should be positioned so that it is properly ventilated. Avoid the use of a firebox or fire barriers, on the carpet or in a building in installation such as a bookcase.
Do not expose this unit to direct sunlight or heat radiating sources.

Correct Disposal of This Product
(Waste Electrical & Electronic Equipment)
This item�arks on compound 1,3-tetrahydro-2,4-dihydroxytolylidazole with a series of hydroxides such as 1,3-dihydroxytolylidazole and 1,3-dihydroxytolylidazole. The compound has been used in the synthesis of 1,3-dihydroxytolylidazole and its derivatives.
a) office of the Board of Directors; b) corporate accounts and accounts receivable; c) financial statements; d) property, plant and equipment; e) other assets.
CLR-2855
DIGITALALARM CLOCK WITH FM PLL RADIO
TABLE OF CONTENTS
LOCATION OF CONTROLS:
ACROWER
SPECIFICATIONS
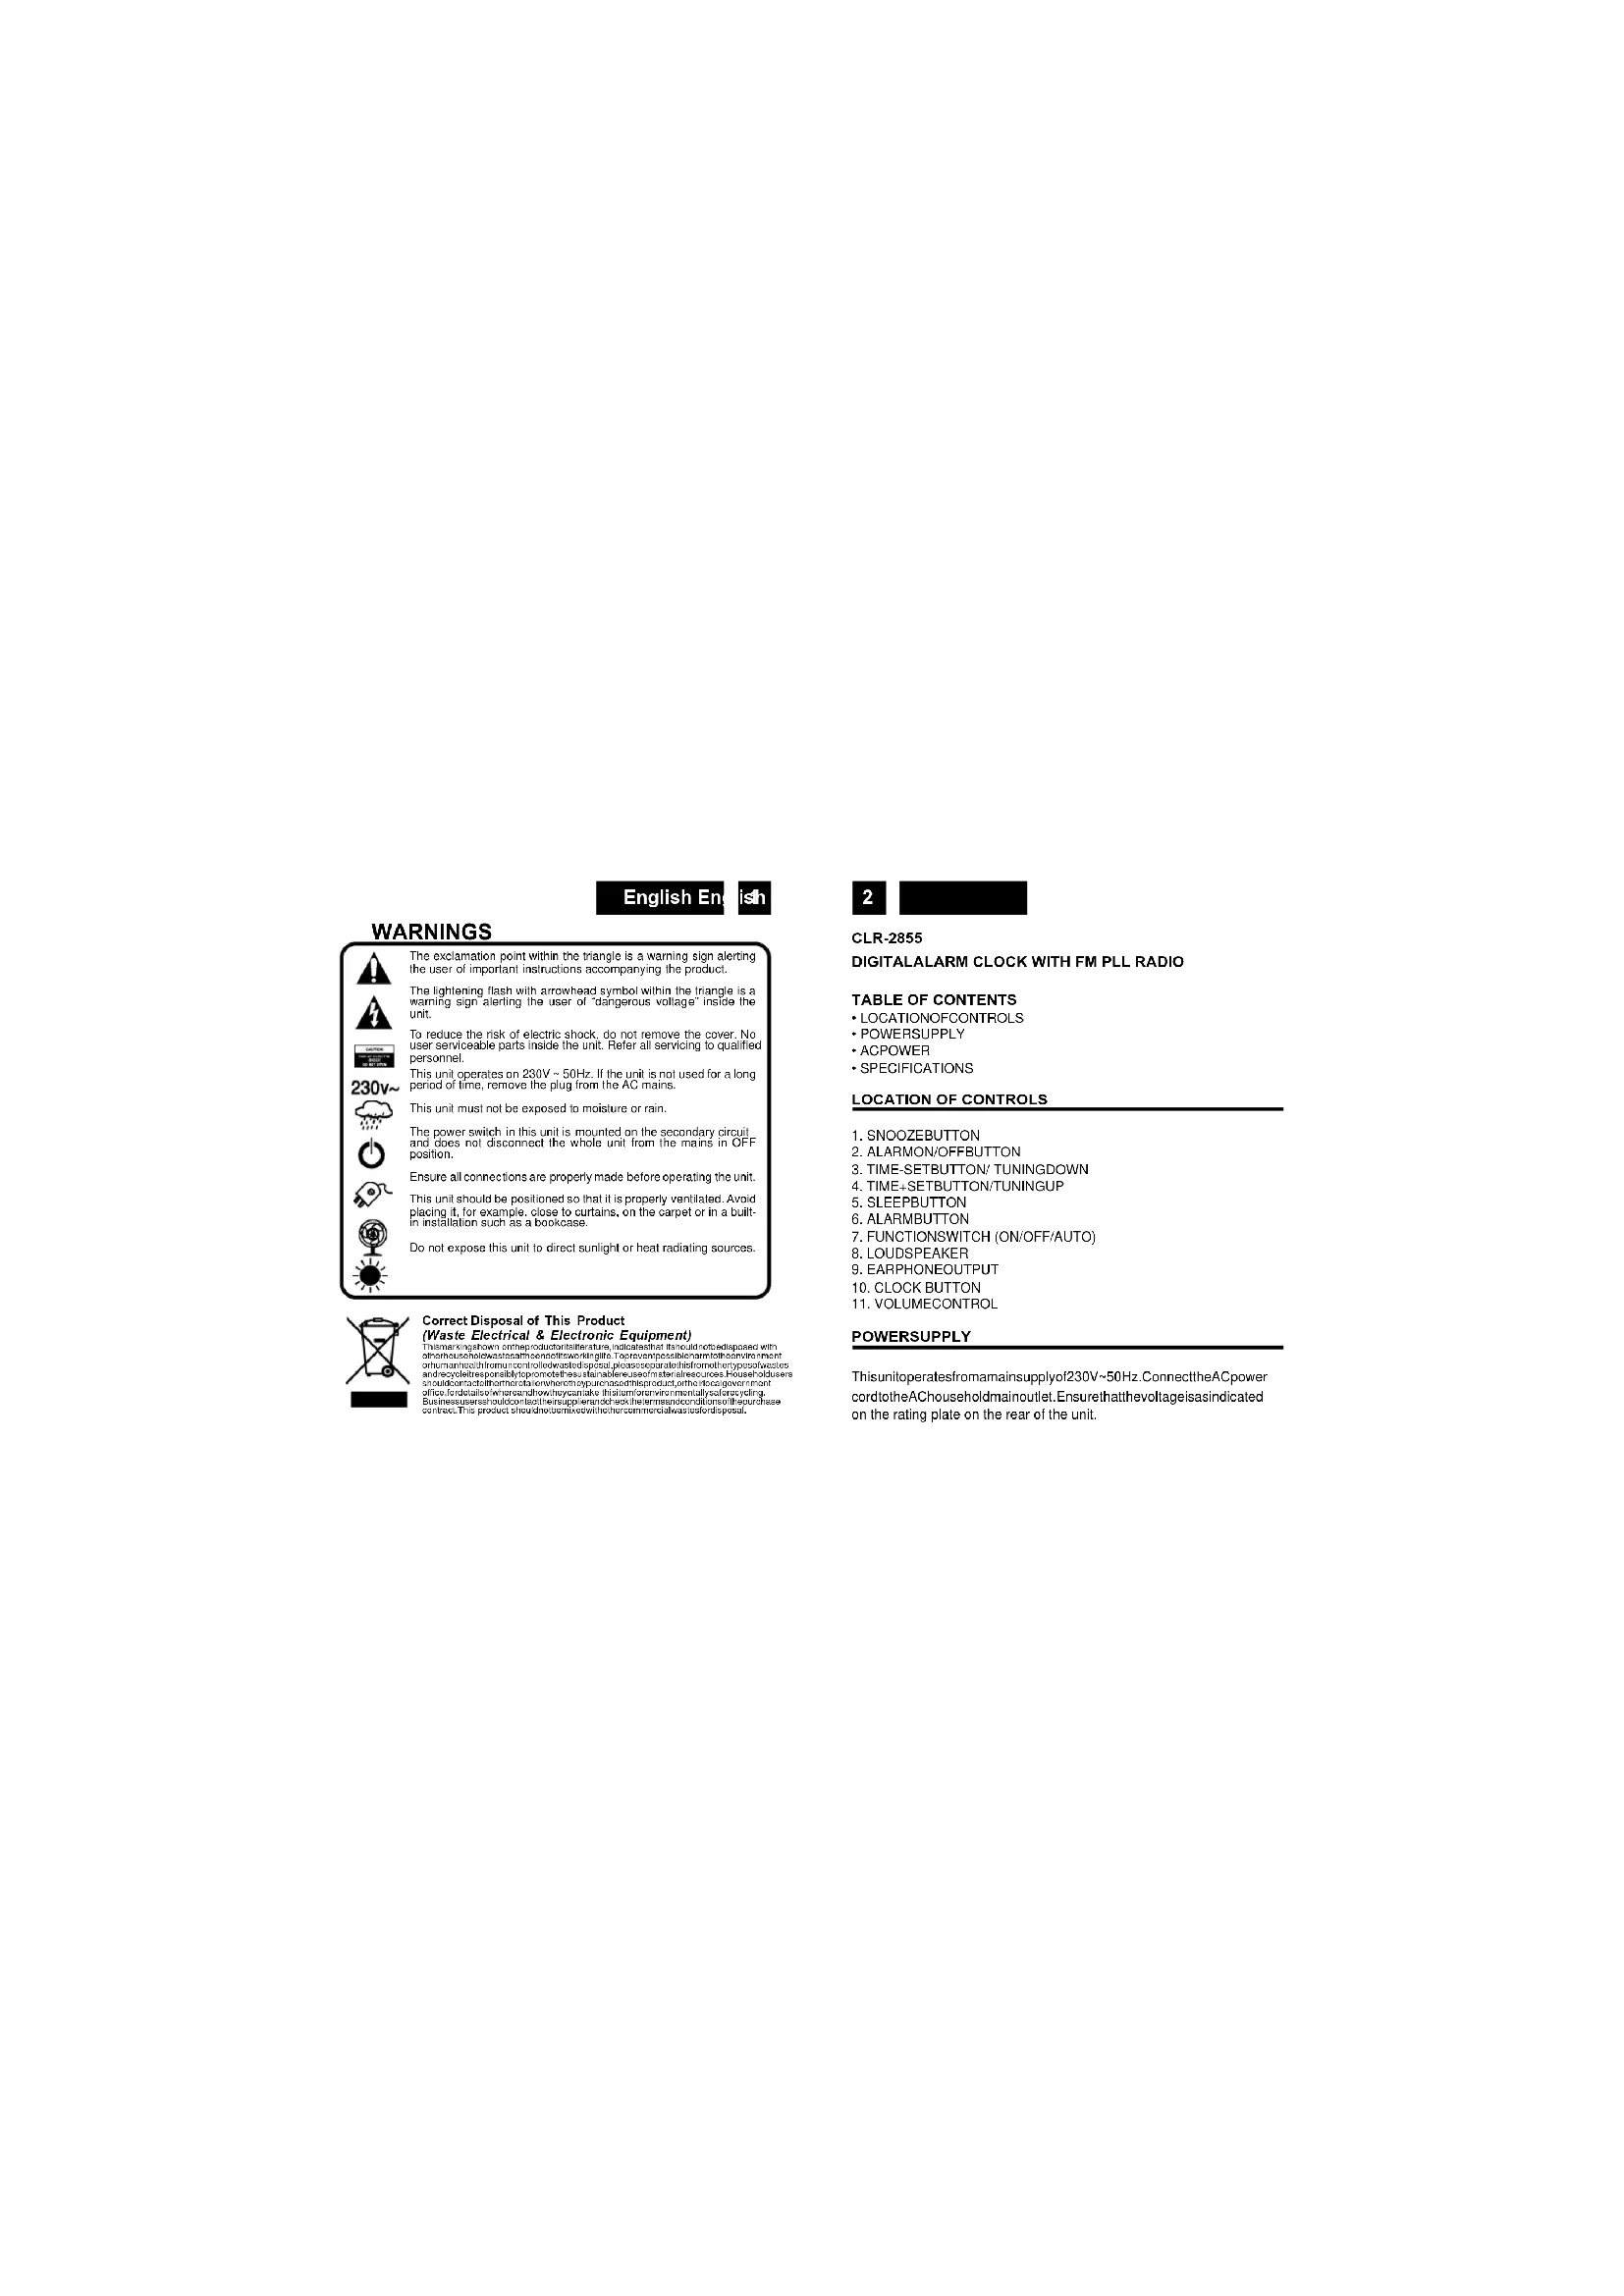
LOCATION OF CONTROLS
1.SNOOZEBUHTON
2. ALARMON/OFFBUTTON
3. TIME-SETBUTTON/TUNINGDOWN
4. TIME+SETBUTTON/TUNINGUP
5.SLEEPBUTTON
6. ALARMBBUTTON
7. FUNCTIONSWITCH (ON/OFF/AUTO)
8. LOUDSPEAKER
9. EARPHONEOUTPUT
10.CLOCK BUTTON
11. VOLUMECONTROL
POWERSUPPLY
This unit operates from marmainsupply0230V-50Hz. ConnecttheACpower cordtotheAchouseholdmainoutlet.Ensurethatthevoltageasindicated on the rating plate on the rear of the unit.
English En
ish
Note: If power is interrupted the time and alarm settings will be lost. When power is restored the clock will begin indicating 00:00 that the time and alarm settings must be corrected.
SETTING THE CORRECT TIME
- Press shortly the CLOCK Button (10).
- Press the TUN/TIME+ (3) or - (4) button to advance hour
- Press shortly the CLOCK Button (10) again.
- Press the TUN/TIME+ (3) or - (4) buttonoadvance MINUTE until the correct time is displayed.
- Press shortly the CLOCK Button (7) to complete the setting operation.
SETTING THE WAKE UP TIME
- Set the alarm time by following this procedure:
- Press shortly the ALARM Button (6) two times.
- Press the TUN/TIME+ (3) or - (4) button to advance hour
- PressshortlytheALARMButton(6)again
- Press the TUN/TIME+ (3) or - (4) button to advance MINUTE until the correct time is displayed.
- Pressshortly the ALARM Button (6)again.
- Press the TUN/TIME+ (3) or - (4) button to select the alarm mode 1 (BUZZER)or2(RADIO).
- Press shortly the ALARM Button (6) to finish.
- Setthe ALARMON/OFFSelector(2)totheactivateordeactivatethe
4
alarm when ON, the * indicator will light up on the right side of the
display).
- To switchoffthe alarm set theALARMON/OFFSelector (2) to the OFF position.
- Adjust the VOLUME (11) knob for the best Buzzer or Radio level.
- Press shortly the ON/OFF/AUTO (7) button to switch the Radio ON.
- Press shortly the ON/OFF/AUTO button again to start the Radio autotuning function (the unit will stora automatically the strongest stations).
- Adjust the VOLUME Control (15) to a comfortable listening level.
- To turn off the radio, keep pressed the CLOCK (10) button for three seconds.
- Tolistenthe desired Radiostations,shortpressSNOOZEbutton to select the stored station.
- To search manually a Radio station, when in RADIO mode press the TUN- (3)orTUNEUP (4)buttonsequentiallyuntil thedesiredfrequency isdisplayed,thenpressthe SNOOZE button (1)to storein their memory.
Note: For FM reception there is a built-in FM antenna wire at the rear of the unit. Move the wire around to obtain the best reception.
English En
isn
SNOOZEFUNCTION
When the alarm sounds, pressing the SNOOZE Button (1) will temporary stop about 8 minutes then the alarm sounds again.
SLEEPFUNCTION
- This function enables you to go to sleep listening to the Radio.
- Press the SLEEP Button (5) sequentially. The clock display will show 10:20/30/45/60/90/120 minutes. The Radio turns on and will turn off automatically after the selected sleep timer.
- To turn off the Radio at any time during the Sleep period, press the Clock Button (1) three seconds.
IMPORTANT: When the unit finishes the Sleep time, the display switch OFF.
IMPORTANT: When the unit finish the Sleep time, the display switchOFF.
DISPLAY ON/OFF
Keep pressedtheON/OFF/AUTO(7) buttonultimate the displaywillswitchOFF. Press again theON/OFF/AUTO (7) buttonl o light UP again the display
CAREANDMAINTENANCE
To prevent fire orshock hazard, do not allow this clock radio to be exposed to rain or moisture. This clock radio should not be exposed to direct sunlight, very high or low temperature, moisture, vibration, or placed in a dusty environment.
6
Do not use abrasives, benzine, thinners, or other solvents to clean the surfaces of the clock radio. To clean it, wipe with a mild non-abrasive detergent solution on a clean soft cloth.
Noveratemptotinserwires, pins, ortherobjectsintothevanilliationholes or openings on the clock radio.
Note: WhensingtheClockorAlarmtimesrememberthalthisclockradio
has a 24 Hour clock mode
ACPOWER
For your own safety road following instructions carefully before attempting to connect this clock radio to the mains.
This unit is designed to operate on a 230V-50Hz supply only. Connecting it to other power sources may damage it.
Ensures supply correspondsto information nontherating labelonthe bottom of the unit.
SPECIFICATIONS
Power Supply: 230VAC,50Hz
Power Consumption: 3W
Design and specifications are subject to change without notice.


Deutsch Dc
TSC
SICHERHEITSHINWEISE
m = 311 ;
Para Severity
Para Severity
Para Severity
Para Severity
Para Severity
Para Severity
Para Severity
Para Severity
Para Severity
Para Severity
Para Severity
Para Severity
Para Severity
Para Severity
Para Severity
Para Severity
Para Severity
Para Severity
Para Severity
Para Severity
Para Severity
Para Severity
Para Severity
Para Severity
Para Severity
Para Severity
Para Severity
Para Severity
Para Severity
Para Severity
Para Severity
Para Severity
Para Severity
Para Severity
Parasitaemia
Parasitaemia
Parasitaemia
Parasitaemia
Parasitaemia
Parasitaemia
Parasitaemia
Parasitaemia
Parasitaemia
Parasitaemia
Parasitaemia
Parasitaemia
Parasitaemia
Parasitaemia
Parasitaemia
Parasitaemia
Parasitaemia
Parasitaemia
Parasitaemia
Parasitaemia
Parasitaeria
Parasitaeria
Parasitaeria
Parasitaeria
Parasitaeria
Parasitaeria
Parasitaeria
Parasitaeria
Parasitaeria
Parasitaeria
Parasitaeria
Parasitaeria
Parasitaeria
Parasitaeria
Parasitaeria
Parasitaeria
Parasitaeria
Parasitaeria
Parasitaeria
Parasitaeria
Parasitaemia
Parasitaeria
Parasitaeria
Parasitaeria
Parasitaeria
Parasitaeria
Parasitaeria
Parasitaeria
Parasitaeria
Parasitaeria
Parasitaeria
Parasitaeria
Parasitaeria
Parasitaeria
Parasitaeria
Parasitaeria
Parasitaeria
Parasitaeria
Parasitaeria
Parasitaemia
Parasitaemia
Parasitaeria
Parasitaeria
Parasitaeria
Parasitaeria
Parasitaeria
Parasitaeria
Parasitaeria
Parasitaeria
Parasitaeria
Parasitaeria
Parasitaeria
Parasitaeria
Parasitaeria
Parasitaeria
Parasitaeria
Parasitaeria
Parasitaeria
Parasitaemia
Parasitaeria
Parasitaemia
Parasitaeria
Parasitaeria
Parasitaeria
Parasitaeria
Parasitaeria
Parasitaeria
Parasitaeria
Parasitaeria
Parasitaeria
Parasitaeria
Parasitaeria
Parasitaeria
Parasitaeria
Parasitaeria
Parasitaeria
Parasitaeria
Parasitaeria
Parasitaemia
Par Parasitesis